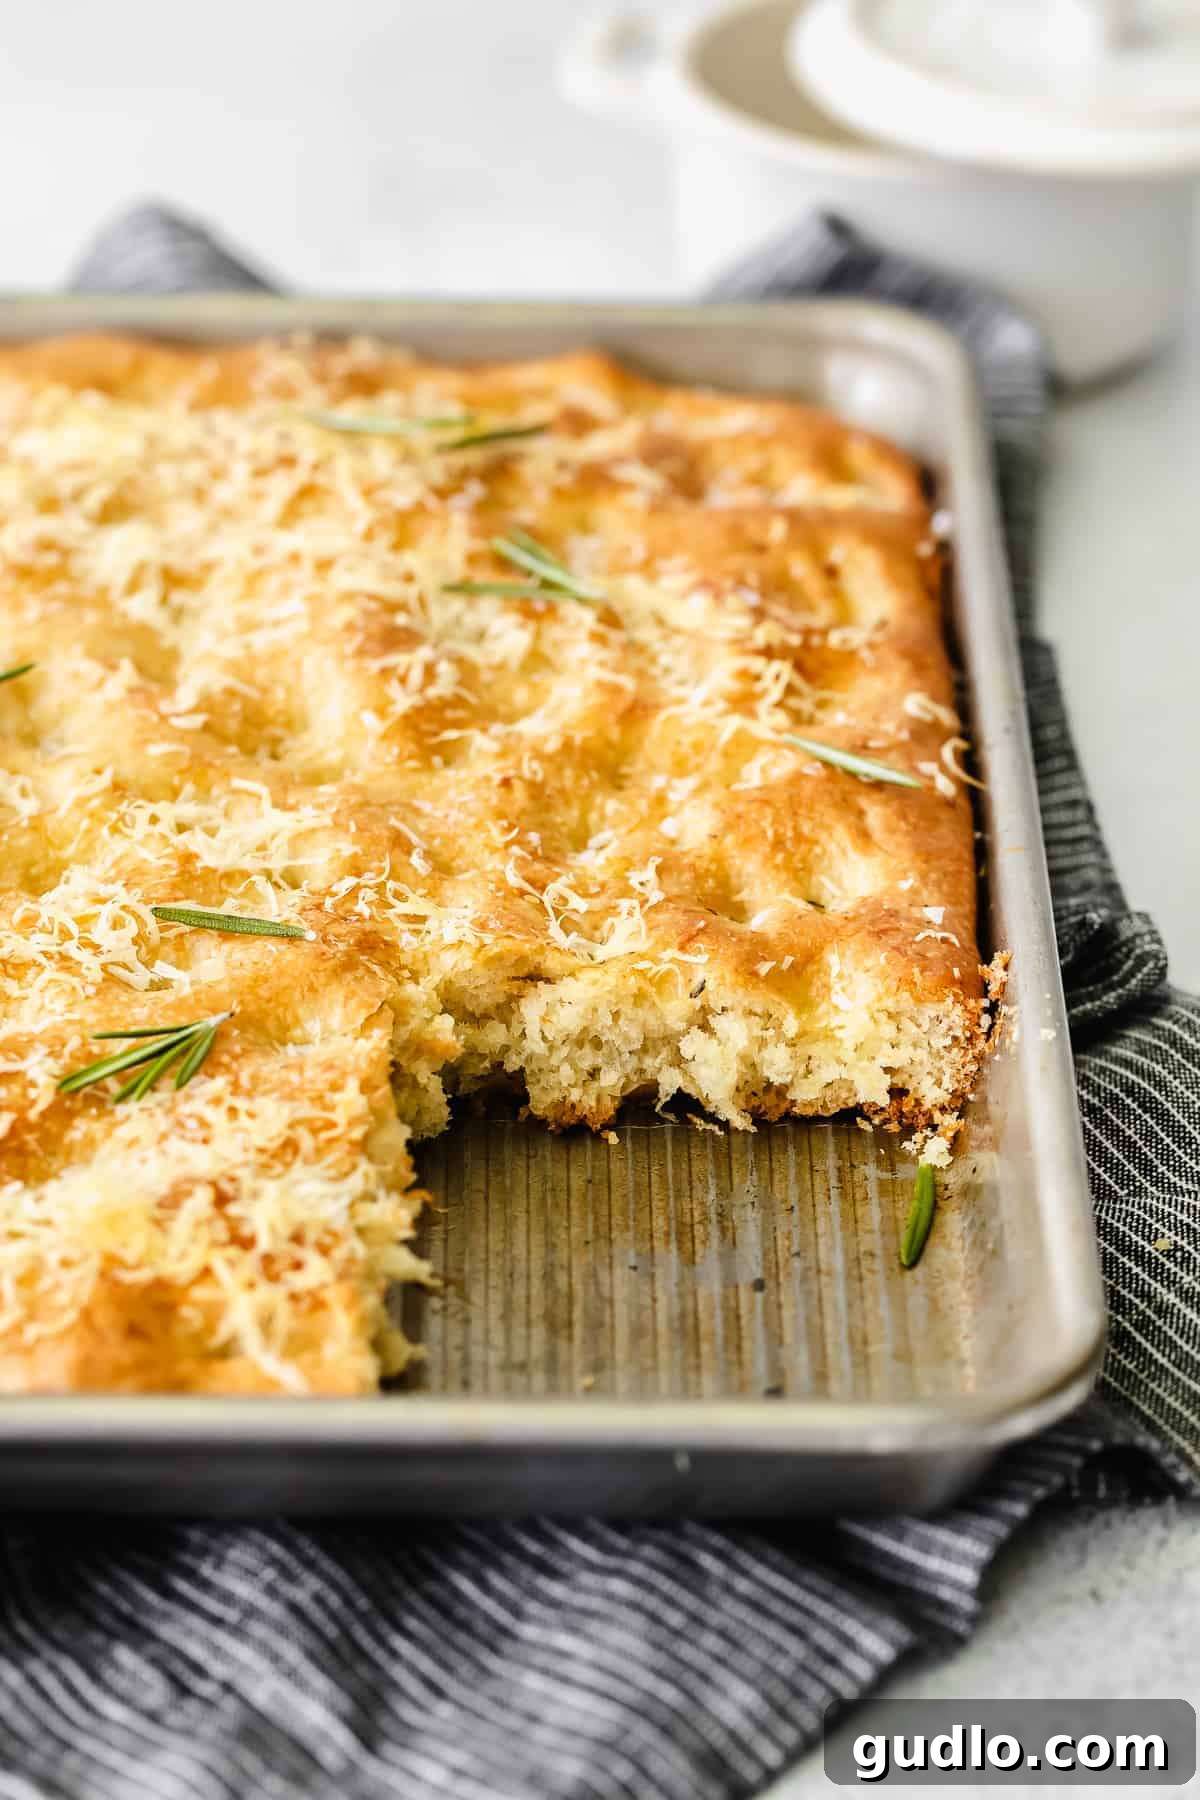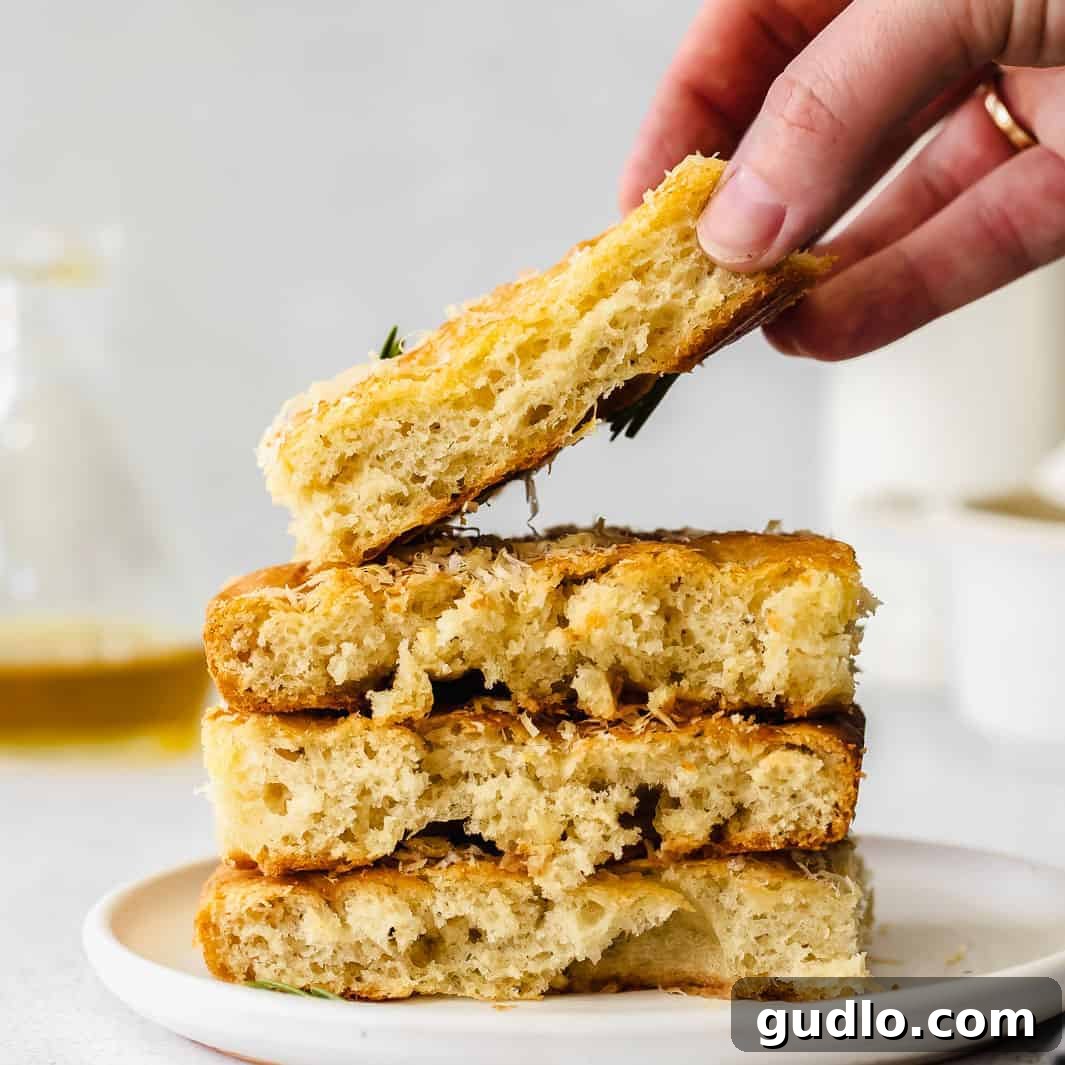
Looking for an incredibly easy and irresistibly cheesy focaccia bread recipe? Look no further! This simple guide will help you create a stunning Parmesan Rosemary Focaccia that’s perfect for elevating any dinner, serving alongside a hearty pasta, or enjoying as a satisfying snack. Get ready for a delightful aroma to fill your kitchen as you bake this rustic Italian masterpiece!
Baking Bliss: An Easy Focaccia Recipe Awaits!
Imagine a warm, fluffy piece of focaccia bread, kissed with golden olive oil and fragrant with fresh rosemary and rich Parmesan cheese. Is there really anything better? Whether it’s served alongside your favorite hearty pasta dish, used to elevate a simple deli meat sandwich, or enjoyed on its own as a savory, satisfying treat, homemade focaccia is a true culinary delight. And guess what? It’s far simpler to make than you might ever imagine!
Today, we’re thrilled to share our foolproof tutorial for creating the most heavenly Parmesan Rosemary Focaccia bread right in your own kitchen. This recipe promises an airy, chewy interior, a wonderfully crisp exterior, and a burst of savory flavor with every bite. While it might look like a masterpiece straight out of an artisan bakery, we promise that even the most novice baker can whip up this impressive loaf with confidence and ease. Prepare to impress your family and friends with a bread that tastes like it came from a gourmet Italian kitchen!
What Exactly is Focaccia Bread? Delving into Italian Culinary History
Focaccia is a cherished traditional Italian flatbread, distinctively known for its inviting dimpled surface, generous drizzle of olive oil, and often a scattering of aromatic herbs and sea salt. Baked to golden perfection in a hot oven, this beloved bread has been a staple in Italian cuisine for centuries, with its roots tracing back to ancient Rome. The very name “focaccia” originates from the Latin term “panis focacius,” which translates to “hearth bread” or “bread baked on the hearth,” highlighting its ancient, rustic origins.
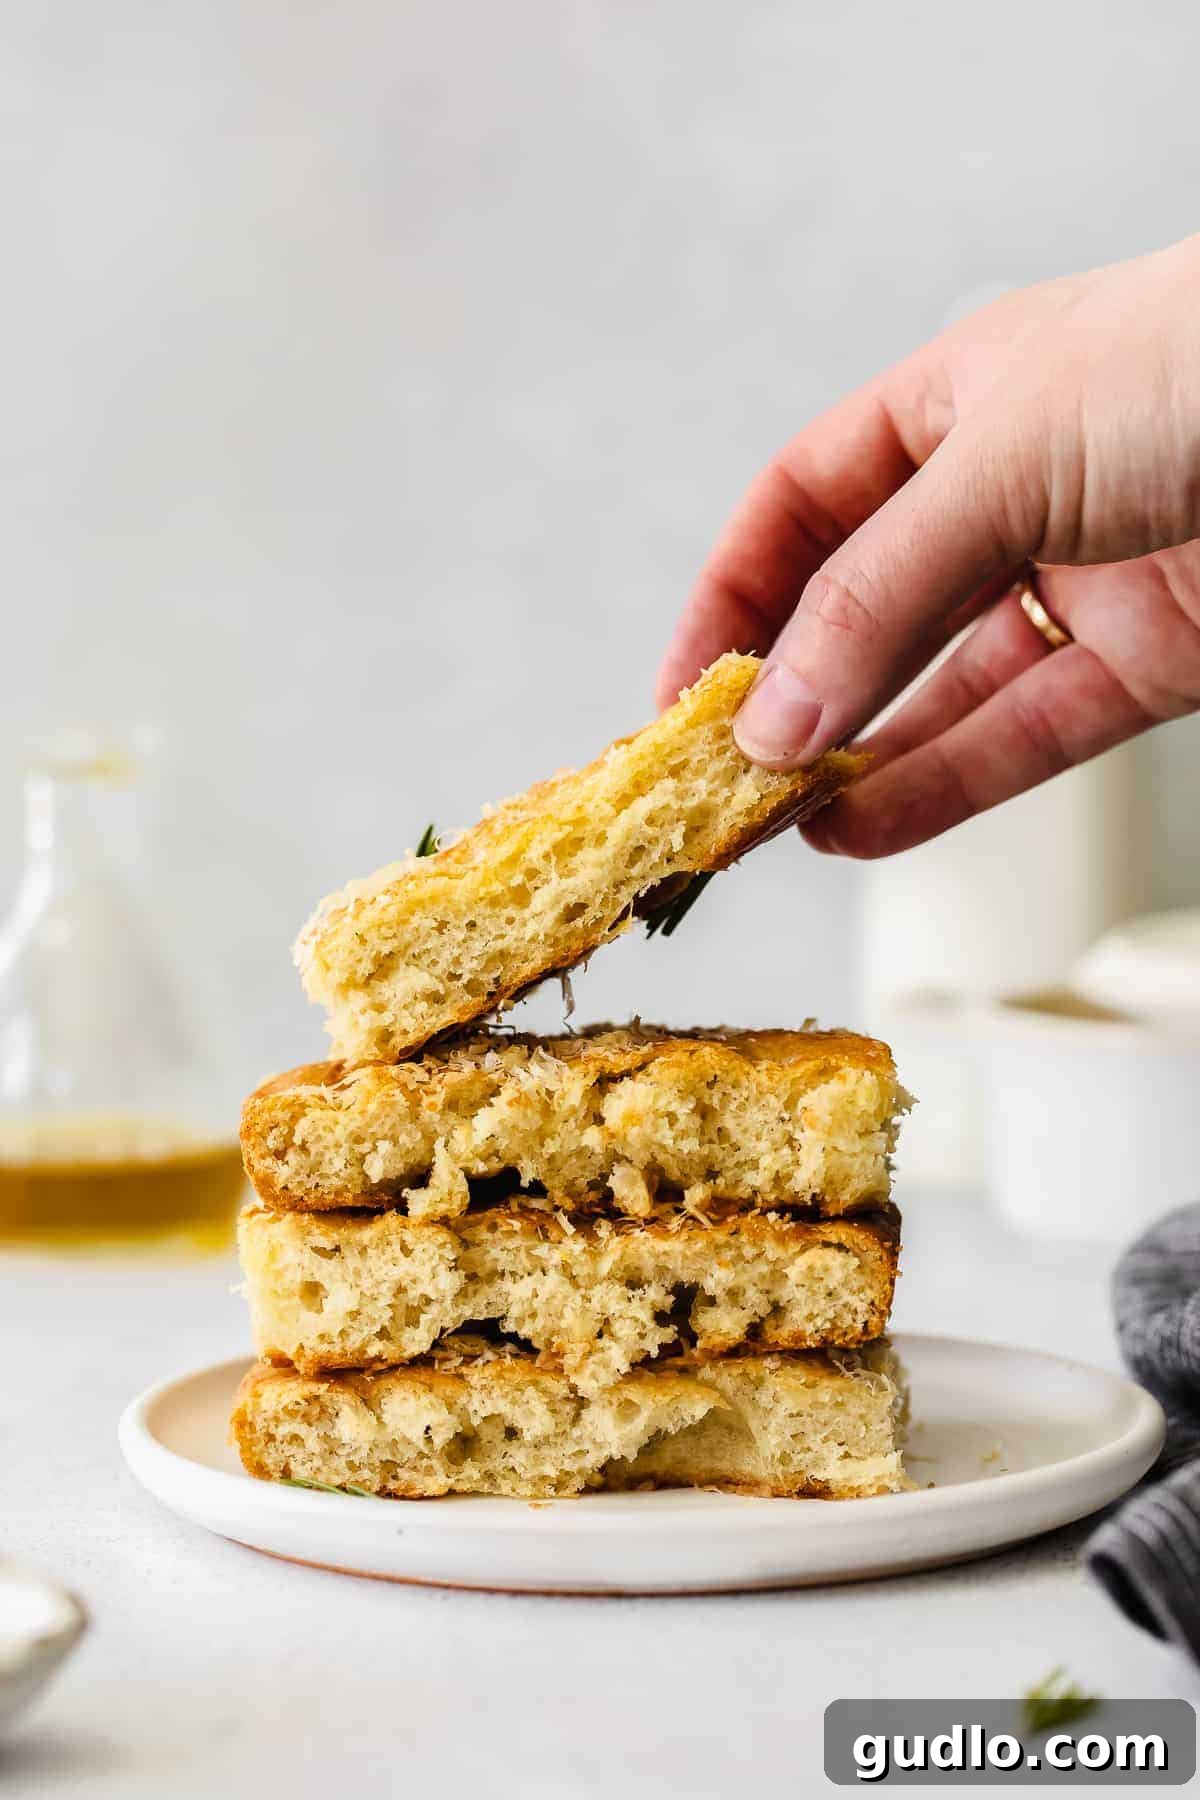
Across Italy and around the globe, this versatile bread is enjoyed in countless ways. It’s a welcoming presence in bread baskets at fine dining establishments, serves as a robust and flavorful base for gourmet sandwiches, and acts as an excellent side dish, complementing everything from soups to salads. What truly sets focaccia apart is its unique texture: an incredibly airy and chewy interior that contrasts beautifully with a crisp, slightly oily, and golden-brown crust. This combination makes it utterly irresistible and a joy to eat.
At its heart, focaccia is crafted from a remarkably simple array of ingredients: flour, water, yeast, olive oil, and a touch of sugar. These humble components, when combined with a little time, patience, and warmth, undergo a magical transformation into something truly extraordinary, showcasing the enduring power and simplicity of traditional baking.
Focaccia Pronunciation Guide: Say It Like a Pro!
Curious about how to articulate the name of this delightful Italian bread with confidence? In American English, the common and widely accepted pronunciation is: fuh-kaa-chuh. Practice it a few times, and you’ll be ordering and discussing focaccia like a seasoned connoisseur!
The Heart of the Loaf: Key Ingredients for Your Homemade Focaccia Bread
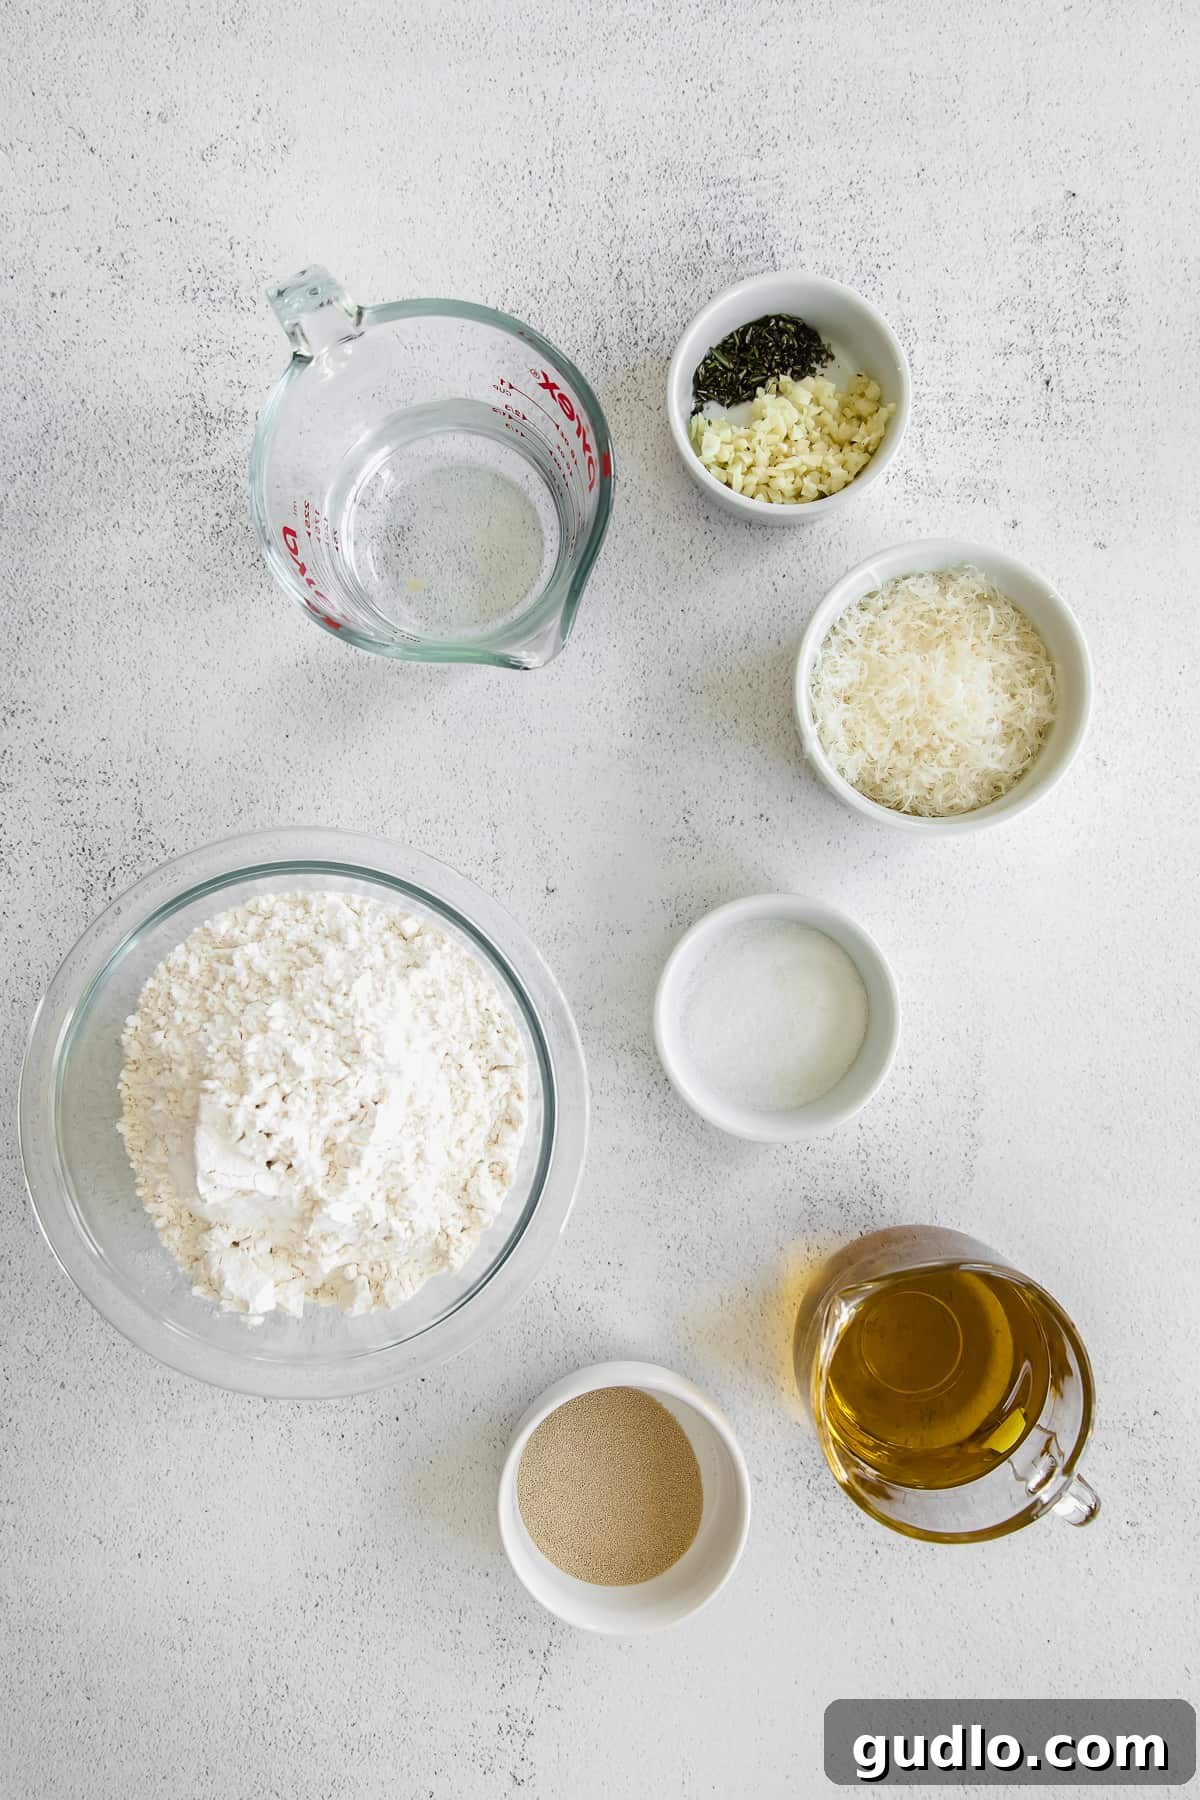
Creating perfect focaccia starts with understanding the role each ingredient plays in developing its signature flavor and texture. Here’s a detailed breakdown of what you’ll need and the importance of each component:
- Warm Water: This is the crucial foundation for activating your yeast. The water needs to be precisely warm, similar to a comfortable bathwater – ideally maintained between 100°F and 110°F (38°C to 43°C). Water that’s too hot will tragically kill the yeast, rendering it inactive and preventing your bread from rising. Conversely, if the water is too cold, the yeast will be sluggish and won’t activate properly, resulting in a dense loaf.
- Granulated Sugar: A modest amount of granulated sugar acts as a vital food source for the yeast. This sweet fuel helps the yeast to activate quickly and thrive, ensuring a robust and consistent rise for your dough, which is essential for focaccia’s airy structure. If you prefer, honey or brown sugar can be used as excellent substitutes, each imparting a subtle, unique nuance to the bread’s flavor profile.
- Active Dry Yeast: This powerful leavening agent is what gives focaccia its signature light, airy texture and helps it rise beautifully to create those delightful internal pockets. If you happen to be using instant yeast, you can conveniently skip the initial activation step and mix it directly with your dry ingredients, saving a little time without sacrificing quality.
- Olive Oil: A cornerstone ingredient, olive oil is absolutely essential for both the unparalleled flavor and the desired texture of focaccia. High-quality extra virgin olive oil adds a luxurious richness to the dough, promotes a wonderfully crisp and irresistibly golden-brown crust, and significantly contributes to the overall tender, moist crumb of the finished bread. Do not hesitate to be generous with this ingredient, as it truly makes all the difference!
- All-Purpose Flour: This is the primary structural component that forms the body of our focaccia. While standard all-purpose flour yields excellent results, using bread flour, with its higher protein content, can lead to an even chewier and more structured loaf, enhancing that classic focaccia bite. If you have bread flour on hand, we highly recommend it for an elevated and more authentic texture.
- Parmesan Cheese: We opt for grated Parmesan cheese for its distinct salty, nutty, and intensely savory profile. When incorporated into the dough and sprinkled on top, it melts beautifully, creating pockets of rich, umami flavor and contributing to a delectable, savory crust. For the absolute best taste and melting characteristics, freshly grated Parmesan is always the superior choice over pre-packaged alternatives.
- Fresh Rosemary: A classic and wonderfully aromatic addition, fresh rosemary pairs impeccably with Parmesan and olive oil. Its distinct piney, slightly peppery, and earthy notes infuse the bread with an intoxicating fragrance and a complex flavor that is truly characteristic of gourmet focaccia. If fresh rosemary isn’t readily available, fresh thyme or parsley are also delicious alternatives, each offering different but equally appealing herbal profiles.
- Garlic: A timeless and indispensable complement to Italian bread, minced garlic, incorporated directly into the dough, adds a pungent, savory depth that profoundly enhances the focaccia’s overall flavor. For an extra special touch, consider experimenting with roasted garlic or black garlic, which offer sweeter, more mellow, and complex notes that truly elevate the bread.
- Salt: Beyond merely adding flavor, salt is crucial for enhancing all the individual ingredients’ tastes and plays a vital role in regulating the yeast activity, ensuring a balanced rise and optimal flavor development.
Explore Other Cheesy Delights! Focaccia Cheese Variations
Don’t have Parmesan cheese available, or simply looking to experiment with different flavor profiles for your focaccia? Feel free to get creative with other shredded or grated cheeses! Delicious and popular alternatives include sharp cheddar for a bold, familiar flavor, creamy fontina for a mild and buttery richness, Monterey Jack for its excellent melting properties and subtle taste, or nutty gouda for a hint of sweetness and depth. Each of these cheeses will lend its unique character to your focaccia, allowing you to create your own personalized and exciting cheesy bread creations!
Your Step-by-Step Guide: How to Make Parmesan Rosemary Focaccia Bread from Scratch
Follow these simple, detailed steps to bake a magnificent focaccia that will impress everyone with its artisanal quality and incredible flavor:
Step 1: Activate the Yeast (The Foundation of Your Rise)
In a spacious mixing bowl, combine the precisely warm water (between 100°F and 110°F), granulated sugar, and active dry yeast. Whisk these ingredients together gently until the sugar and yeast have largely dissolved. Allow this mixture to rest undisturbed for about 5 to 10 minutes. This period is crucial for the yeast to “bloom” – you’ll know it’s active and healthy when a foamy, creamy layer forms on the surface. This bubbly activity indicates your yeast is ready to give your focaccia its signature light and airy texture.
Step 2: Prepare the Dry Ingredients (Flavor Distribution)
In a separate, medium-sized bowl, thoroughly whisk together the all-purpose flour (or bread flour), ½ cup of your freshly grated Parmesan cheese, the finely chopped fresh rosemary, minced garlic, and salt. Ensuring these dry ingredients are perfectly well combined at this stage is important for evenly distributing the wonderful savory and herbal flavors throughout your focaccia dough.
Step 3: Combine Wet and Dry Mixtures (Forming the Dough)
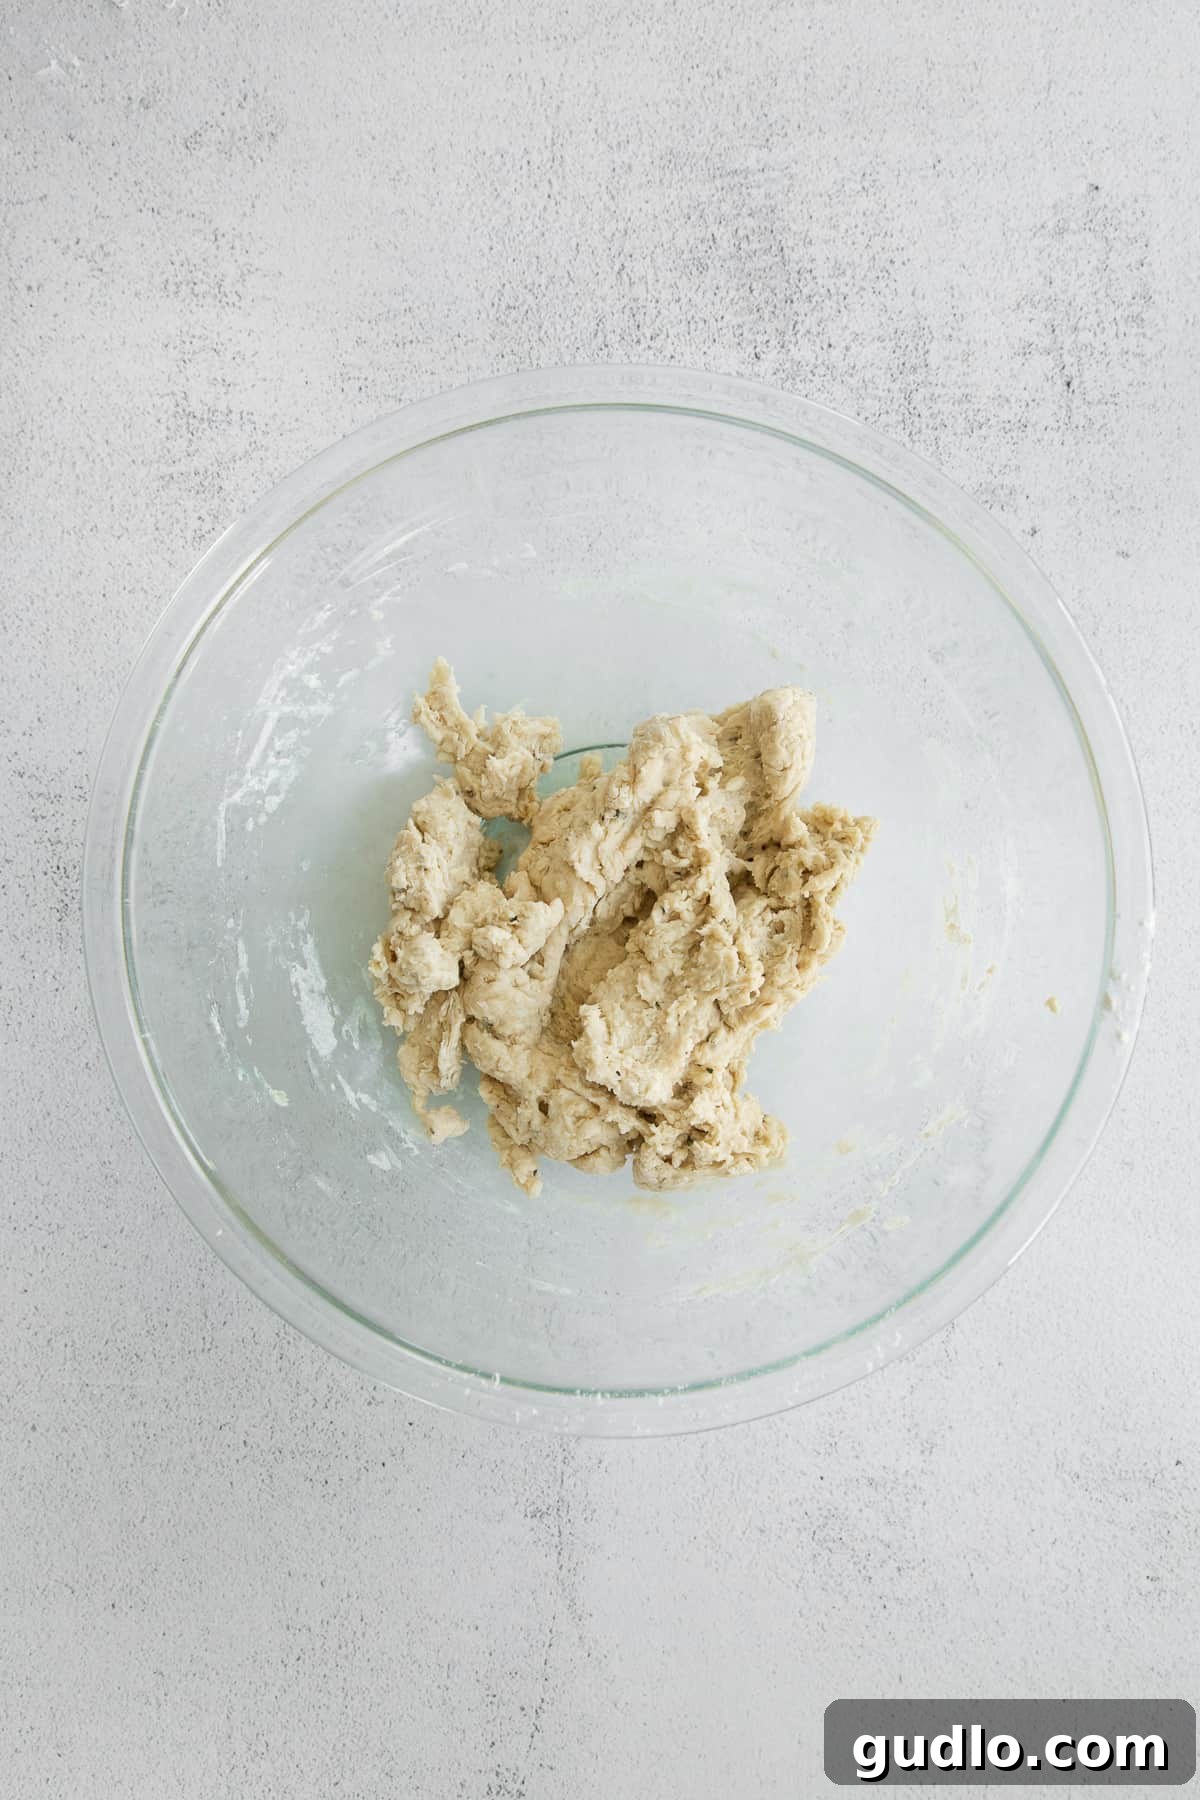
Once your yeast mixture has bloomed beautifully, add ¼ cup of the olive oil to it and whisk gently to integrate. Then, gradually add the dry ingredients from the second bowl into the wet mixture. Stir with a sturdy spoon or a durable rubber spatula until all the flour is thoroughly incorporated and a rough, somewhat shaggy dough begins to form. Don’t be concerned if it looks a bit messy or irregular at this initial stage; this “shaggy” appearance is exactly what you’re aiming for.
Step 4: Knead the Dough (Developing the Gluten)
Lightly flour a clean countertop or a large wooden cutting board. Turn the shaggy dough out onto this prepared surface. Knead the dough vigorously for approximately 5 to 7 minutes. Initially, the dough might feel quite sticky, but as you continue to knead, it will gradually transform, becoming smooth, elastic, and significantly less tacky. This diligent kneading process is vital for developing the gluten structure, which is essential for focaccia’s characteristic chewiness and open, airy texture.
Step 5: First Rise (The Essential Bulk Fermentation)
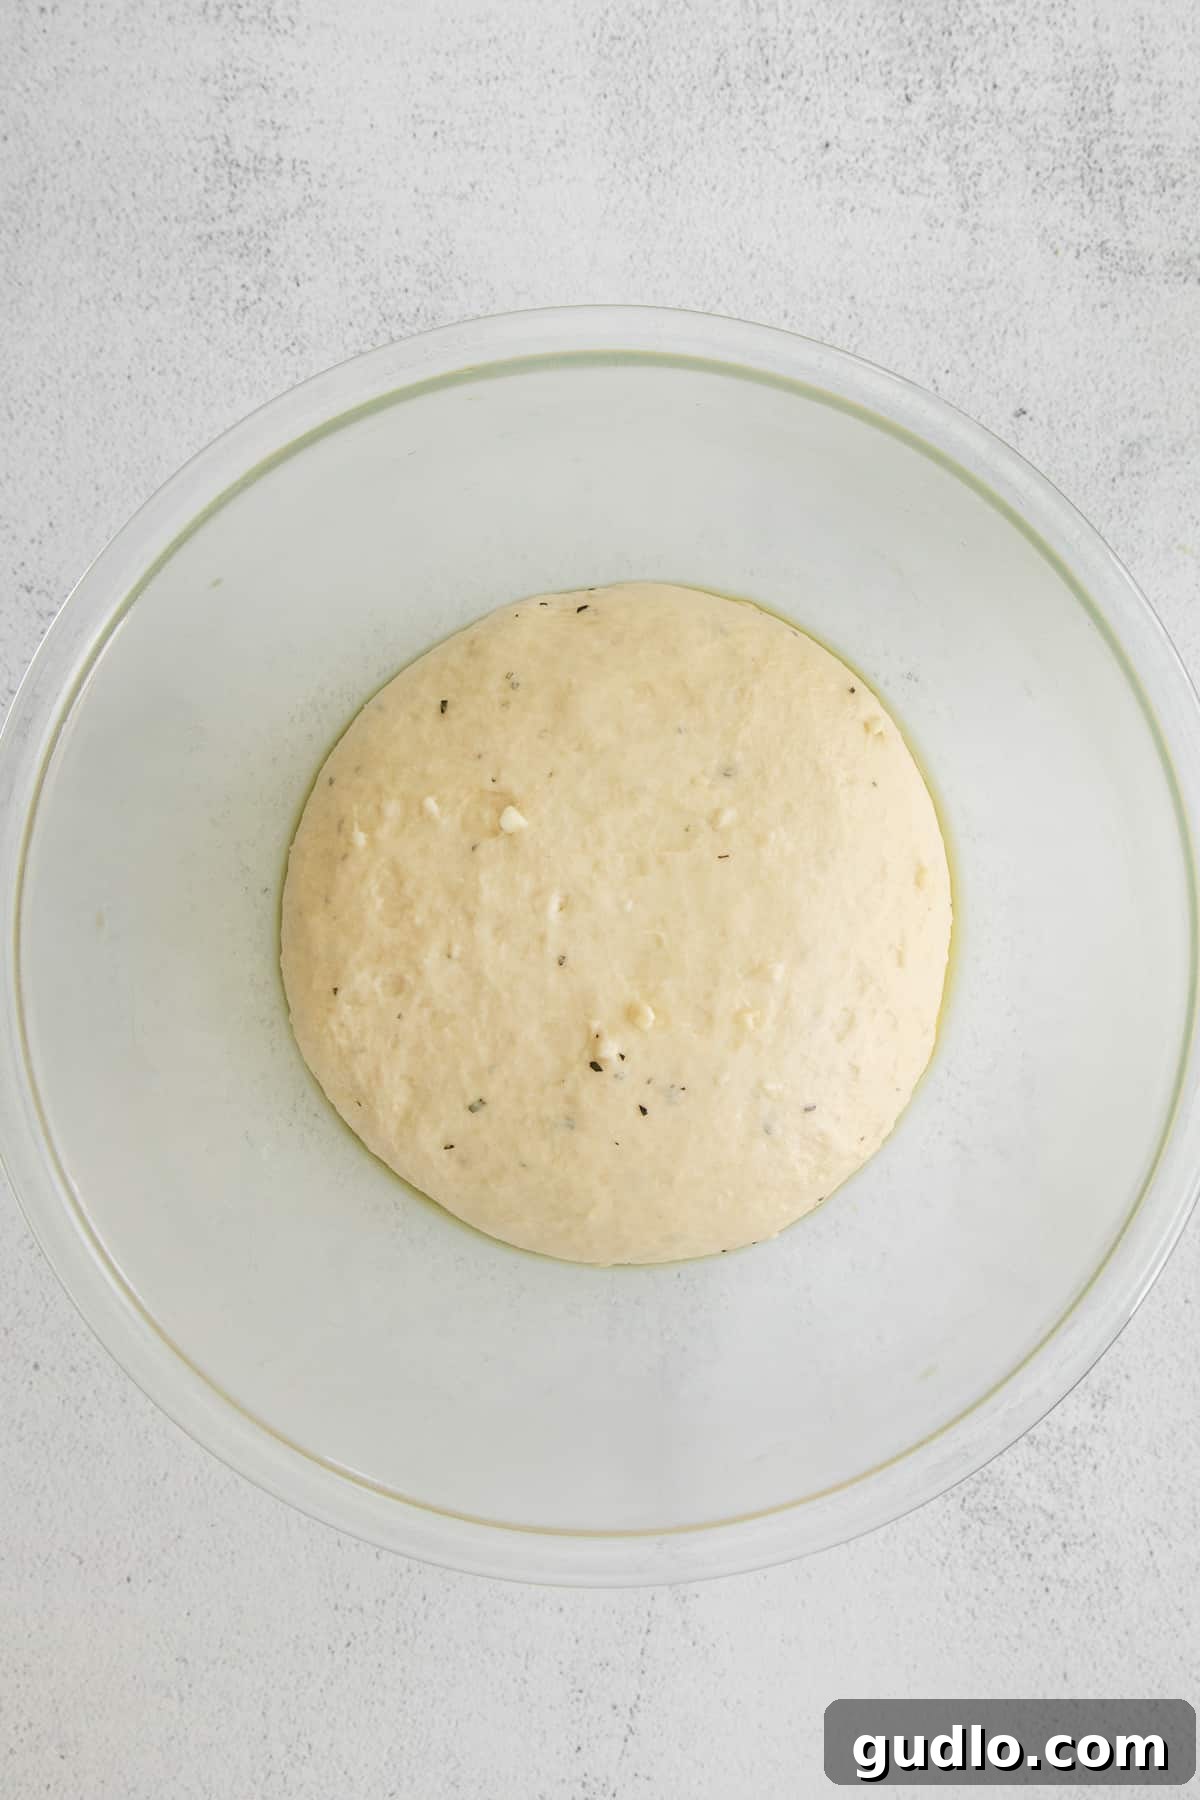
Lightly oil a clean, spacious bowl (the one you used for the wet ingredients works perfectly). Transfer your thoroughly kneaded dough into this oiled bowl, turning it once to ensure all sides are coated with a thin layer of oil. Cover the bowl tightly with plastic wrap or a clean kitchen towel to prevent it from drying out. Place the covered bowl in a warm, draft-free spot in your kitchen to rise for about 2 hours, or until the dough has visibly and unmistakably doubled in size. A warm oven (turned off, with just the light on) or a sunny spot near a window can be ideal environments for promoting a successful rise.
Step 6: Transfer to Pan & Second Rise (Shaping and Final Proof)
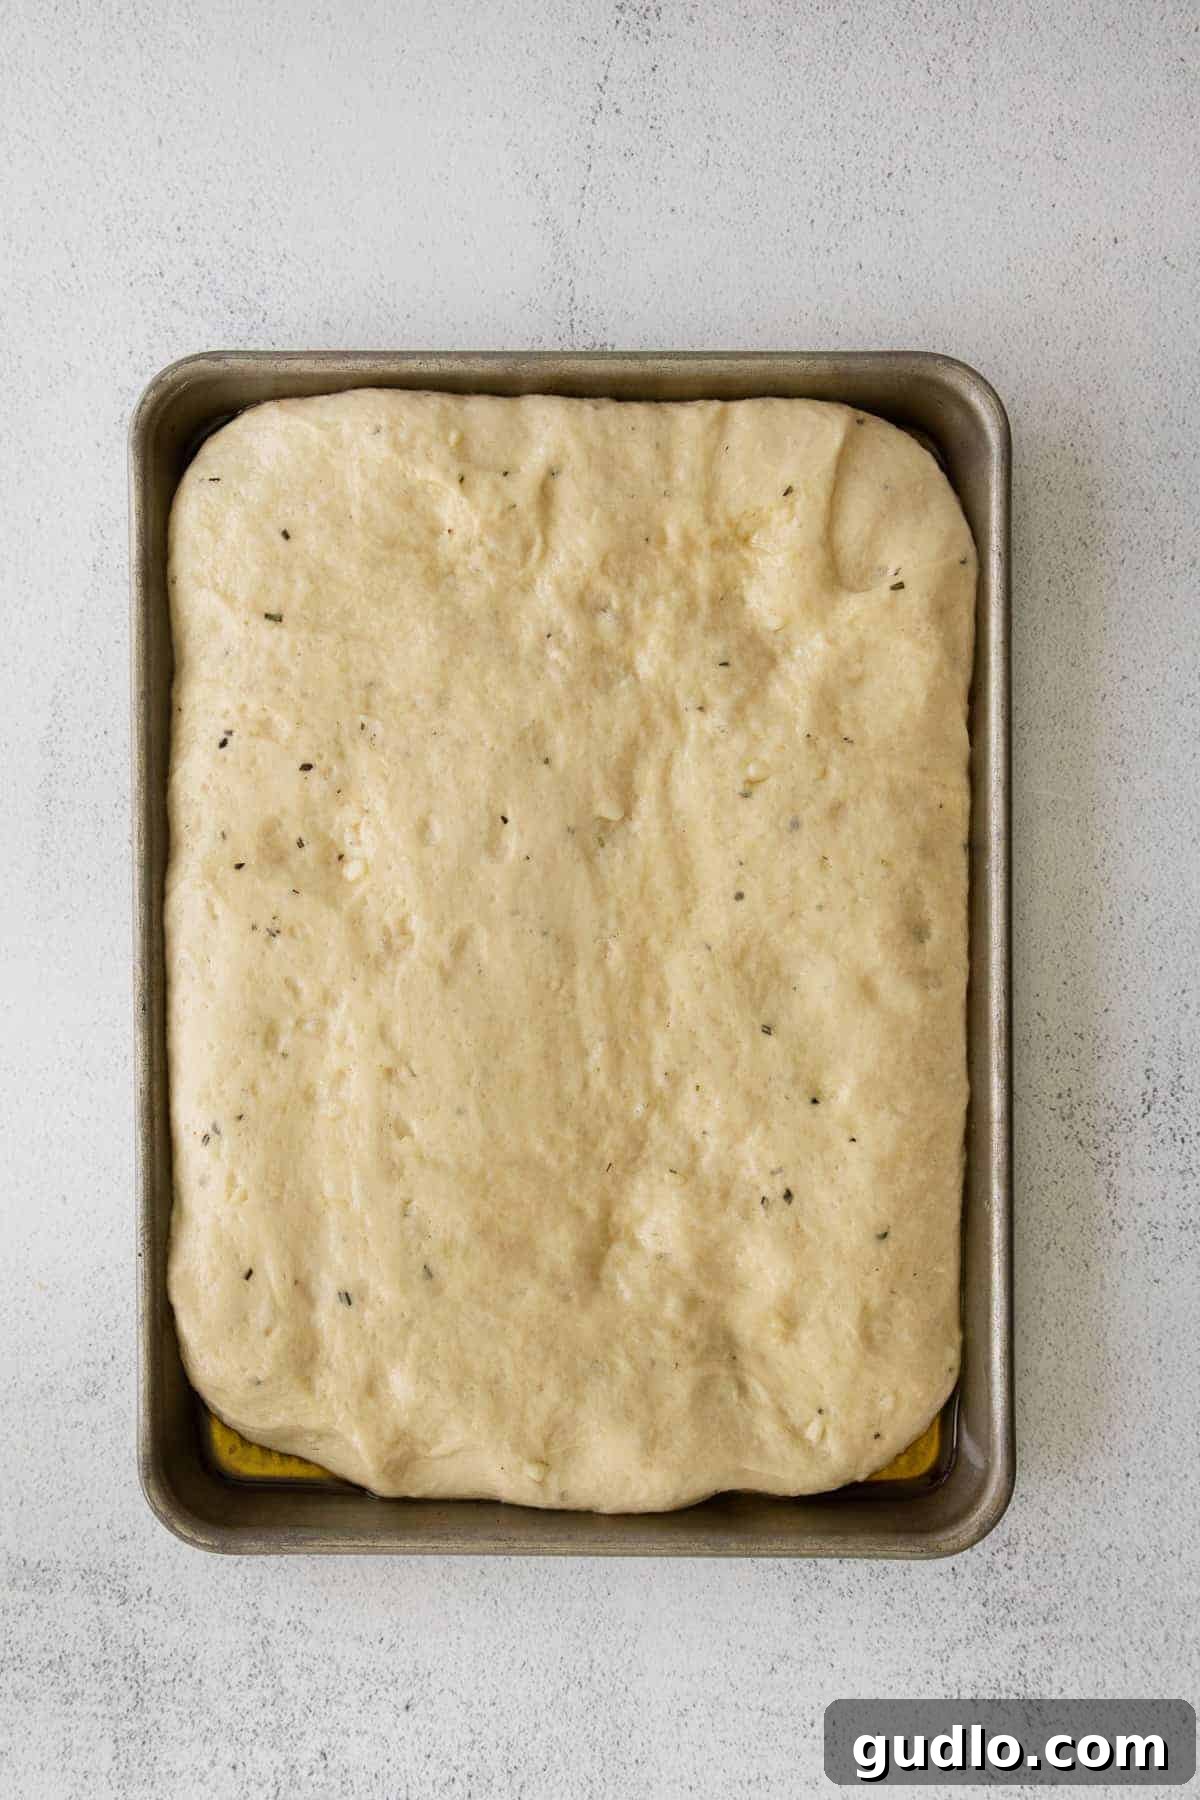
Generously drizzle another ¼ cup of high-quality olive oil onto a quarter sheet pan (approximately 9×13 inches), ensuring the entire bottom is well coated. Gently transfer the beautifully risen dough from the bowl into the prepared pan. Toss the dough around in the oil to ensure it’s thoroughly coated on all sides – this contributes to the focaccia’s crisp crust. Then, using your fingertips, gently spread and press the dough outwards until it evenly covers the entire bottom of the pan. Don’t force it; if the dough resists and springs back, let it rest for a few minutes to relax before continuing to spread.
Once spread, cover the pan again with plastic wrap or a clean kitchen towel and return it to a warm place for a second, crucial rise. This final proofing will take approximately 1 hour, or until the dough has puffed up significantly, becoming visibly airy and nearly reaching the top edges of the sheet pan. This second rise is vital for developing focaccia’s characteristic open, airy structure and tender crumb.
Step 7: Dimple the Dough & Add Toppings (The Signature Touch)
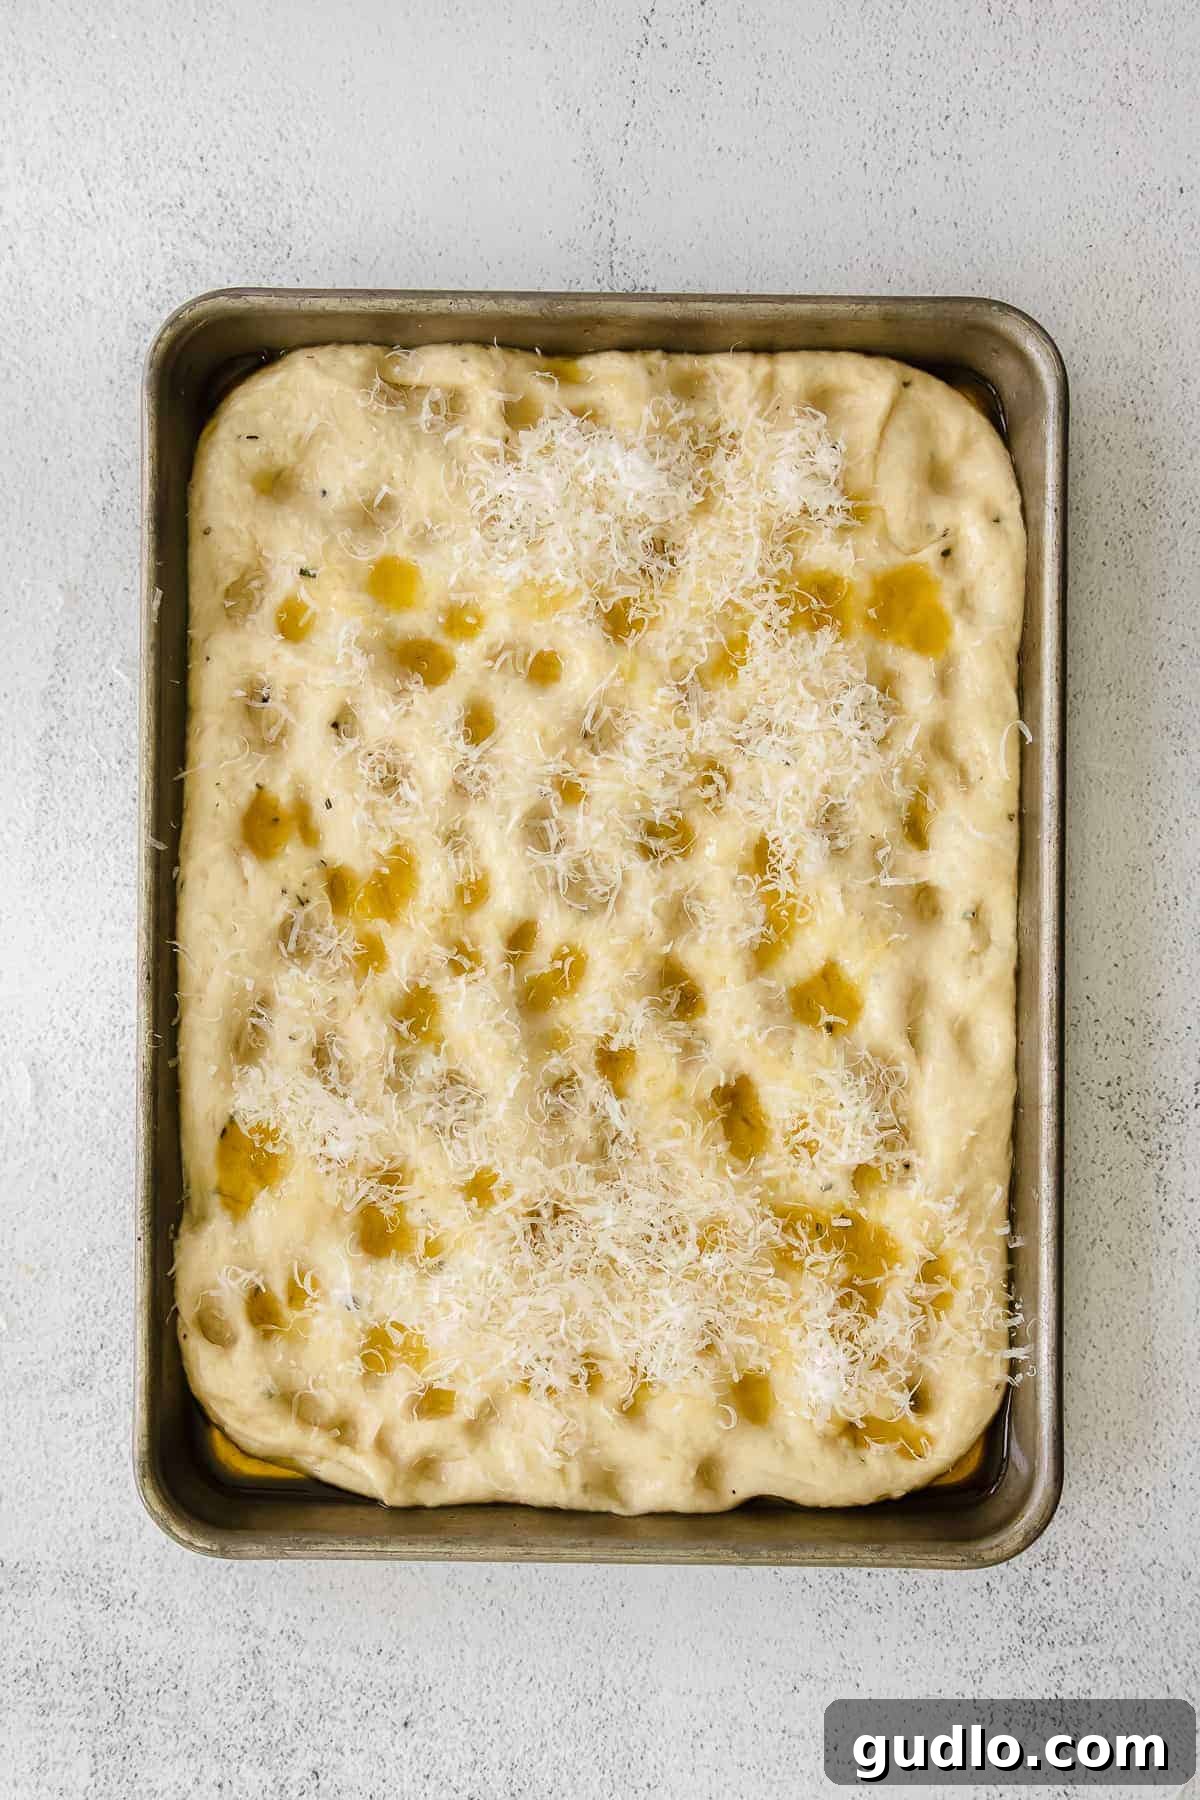
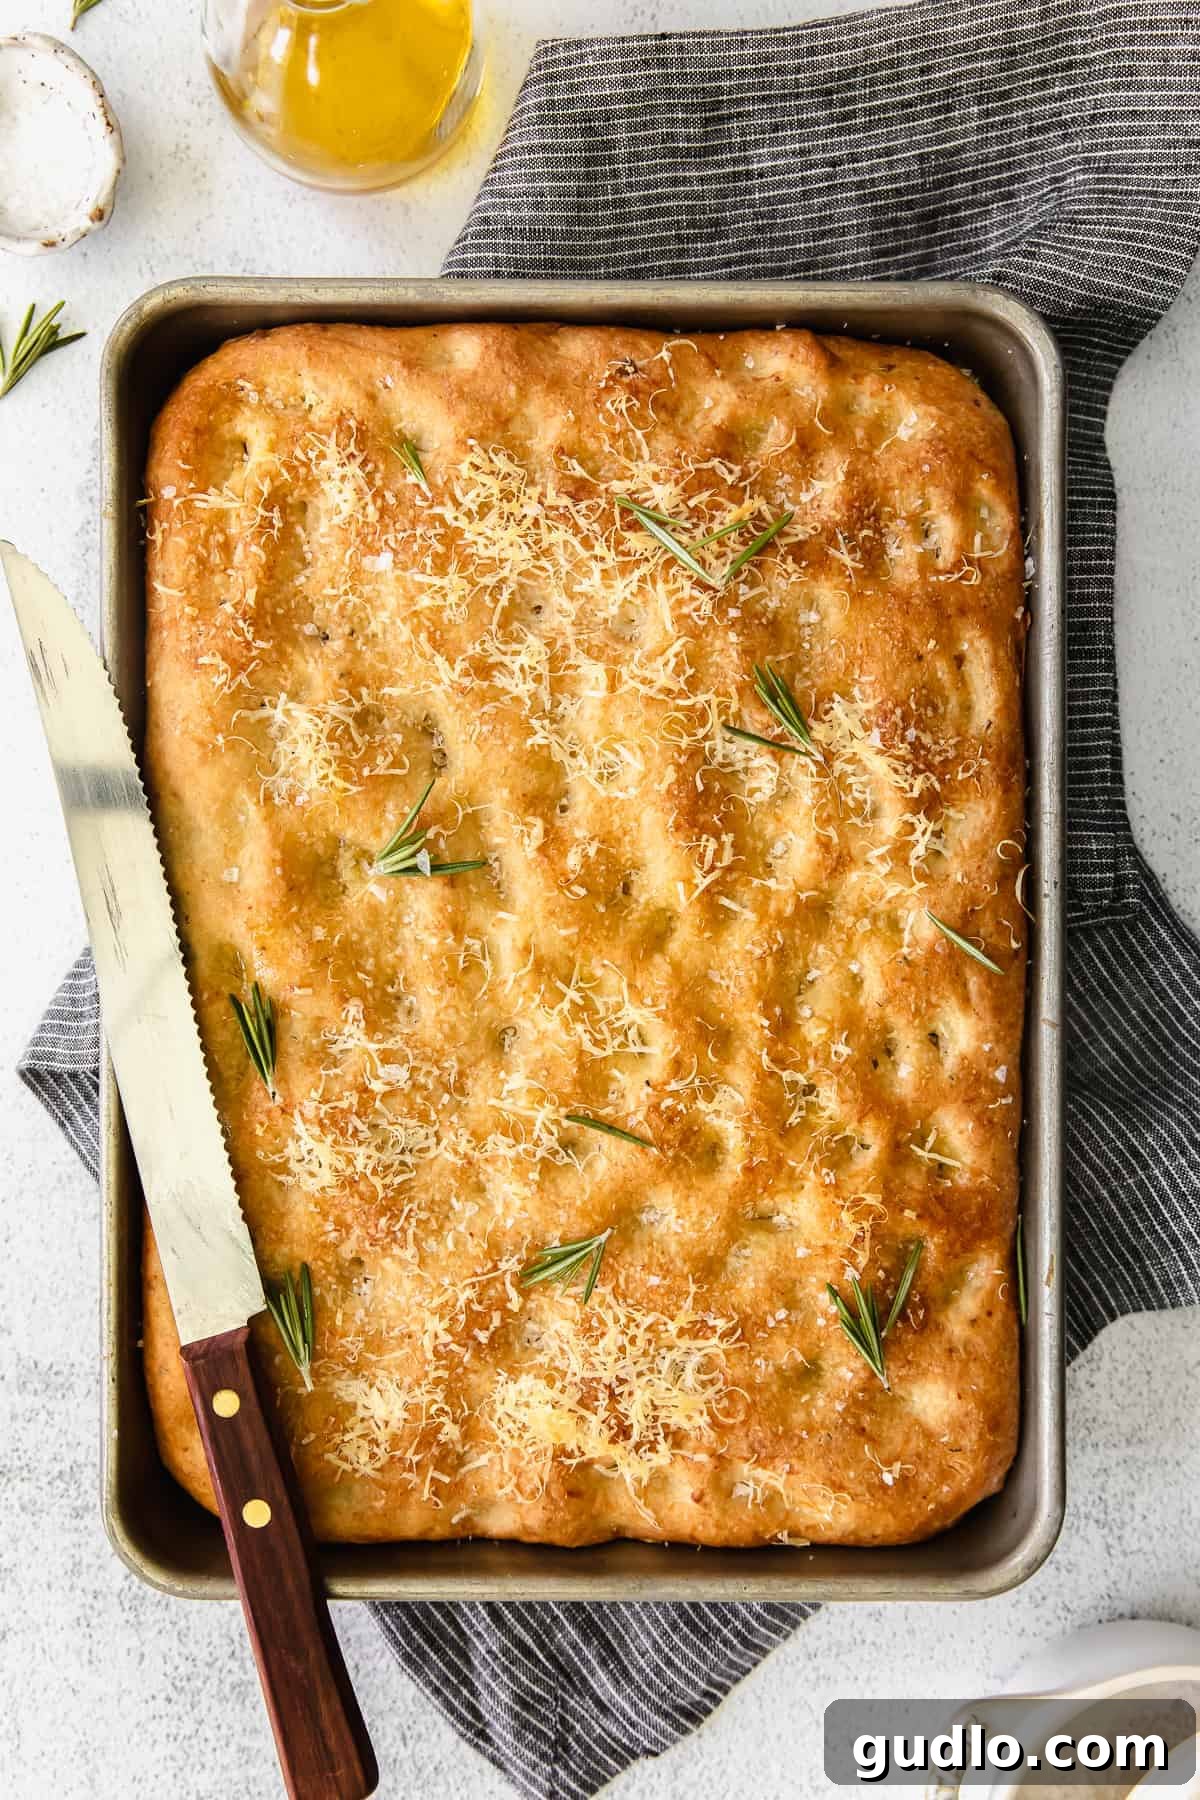
Once the dough has completed its second impressive rise, preheat your oven to a hot 425ºF (220ºC). Now comes the signature, fun part of making focaccia: gently use your fingertips to create deep dimples or “wells” all over the entire surface of the dough. These distinctive dimples are characteristic of focaccia and serve a practical purpose – they help to capture and hold the olive oil and delicious toppings, creating pockets of intense flavor. Then, generously sprinkle the remaining Parmesan cheese evenly over the entire surface of the dimpled dough.
Step 8: Bake to Golden Perfection (The Grand Finale)
Carefully transfer the sheet pan with your prepared focaccia dough to your preheated oven. Bake the focaccia bread for approximately 20 to 25 minutes. Keep a close eye on it during the final minutes; you’re looking for a beautiful, deep golden-brown crust, especially around the edges, and a center that feels firm yet springy to the touch. The intoxicating aroma filling your kitchen will be your delicious reward!
Step 9: Rest Before Slicing (Enhancing Texture)
Once baked to perfection, carefully remove the focaccia from the oven. Resist the immediate urge to slice into it! Allow the focaccia to rest in the pan for about 5 minutes. This brief but crucial resting period allows the internal structure of the bread to set and the complex flavors to meld beautifully, ensuring a superior texture and preventing it from becoming gummy when you finally slice it.
Step 10: Season & Serve (The Final Flourish)
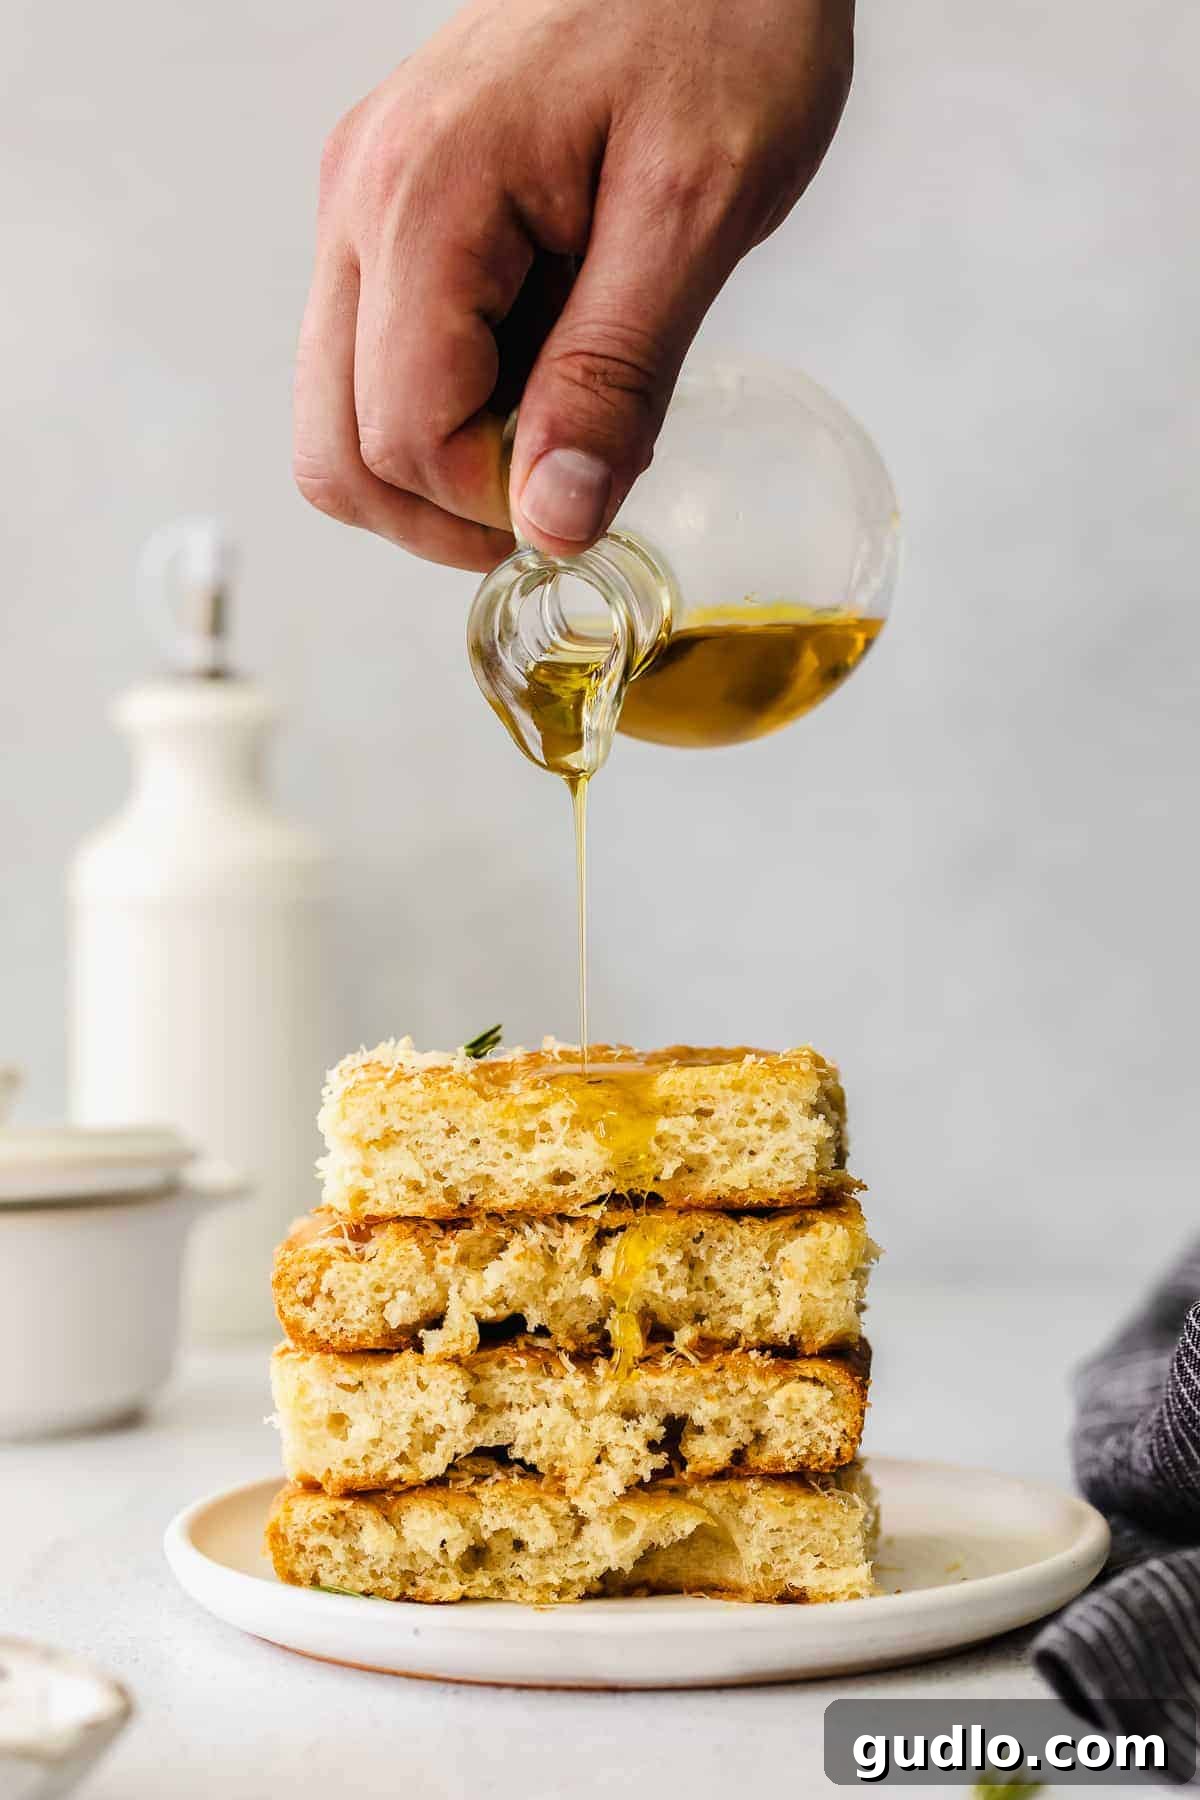
After resting, carefully transfer the warm focaccia to a sturdy cutting board. For an extra layer of flavor, visual appeal, and a delightful textural crunch, sprinkle a little more fresh rosemary, a dash of freshly grated Parmesan cheese, and a generous pinch of flake sea salt over the warm bread. A final, light drizzle of high-quality olive oil just before serving is optional but highly recommended for an authentic touch. Slice into rustic squares or elegant strips and serve immediately. Enjoy the rich, aromatic, and deeply satisfying taste of your homemade Parmesan Rosemary Focaccia!
Pro Tips for Focaccia Perfection: Elevate Your Baking Game!
Achieving bakery-quality focaccia is simpler than you might think when you keep these expert tips in mind. Master these subtle nuances to truly elevate your homemade focaccia:
Mind the Water Temperature: Yeast’s Best Friend
This is perhaps the most critical step for any yeast-based dough. When activating your yeast, the water temperature is absolutely paramount. Aim for water that is just barely warm to the touch – think of it like comfortable bathwater, ideally between 100°F and 110°F (38°C to 43°C). If the water is too hot, it will instantly kill the delicate yeast, rendering it inactive and preventing your bread from rising. Conversely, if it’s too cold, the yeast will remain sluggish or won’t activate at all, leading to a dense and disappointing loaf. Investing in a simple kitchen thermometer for precision here can make all the difference!
Don’t Skimp on the Olive Oil: The Golden Elixir
Olive oil is a true superstar ingredient in focaccia, playing multiple vital roles that contribute to its signature character. It’s not merely for flavor; it’s what gives this bread its characteristic tender interior, keeps it wonderfully moist, and helps achieve that incredibly crisp, golden-brown crust. Be truly generous with your olive oil, both when incorporating it into the dough and when drizzling it liberally over the pan and the dimpled surface before baking. Using a high-quality extra virgin olive oil will profoundly enhance the final taste, aroma, and overall luxurious texture of your focaccia.
Freshly Grated Parmesan Makes a World of Difference
While pre-grated parmesan might offer convenience, freshly shaved or grated Parmesan cheese offers a vastly superior flavor and texture profile that truly elevates your focaccia. When mixing cheese into doughs or batters, fresh parmesan melts more evenly, integrates beautifully, and distributes its rich, nutty, and salty taste throughout the bread with far greater impact. Plus, the vibrant, complex flavor of fresh cheese is simply incomparable to its pre-packaged counterparts. It’s a small effort that yields significant, noticeable dividends in taste and quality!
Experiment with Toppings: Your Culinary Canvas
While Parmesan and Rosemary form a classic and undeniably delicious combination, focaccia is an incredibly versatile bread that acts as a perfect culinary canvas for experimentation. Feel free to unleash your creativity and try other toppings! Consider adding vibrant sliced Kalamata olives, sweet sun-dried tomatoes, savory caramelized onions, burst cherry tomatoes, or other fresh herbs like fragrant thyme or earthy oregano. A light sprinkle of red pepper flakes can introduce a subtle, delightful kick, while a scattering of flaky sea salt after baking adds both flavor and texture.
Listen to Your Dough: The Baker’s Intuition
Baking, especially with yeast, is often more about developing an intuitive feel for the dough than strictly adhering to exact timing. Pay close attention to how your dough feels and looks throughout the process. Is it perfectly elastic and smooth after kneading? Has it truly doubled in size after the first rise, indicating strong yeast activity? Does it spring back slightly when gently poked after the second rise, signaling it’s ready for the oven? Adjust rising times based on the ambient temperature of your kitchen and the dough’s actual behavior, rather than relying solely on the clock. Your dough will tell you when it’s ready!
Storage and Reheating Recommendations for Optimal Freshness
Fresh focaccia is always at its absolute best on the day it’s baked, offering peak crispness and aroma. However, any delicious leftovers can certainly be stored and enjoyed later:
To store, place any leftover focaccia bread in an airtight container or wrap it tightly in plastic wrap to prevent it from drying out. It will maintain its quality at room temperature for up to two days. For longer storage, you have the option to freeze individual slices for up to one month. To reheat and bring back its delightful texture, a few minutes in a toaster oven or a warm conventional oven (around 350°F/175°C) will restore its crispness and warmth beautifully. We recommend avoiding the microwave, as it tends to make bread chewy and less appealing.
More of our Favorite…
Cheesy Bread Recipes to Try Next! Expand Your Baking Repertoire
If you loved this Parmesan Rosemary Focaccia, you’ll adore these other cheesy bread recipes that are perfect for any occasion:
- Irresistible Cheesy Garlic Bread: The ultimate side dish for pasta, soups, or just a delicious snack.
- Fun & Flavorful Pizza Pull Apart Bread: A fantastic, interactive appetizer or party food that kids and adults alike will love.
- Quick & Easy Sheet Pan Grilled Cheese: Perfect for feeding a crowd with minimal effort, a comforting classic reimagined.
Parmesan Rosemary Focaccia Bread
This delightful Parmesan rosemary focaccia bread tastes as wonderful as it smells. Follow this simple tutorial to master homemade focaccia that’s perfect for any occasion.
By: Lee Funke
Prep Time: 3 hrs
Cook Time: 25 mins
Total Time: 3 hrs 25 mins
Servings: 8
Ingredients
- ¾ cup warm water, (100ºF – 110ºF)
- 1 tablespoon granulated sugar
- 1 packet active dry yeast (2 ¼ teaspoons)
- ½ cup olive oil, divided
- 2.5 cups all-purpose flour
- 1 cup grated parmesan cheese, divided
- 1 teaspoon fresh rosemary, chopped
- 2 cloves garlic, minced
- 1 teaspoon salt
- For serving: flakey sea salt
Instructions
- In a large bowl, whisk together the water, granulated sugar, and active dry yeast. Set aside for 5-10 minutes, or until the yeast has bloomed and become foamy on the surface.
- In another bowl, stir together the all-purpose flour, ½ cup grated parmesan cheese, chopped fresh rosemary, minced garlic, and salt until well combined.
- Once the yeast has bloomed, whisk in ¼ cup of the olive oil. Then, gradually add the flour mixture to the wet ingredients and stir until a shaggy dough forms.
- Turn the dough out onto a clean, lightly floured surface and knead for about 5-7 minutes, until the dough is smooth, elastic, and less tacky.
- Transfer the dough to a lightly oiled bowl, turning once to coat. Cover the bowl tightly with plastic wrap or a clean kitchen towel and place it in a warm, draft-free spot to rise for two hours, or until it has visibly doubled in size. Remember to save the remaining olive oil and parmesan for later!
- Once the dough has risen, add the remaining ¼ cup olive oil to a quarter sheet pan (approximately 9×13 inches), ensuring the pan is thoroughly coated. Transfer the dough to the pan and toss it to fully coat with oil.
- Gently spread and press the dough until it evenly fills the entire pan. Cover the pan again and set it in a warm spot to rise for another hour, or until the dough has puffed up significantly and nearly reached the top edges of the pan.
- After the second rise, preheat your oven to 425ºF (220ºC).
- Use your fingertips to gently create deep dimples or “wells” all over the focaccia surface. Then, sprinkle the remaining Parmesan cheese evenly over the dimpled dough.
- Bake for 20-25 minutes, or until the focaccia is beautifully golden brown around the edges and cooked through.
- Remove from the oven and allow it to sit in the pan for 5 minutes before carefully transferring to a cutting board.
- Serve warm with an extra sprinkle of fresh rosemary, grated parmesan cheese, and flake sea salt. A final drizzle of high-quality olive oil is optional but highly recommended. Enjoy your homemade Parmesan Rosemary Focaccia!
Tips & Notes
- Storage: Store any leftover focaccia in an airtight container or tightly wrapped in plastic wrap at room temperature for up to two days. For longer storage, you can freeze individual slices for up to one month.
- Reheating: To restore its crispness and warmth, reheat focaccia in a toaster oven or conventional oven at 350°F (175°C) for a few minutes. Avoid microwaving, as it can make the bread chewy.
- Water Temperature: Ensure water is between 100°F – 110°F to properly activate yeast.
- Olive Oil Quality: Use good quality extra virgin olive oil for the best flavor and crust.
- Fresh Parmesan: Freshly grated Parmesan melts better and offers superior taste compared to pre-grated options.
Nutrition (Approximate per serving)
Calories: 317 kcal, Carbohydrates: 31 g, Protein: 7 g, Fat: 18 g, Fiber: 1 g, Sugar: 2 g
Nutrition information is automatically calculated and should only be used as an approximation.
Watch the Magic Unfold: Focaccia Video Tutorial
Prefer to see the process in action? Watch our helpful video tutorial to guide you through each step of making this Parmesan Rosemary Focaccia. Visual learners will appreciate seeing the dough’s consistency, how to dimple the bread, and the perfect golden-brown finish.
(Video player would be displayed here if JavaScript was enabled.)
Did you love baking and tasting this incredible Parmesan Rosemary Focaccia? We’d be absolutely delighted if you left a comment and rated the recipe below! Don’t forget to share your beautiful creations on social media with the hashtag #cheeseknees – we absolutely love seeing what you’re baking in your kitchens!