
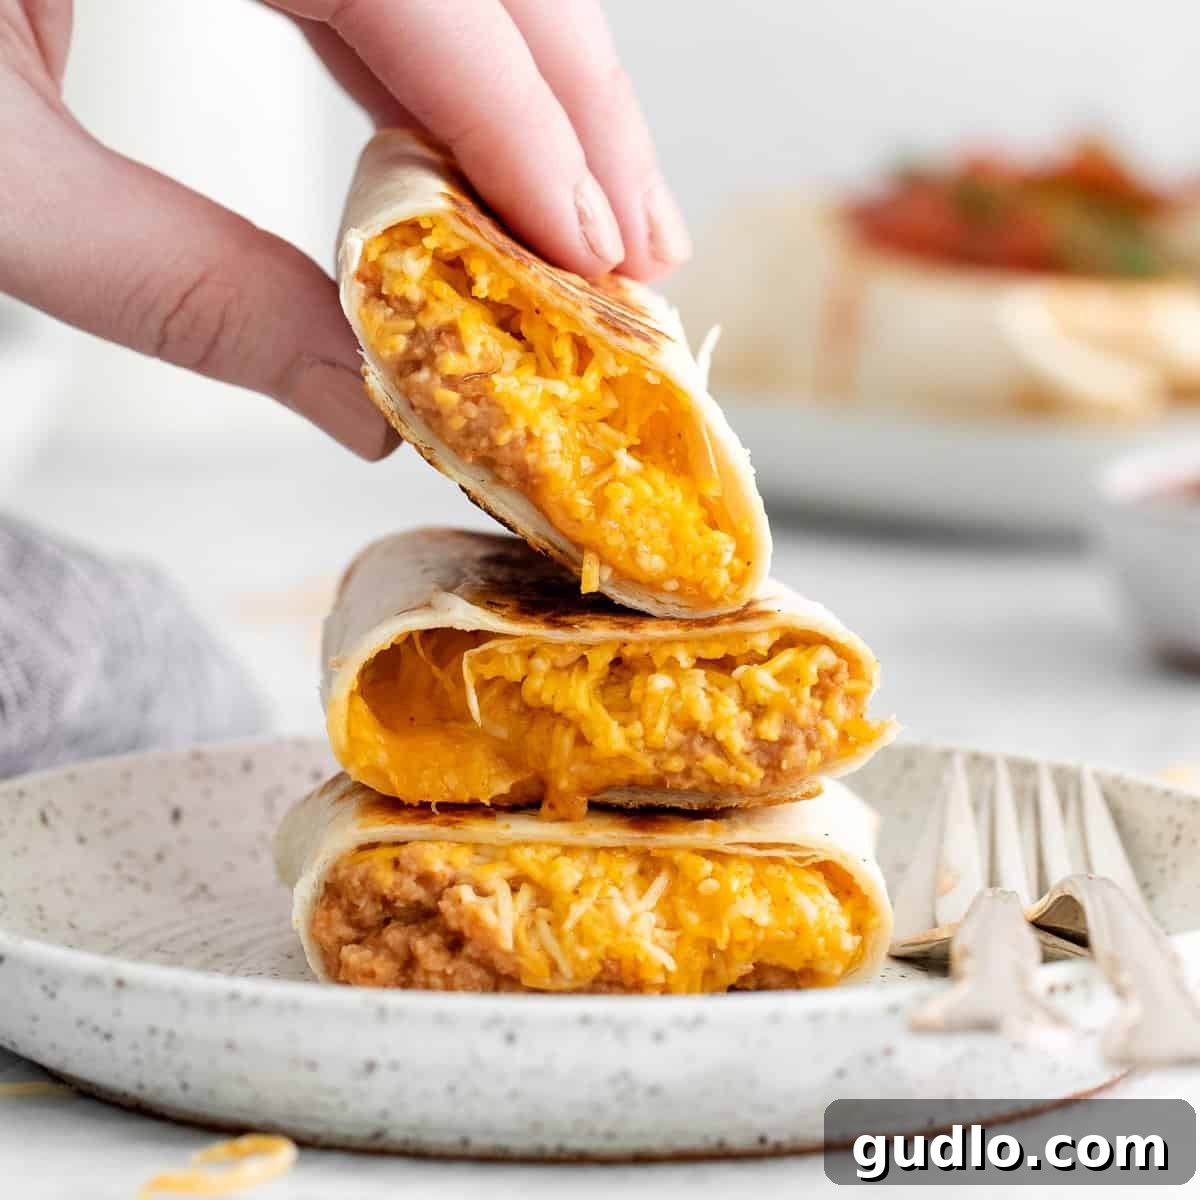
Ultimate Bean and Cheese Burritos: Your Go-To Easy Meal Prep Solution
Prepare to fall in love with this incredibly versatile and utterly delicious bean and cheese burrito recipe! Whether you’re searching for a quick weeknight dinner, a satisfying lunch, or a genius meal prep hack, these burritos are your answer. We’ll guide you through crafting a batch of these flavorful delights, showing you how to enjoy them fresh or freeze them for convenient meals later.
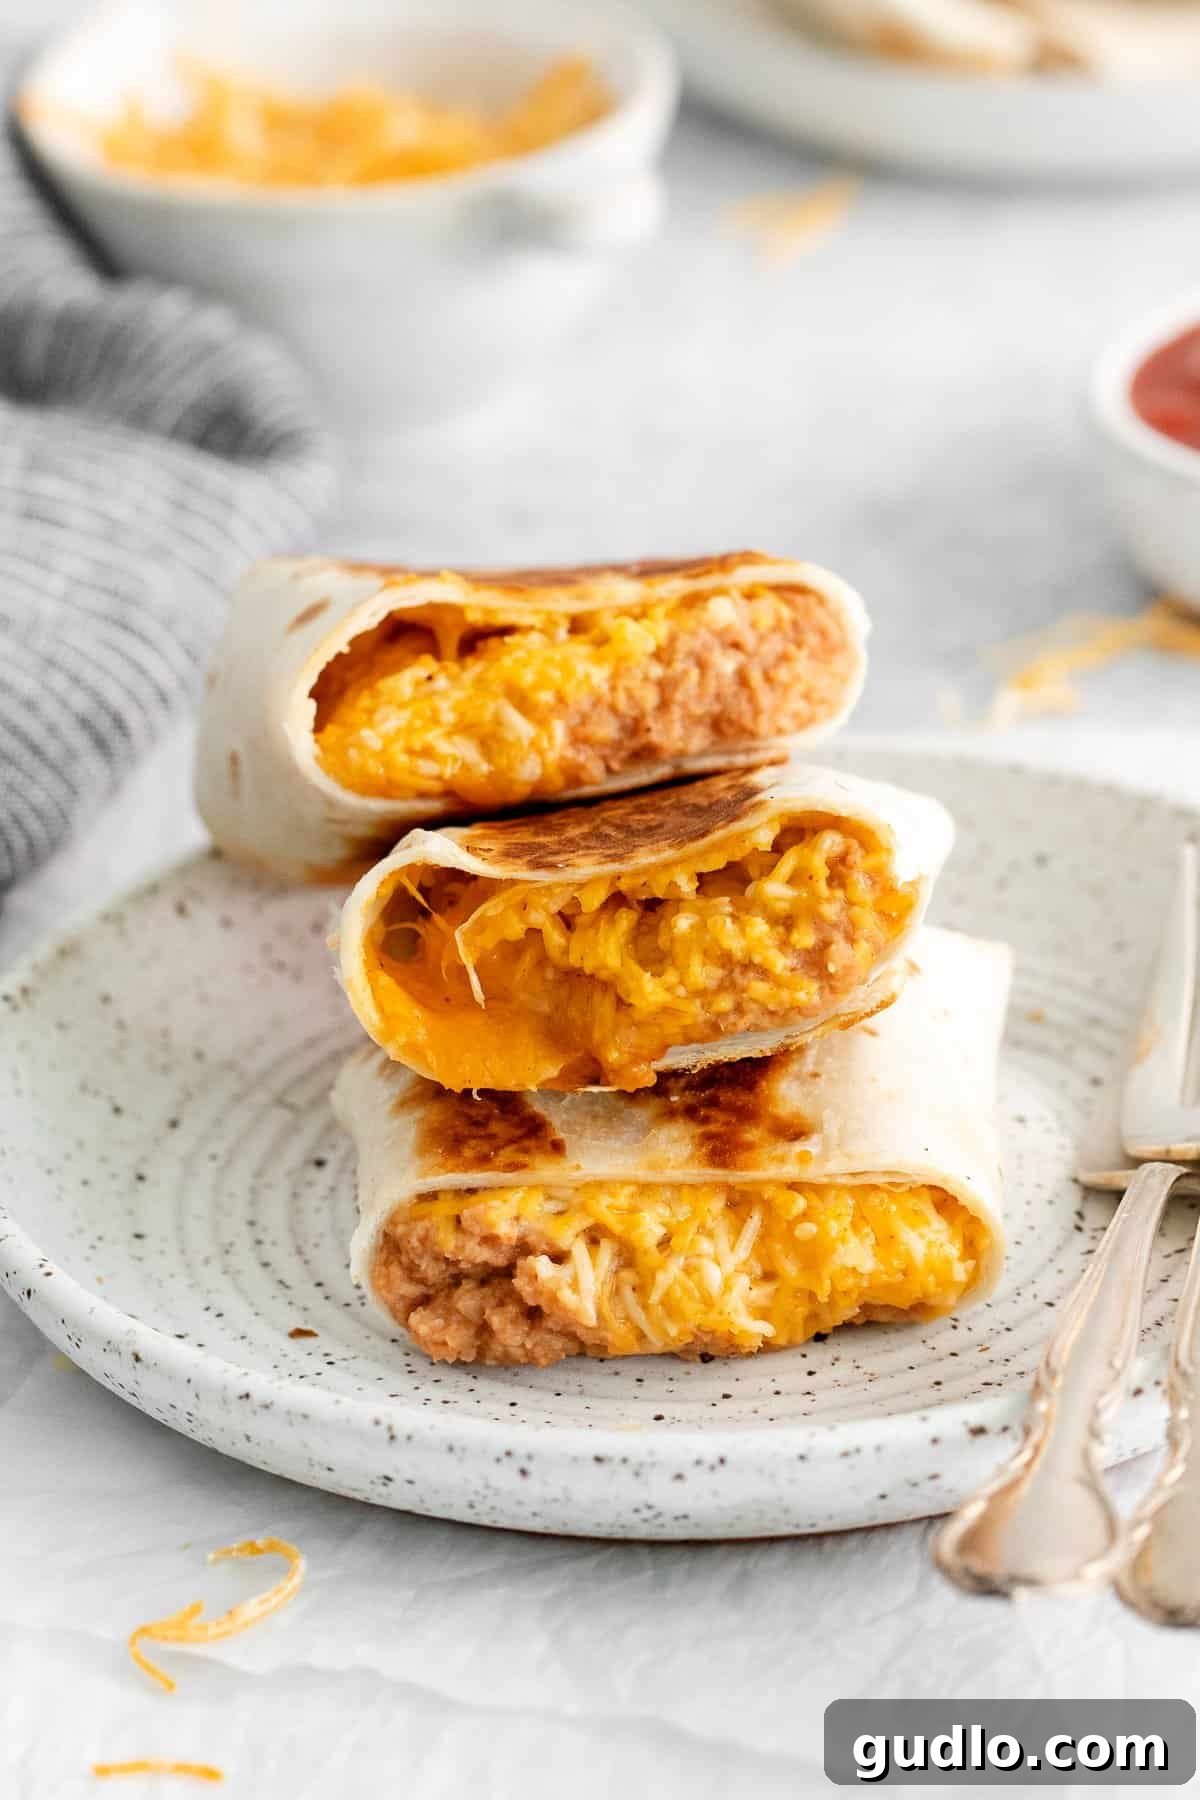
Why You’ll Adore This Bean and Cheese Burrito Recipe
These straightforward bean and cheese burritos are an absolute game-changer in our kitchen, making them one of our all-time favorite meal prep recipes. Here’s why they’ll become a staple in your home:
- Instant Gratification: Whip them up and savor their warm, cheesy goodness right away for an effortless meal.
- Future Feasts: Freeze a batch for those busy days when cooking feels like a chore. They reheat beautifully!
- Budget-Friendly: Made with common, affordable ingredients that won’t break the bank.
- Customizable: Easily adapt to your taste preferences or whatever ingredients you have on hand.
- Family Favorite: A crowd-pleasing option that even the pickiest eaters often enjoy.
These intensely flavorful burritos offer a fantastic and flexible solution for both lunch and dinner, ensuring you and your family are well-fed with minimal effort. We’re about to show you exactly how to prepare a generous batch of these amazing burritos, complete with instructions for immediate enjoyment or hassle-free freezing.
Essential Ingredients for Your Delicious Burritos
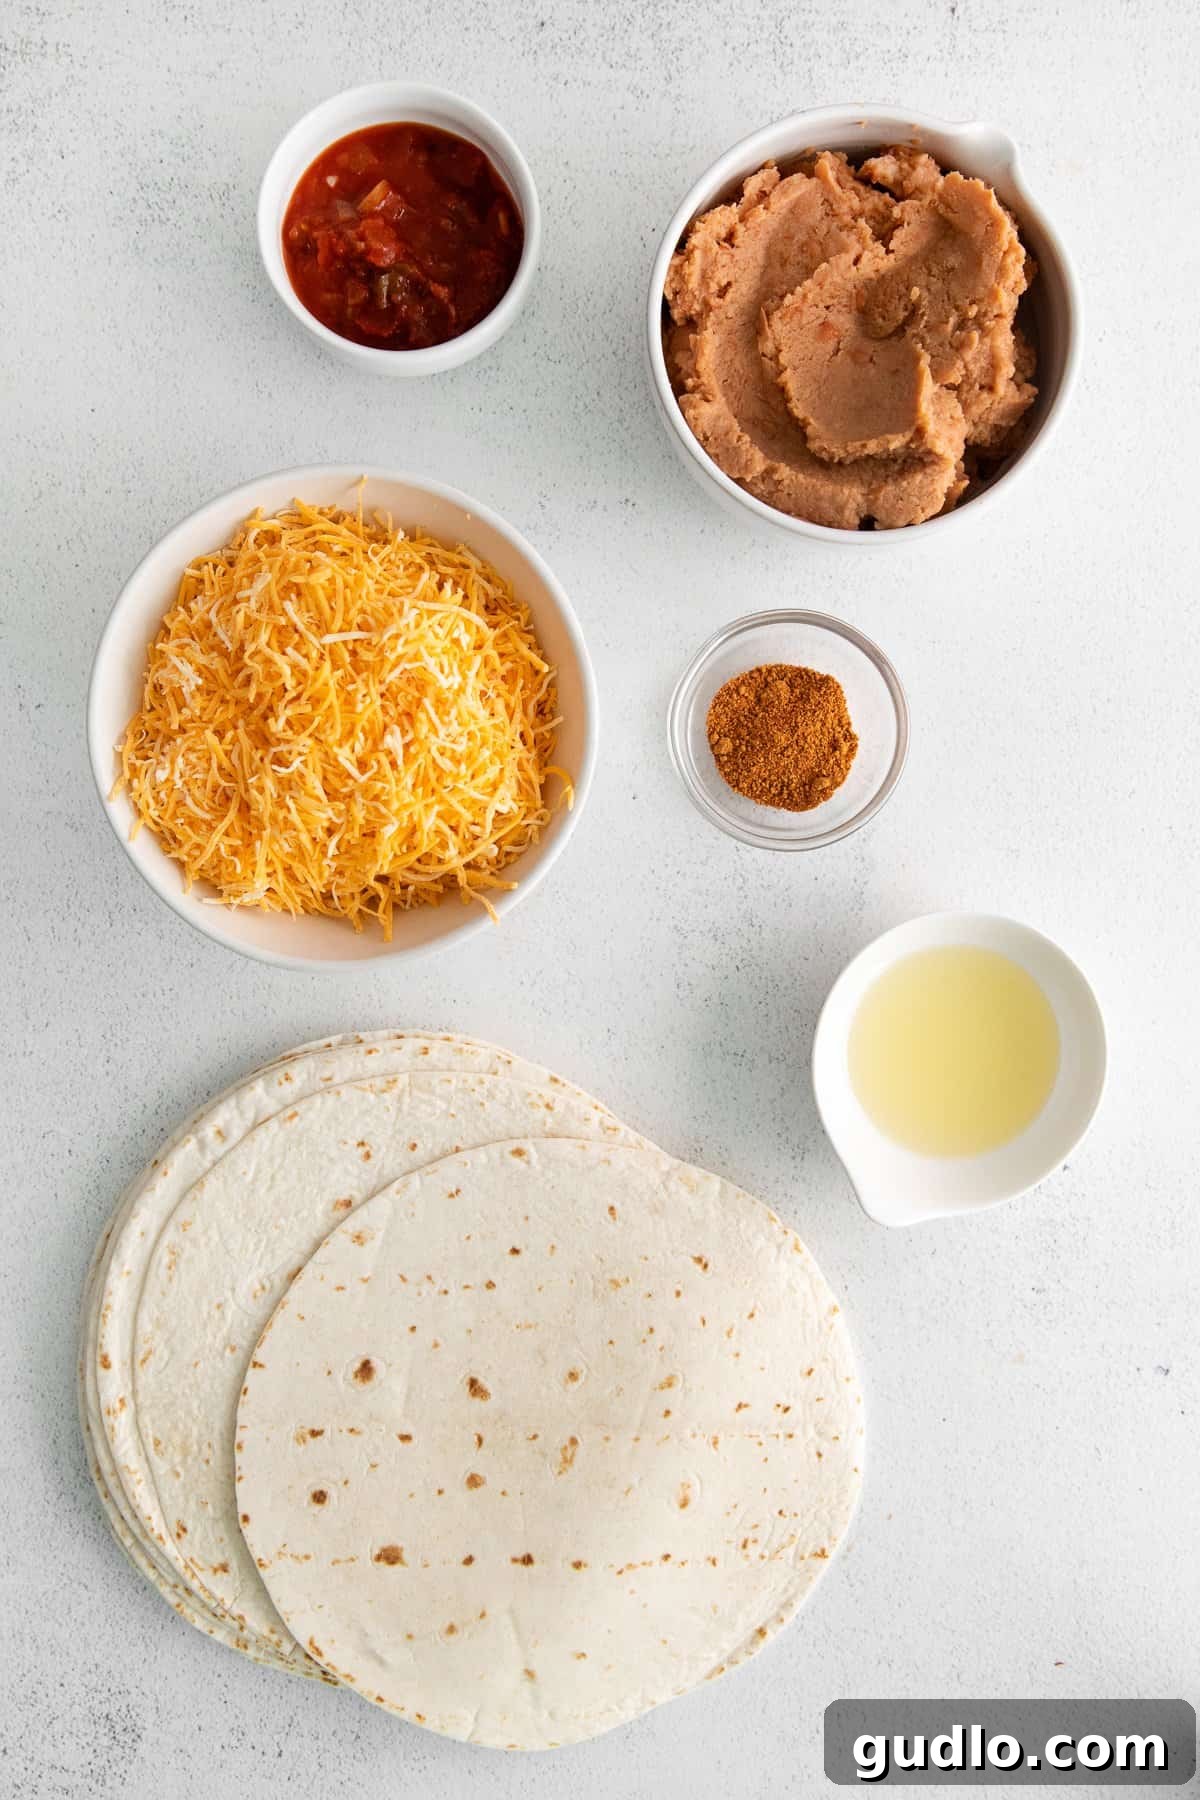
You’re just five simple ingredients away from assembling these wonderfully satisfying bean and cheese burritos. Gather these pantry staples, and let’s get cooking:
- 8-inch Flour Tortillas: The foundation of our burrito. Opt for soft, pliable tortillas that are easy to roll without tearing. Larger tortillas can be used if you prefer a bigger burrito.
- Canned Refried Beans: The heart of our filling, providing a creamy, hearty base. Choose traditional or vegetarian refried beans based on your dietary preferences.
- Salsa: Any variety you love will work perfectly here! Whether it’s a mild chunky salsa, a fiery habanero blend, or a smoky chipotle, pick your favorite to infuse extra flavor.
- Taco Seasoning: Elevates the bean mixture with authentic Mexican-inspired spices. Feel free to use a convenient store-bought packet or a vibrant homemade blend for fresher taste.
- Shredded Mexican Cheese Blend: A melty, irresistible combination of cheeses that binds everything together. Cheddar, Monterey Jack, or a “fiesta blend” are all excellent choices.
Elevate Your Burritos: Add Some Veggies & More!
While delicious on their own, these burritos are incredibly adaptable. If you have extra vegetables or other ingredients on hand, don’t hesitate to incorporate them. Here are some fantastic additions to customize your bean and cheese burritos:
- Diced Bell Peppers: Adds a sweet crunch and vibrant color. Sauté them lightly before adding.
- Diced Sweet Potato: Roasted sweet potato chunks bring natural sweetness and extra fiber.
- Sliced Jalapeños: For a kick of heat, fresh or pickled jalapeños are a great choice.
- Canned Black Beans: Rinse and drain black beans to add texture, protein, and more fiber.
- Corn: Fresh, frozen, or canned corn adds a touch of sweetness.
- Onions & Garlic: Sautéed aromatics will deepen the flavor profile of your bean mixture.
- Cooked Rice: A small amount of cooked rice (white or brown) can make the burritos even more filling.
- Protein Boost: Add cooked ground beef, shredded chicken, or plant-based crumble for extra heartiness.
Don’t be afraid to experiment! This recipe provides a perfect canvas for your culinary creativity.
Step-by-Step Guide to Crafting Perfect Bean and Cheese Burritos
Making these burritos is incredibly straightforward. Follow these easy steps for delicious results every time.
1. Prepare Your Tortillas
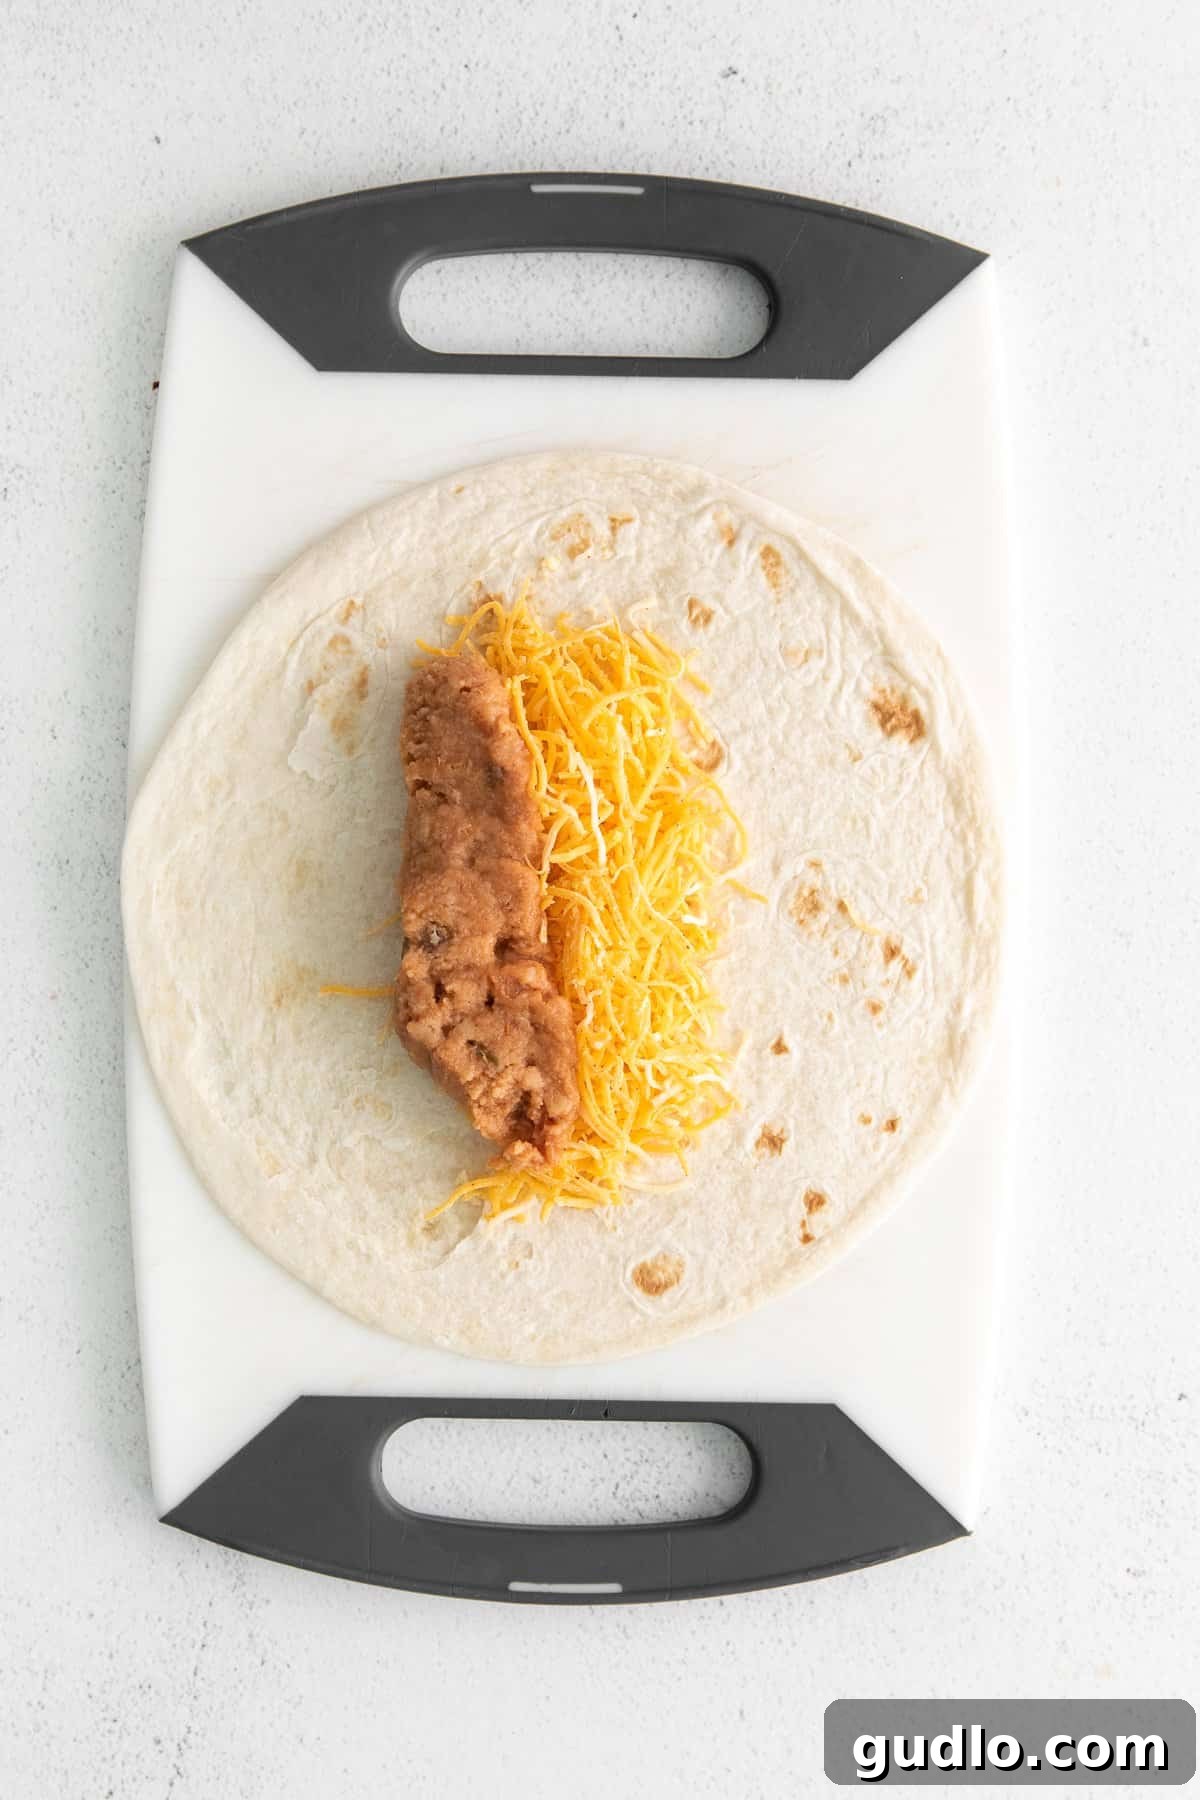
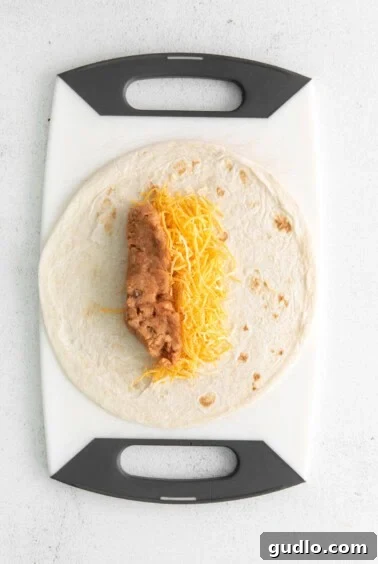
For the best rolling experience, ensure your tortillas are soft and pliable. You can quickly warm them in the microwave for 15-20 seconds, or individually in a dry skillet for about 10 seconds per side. Once warmed, lay each tortilla flat on a clean working surface. Sprinkle approximately ¼ cup of the shredded Mexican cheese blend evenly in the middle of each tortilla, creating a foundation for your filling.
2. Make the Flavorful Refried Bean Mixture
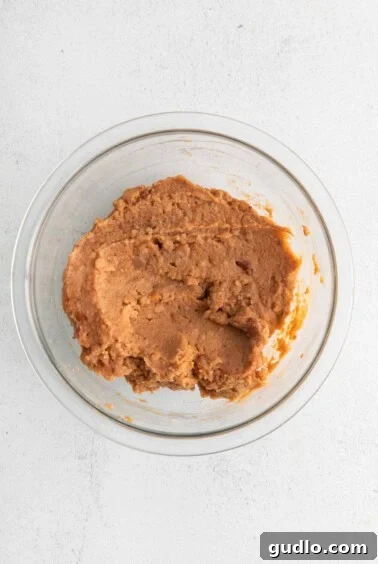
In a medium-sized mixing bowl, combine the canned refried beans, your chosen salsa, and the taco seasoning. Mix thoroughly until all ingredients are well incorporated and the mixture is smooth and evenly spiced. For easy distribution, transfer this flavorful bean mixture into a gallon-sized freezer bag. Snip off one corner of the bag to create a piping tool. This method helps control the amount of filling and keeps your workspace tidy. Pipe out about ¼ cup of the refried bean mixture onto the center of each cheese-layered tortilla.
3. Expert Burrito Assembly: Rolling for Success
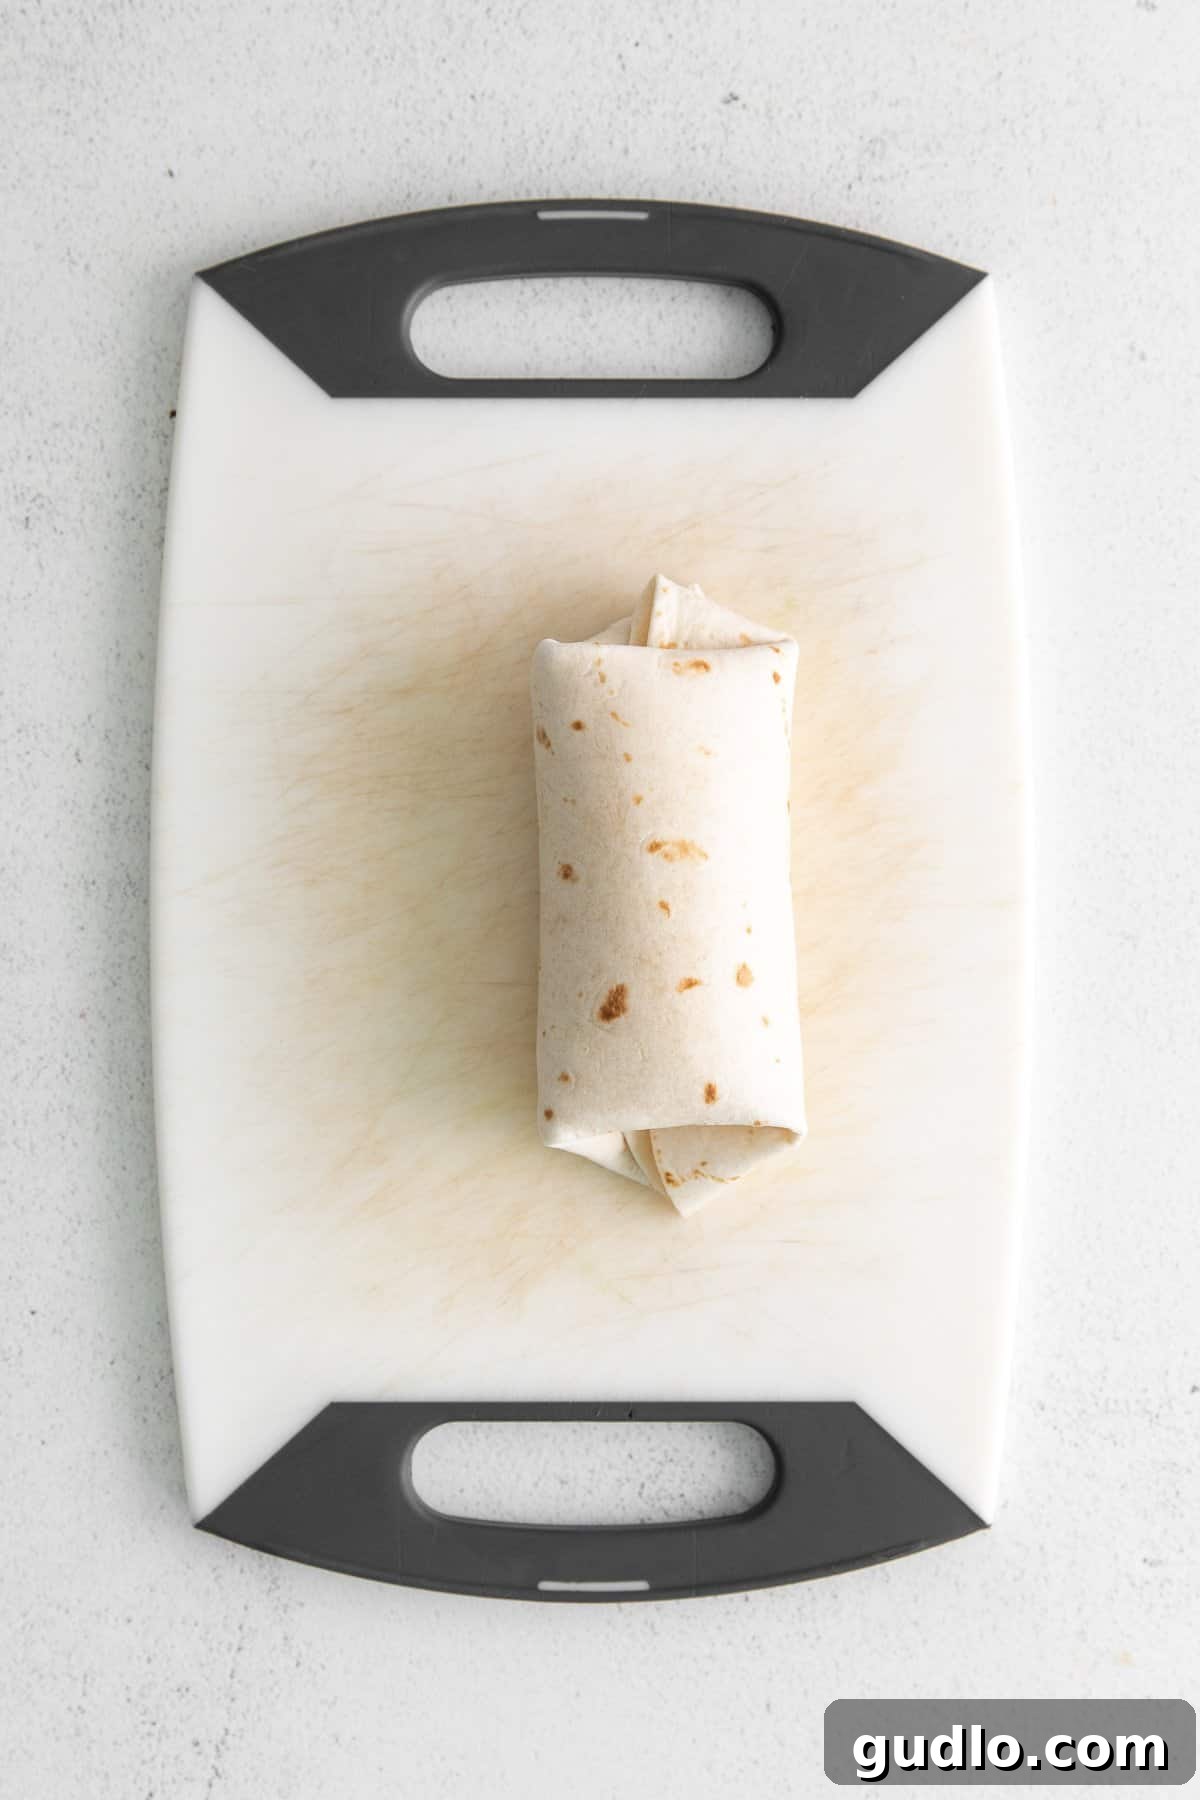
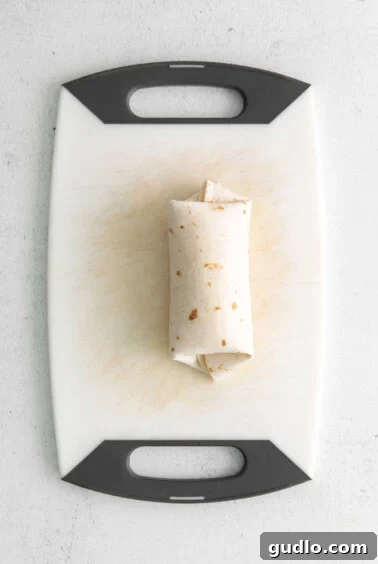
Achieving a tightly rolled burrito is key to preventing spillage and ensuring even heating. To assemble, first fold the two opposite sides of the tortilla (the left and right sides) inward over the filling. Then, starting from the bottom, tightly roll the tortilla upwards towards the top, tucking in the filling as you go. Roll snugly but not so tight that the tortilla tears. Place the rolled burritos seam-side down to keep them intact.
4. Heat Burrito Immediately or Freeze for Later
Congratulations, your burritos are now assembled! At this point, you have a choice: either heat your burritos to enjoy their deliciousness immediately, or expertly wrap and freeze them for convenient future meals. Below, we’ll provide detailed instructions for both options.
How to Perfectly Heat Your Bean and Cheese Burrito
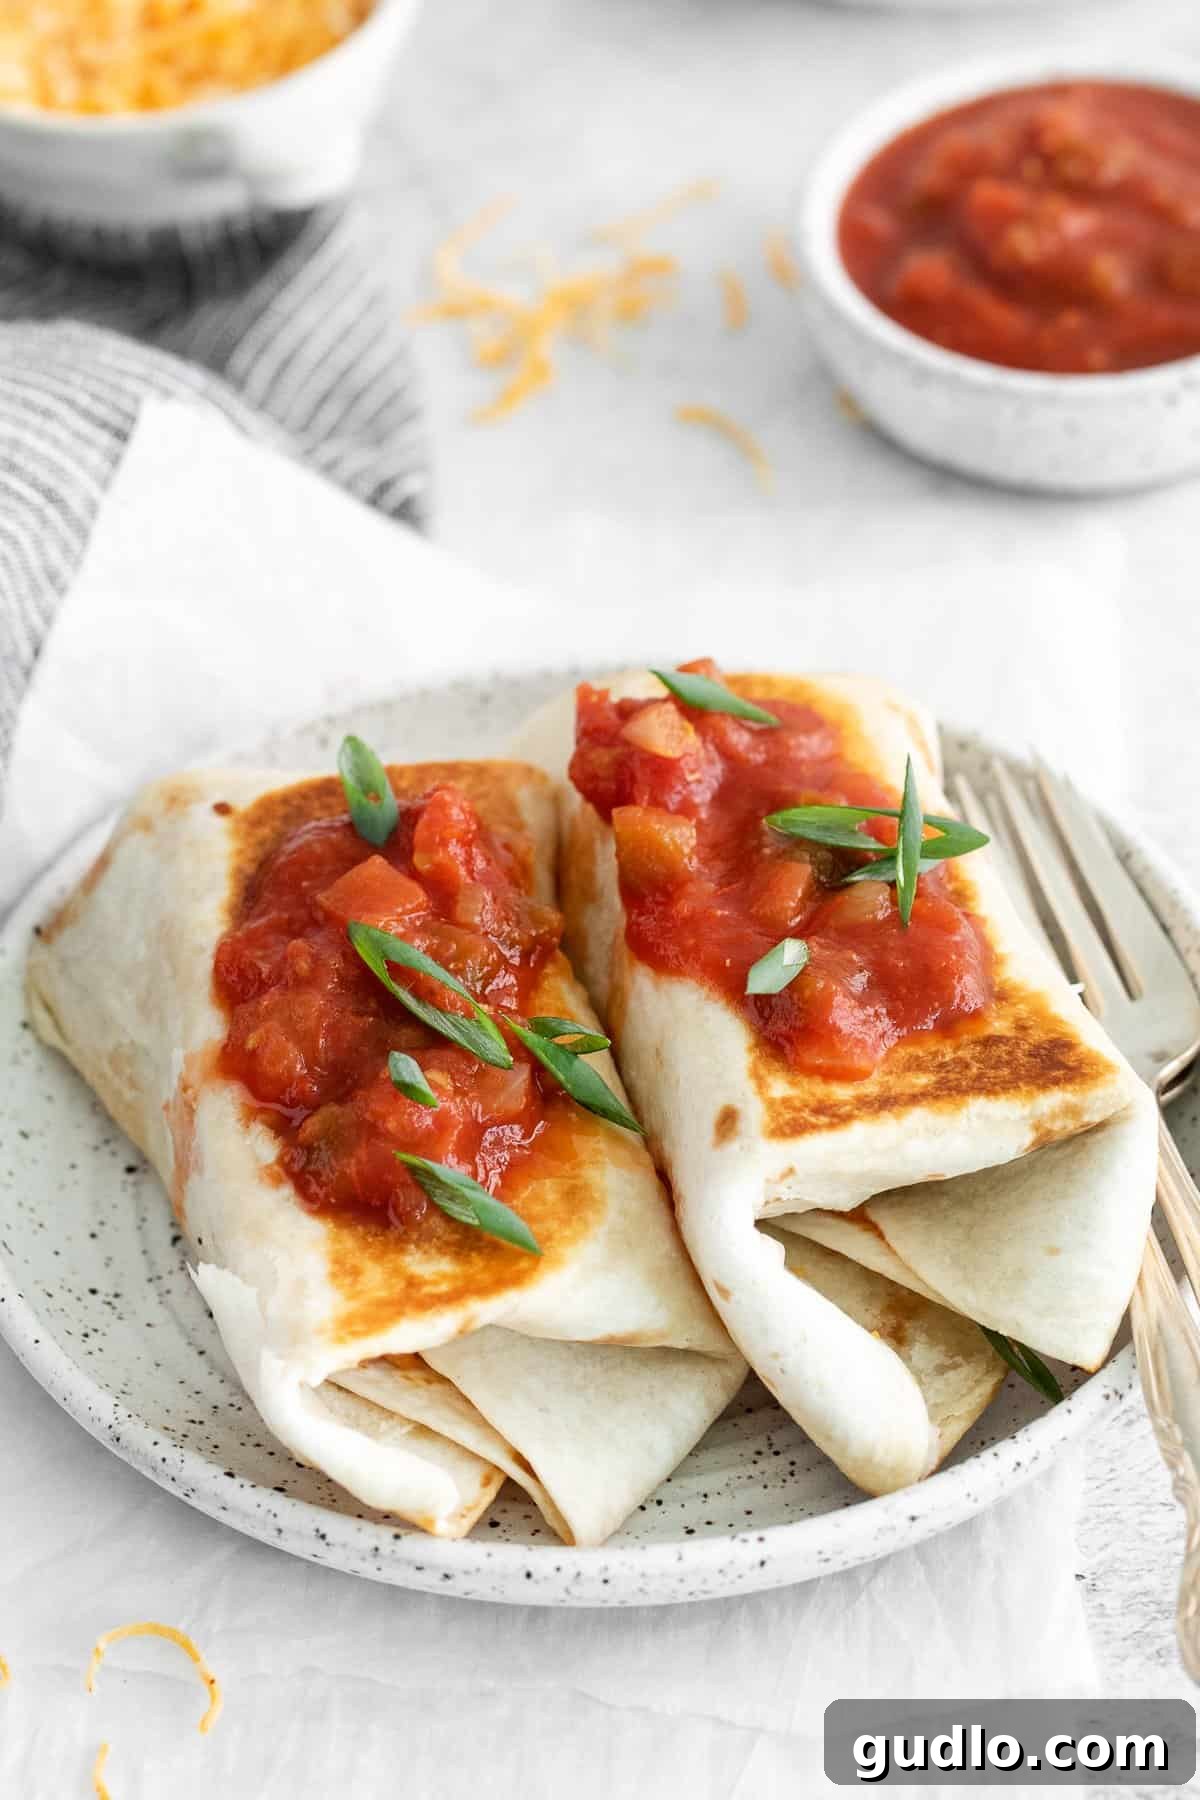
Once your bean and cheese burritos are assembled, it’s time to transform them into a melt-y, golden-brown, and utterly delicious meal. You have two excellent options for heating them: the stovetop for a crispy exterior, or the oven for a more hands-off approach. We’ll walk you through both methods to achieve burrito perfection!
Stovetop Instructions: For a Golden, Crispy Finish
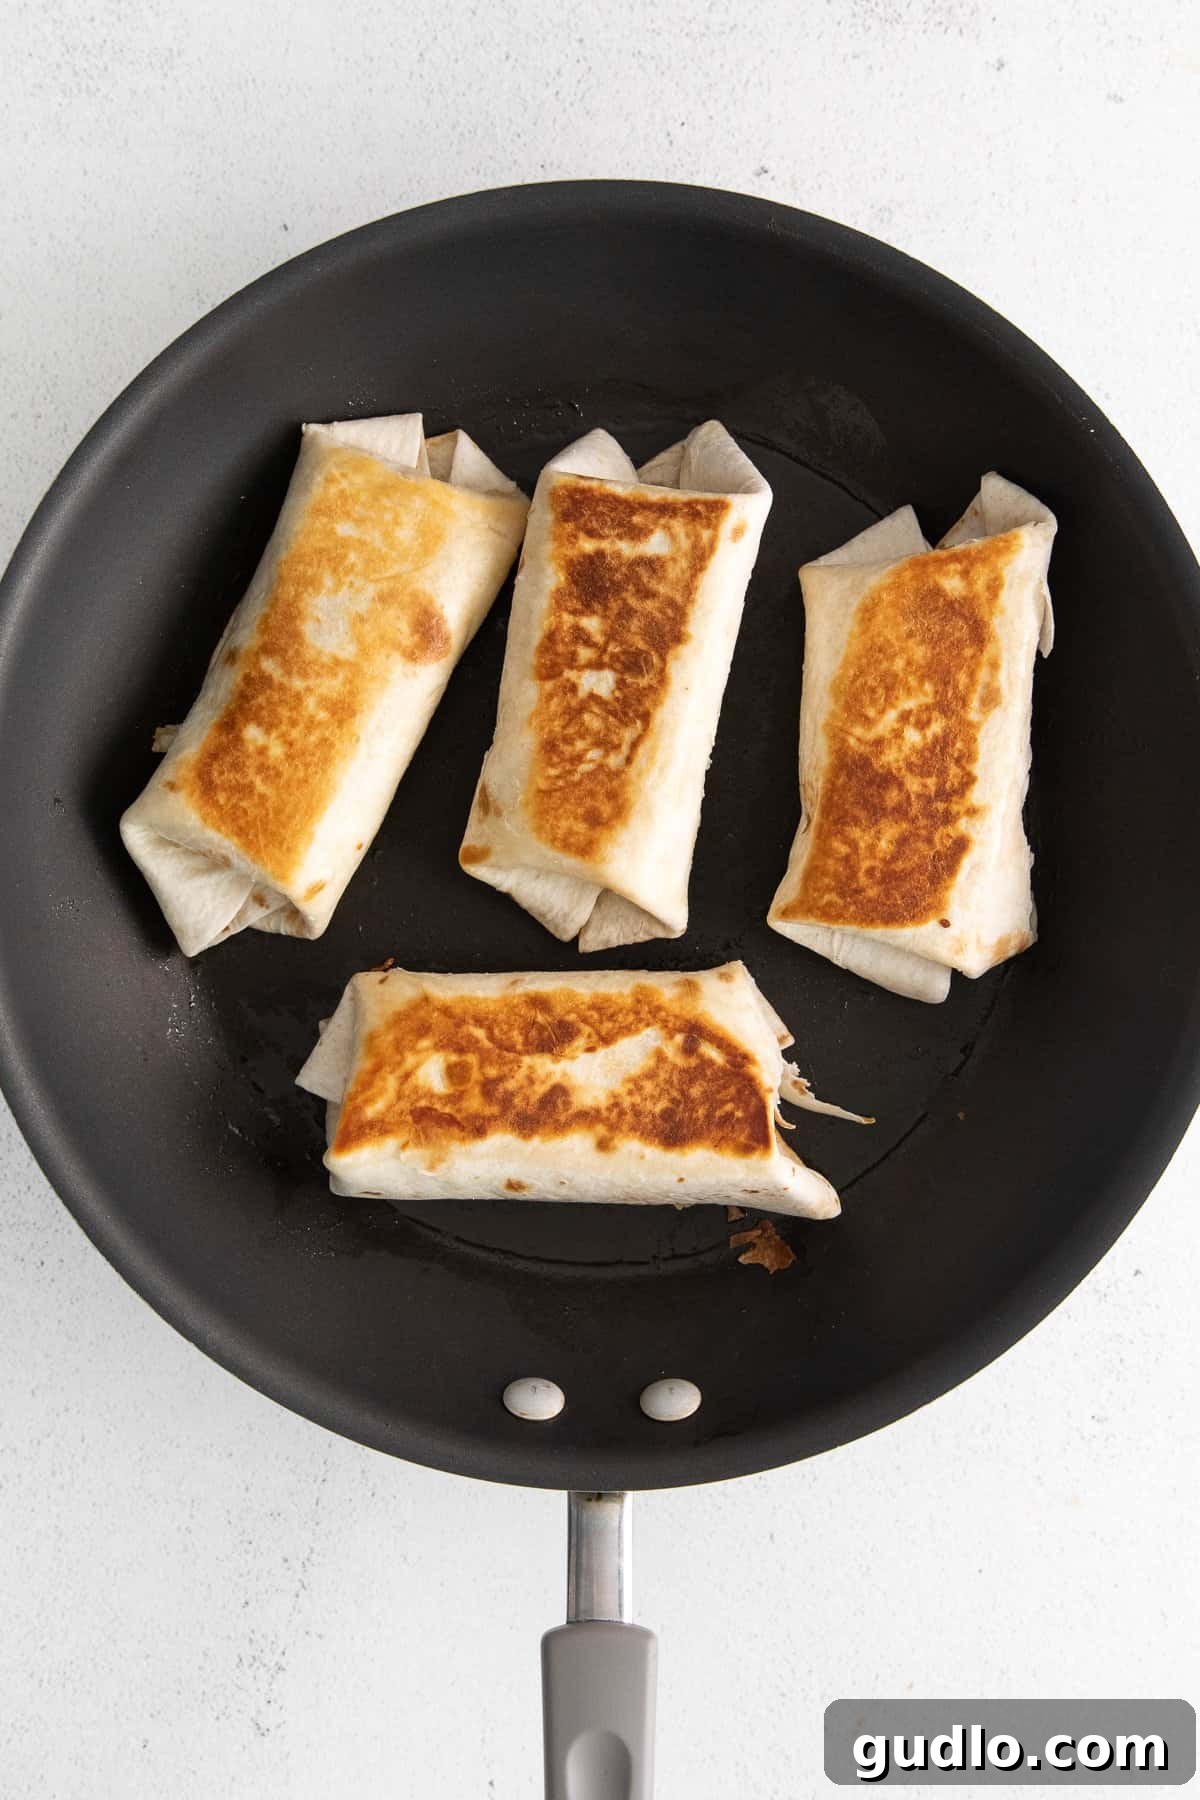
- Heat a large skillet (cast iron works wonderfully for this) over medium-high heat. Add 1 tablespoon of olive oil or avocado oil.
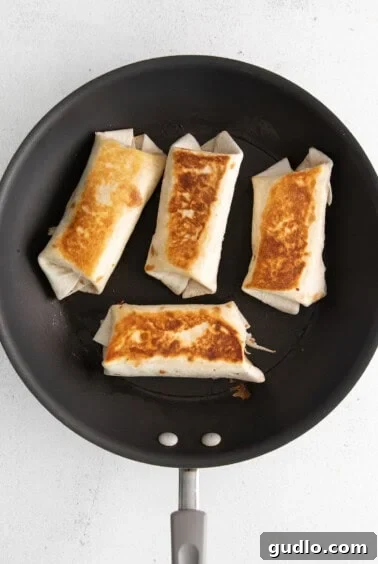
- Once the oil is shimmering and fragrant, carefully place your assembled burritos into the pan, seam-side down first. This helps seal the burrito.
- Cook for 2-3 minutes on each side over medium heat, rotating the burritos until all sides are beautifully browned and the cheese inside is thoroughly melted. You’ll know they’re ready when they feel warm to the touch and have a slight crispness.
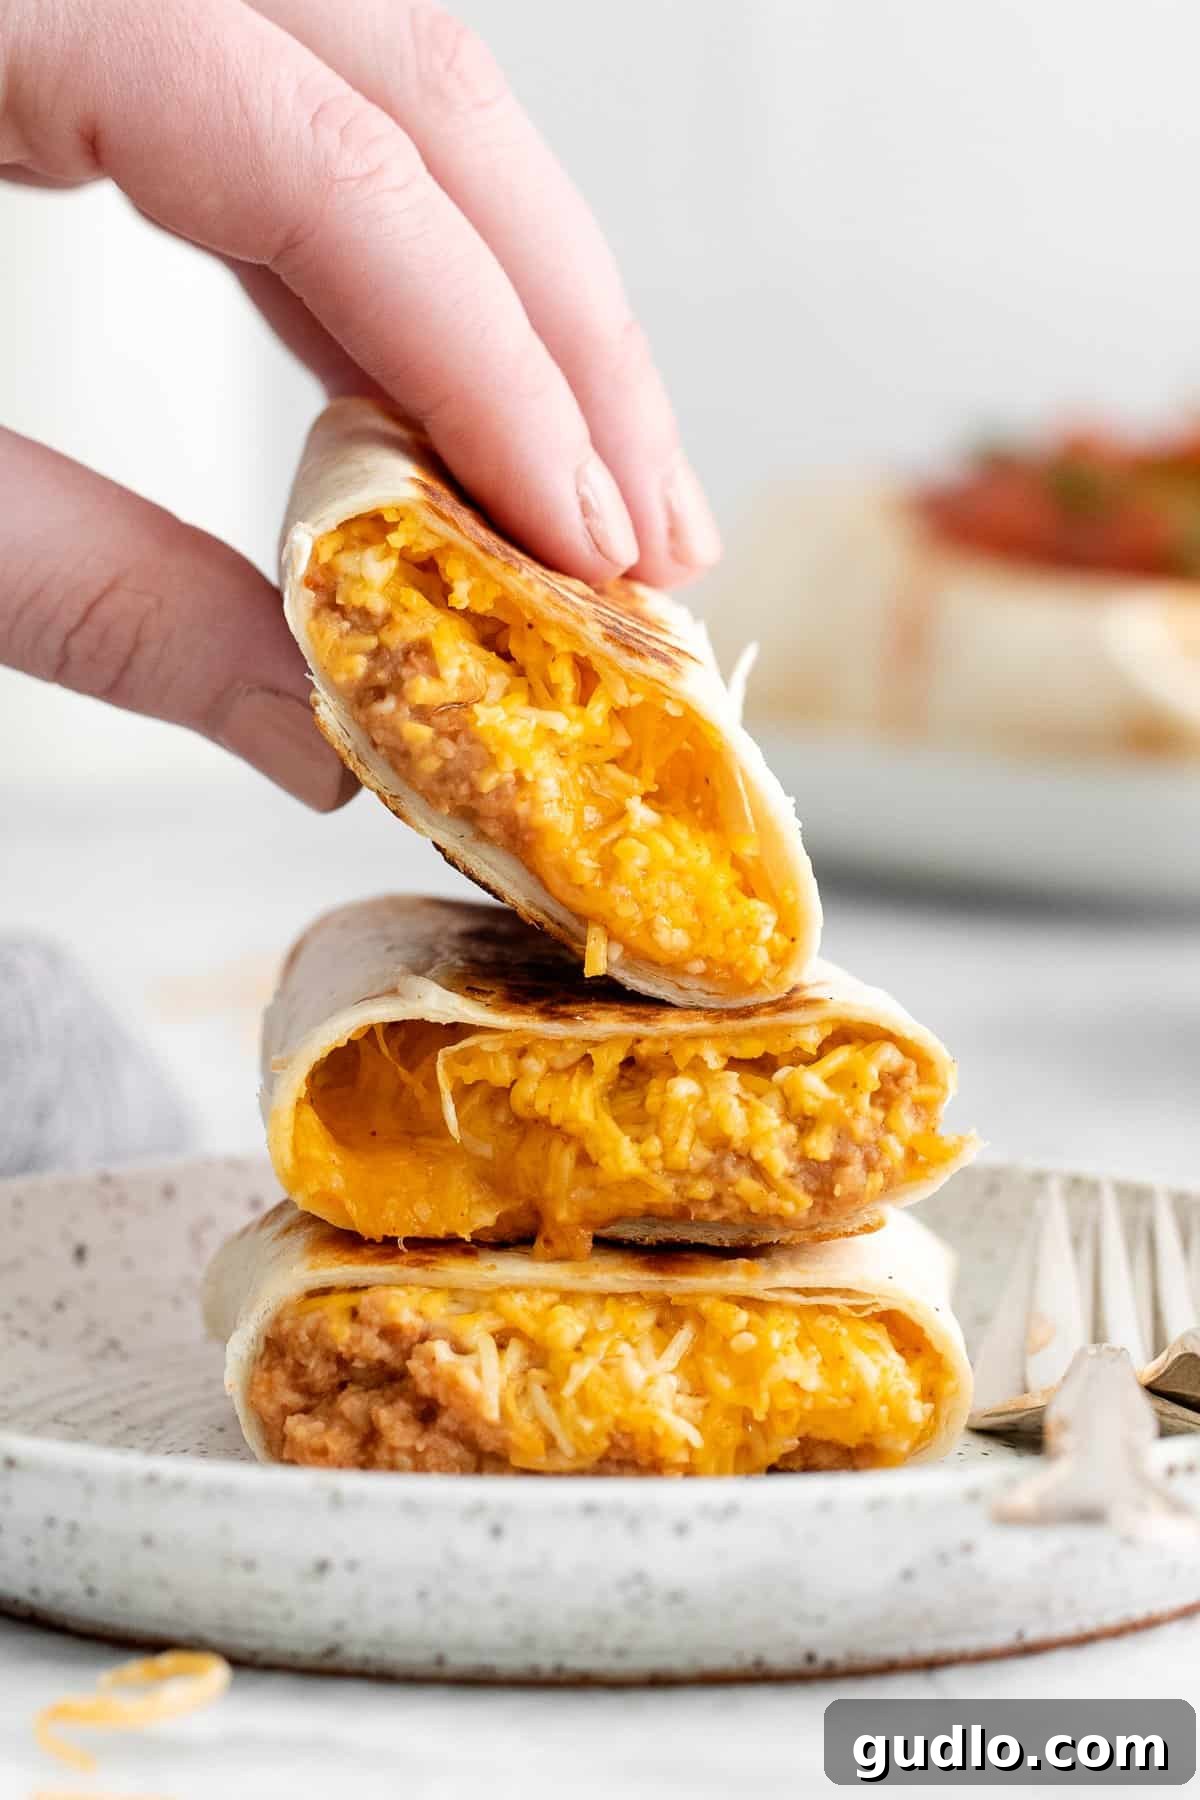
- Remove from the stovetop. For easier eating and to allow them to cool slightly, we recommend cutting your burritos in half before biting into their irresistible core.
Oven Instructions: For Warm, Evenly Cooked Burritos
- Preheat your oven to 425ºF (220ºC). Lightly spray a casserole dish or baking sheet with non-stick cooking spray or line with parchment paper.
- Place the assembled burritos onto the prepared baking sheet or casserole dish. For an extra touch of deliciousness, you can sprinkle a little more cheese over the tops of the burritos and drizzle them with a touch of olive oil. This is especially great if you’re serving a group and want a visually appealing presentation.
- Bake the burritos for 10-15 minutes, or until the tortillas begin to lightly brown and the cheese filling is completely melted and gooey.
- Carefully remove from the oven. As with the stovetop method, cutting your burritos in half allows them to cool just enough to enjoy without burning your tongue, revealing their delicious cross-section.
Master the Art of Freezing Bean and Cheese Burritos for Meal Prep
One of the greatest advantages of this recipe is its freezer-friendly nature, making these burritos an absolute dream for meal prepping. Having a stash of homemade burritos in your freezer means quick, healthy, and delicious meals are always within reach. Here’s how to properly freeze them for long-lasting freshness:
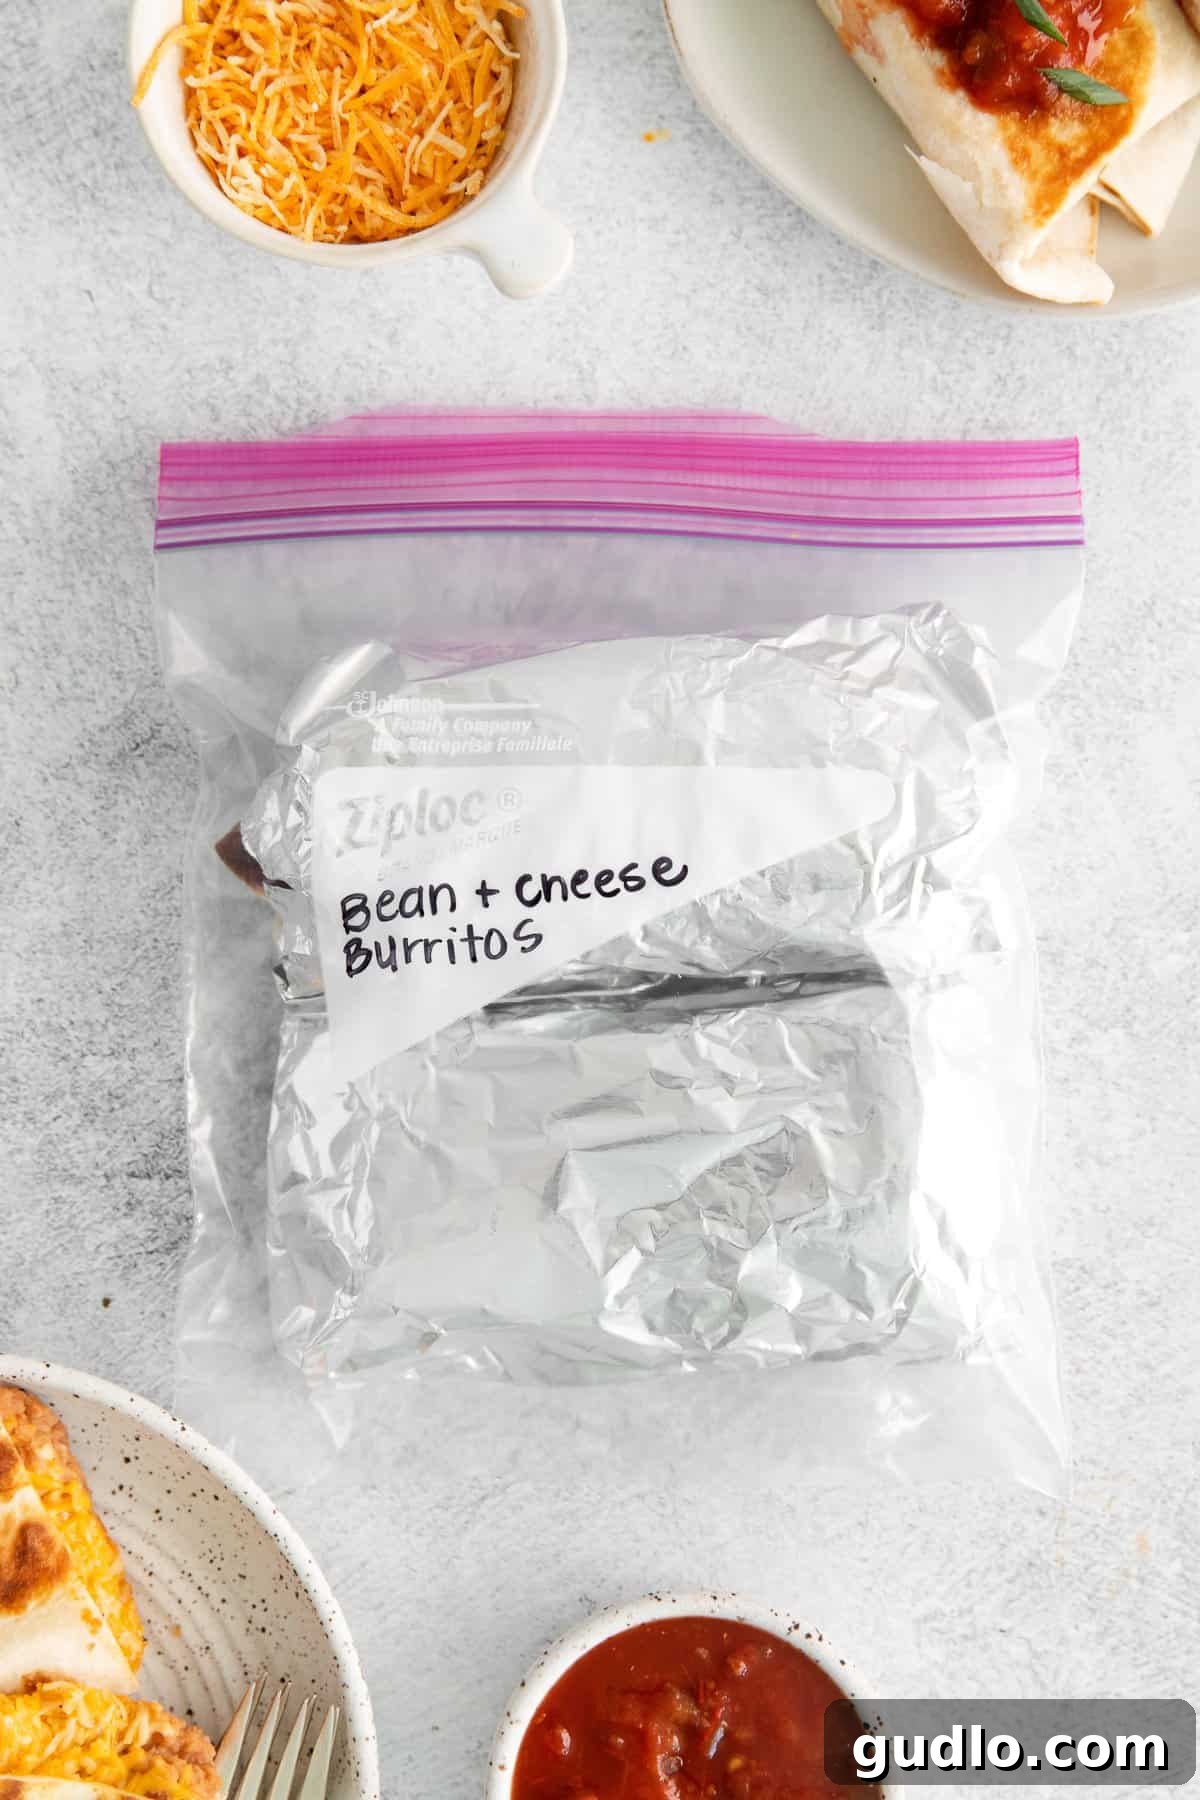
- Individual Wrapping is Key: Once your burritos are assembled and cooled (if they were heated), wrap each individual burrito tightly in a piece of aluminum foil. Ensure you remove as much air as possible to prevent freezer burn and maintain their quality.
- Pro Tip for Organization: Before freezing, grab a marker and write “Bean and Cheese Burrito” along with today’s date directly on the foil. This simple step is invaluable for easily identifying your burritos in a crowded freezer and knowing how long they’ve been stored.
- Storage: Place the foil-wrapped burritos into a large freezer-safe bag or an airtight container. This provides an extra layer of protection against freezer burn.
- Freezer Lifespan: Your delicious homemade bean and cheese burritos can be stored in the freezer for up to 3 months, ready to be reheated whenever hunger strikes!
With these easy steps, you’ll have a convenient supply of satisfying meals, perfect for hectic weekdays or impromptu cravings.
Reheating Frozen or Thawed Burritos with Ease
The beauty of these freezer-friendly bean and cheese burritos is their flexibility when it comes to reheating. You can warm them up directly from frozen or after they’ve thawed – choose the adventure that best suits your schedule!
Reheating from Frozen: Microwave Method
- Unwrap and Defrost: Remove the frozen bean and cheese burrito from its foil wrapper and place it on a microwave-safe plate.
- Initial Thaw: Use the defrost setting on your microwave for 2 to 3 minutes, flipping the burrito every minute to ensure even thawing.
- Heat Through: Once partially defrosted, microwave on high power for an additional 60-90 seconds, or until the burrito is piping hot throughout and the cheese is melted and bubbly.
Reheating from Thawed: Microwave Method
- Unwrap and Heat: If your burrito has been thawed in the refrigerator, remove the foil wrapper and place it on a microwave-safe plate.
- Quick Heat: Microwave on high power for 60 to 90 seconds, or until it’s heated through and deliciously warm.
Alternative Reheating Methods for Frozen Burritos
While the microwave is the quickest, other methods offer different textures:
- Oven (from Frozen): Unwrap the burrito from foil. Wrap in parchment paper, then in foil again. Bake at 350°F (175°C) for 30-40 minutes, or until heated through. For a crispy exterior, remove the outer foil for the last 10 minutes.
- Air Fryer (from Frozen): Remove foil. Place in air fryer basket. Cook at 350°F (175°C) for 15-20 minutes, flipping halfway, until hot and crispy.
No matter which method you choose, always ensure the internal temperature reaches a safe level before serving.
Unleash Your Creativity: Top Your Bean and Cheese Burritos!
The fun doesn’t stop after heating your bean and cheese burritos! Customizing them with your favorite toppings takes them from simple to spectacular. Have a blast experimenting with any (or all!) of these delicious additions:
- Cool & Creamy: Sour cream or a dollop of Greek yogurt (a healthier alternative) adds a refreshing tang.
- Spicy Kick: Drizzle with your favorite hot sauce for an extra burst of heat. Sriracha, Cholula, or Tabasco all work well.
- Fresh & Crunchy: Finely shredded lettuce or crisp cabbage adds a delightful texture and freshness.
- Rich & Creamy: Slices of ripe avocado or a generous scoop of homemade guacamole bring a luxurious creaminess.
- Zesty & Tangy: Fresh pico de gallo offers a burst of fresh tomato, onion, and cilantro flavor.
- Classic Topping: More salsa! Whether it’s the same kind you used inside or a different flavor, it’s always a good choice.
- Deep Flavor: A swirl of warm enchilada sauce can transform your burrito into a “wet burrito” experience.
- Fresh Herbs: Chopped cilantro or green onions sprinkled on top for a vibrant finish.
- Pickled Onions: For a bright, acidic counterpoint to the richness of the beans and cheese.
- Cotija Cheese: A sprinkle of salty, crumbly Cotija cheese adds an authentic Mexican touch.
Pair your burritos with a side of extra salsa, tortilla chips, or a simple green salad for a complete and satisfying meal.
Frequently Asked Questions About Bean and Cheese Burritos
Got questions about these amazing burritos? We’ve got answers to help you master this recipe!
Can I use different types of beans?
Absolutely! While refried beans offer a creamy texture, you can certainly experiment with other beans. Canned black beans (rinsed and drained), pinto beans, or even a mix of beans would work. For a similar creamy consistency, you could mash black or pinto beans yourself with a little water or broth.
How long do bean and cheese burritos last in the refrigerator?
Once assembled and cooked, these burritos can be stored in an airtight container in the refrigerator for up to 3-4 days. They are perfect for quick grab-and-go lunches throughout the week!
Can I make these burritos vegan?
Yes, easily! Simply ensure you use vegetarian refried beans (many brands are already vegetarian, but check the label) and substitute the shredded Mexican cheese blend with your favorite dairy-free shredded cheese alternative. The taste will still be fantastic!
What are the best tortillas to use?
Soft, pliable 8-inch flour tortillas are ideal for rolling without tearing. While larger tortillas work for bigger burritos, smaller taco-sized tortillas can also be used for mini burritos. The key is to warm them slightly before filling to make them more flexible.
Can I add meat to these burritos?
Of course! If you’re not vegetarian, cooked and seasoned ground beef, shredded chicken, or even leftover pulled pork would make excellent additions. Just be sure to cook the meat thoroughly before mixing it with the bean filling or layering it into the tortilla.
More of our Favorite…
Delicious Burrito Recipes to Explore
- Taco Bell Grilled Cheese Burrito (Copycat)
- Savory Fajita Breakfast Burritos
- Make-Ahead Beef Freezer Burritos
- Meal Prep Vegetarian Black Bean Breakfast Burritos
Bean and Cheese Burrito Recipe
Ingredients
- 8 taco size flour tortillas, ~8-inches
- 1 16 oz. can refried beans
- ¼ cup salsa, any kind
- 1 teaspoon taco seasoning, store-bought or homemade
- 8 oz. shredded Mexican cheese blend, ~2 cups
- 2 tablespoons avocado oil (for heating)
Instructions
-
Lay out each tortilla flat on a working surface.
-
Sprinkle ¼ cup of cheese in the middle of each tortilla.

-
In a bowl, mix together the refried beans, salsa, and taco seasoning until well combined. Transfer the mixture into a gallon size bag and snip off one corner of the bag for easy piping.
-
Pipe out ¼ cup of the refried bean mixture onto the center of each tortilla, over the cheese.
-
Roll each burrito by folding 2 opposite sides in and then tightly rolling from top to bottom. Set aside, seam-side down.
-
To cook immediately: In a large skillet, heat 1 tablespoon of avocado oil (or olive oil) over medium heat. Place 4 burritos into the skillet seam-side down. Cook for 3 to 5 minutes per side, flipping once, until golden brown and heated through. Repeat with remaining burritos, adding more oil if needed.
-
Serve your freshly cooked burritos with your favorite condiments and toppings.
Nutrition Information (Approximate Per Serving)
- Calories: 227 kcal
- Carbohydrates: 16 g
- Protein: 9 g
- Fat: 14 g
- Fiber: 1 g
- Sugar: 2 g
Nutrition information is an estimation and may vary based on specific ingredients and preparation methods.