

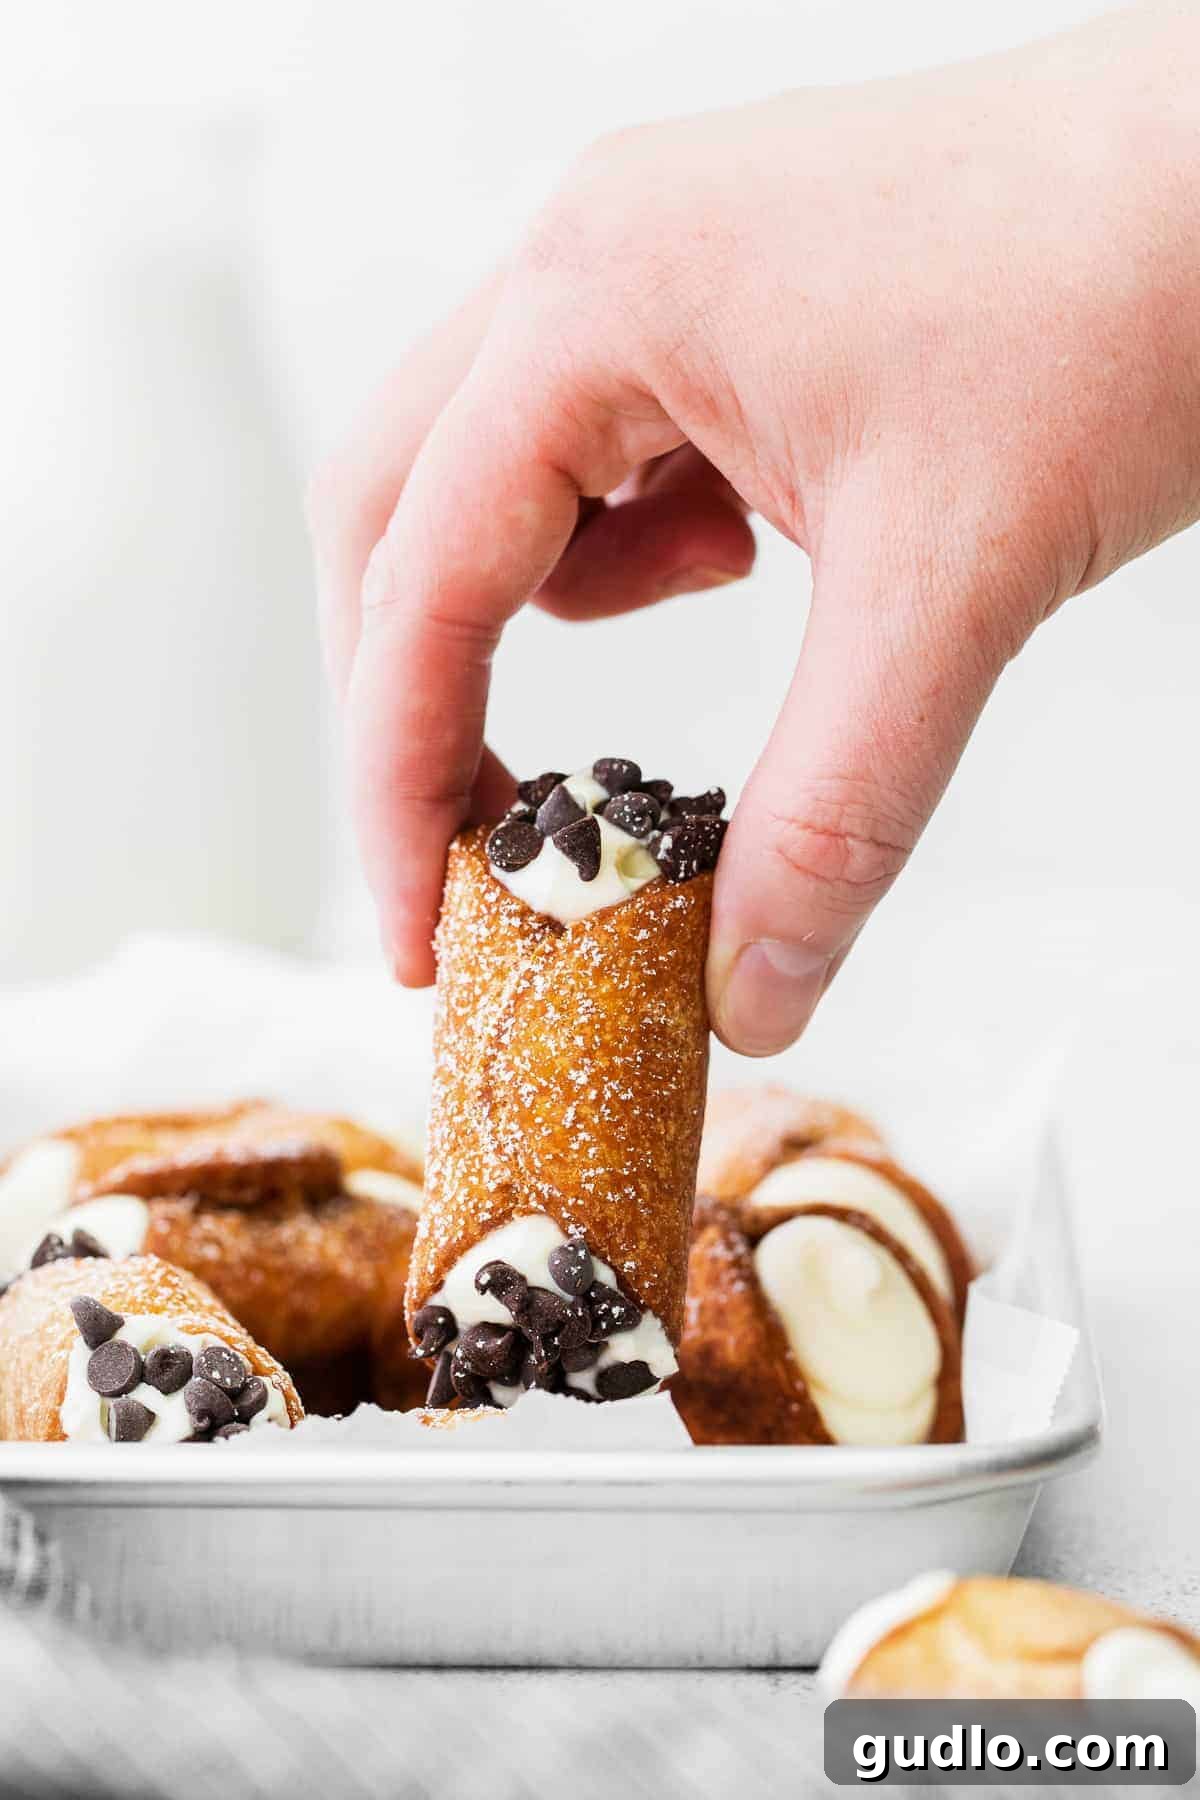
Welcome to the ultimate guide for crafting the most exquisite **classic cannolis** right in your own kitchen! Forget waiting in line at the bakery; this comprehensive **cannoli recipe** will equip you with all the knowledge and techniques needed to create these iconic Italian pastries. Prepare to delight your senses with crunchy, sweet shells enveloping a rich, fluffy, and perfectly creamy ricotta filling. We’ll walk you through every step, answer your burning questions, and share invaluable tips to ensure your homemade cannolis are nothing short of spectacular.
The Ultimate Classic Cannoli Recipe: Crispy Shells & Creamy Ricotta Filling
There’s something truly enchanting about a cannoli. Its elegant appearance and irresistible combination of textures and flavors make it a beloved dessert worldwide. Many people dream of recreating that bakery-quality cannoli at home, and with this detailed guide, that dream becomes a delicious reality. We’re going to teach you how to master the perfect **classic cannoli**, complete with insights into traditional techniques and exciting flavor variations.
The secret to exceptional homemade cannolis lies in a blend of careful preparation, using the right tools, and a touch of patience. We’ll delve into each of these aspects, ensuring you’re confident and well-prepared before you even begin. So, roll up your sleeves, gather your ingredients, and let’s embark on this delightful culinary journey together to make the **best cannolis** you’ve ever tasted!
Essential Tools for Making Homemade Cannolis
While making cannolis might seem daunting, having the right equipment simplifies the process immensely. Beyond common kitchen essentials like mixing bowls, spatulas, and measuring cups, these specific tools will make your cannoli-making experience smoother and more enjoyable:
- Food Processor: This is a game-changer for quickly bringing your cannoli dough together. It ensures a consistent texture without overworking the dough.
- Stand Mixer with Whisk Attachment: Crucial for achieving that light, airy texture for your ricotta filling by whipping the heavy cream to stiff peaks.
- Fine Mesh Strainer and Cheesecloth: Absolutely essential for straining ricotta cheese. Excess moisture is the enemy of a fluffy cannoli filling, and this step ensures a perfect consistency.
- Deep Pot or Dutch Oven: Necessary for safe and effective deep-frying of the cannoli shells. Choose one with high sides to minimize oil splatters.
- Candy/Deep-Fry Thermometer: Maintaining the correct oil temperature (365°F) is critical for perfectly crispy, golden shells that don’t absorb too much oil.
- Round Cookie Cutters: For cutting uniform circles of dough. A 2-inch cutter is a popular size for classic cannolis.
- Pastry Bag and Large Piping Tip: For neatly filling your cooled cannoli shells with the creamy ricotta.
- Tongs: For safely handling the shells in and out of hot oil.
- Wire Rack: For draining excess oil from the fried shells and allowing them to cool completely.
The Must-Have: Cannoli Form Set
To create those iconic, perfectly cylindrical cannoli shells, investing in a good Cannoli Form Set is non-negotiable. These simple metal tubes are crucial for shaping the dough as it fries, ensuring uniform, beautiful shells. They are inexpensive and will truly elevate your homemade cannolis, making the process much easier and the results professional-looking.
Diving into the Ingredients for Perfect Cannolis
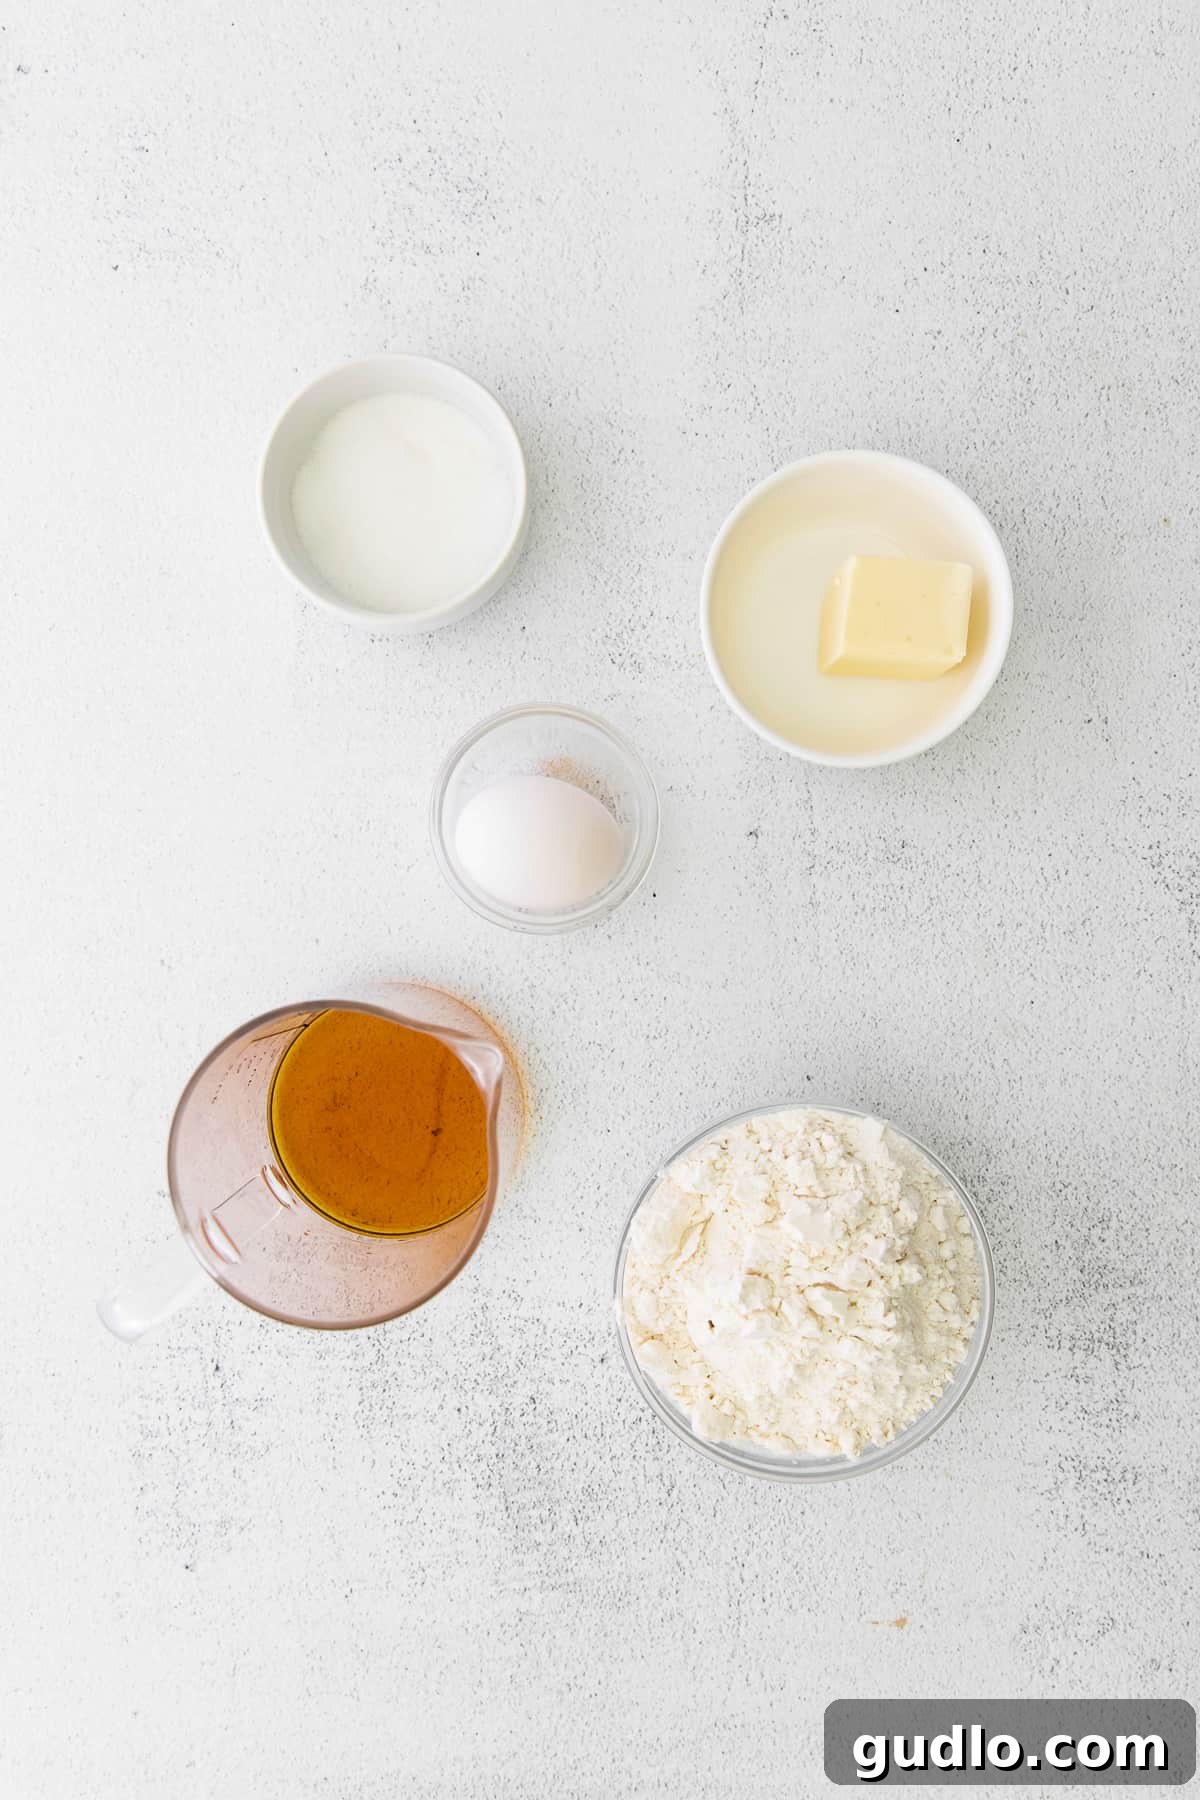
Every delicious cannoli starts with fresh, quality ingredients. Understanding the role of each component is key to mastering this classic Italian dessert.
For the Crispy Shells:
- All-Purpose Flour: The structural backbone of our dough. Accurate measurement is crucial; too much flour can lead to dry, tough shells, while too little can make them difficult to work with.
- Granulated Sugar: Adds a subtle sweetness to the dough, enhancing its flavor profile and contributing to that desirable golden-brown color during frying.
- Cold Butter: Incorporated into the dough in small pieces, cold butter helps create a flaky, tender texture in the fried shells. Keep it cold for best results.
- Large Egg: Acts as a binder, holding the dough together and providing richness.
- Marsala Wine: This is the secret ingredient for authentic cannoli flavor! Marsala adds a distinct, slightly nutty, and complex sweetness that is characteristic of traditional Sicilian cannolis. It also contributes to the dough’s workability and helps create tiny air pockets for crispness. If you don’t have Marsala, a dry white wine or even a touch of white vinegar could be a passable substitute for acidity, though the flavor won’t be identical.
- Vegetable Oil (for frying): A neutral oil like vegetable, canola, or grapeseed oil is ideal for deep-frying the shells, ensuring they cook evenly and develop a beautiful golden hue without imparting unwanted flavors.
For the Creamy Ricotta Filling:
- Heavy Cream: Whipped separately, heavy cream creates a light, airy base that gives the filling its incredibly fluffy texture. Don’t skip whipping it to stiff peaks!
- Ricotta Cheese: The star of the filling! Choose whole milk ricotta for the best flavor and creamy consistency. **Straining the ricotta is paramount** to prevent a watery filling; this removes excess liquid, concentrating the rich, tangy flavor and ensuring a firm, pipeable texture.
- Powdered Sugar: Sweetens the filling to perfection while contributing to its smooth, silken texture. Granulated sugar would make the filling gritty.
- Ground Cinnamon: A touch of cinnamon adds a wonderful warmth and aromatic spice that beautifully complements the creamy ricotta. It’s a classic addition to cannoli filling.
- Mini Chocolate Chips: These tiny morsels add a delightful texture and bursts of chocolate flavor, especially when sprinkled on the edges. Mini chips are preferred for better distribution and a more delicate bite.
Step-by-Step: How to Make Homemade Cannolis
Making cannolis is a multi-step process, but each stage is straightforward. Following these instructions carefully will lead to incredible results.
1. Crafting the Crispy Cannoli Shells (Chilling is Key!)
The foundation of any great cannoli is its shell. It needs to be crisp, flaky, and golden. Starting with the dough early is vital as it requires chilling time to firm up, making it easier to roll and fry.
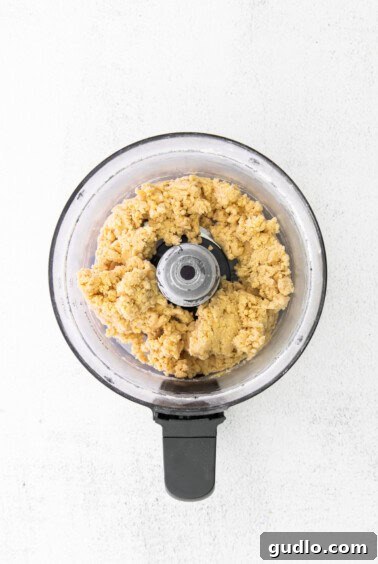
- Begin by combining the dry ingredients: In the bowl of a food processor, add the all-purpose flour, granulated sugar, and salt. Pulse a few times until well combined.
- Incorporate the butter: Add the cold butter, cut into small pieces, to the food processor. Pulse in short bursts for about 30 seconds, until the butter pieces are roughly the size of small peas. This step creates pockets of butter that will make the shells flaky.
- Add wet ingredients: Next, crack in the large egg and pour in the Marsala wine. Continue to pulse until the dough just comes together, forming a cohesive ball. Be careful not to overmix, as this can lead to tough shells.
- Chill the dough: Remove the dough from the food processor, flatten it slightly into a disk, wrap it tightly in plastic wrap, and place it in the refrigerator. Allow it to chill for at least 30 minutes to 1 hour (or longer) while you prepare the filling and heating the frying oil. Chilling makes the dough easier to roll and prevents it from shrinking during frying.
2. Preparing the Luscious Ricotta Filling
The filling is the soul of the cannoli—creamy, sweet, and subtly spiced. Achieving the right texture is paramount, which is why we use a stand mixer with a whisk attachment.
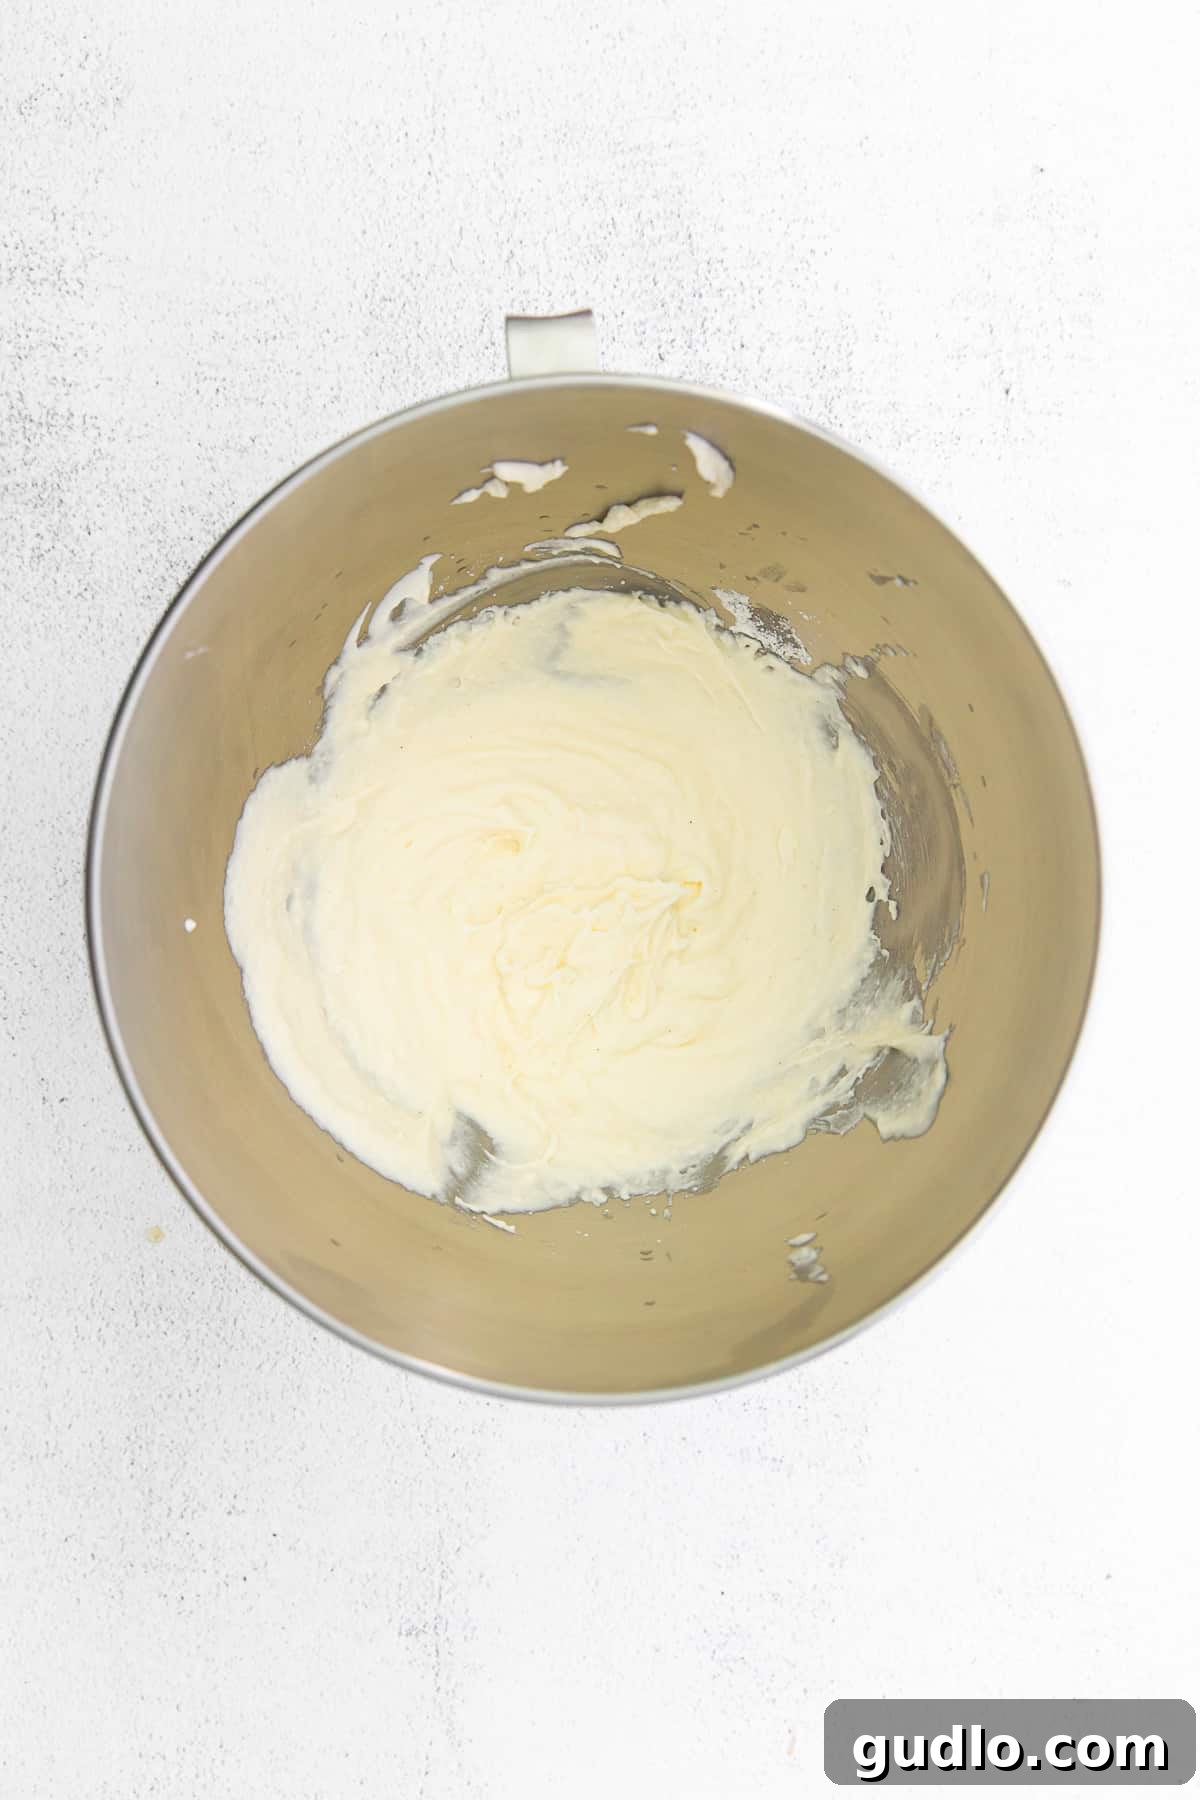
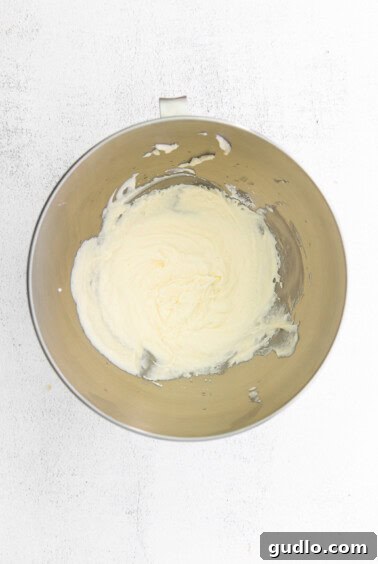
- Whip the heavy cream: In the bowl of your stand mixer, fitted with the whisk attachment, beat the heavy cream on medium-high speed until it forms stiff peaks. This step incorporates air, making the filling wonderfully light and ethereal.
- Gently fold in ingredients: Once the cream is whipped, carefully fold in the thoroughly strained ricotta cheese, powdered sugar, and ground cinnamon. Use a rubber spatula for this step. The key is to fold gently and avoid overmixing, which can deflate the whipped cream and make the filling dense.
- Chill the filling: Transfer the prepared filling into a piping bag fitted with a large round or star tip. Place the piping bag in the refrigerator to keep the filling firm until you’re ready to assemble the cannolis.
How to Strain Ricotta Cheese: A Critical Step for Fluffy Filling
Many commercially available ricotta cheeses contain a significant amount of excess moisture. If not removed, this liquid can thin out your cannoli filling, preventing it from being light, fluffy, and firm enough to hold its shape. We strongly recommend straining your ricotta cheese for the best possible results.
To strain ricotta cheese, line a fine-mesh strainer with a double layer of cheesecloth. Place the lined strainer over a deep mixing bowl, ensuring the bottom of the strainer does not touch any liquid that drains out. Add the ricotta cheese to the cheesecloth-lined strainer.
Gently stir the ricotta with a rubber spatula to help release moisture. Cover the bowl and strainer with plastic wrap and place it in the refrigerator. Allow the ricotta cheese to strain for at least 8 hours, or preferably overnight, to remove as much moisture as possible. Discard the collected liquid at the bottom of the bowl. You’ll be left with a much firmer, drier, and more concentrated ricotta.
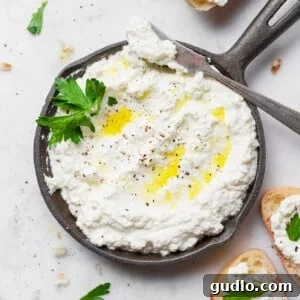
Tutorial
How to Make Ricotta Cheese from Scratch
Did you know you can make your own **homemade ricotta cheese**? It’s a surprisingly simple and rewarding process, offering a fresh, superior flavor for your cannolis and other dishes. Explore our detailed tutorial!
3. Frying the Golden Cannoli Shells Safely
This is where the magic happens, transforming simple dough into crisp, bubbly shells. **Safety is paramount when deep-frying.** Work carefully and keep an eye on the oil temperature.
- Heat the oil: In a large, heavy-bottomed Dutch oven or deep pot, pour at least two inches of vegetable oil. Heat the oil over medium-high heat until it reaches a consistent temperature of 365°F (185°C). Use a candy/deep-fry thermometer to monitor the temperature; maintaining it is crucial for perfect shells.
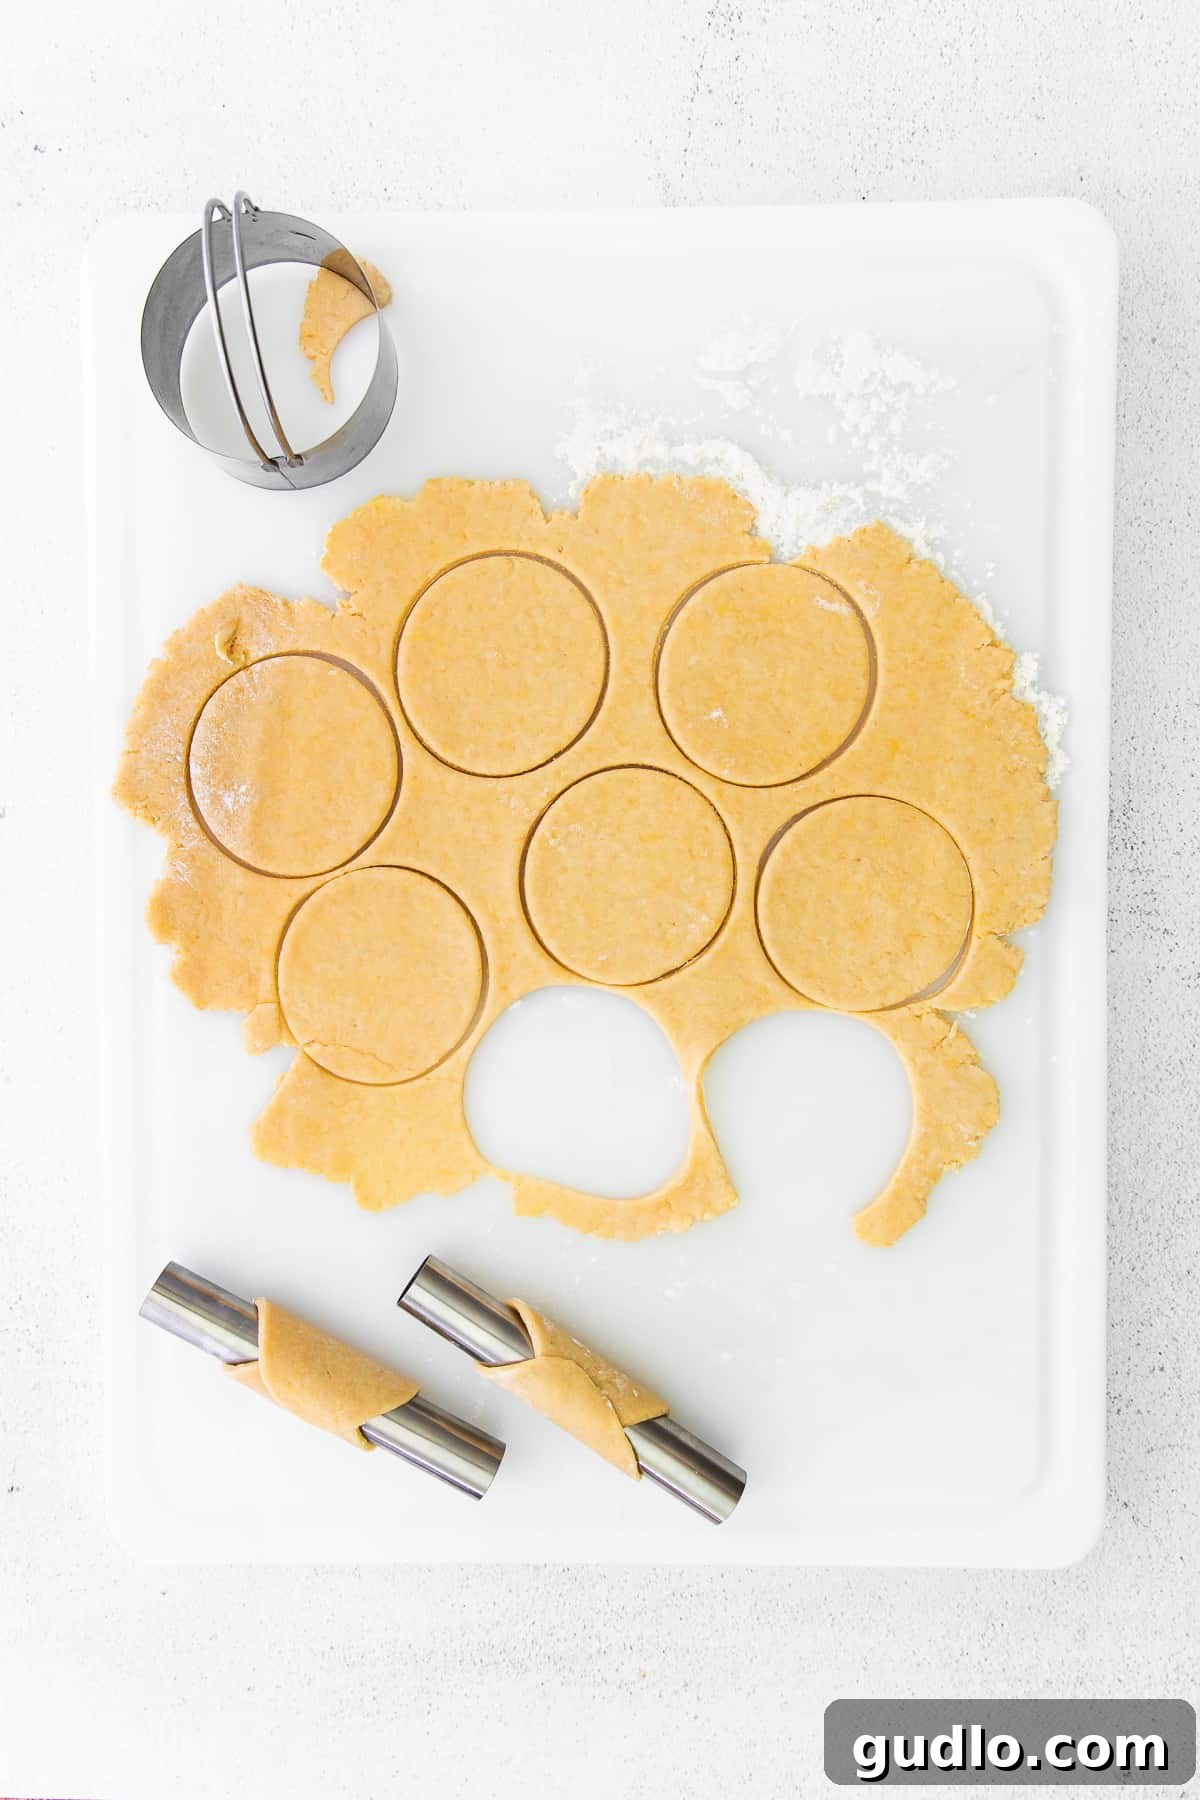
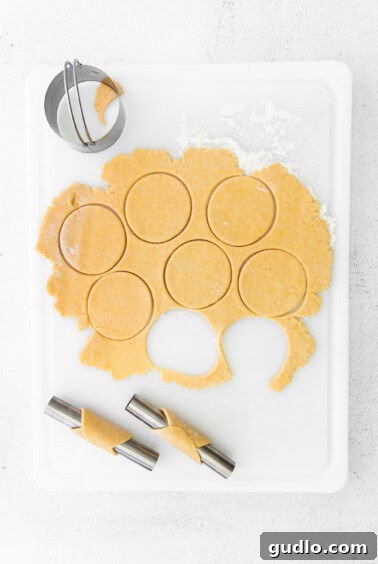
- Prepare the dough for frying: Retrieve the chilled dough from the refrigerator. On a lightly floured surface, roll out the dough very thinly, to approximately ⅛-inch thick. Using a round cookie cutter (a 2-inch cutter works well for classic sizes), cut out as many circles as possible.
- Shape the shells: Carefully wrap each dough circle around a cannoli form. Moisten one edge of the dough circle with a tiny bit of water or egg wash, then press the ends together gently to seal them around the form. Ensure the seal is firm to prevent the dough from unrolling during frying.
- Fry the shells: Gently lower 2-3 prepared cannoli forms into the hot oil, being careful not to overcrowd the pot. Fry for 2-3 minutes, turning occasionally, until the shells are a beautiful golden brown and visibly crisp.
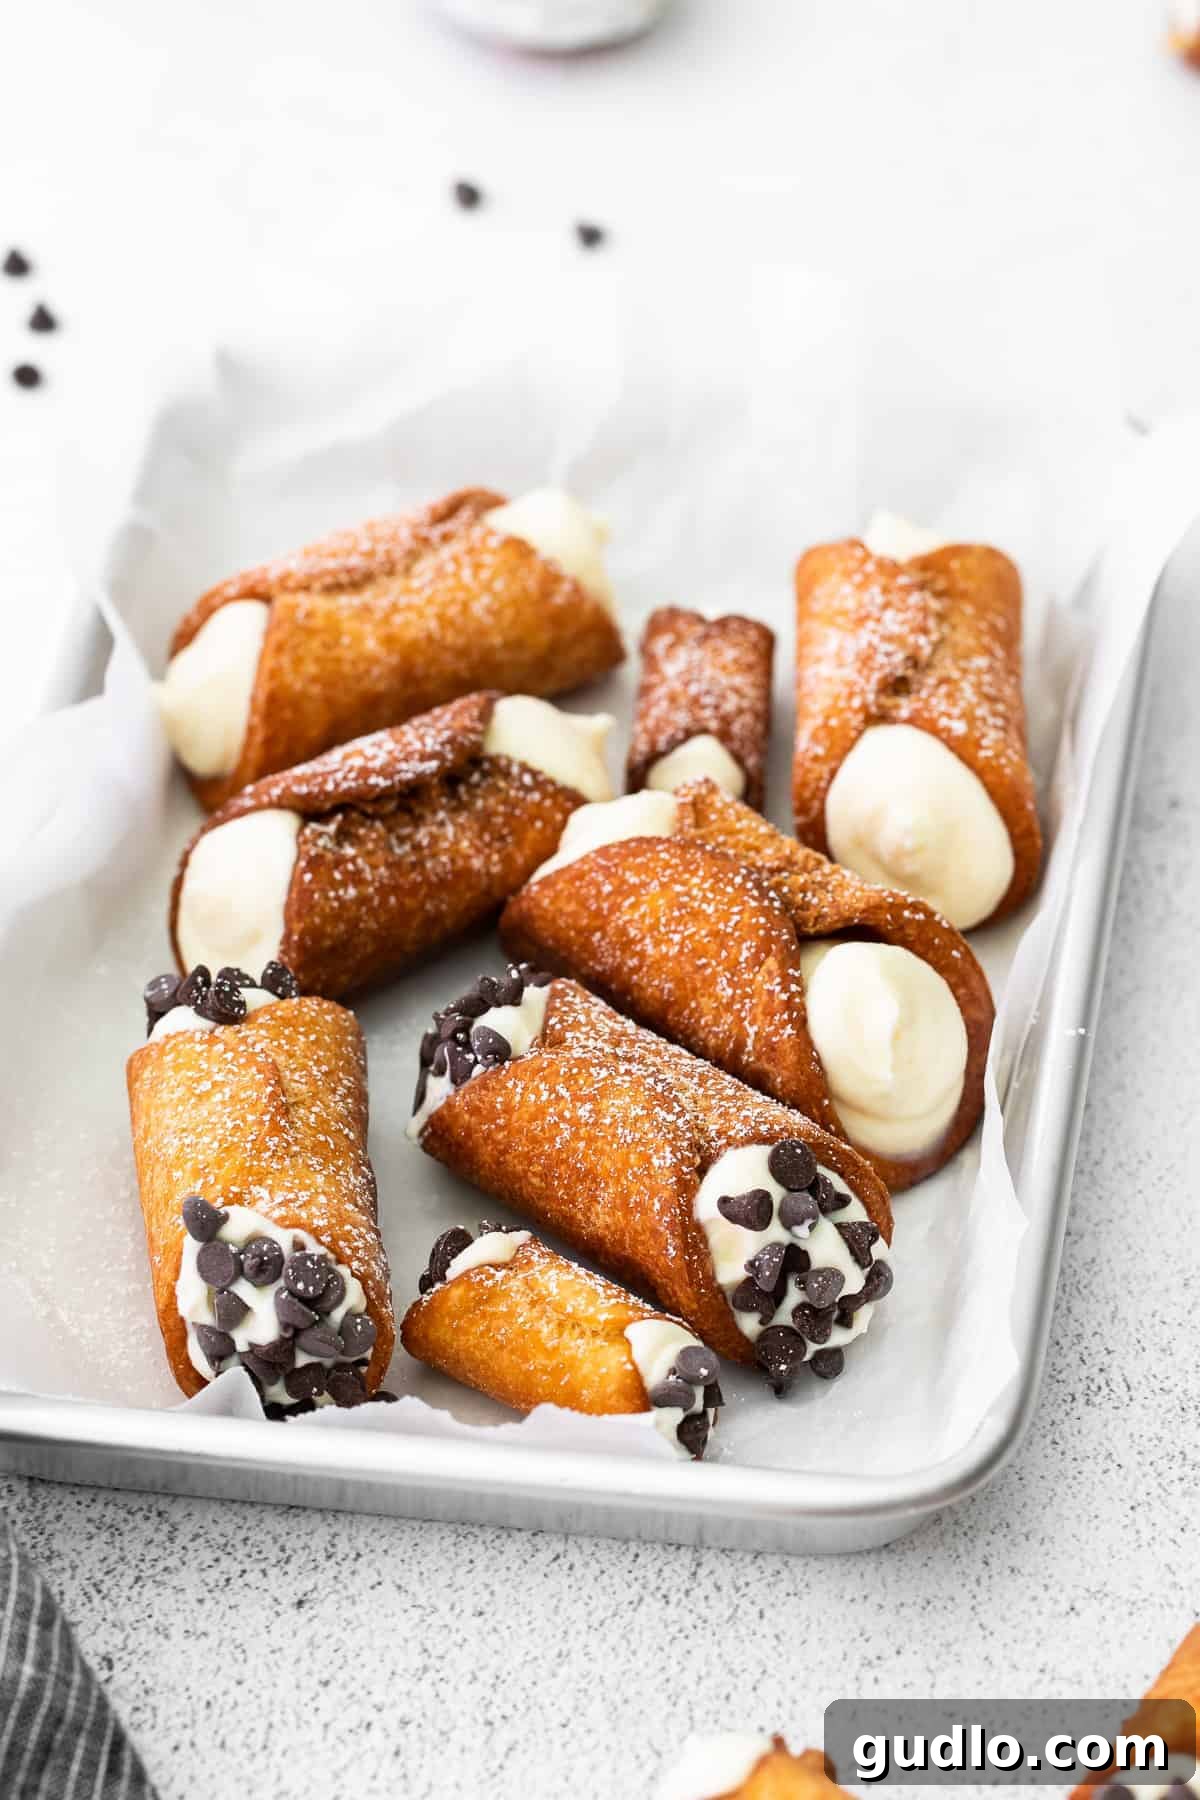
- Remove and cool: Using tongs, carefully remove the fried cannoli shells from the oil. Place them on a wire rack set over a baking sheet lined with paper towels to drain any excess oil. As soon as they are cool enough to handle (but still warm), gently slide the crispy shells off the metal forms. **Be extremely cautious, as the metal forms will be very hot!** Repeat the process with the remaining dough and forms. Allow all fried shells to cool completely before filling.
4. Assembling and Garnishing Your Cannolis
The final, exciting step is assembling your masterpieces. It’s important to fill the cannolis just before serving to maintain the crispness of the shells.
- Fill the shells: Once your cannoli shells have cooled completely, retrieve the piping bag with the ricotta filling from the fridge. Pipe the creamy filling into the middle of each shell, starting from one end and filling towards the center, then repeating from the other end to ensure an even distribution.
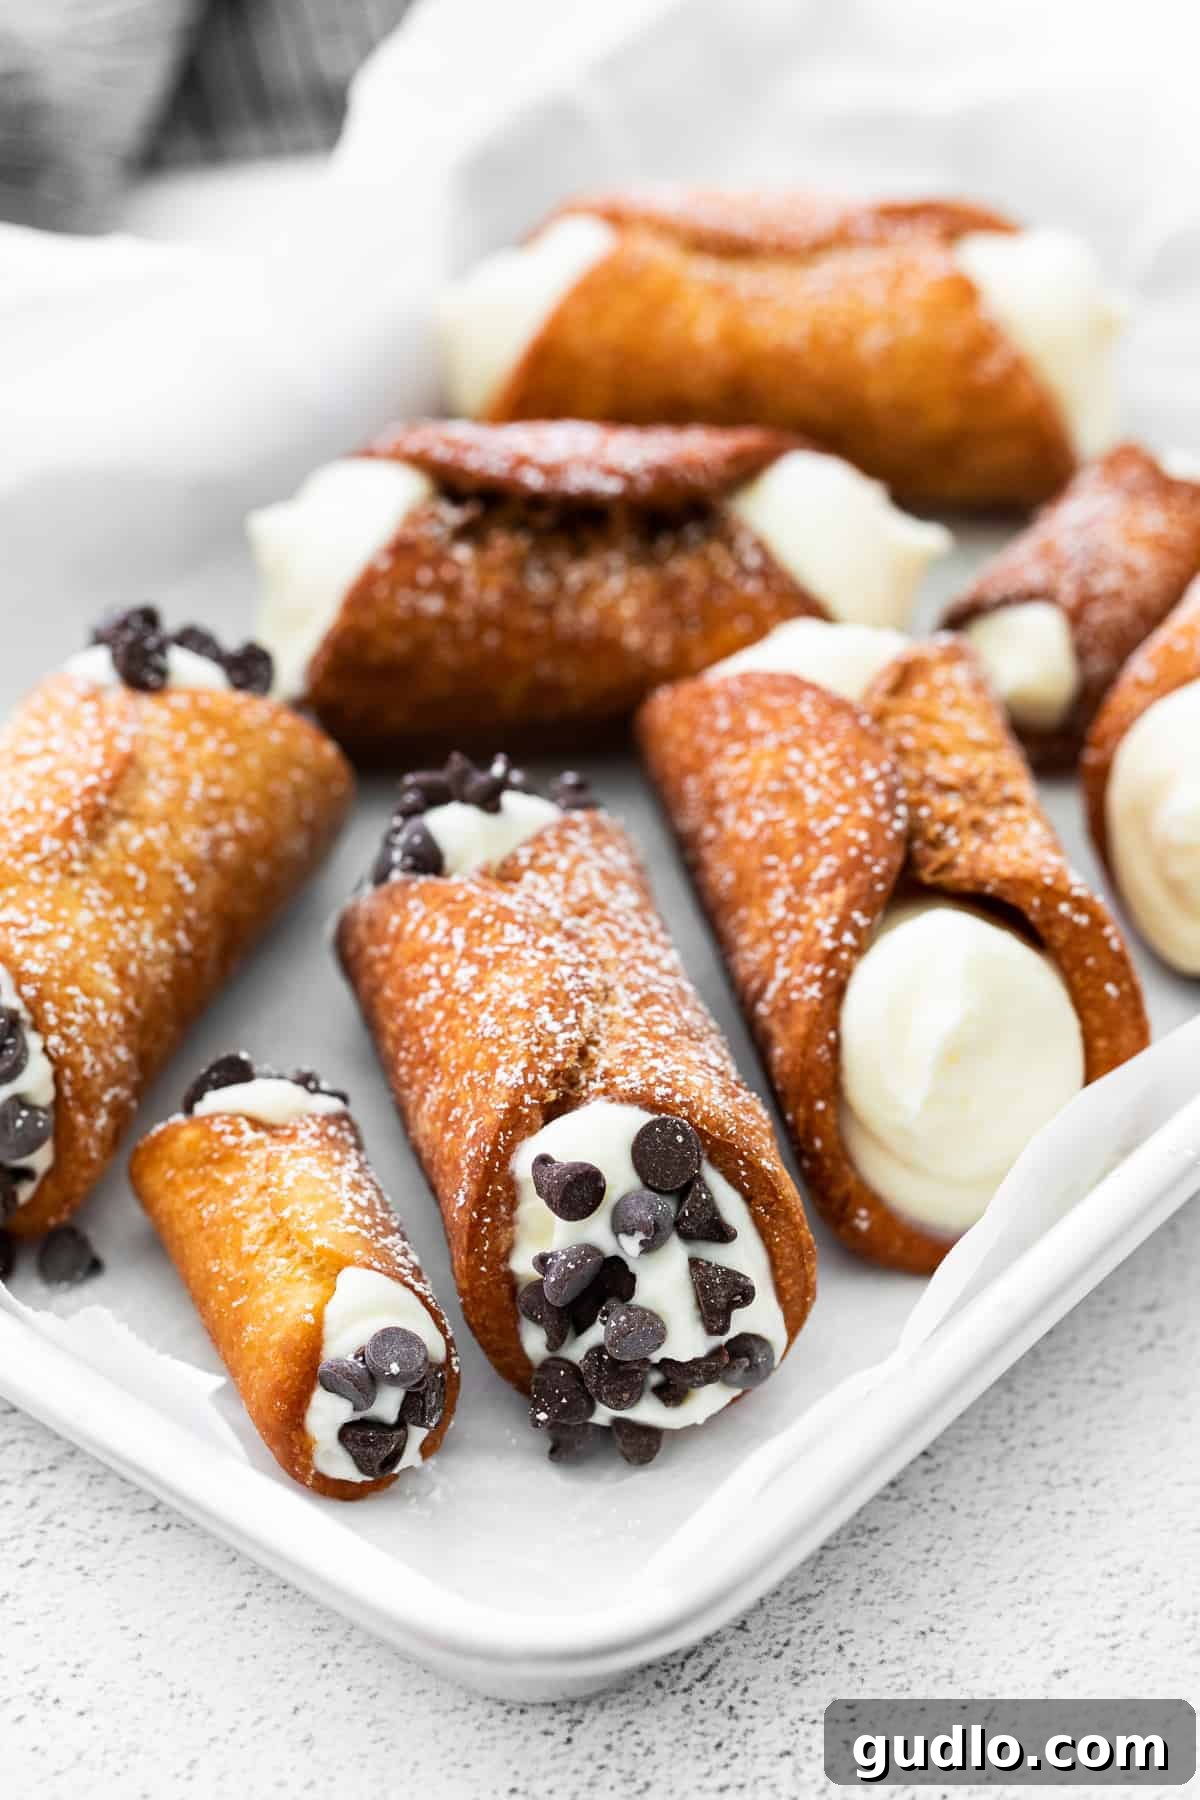
- Garnish: For a classic finish, sprinkle mini chocolate chips on the edges of each filled cannoli. You can also dust them with a light layer of powdered sugar for an elegant presentation.
- Serve immediately: Cannolis are best enjoyed fresh, when the shells are at their crispiest.
Exciting Flavor Swaps & Garnishing Ideas for Your Cannolis
While mini chocolate chips are a traditional favorite, there are many delightful ways to customize your cannolis and make them uniquely yours. Here are some fantastic alternatives for garnishing and adding extra flair:
- Chopped Pistachios: A vibrant green and nutty crunch that pairs beautifully with the creamy filling.
- Candied Orange Peel or Orange Zest: Adds a bright, citrusy note, a classic Sicilian pairing.
- Maraschino Cherries: For a pop of color and a touch of fruity sweetness, often used whole or chopped on the ends.
- Rainbow Sprinkles: A fun and festive option, perfect for birthdays or celebrations.
- Toasted Almonds: Finely chopped and toasted, they offer a subtle crunch and nutty aroma.
- Cocoa Powder: A dusting over the finished cannoli for a sophisticated chocolate touch.
- Dark Chocolate Drizzle: Melted dark chocolate drizzled over the filled cannolis for an extra touch of indulgence.
Storage Tips for Homemade Cannolis
To enjoy your cannolis at their peak crispness, it’s always best to fill them just before serving. However, if you have leftovers or are preparing ahead:
Store filled cannolis in an airtight container in the refrigerator for up to 3 days. Be aware that the shells will gradually soften over time due to the moisture from the filling.
For best results, store unfried shells, fried shells, and filling separately.
- Unfried Dough: Can be kept wrapped in plastic wrap in the fridge for up to 2-3 days, or frozen for up to a month (thaw before rolling).
- Fried Shells: Store cooled, unfilled shells in an airtight container at room temperature for up to 2-3 days to maintain maximum crispness.
- Ricotta Filling: Keep the filling in a piping bag, sealed, in the refrigerator for up to 3 days.
Can You Freeze Cannolis?
While fully assembled cannolis don’t freeze particularly well due to the shells softening, you can freeze the components:
- Dough: The raw cannoli dough can be wrapped tightly and frozen for up to 1 month. Thaw in the refrigerator overnight before rolling and frying.
- Fried Shells: Cooled, unfilled shells can be frozen in a freezer-safe airtight container or bag for up to 3 months. Thaw at room temperature for a few hours before filling.
- Ricotta Filling: The filling is generally not recommended for freezing as the ricotta can change in texture and become grainy upon thawing. It’s best made fresh.
Frequently Asked Questions About Homemade Cannolis
Why is my cannoli filling runny?
The most common culprit is unstrained ricotta cheese. Ricotta naturally holds a lot of moisture. If not drained properly, this excess liquid will make your filling watery and loose. Ensure you strain your ricotta for at least 8 hours, or overnight, using cheesecloth in a fine-mesh strainer.
Can I bake cannoli shells instead of frying them?
While some recipes attempt a baked version, traditional cannoli shells are fried. Frying creates that signature bubbly, crisp texture and rich flavor that baking cannot fully replicate. Baked shells tend to be more cracker-like and less airy. For an authentic experience, frying is recommended.
What can I use instead of Marsala wine?
Marsala wine contributes significantly to the classic cannoli flavor. If you don’t have it, a dry white wine (like Pinot Grigio) or even a splash of white vinegar mixed with a tiny bit of sugar can provide the necessary acidity and moisture to the dough, though the unique flavor profile of Marsala will be missed.
How do I prevent my cannoli shells from getting soggy?
The key is to fill the cannoli shells just before serving. The moisture from the ricotta filling will inevitably soften the crispy shells over time. If you’re preparing ahead, store the shells and filling separately and assemble right before guests arrive or you plan to eat them.
Can I make the dough ahead of time?
Absolutely! The cannoli dough can be made up to 2-3 days in advance and stored tightly wrapped in plastic in the refrigerator. This allows the gluten to relax, which can actually make the dough easier to roll and results in more tender shells.
The History of Cannoli: A Sweet Sicilian Legacy
Cannolis are not just a dessert; they are a symbol of Sicilian culinary tradition, deeply rooted in history. Originating in Sicily, these pastries are believed to have been created during the Carnival season as a fertility symbol, perhaps even dating back to ancient Roman or Arab influences. The name “cannolo” (singular) refers to the river reeds once used to shape the pastry shells, which were then filled with sweet ricotta cheese. Over centuries, cannolis evolved into the beloved treat we know today, traditionally enjoyed during festivities and now a staple in Italian bakeries worldwide. Making them at home connects you to this rich, delicious heritage.
More of our Favorite Desserts…
More Irresistible Dessert Recipes
If you’ve enjoyed mastering this classic cannoli recipe, you’ll love exploring other delightful desserts from our collection. From rich cakes to creamy cheesecakes, find your next favorite sweet treat:
- Cream Cheese Pound Cake
- Pumpkin Bars with Cream Cheese Frosting
- Instant Pot Cheesecake
- Caramel Apple Cheesecake
- Classic Tiramisu
- Lemon Ricotta Cake
Classic Cannolis
Linley Hanson
Prep:
20
Cook:
10
Total:
30
12

Ingredients
For the Shell
- 1.5 cups all-purpose flour
- 2 tablespoons granulated sugar
- 1/4 teaspoon salt
- 3 tablespoons cold butter
- 1 large egg
- ⅓ cup marsala wine
- Vegetable oil, for frying
For the Filling
- ¼ cup heavy cream
- 1 cup ricotta cheese, strained (see notes)
- ½ cup powdered sugar
- ¼ teaspoon ground cinnamon
- ¼ cup mini chocolate chips
Instructions
For the Shell
-
Add the flour, salt, and sugar to the bowl of a food processor and pulse to combine.
-
Add the butter and pulse until the butter is the size of peas– about 30 seconds.

-
Next, add the egg and Marsala wine and pulse until the dough comes together in a ball.
-
Wrap the dough in plastic and place it in the fridge to chill while you prepare the filling and oil.
For the Filling
-
Add the heavy cream to the bowl of a stand mixer fitted with the whisk attachment. Beat on medium-high speed until the cream forms stiff peaks– about 2 minutes.
-
Next, add the strained ricotta, powdered sugar, and cinnamon. Fold them gently into the whipped cream.
-
Transfer the mixture to a piping bag fitted with a large tip and place it in the fridge until ready to use.
Fry and Assemble
-
Heat at least two inches of vegetable oil in a large Dutch oven to 365ºF (185°C).
-
Roll out the dough on a lightly floured surface to ⅛-inch thick. Use round cookie cutters (a 2-inch cutter is ideal) to cut circles out of the dough. Wrap the circles around a cannoli ring and press the ends together gently to seal them.
-
Carefully fry the shaped dough for 2-3 minutes, or until the cannolis are golden brown and crisp.
-
Remove the cannoli shells from the oil and gently slide them off the rings. Repeat with the remaining dough. Place the fried shells on a wire rack to cool completely. Be extremely careful– the rings will be hot!
-
When you’re ready to serve, fill the center of the cooled shells with the ricotta filling using the piping bag, and dip the edges into mini chocolate chips.
-
Garnish with an optional dusting of powdered sugar and enjoy immediately for the best experience.
-
Store any unfilled shells in an airtight container at room temperature for up to two days. Store the filling separately in the fridge until ready to use.

Watch It
Watch our step-by-step video tutorial to guide you through the process of making these delicious classic cannolis.
Nutrition
Carbohydrates: 20 g,
Protein: 3 g,
Fat: 7 g,
Fiber: 1 g,
Sugar: 8 g
Nutrition information is automatically calculated, so should only be used as an approximation.
Love this? Leave a comment below!
Don’t forget to tag your posts on social media with the hashtag #cheeseknees, we’d love to see what you’re up to!