
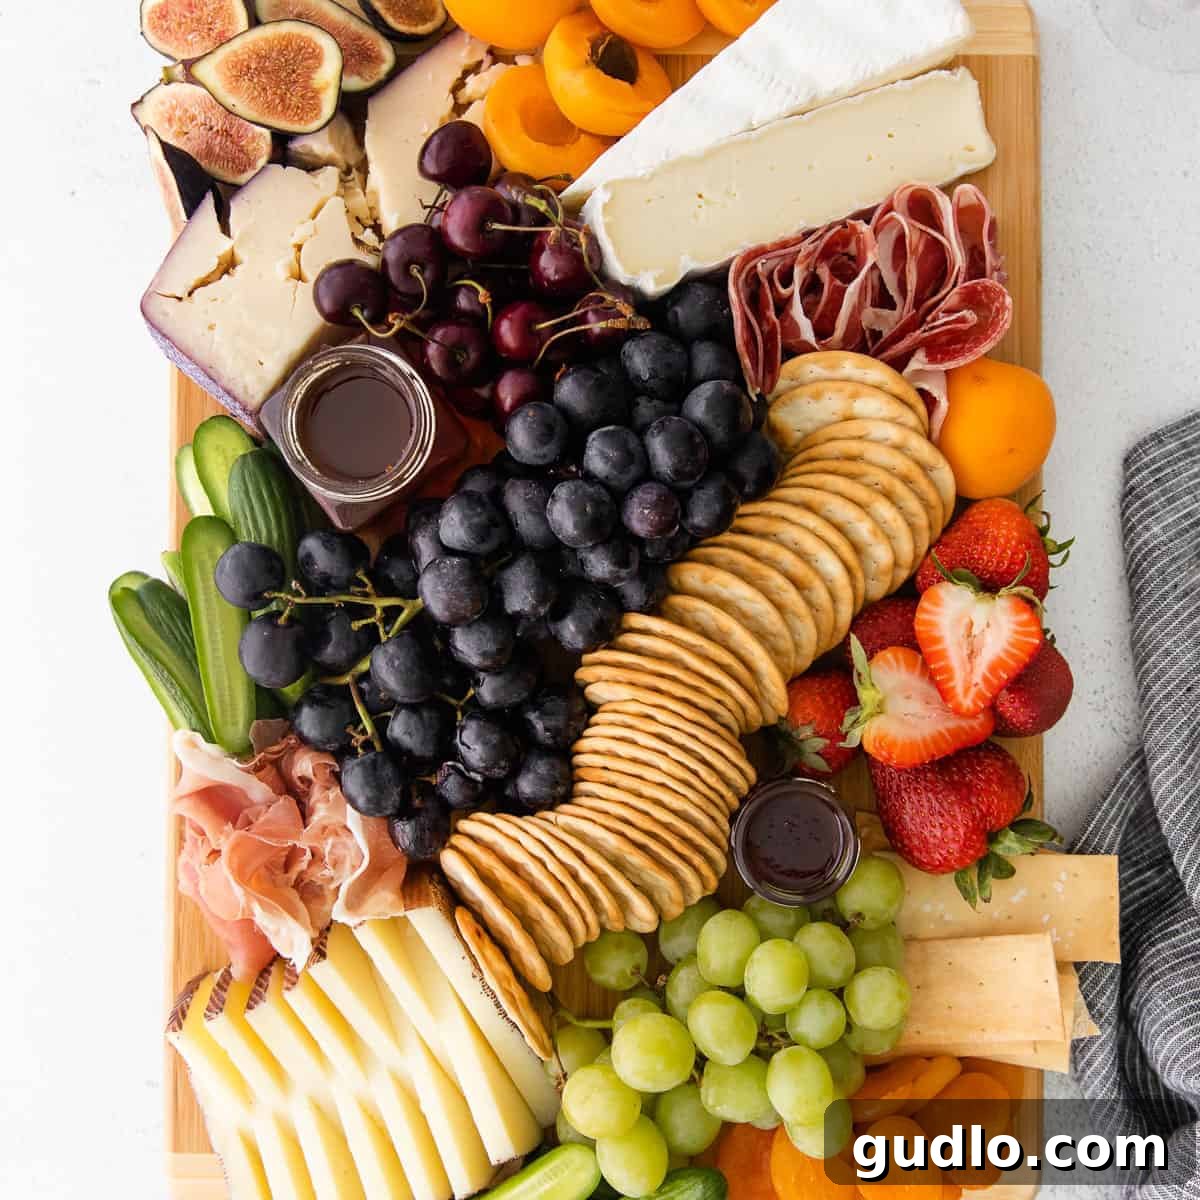
There’s something truly special about a beautifully arranged cheese board. Bursting with an array of distinct cheeses, savory meats, crisp crackers, and vibrant fruits, it’s our ultimate go-to appetizer for sharing. Whether you’re hosting a sophisticated dinner party, enjoying a casual get-together with friends, or simply treating yourself to an elegant snack, a well-crafted cheese board transforms simple ingredients into an inviting culinary experience. Follow our simple tips and tricks to master the art of building a cheese board that’s as delicious as it is visually stunning.
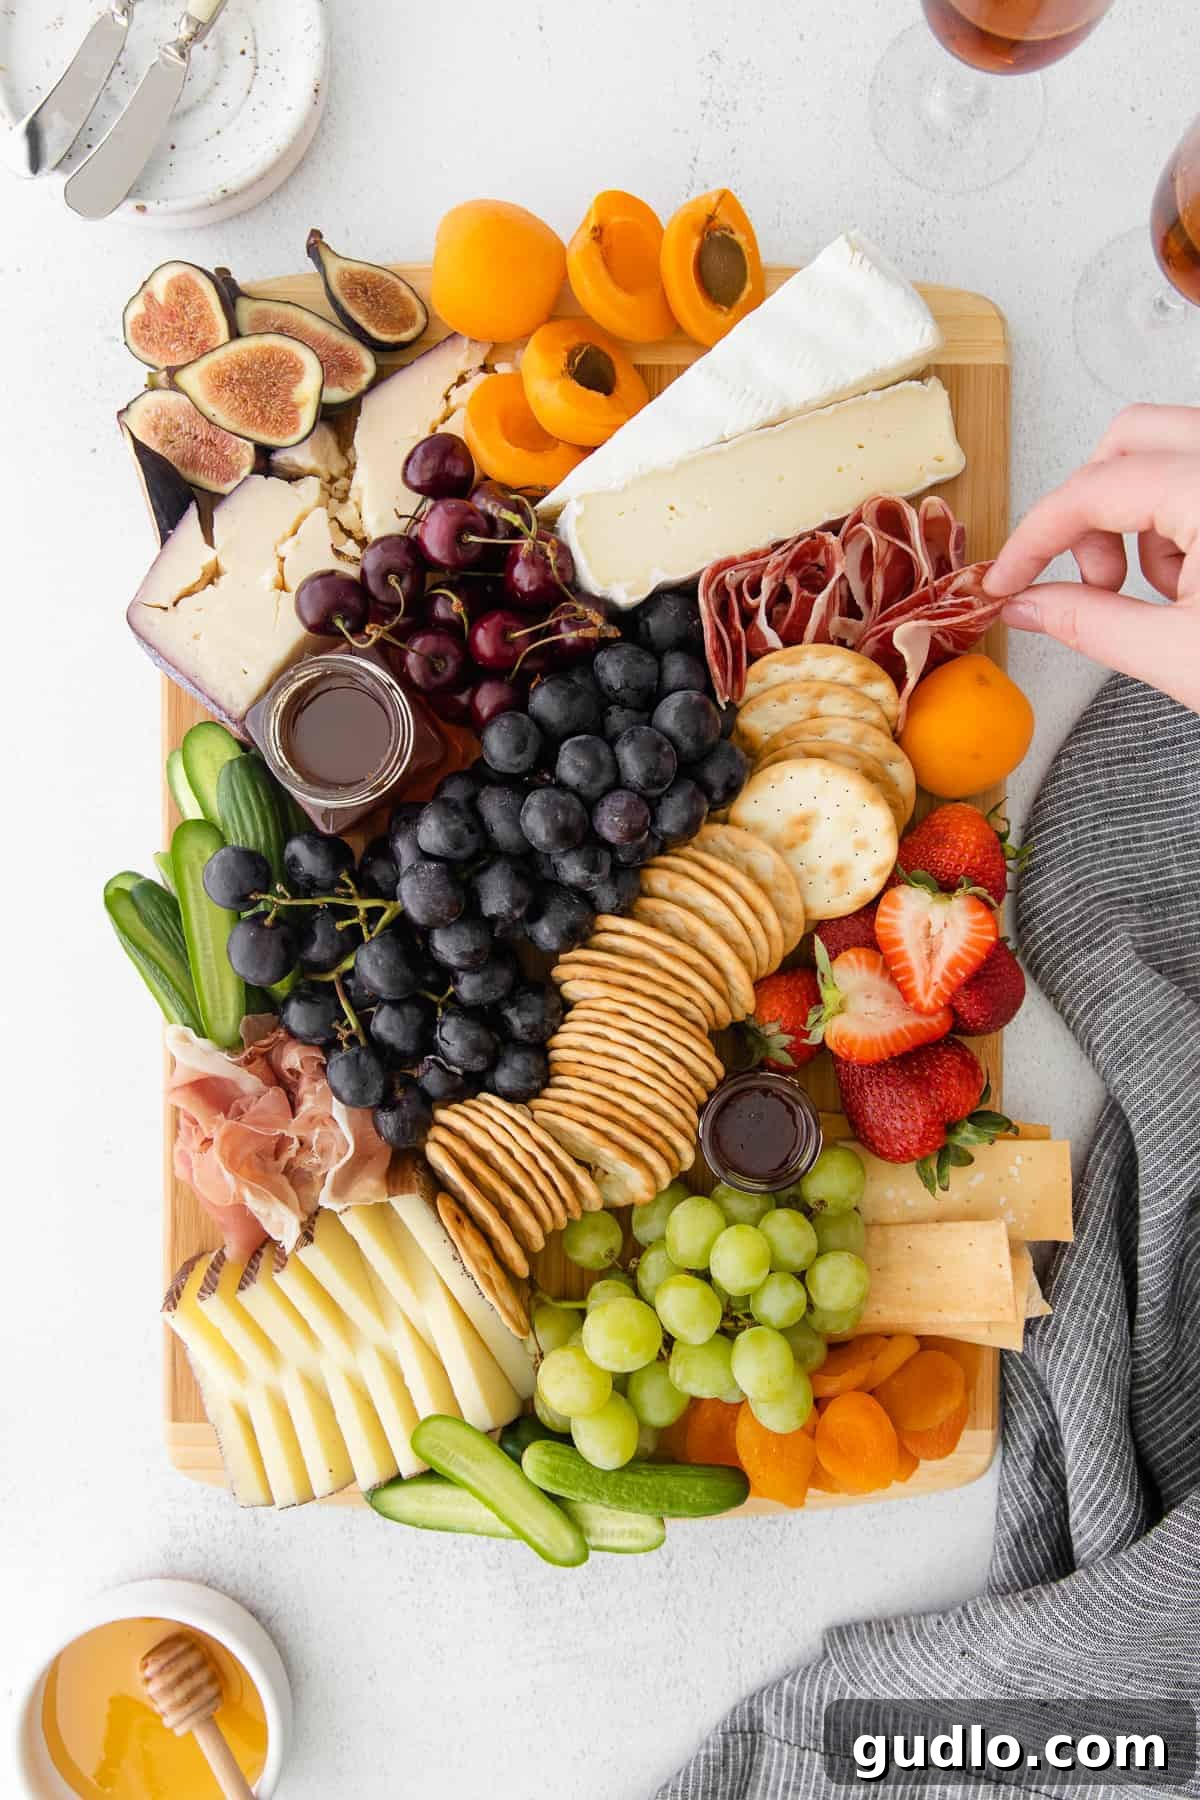
Picture this: a warm summer day, a cool breeze, a glass of your favorite wine, and an impeccably arranged cheese board. It’s an experience that embodies relaxation and indulgence, offering a harmonious blend of flavors and textures that captivate every palate. A cheese board isn’t just an appetizer; it’s a centerpiece, a conversation starter, and a testament to the joy of shared food.
If your love for all things cheese runs deep, consider elevating your spread with some delightful homemade additions. Our Cheddar Bacon Cream Cheese Dip, Baked Goat Cheese Balls, and Smoked Cream Cheese are all fantastic options that would complement your board beautifully, offering rich flavors and creamy textures.
Cheese Board vs. Charcuterie Board: What’s the Difference?
While the terms “cheese board” and “charcuterie board” are often used interchangeably, and many boards expertly combine elements of both, there’s a subtle distinction rooted in their traditional definitions.
Traditionally, a charcuterie board (charcuterie referring to cooked, cured, or smoked meats) focuses primarily on a selection of cured meats, such as salami, prosciutto, pâté, and terrines. These meats are often accompanied by complementary items like mustards, pickles, and crusty bread.
A cheese board, on the other hand, puts the spotlight squarely on a diverse array of cheeses. While meats can certainly be included, the emphasis is on showcasing different types of cheeses—from soft and creamy to hard and aged—alongside fruits, nuts, crackers, and spreads that enhance their unique profiles. In essence, if cheese is the star, it’s a cheese board; if cured meats take center stage, it’s charcuterie. However, for most home entertainers, a “grazing board” that blends the best of both worlds is the ultimate goal!
The Art of the Perfect Cheese Board: Key Principles
Before you dive into selecting ingredients, keep these fundamental principles in mind. A truly exceptional cheese board delights all the senses, offering an abundance of flavor, texture, and color. Your aim is to create a bountiful, overflowing display that looks incredibly inviting. A full board signals generosity and encourages guests to readily explore and enjoy the feast before them.
Embrace Abundance: A Feast for the Eyes and Palate
The secret to a truly irresistible cheese board lies in its perceived abundance. A generously filled board not only looks more appealing but also suggests a welcoming invitation to indulge. Don’t be afraid to pile ingredients high, arrange items closely together, and minimize any empty spaces on your board. This creates a lush, vibrant tapestry of culinary delights that guests will be eager to explore.
Harmonize Flavors: A Symphony of Tastes
A diverse range of flavors is crucial for a dynamic cheese board. Think about incorporating sweet elements (honey, fruit), salty notes (cured meats, olives), savory depths (aged cheeses, nuts), tangy bites (pickles, certain fruits), and even a hint of spice if desired. The magic happens when these different flavors interact, creating exciting new combinations with each bite. For instance, the sweetness of fig jam perfectly balances a sharp cheddar, while a salty prosciutto can cut through the richness of a creamy brie.
Master Textures: A Delightful Culinary Journey
Texture adds another layer of enjoyment to your board. Aim for a mix of creamy cheeses, firm and crumbly varieties, crunchy crackers, crisp fresh vegetables, chewy dried fruits, and tender cured meats. This textural variety keeps each bite interesting and prevents the board from feeling monotonous. Imagine the satisfying crunch of a cracker followed by the smooth melt of brie, or the chewiness of a dried apricot contrasting with a firm manchego.
Captivate with Color: A Visual Masterpiece
Beyond taste and texture, the visual appeal of your cheese board is paramount. Utilize a wide spectrum of colors to create an eye-catching display. Think about the deep reds of grapes and berries, the vibrant greens of herbs and cucumbers, the golden hues of certain cheeses, and the earthy tones of nuts and crackers. Thoughtful placement of these colorful elements can transform your board into a work of art, making it even more enticing.
Step 1: Curating Your Cheese Selection
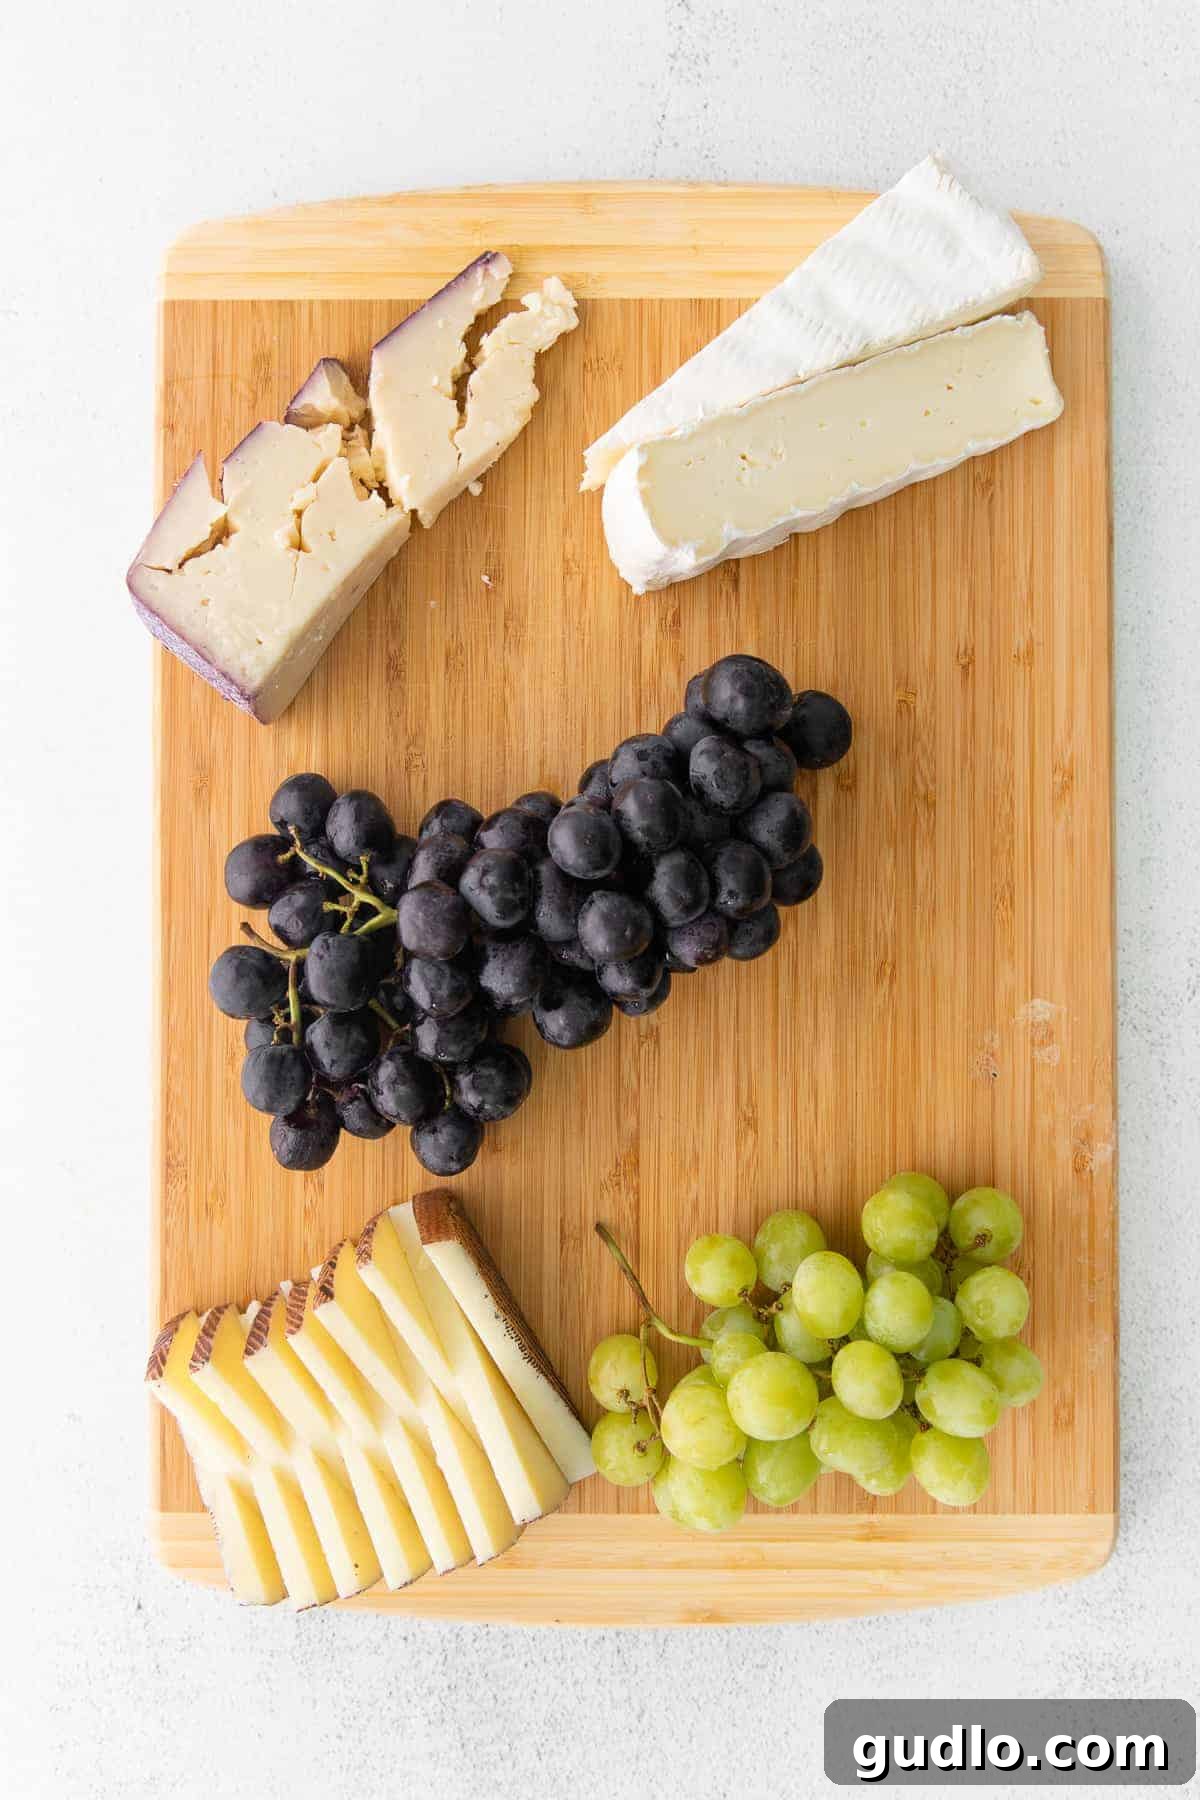
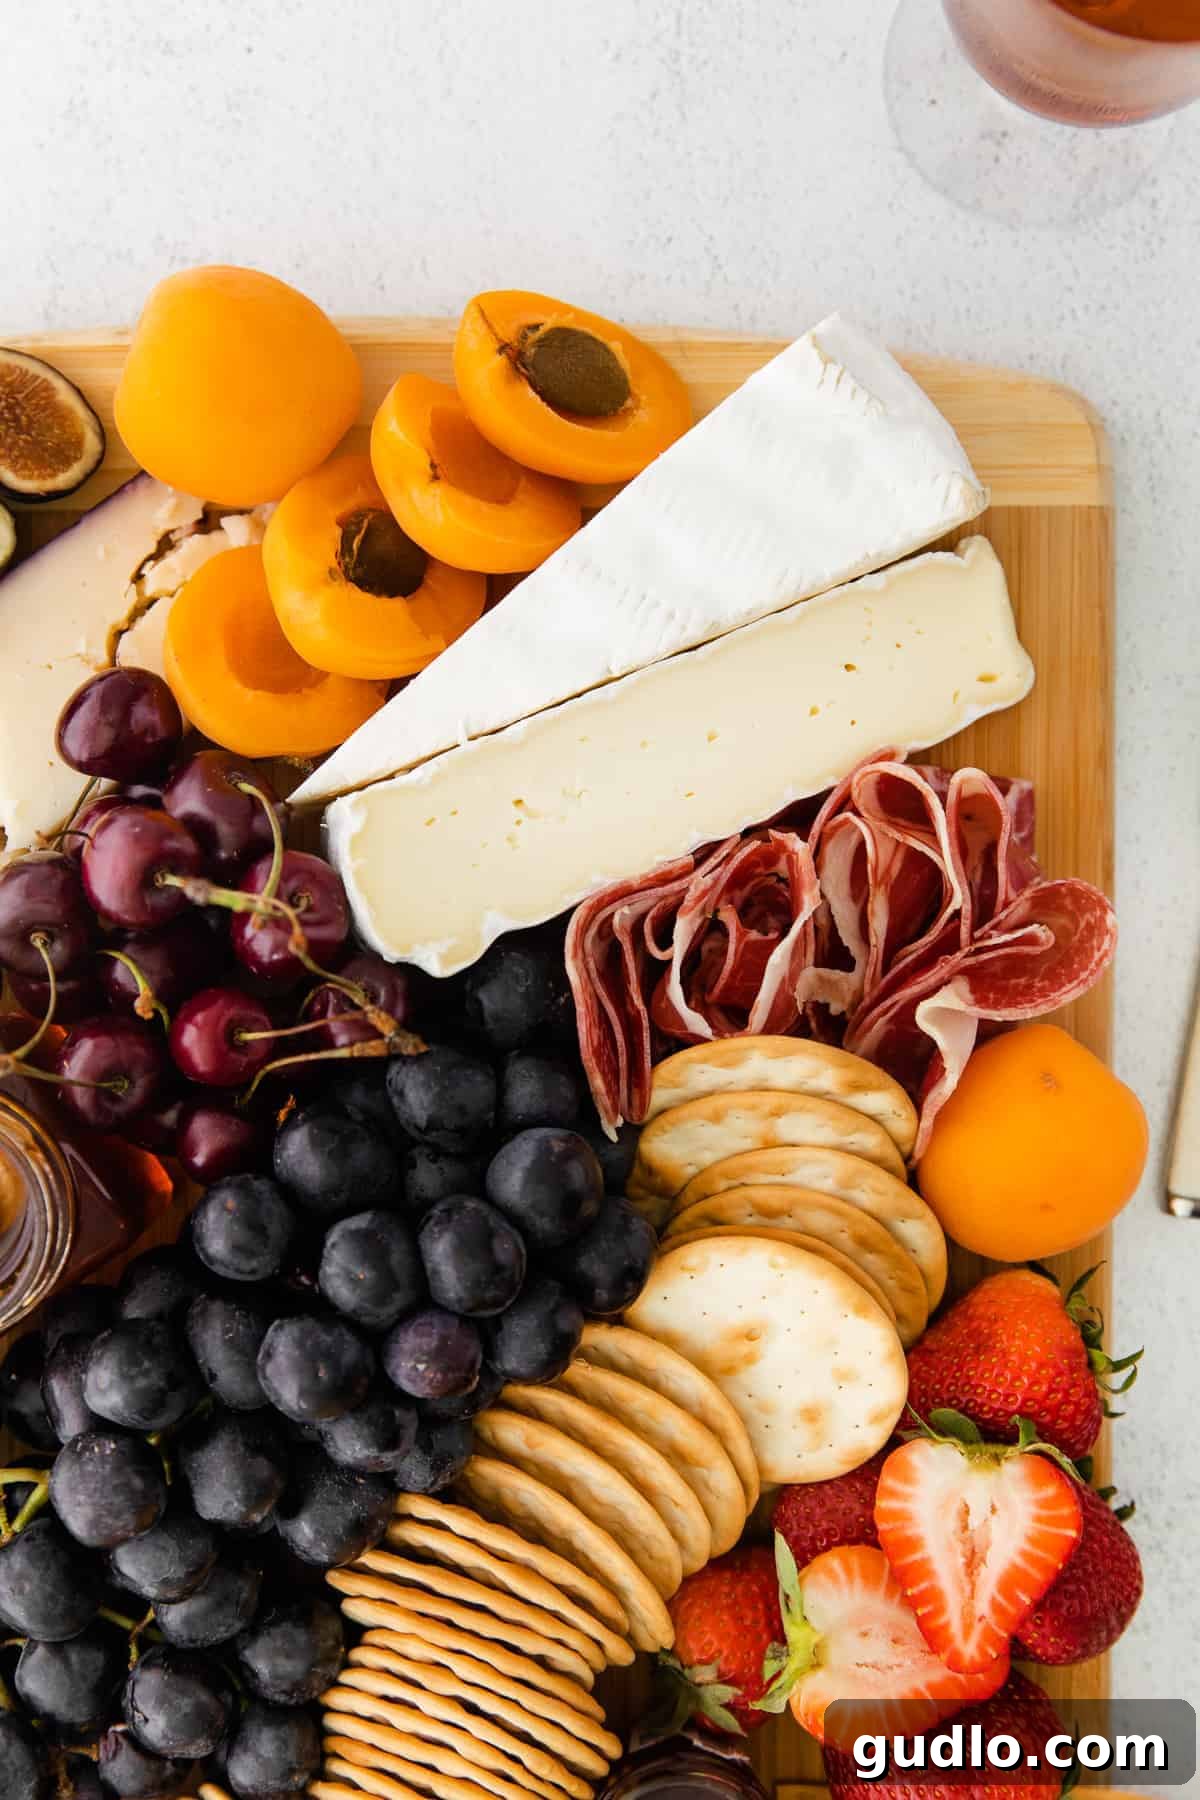
The foundation of any great cheese board is, naturally, the cheese! When assembling a board for a party, I always recommend selecting a variety that offers different experiences. Aim for something hard, something soft, and something unique or “fun” to ensure there’s a cheese for every preference. For this particular board, we’ve opted for a fantastic trio:
- 12-month aged Manchego: A firm, slightly salty Spanish sheep’s milk cheese with a nutty flavor.
- Double Cream Brie: A rich, buttery, and incredibly smooth French cheese with a distinctive edible rind.
- Merlot-washed Cheese (like Merlot Bellavitano): A semi-hard artisan cheese, often a cheddar-parmesan hybrid, with a rind washed in merlot wine, imparting fruity and nutty notes.
These three cheeses complement each other beautifully, offering a spectrum of flavors and textures that are a joy to pair. However, the world of cheese is vast and wonderful, so feel free to experiment! Other excellent choices include creamy Camembert, tangy Drunken Goat cheese, fresh Chèvre (goat cheese), or a bold Stilton blue cheese for those who appreciate a stronger flavor profile. Consider including a smoked gouda or a sharp cheddar for additional variety and popular appeal.
How Much Cheese Per Person?
A helpful guideline when planning your cheese board is to allocate approximately 1/4 lb. to 1/2 lb. of cheese per person. If your cheese board is intended as a light appetizer before a meal, 1/4 lb. per person should be perfectly sufficient. If it’s serving as the main event or for a longer grazing period, lean towards 1/3 to 1/2 lb. per person to ensure everyone gets their fill.
Step 2: Incorporating Fresh Fruits and Vegetables
While cheese is the undeniable star, the supporting cast of fruits and vegetables plays an equally vital role in balancing flavors, adding refreshing textures, and enhancing the visual appeal of your board. The key is to select elements that beautifully complement your chosen cheeses without overpowering them.
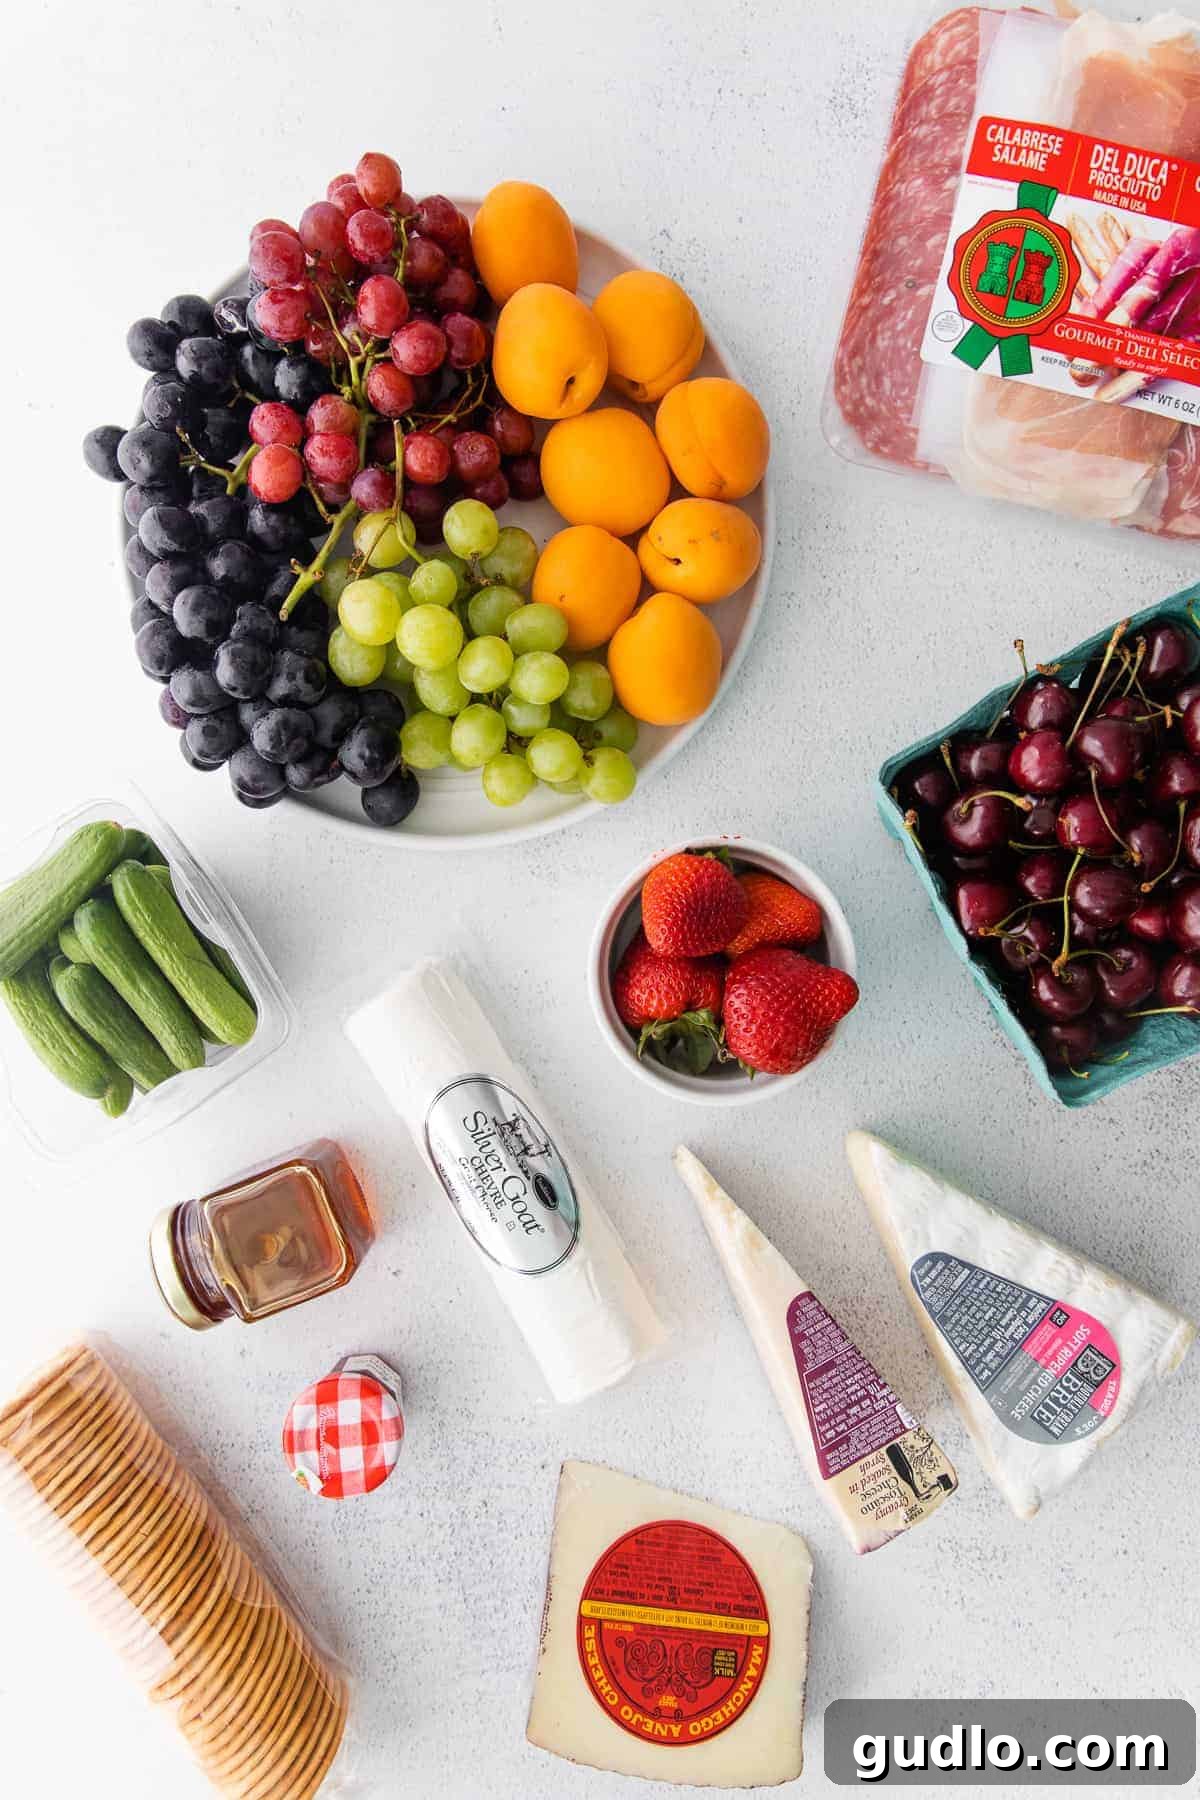
My first selection after the cheeses is always fresh fruit. Seasonal fruits not only taste best but also offer vibrant colors. Grapes are a year-round staple, their sweetness and slight tartness pairing wonderfully with many cheeses. In the spring and summer months, opt for succulent peaches, sweet apricots, juicy berries (strawberries, raspberries, blueberries), and fresh figs. As autumn and winter approach, crisp apples, tender pears, and tangy pomegranates become excellent choices. The goal here is diverse textures—some firm, some soft, some bursting with juice.
When selecting vegetables, go for items that add visual interest, a refreshing crunch, or a tangy bite. On this board, we chose delightful mini cucumbers for their crisp texture and mild flavor. Other fantastic options include colorful bell pepper strips, crunchy carrot sticks, sweet cherry tomatoes, or tender broccoli florets. Don’t forget the power of pickled items like cornichons or olives, which introduce a briny counterpoint to rich cheeses. Including a generous serving of both fruits and vegetables also ensures thoughtful options for any vegan or dairy-free guests.
Step 3: Pairing with Crackers, Crunchy Additions, and Cured Meats
These elements provide the perfect vehicles for your cheese, add textural excitement, and introduce savory depths. Variety is key here to ensure every guest finds something they love.
Crackers and Breads
Crackers are perhaps the easiest component to choose, yet crucial for successful pairing. I typically include at least two types: one plain, neutral cracker that serves as a versatile base and one with a more distinct flavor or interesting texture. For instance, a classic water cracker or a simple baguette slice offers a clean palate, allowing the cheese to shine. Alongside it, a rosemary sea salt cracker or a seeded artisan crisp adds complexity and crunch. Consider adding breadsticks or even thinly sliced, toasted baguette for additional variety. Offering gluten-free options ensures inclusivity for all your guests.
Crunchy Embellishments
Beyond crackers, incorporate a selection of “crunchies” to enhance the textural landscape of your board. A handful of mixed nuts (almonds, walnuts, pecans, pistachios) adds healthy fats and a satisfying bite. You could also include spiced nuts, pretzels, or even roasted chickpeas for a different kind of crunch. These small additions fill in gaps beautifully and provide satisfying snacks between cheese bites.
Cured Meats: The Charcuterie Touch
Cured meats are entirely optional for a cheese board, but they are a magnificent addition, offering a salty, savory, and often umami-rich counterpoint to your cheeses. My absolute favorite cured meat for a board is prosciutto, particularly the delicate and flavorful Prosciutto di Parma, closely followed by Prosciutto di San Daniele. Its thin, melt-in-your-mouth texture is simply divine. Other excellent choices include robust hard salami (such as Genoa or Soppressata), spicy capicola, or a hearty summer sausage. Presenting a variety of meats helps create contrast, particularly with creamy cheeses like brie.
A crucial tip regarding cured meats: not all are created equal! If you have access to a specialty food store or a reputable deli that can slice cured meats to order, I highly recommend it. Freshly sliced meats typically have superior flavor and texture compared to pre-packaged, pre-cut varieties from a standard grocery store, which can sometimes be muted or dry. If only pre-cut options are available, consider if the quality meets your standards for the board; sometimes it’s better to omit than to include a subpar item.
Step 4: Adding Delicious Dips and Spreads
The final touch to any exquisite cheese board is an array of flavorful dips and spreads. These additions introduce moisture, sweetness, tang, and another layer of complexity, allowing for endless pairing possibilities. Think about contrasting flavors—sweet with salty, tangy with rich—that will harmonize beautifully with your chosen cheeses.
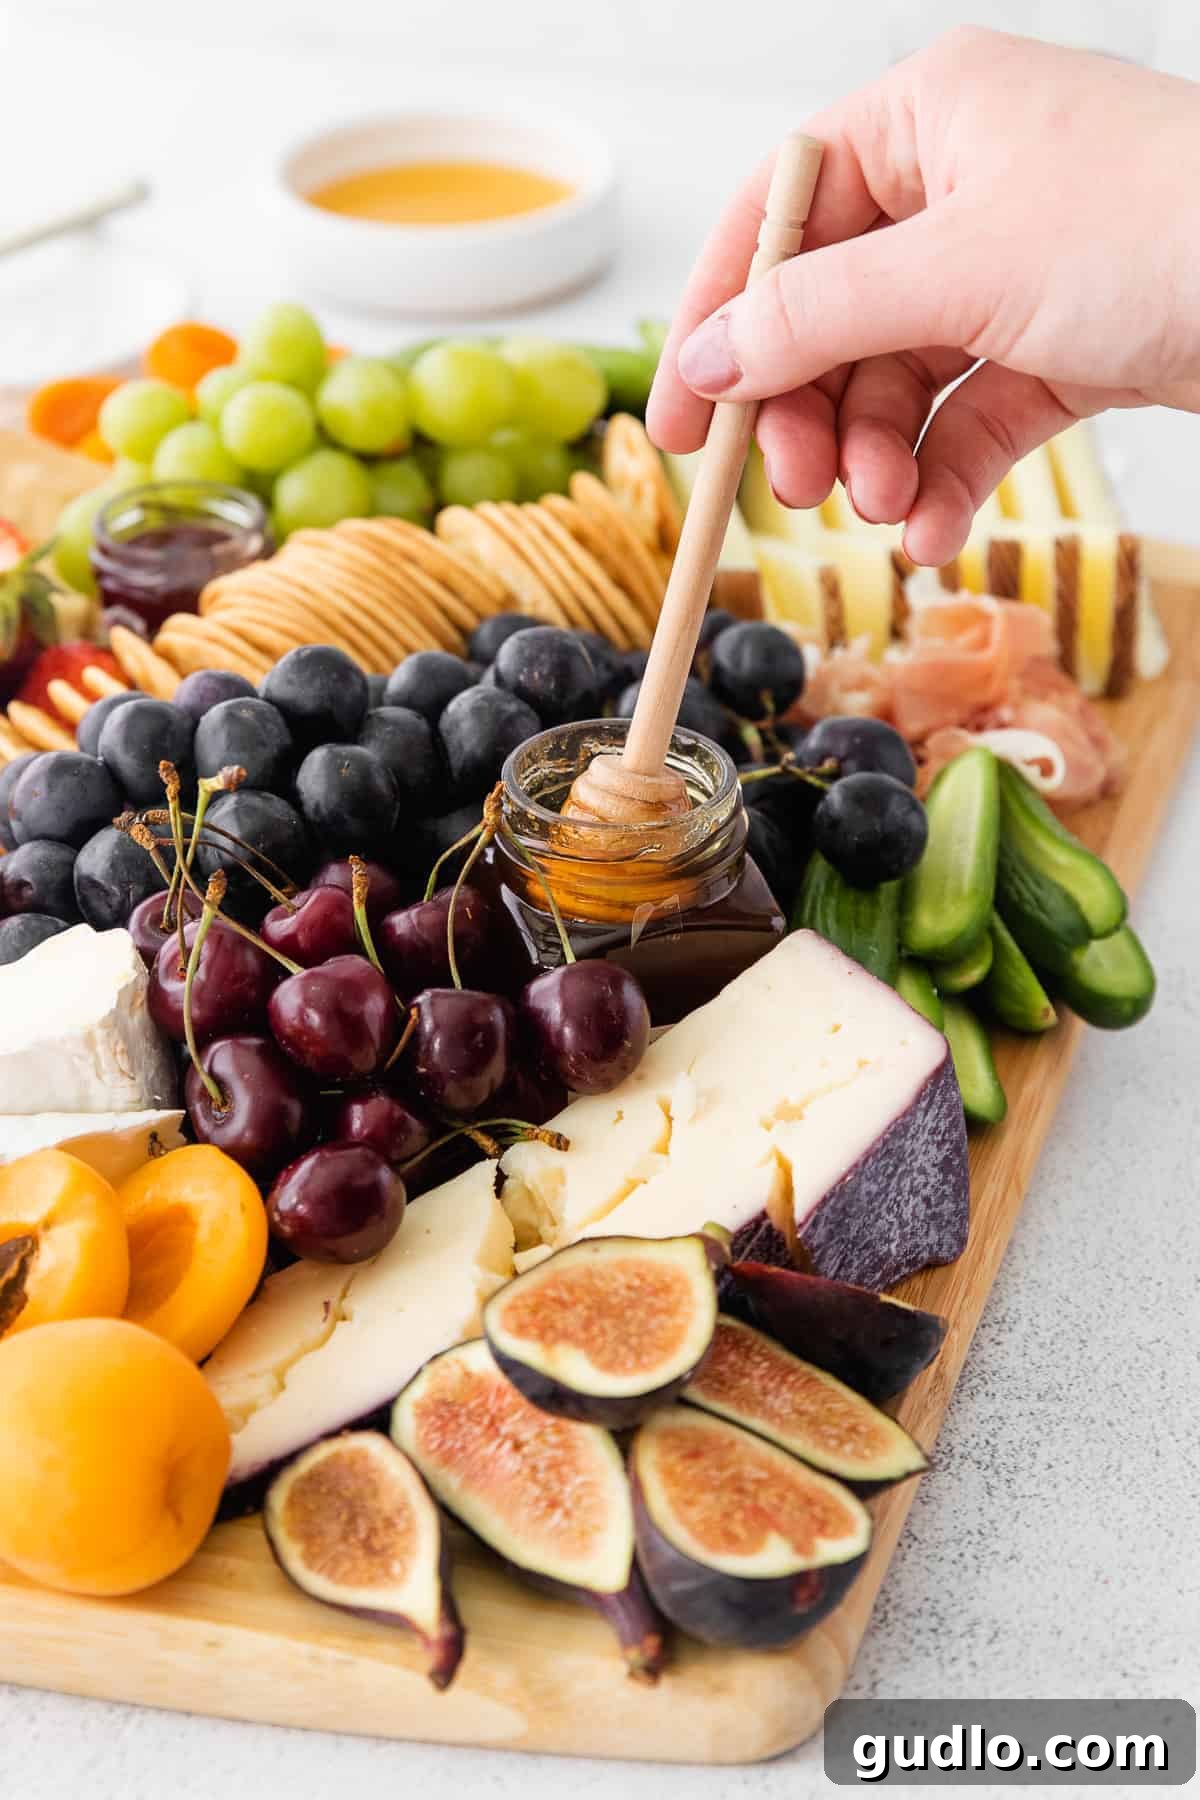
On this particular board, we’ve included a small jar of sweet honey and a vibrant raspberry jam, both of which are classic pairings for many cheeses. Honey’s natural sweetness complements everything from sharp cheddar to creamy goat cheese, while fruit jams offer a burst of fruity brightness. But don’t limit yourself!
Here are more ideas to inspire your dip and spread selection:
- Homemade Hummus: A savory, creamy option perfect with vegetables and crackers.
- Pimento Cheese Dip: A Southern classic, rich and cheesy with a slight piquant kick.
- Pesto: Fragrant and herbaceous, ideal with fresh mozzarella or milder cheeses.
- Whipped Feta: Creamy, tangy, and salty—a fantastic Mediterranean-inspired choice.
- Buffalo Chicken Dip: For those who love a bold, spicy, and hearty option.
- **Mustards:** Grainy Dijon, spicy brown mustard, or honey mustard can be excellent with cured meats.
- **Olive Tapenade:** A briny, savory spread that pairs well with fresh bread and many cheeses.
- **Chutneys:** Fruit chutneys offer sweet and savory notes, especially good with aged cheeses.
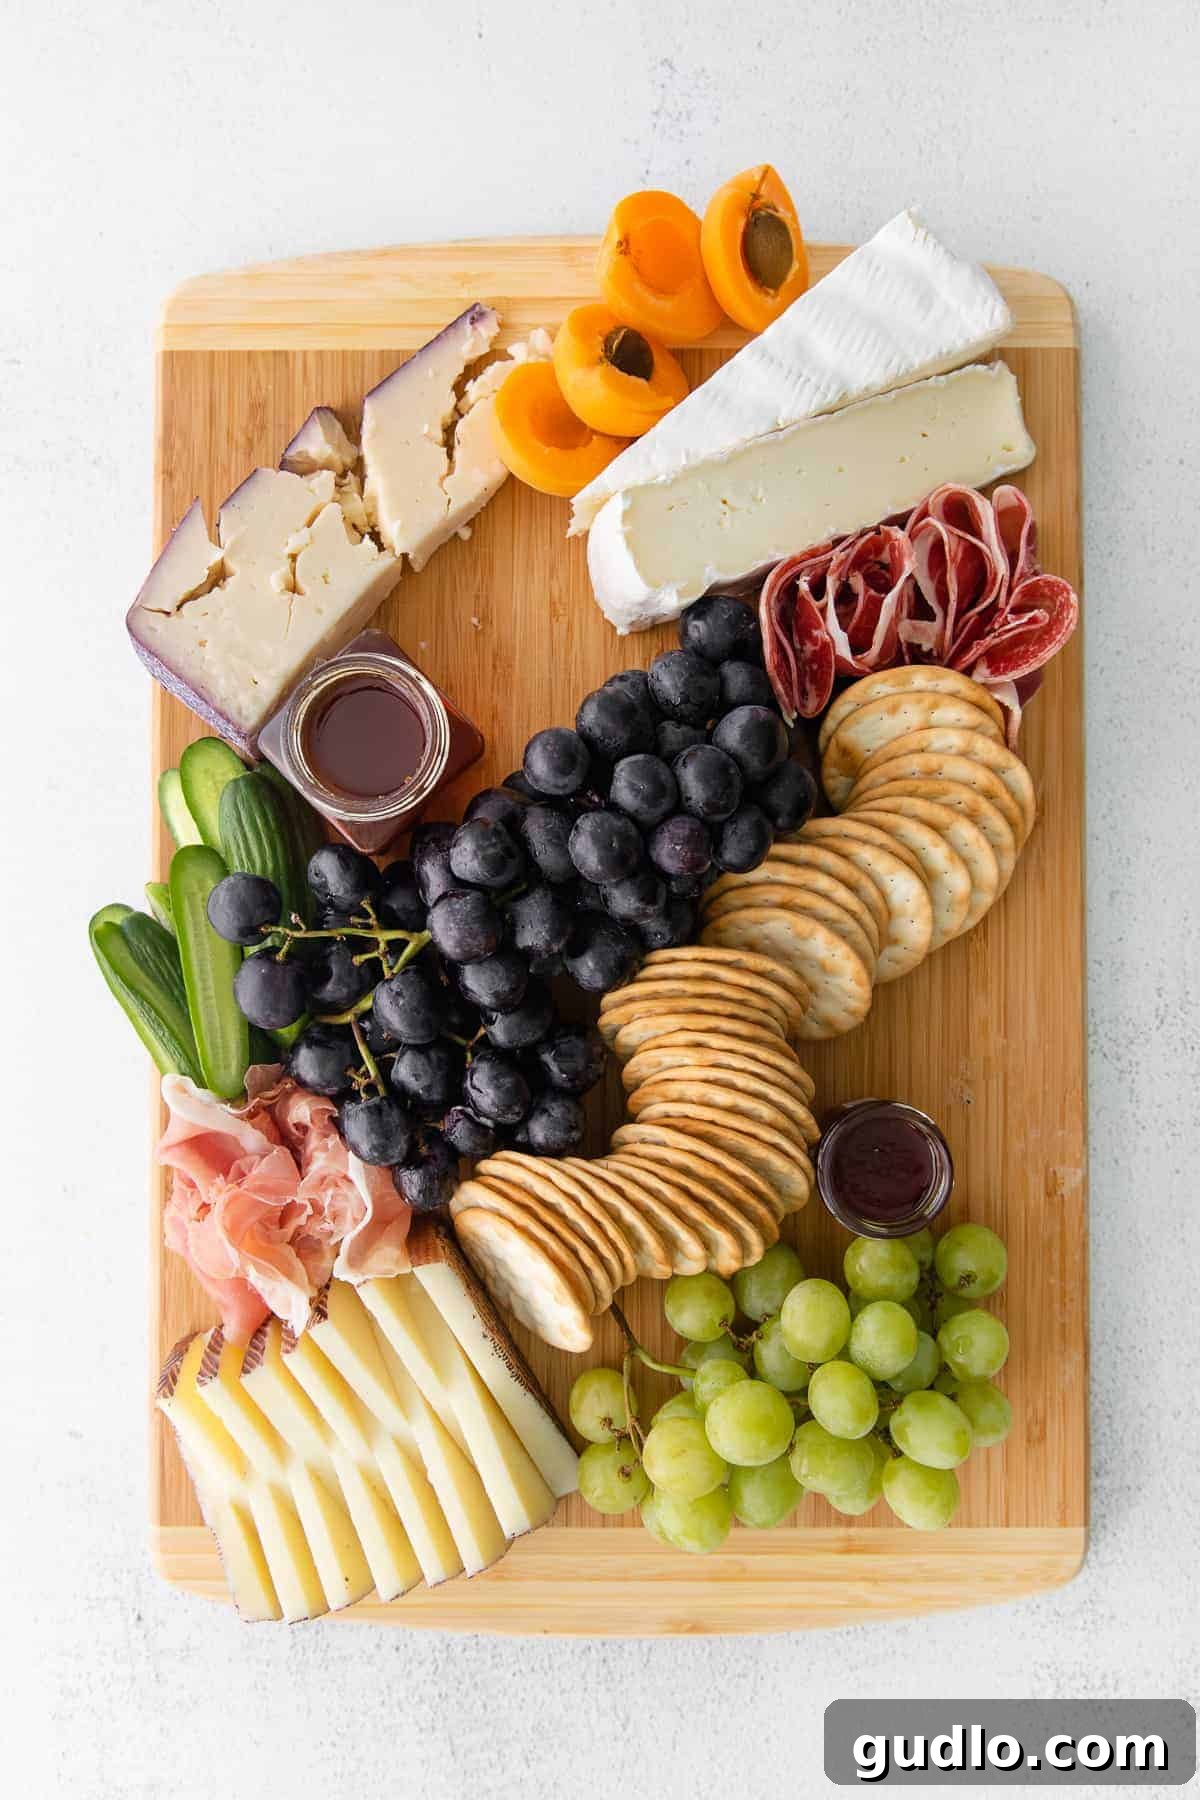
Selecting the Perfect Board: Your Canvas for Culinary Art
Now that you’ve meticulously chosen all the delectable elements for your cheese board, it’s time to decide on the actual surface where your culinary masterpiece will come to life. This step can feel a little daunting, but it doesn’t have to be! The “right” board depends on your guest count and the aesthetic you’re aiming for.
Board Sizes for Every Occasion:
- Large Gatherings: For big crowds, parties, or when the cheese board is a significant part of the meal, opt for your largest available board—something in the 18-24 inch range. This provides ample space to create an abundant, impressive display.
- Medium-Sized Socials: For afternoon cheese boards or casual appetizers shared among a few friends, a medium-sized board around 10-12 inches is ideal. It allows for a good variety without being overwhelming.
- Intimate Settings: For small, personal cheese boards designed for two or a very small group, I typically choose something in the 6-8 inch range. This keeps it cozy and manageable.
Don’t fret if you don’t own a dedicated “cheese board.” Creativity is key! You can just as easily assemble your stunning cheese display directly on a clean kitchen counter or dining table. Just be sure to lay down some parchment paper or butcher paper first. This not only makes cleanup a breeze but also adds a rustic, artisanal touch to your presentation.
What Kind of Board Material Works Best?
While specialty cheese boards are beautiful, you are by no means pressured to spend a fortune on an expensive, singular-purpose item. Almost any flat, food-safe surface can work marvelously!
- Wooden Cutting Boards: A classic choice. Wood adds warmth and a natural feel. Different types like acacia, bamboo, or olive wood offer varying aesthetics.
- Marble Slabs: Elegant and sophisticated. Marble stays cool, which is excellent for keeping cheeses fresh, especially on a warm day.
- Slate Platters: A modern and chic option. Slate provides a striking dark background that makes vibrant ingredients pop. You can even write cheese names directly on slate with chalk.
- Baking Sheets or Casserole Dishes: For a more casual or impromptu setup, a clean baking sheet or a large, flat casserole dish can serve as a functional and spacious base.
- Large Dinner Platters: Any large, flat ceramic or glass platter can be repurposed into a cheese board.
The most important thing is that the surface is clean, food-safe, and visually pleasing to you.
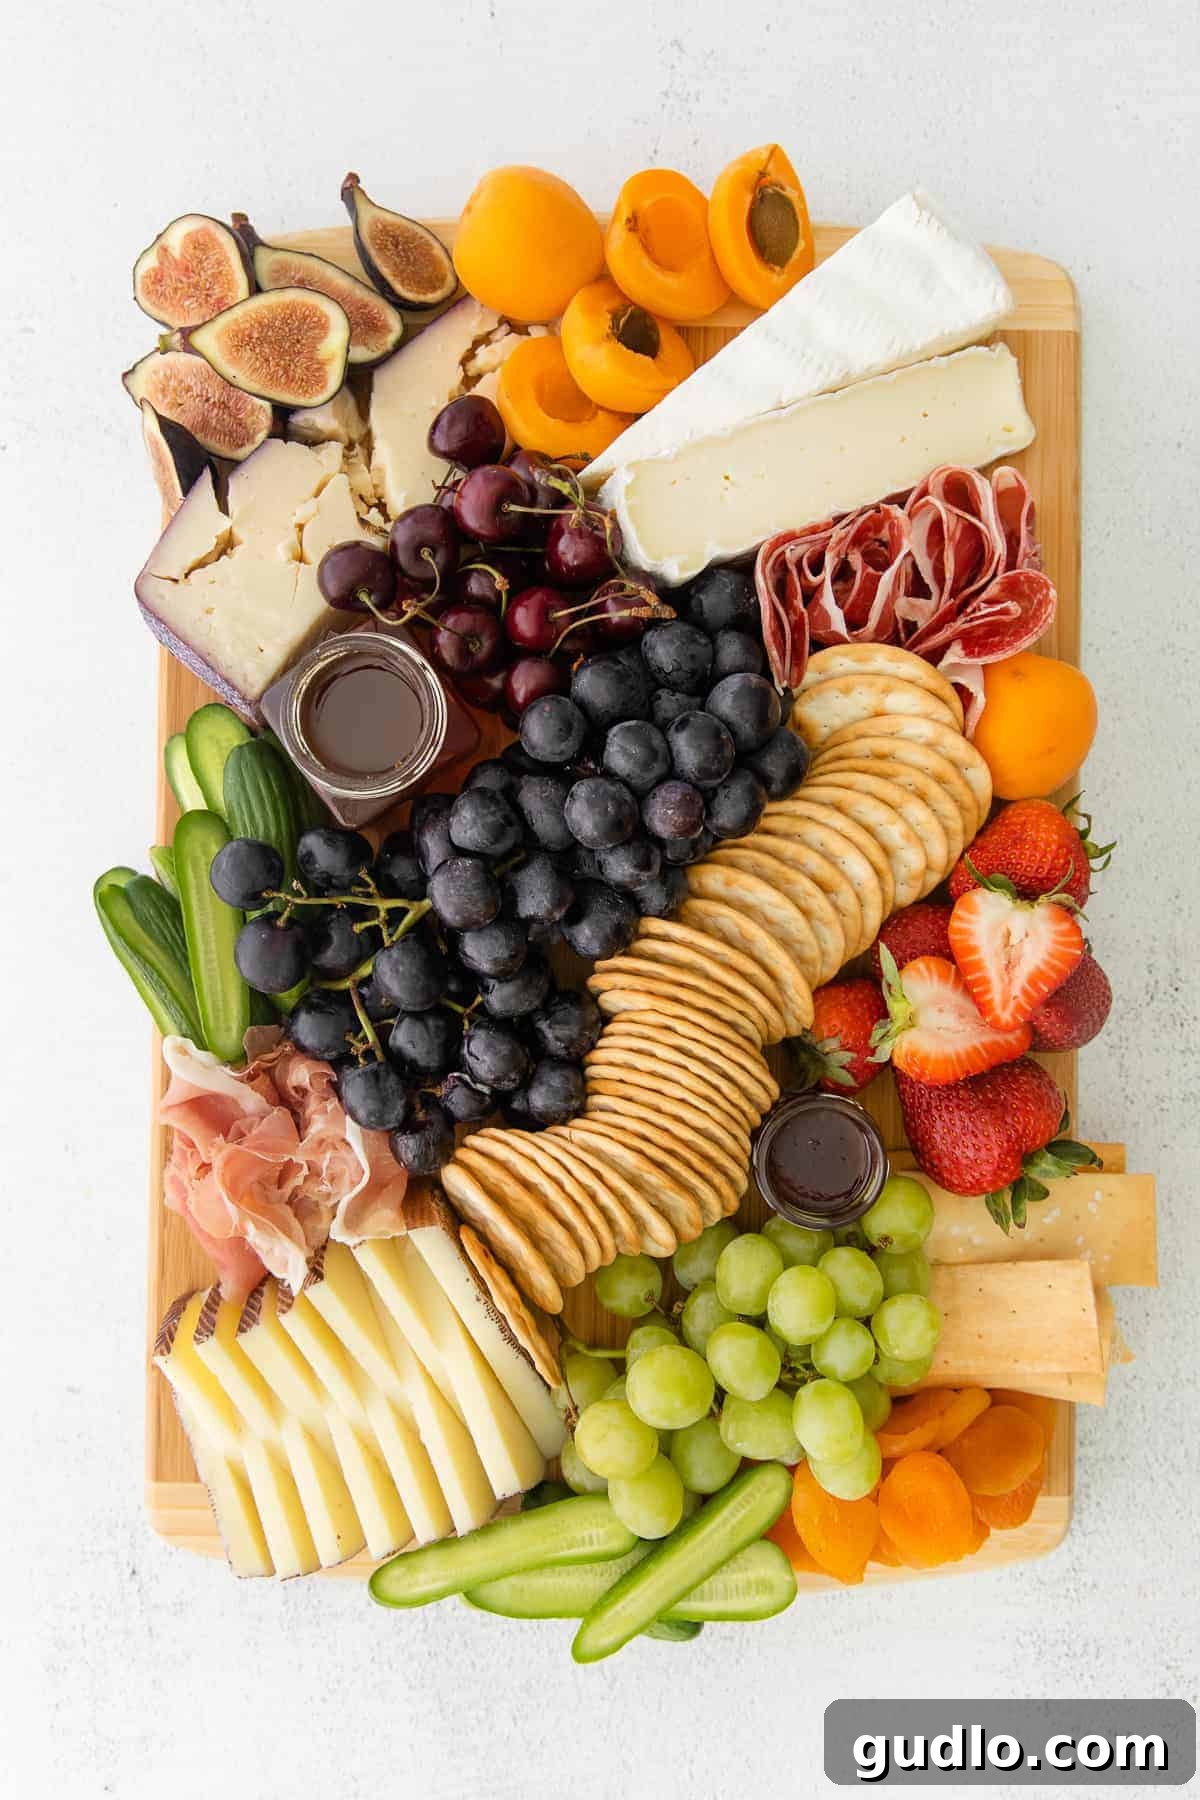
Assembly: Bringing Your Cheese Board to Life
The way you arrange your cheese board is just as crucial as the quality of the elements you select. Thoughtful assembly transforms a collection of ingredients into an inviting and aesthetically pleasing display. Follow these steps for a professional-looking board:
- Anchor with Large Elements: Begin by placing your largest items first. This usually includes the blocks or wedges of cheese, small bowls filled with olives or dips, and large bunches of grapes. Distribute these “anchors” strategically across the board, ensuring good balance and creating starting points for your guests.
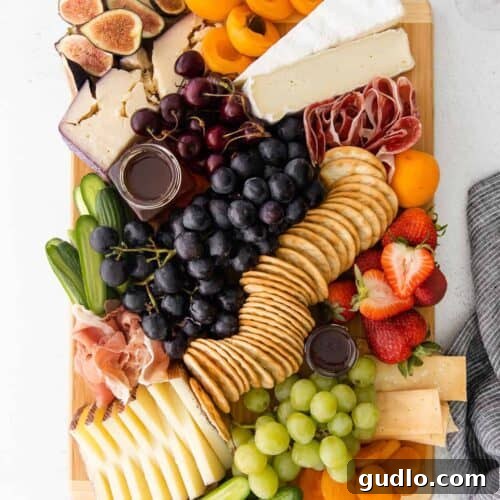
- Create Movement and Flow: Next, introduce elements that help guide the eye and create a sense of movement across the board. Lay out your crackers in gentle S-shapes, diagonal lines, or flowing curves through the center. Drape cured meats artfully around the cheeses or alongside the crackers. This technique prevents the board from looking like a haphazard pile and instead gives it a composed, artistic feel.
- Incorporate Larger “Extras”: Now, fill in with your medium-sized additions. This is the stage for elements like honey in a small jar, scoops of jam in a ramekin, slices of mini cucumbers, or piles of fresh apricots. Place these items near complementary cheeses or within easy reach of crackers.
- Fill in the Gaps with Abundance: Finally, it’s time to meticulously fill every remaining gap. Arrange smaller items such as fresh figs, dried apricots, fresh berries, and handfuls of nuts in large, inviting piles. The goal is to cover as much of the board’s surface as possible, making it look incredibly abundant and irresistible. Don’t be shy about overlapping; a slightly overflowing board is often the most appealing!
Remember, the goal is to make it look effortless and abundant, but a little planning goes a long way!
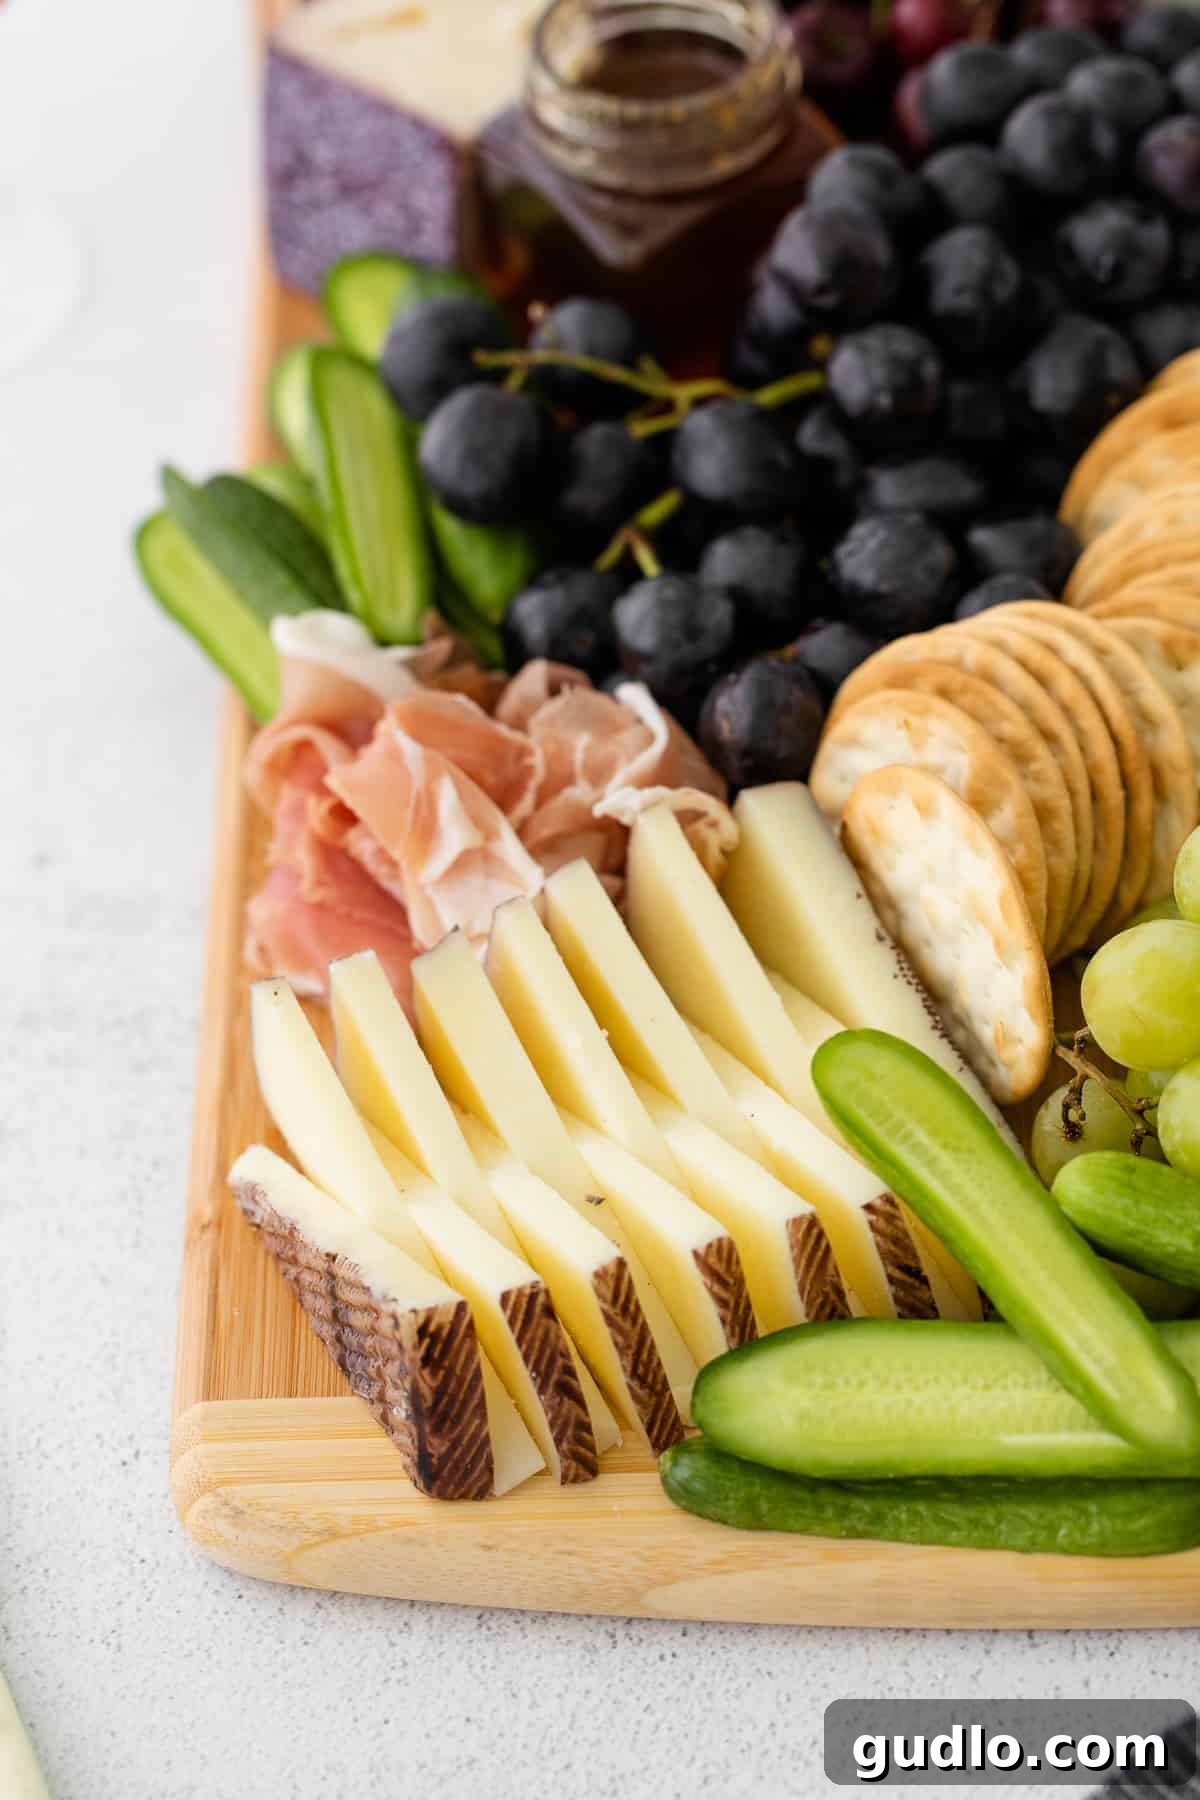
Expert Tips for a Beautiful & Delicious Cheese Board
Beyond the assembly steps, these pro tips will elevate your cheese board from good to truly unforgettable:
1. Embrace Abundance – Fill It Up!
This is arguably the most critical tip: make your board look absolutely overflowing! Strive to cover as much of the underlying board’s surface as possible. Guests are more likely to dig into a lavish spread that looks generous, rather than a sparse board with lots of empty space. Piles of crackers, nuts, and fruit should nestle right up against the cheeses and meats, creating a rich tapestry of flavors and textures.
2. “Start” the Cheeses for Easy Enjoyment
Many guests hesitate to be the first to cut into a perfectly presented block of cheese. Make it easy and inviting for them by “starting” some of the cheeses. For instance:
- For a large wheel of brie, cut a few slices or cut it in half, then place one half on its side, revealing its creamy interior.
- Slice harder cheeses like Manchego into easily grabbable triangles or cubes.
- For crumbly or semi-firm cheeses like a merlot-washed rind cheese, break off a few small, irregular shards and scatter them nearby.
This simple act signals that the board is meant to be enjoyed and encourages everyone to dive in without feeling like they’re disrupting the display.
3. Don’t Forget the Utensils!
Providing appropriate serving utensils is essential for hygiene and ease of access. Ensure you have plenty of small cheese knives for different types of cheeses (a soft cheese knife, a hard cheese knife), small tongs for meats and certain fruits, and toothpicks or small forks for olives and other small bites. This allows everyone to serve themselves cleanly and comfortably, without using their hands for shared items.
4. Serve Cheeses at Room Temperature
For optimal flavor and texture, remove your cheeses from the refrigerator about 30-60 minutes before serving. Cold cheese can be firm and its flavors muted. Allowing it to come to room temperature softens the texture and brings out the full complexity of its aromas and tastes.
5. Add Fresh Aromatics and Garnish
A few sprigs of fresh rosemary, thyme, or even basil can add a beautiful green pop of color and a lovely, subtle aroma to your board. These aren’t just for decoration; they can also hint at complementary flavors. A scattering of edible flowers can also add an elegant touch.
6. Consider Small Labels
Especially for larger boards or if you have unique or artisanal cheeses, small labels can be a wonderful touch. Guests often appreciate knowing what they’re sampling, which can also spark conversation about the different varieties.
Storage: Enjoying Your Leftovers
Don’t let any leftover meat and cheese go to waste! With proper storage, you can continue to enjoy the remnants of your delicious board for days to come. The key is to separate items and store them appropriately to maintain freshness and prevent spoilage.
For cheeses, we recommend wrapping each individual block or wedge in parchment paper first, then placing them in a large, airtight plastic bag or container. Parchment paper allows the cheese to breathe slightly, preventing excessive moisture build-up that can lead to mold, while the outer bag keeps it from drying out. Most hard and semi-hard cheeses, when stored correctly, will last up to two weeks in the refrigerator. Softer cheeses might have a slightly shorter shelf life, typically around a week.
As for the leftover vegetables, fruits, and meats, it’s best to separate them. Store fresh vegetables in an airtight container or bag in the crisper drawer of your fridge. Fruits should also be stored separately, ideally in their own containers to prevent them from spoiling other items. Cured meats should be tightly wrapped in plastic wrap or stored in an airtight container to keep them fresh and prevent odors from transferring. Storing these components separately helps maintain their individual freshness and prevents cross-contamination of flavors.
More of Our Favorite…
Irresistible Cheesy Appetizers to Try
- Baked Brie with Fig Jam: A warm, gooey delight wrapped in flaky pastry.
- Cream Cheese Stuffed Mushrooms: Savory, bite-sized appetizers perfect for any party.
- Homemade Nacho Cheese Sauce: The ultimate dip for chips, veggies, and more.
- Pizza Soft Pretzels: A fun, cheesy twist on a classic snack.
How to Make a Cheese Board
Learn how to craft a beautiful and delicious cheese board in no time with our easy-to-follow tips and tricks for building the perfect gourmet spread.
By: Honeycomb Media
Cook Time: 0 mins
Total Time: 20 mins
Servings: 8
Ingredients
- ½ lb. double cream brie
- ½ lb. 12-month aged manchego
- ½ lb. merlot bellavitano (or similar merlot-washed cheese)
- 1 bunch of red grapes
- 1 bunch of green grapes
- ¼ lb. prosciutto di parma
- ¼ lb. capicola
- ½ cup dried apricots
- 1 cup fresh strawberries
- 8 oz. mini cucumbers
- 1 cup fresh figs
- 3 fresh apricots
- 1 cup fresh cherries
- 1 4-oz. jar honey
- 1 1-oz. jar raspberry jam
- Assorted crackers (e.g., plain water crackers, rosemary sea salt crackers)
- A handful of mixed nuts (optional)
Instructions
- First, strategically place all of your chosen cheeses on the cheese board, ensuring good balance and distribution.
- Next, artfully spread out the cured meats, crackers, and the rest of the ingredients, creating inviting clusters of complementary fixings next to each cheese. Arrange items closely to achieve an abundant look.
Nutrition Information (Approximate)
- Calories: 511 kcal
- Carbohydrates: 41 g
- Protein: 25 g
- Fat: 29 g
- Fiber: 3 g
- Sugar: 24 g
Nutrition information is automatically calculated and should only be used as an approximation.
Don’t forget to tag your posts on social media with the hashtag #cheeseknees, we’d love to see what you’re up to!