
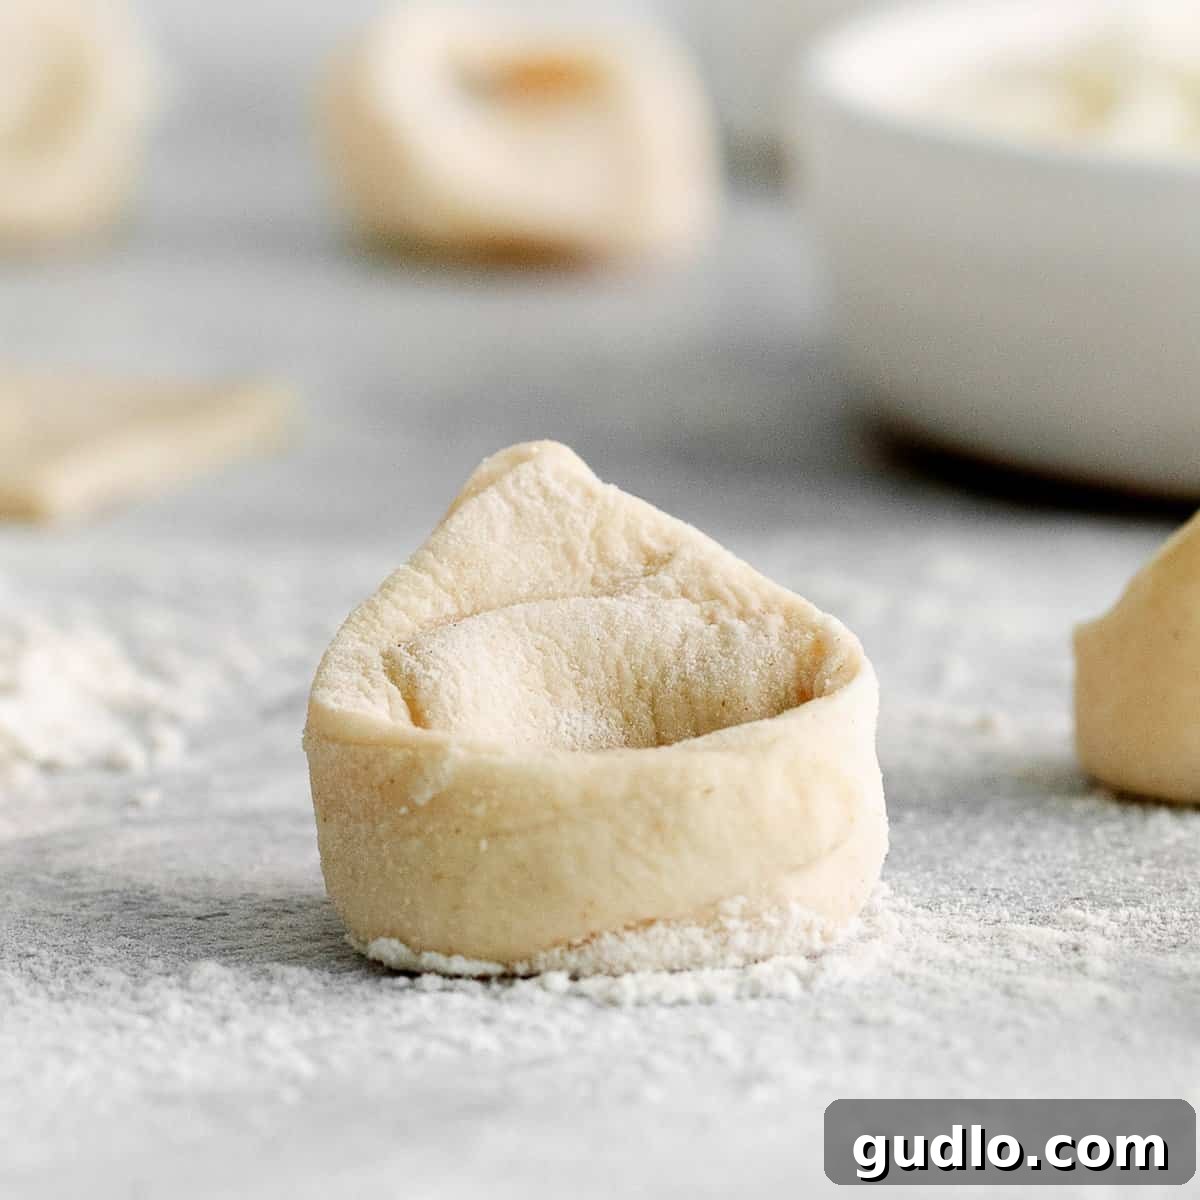
Mastering Homemade Cheese Tortellini: A Comprehensive Guide to Italian Perfection
Elevate your culinary adventures and delight your taste buds with truly authentic homemade cheese tortellini. Forget bland, store-bought versions; this recipe guides you through creating delicate pasta pockets filled with a luxurious blend of five distinct cheeses. It’s easier than you might imagine and promises a dining experience that will impress family and friends alike.
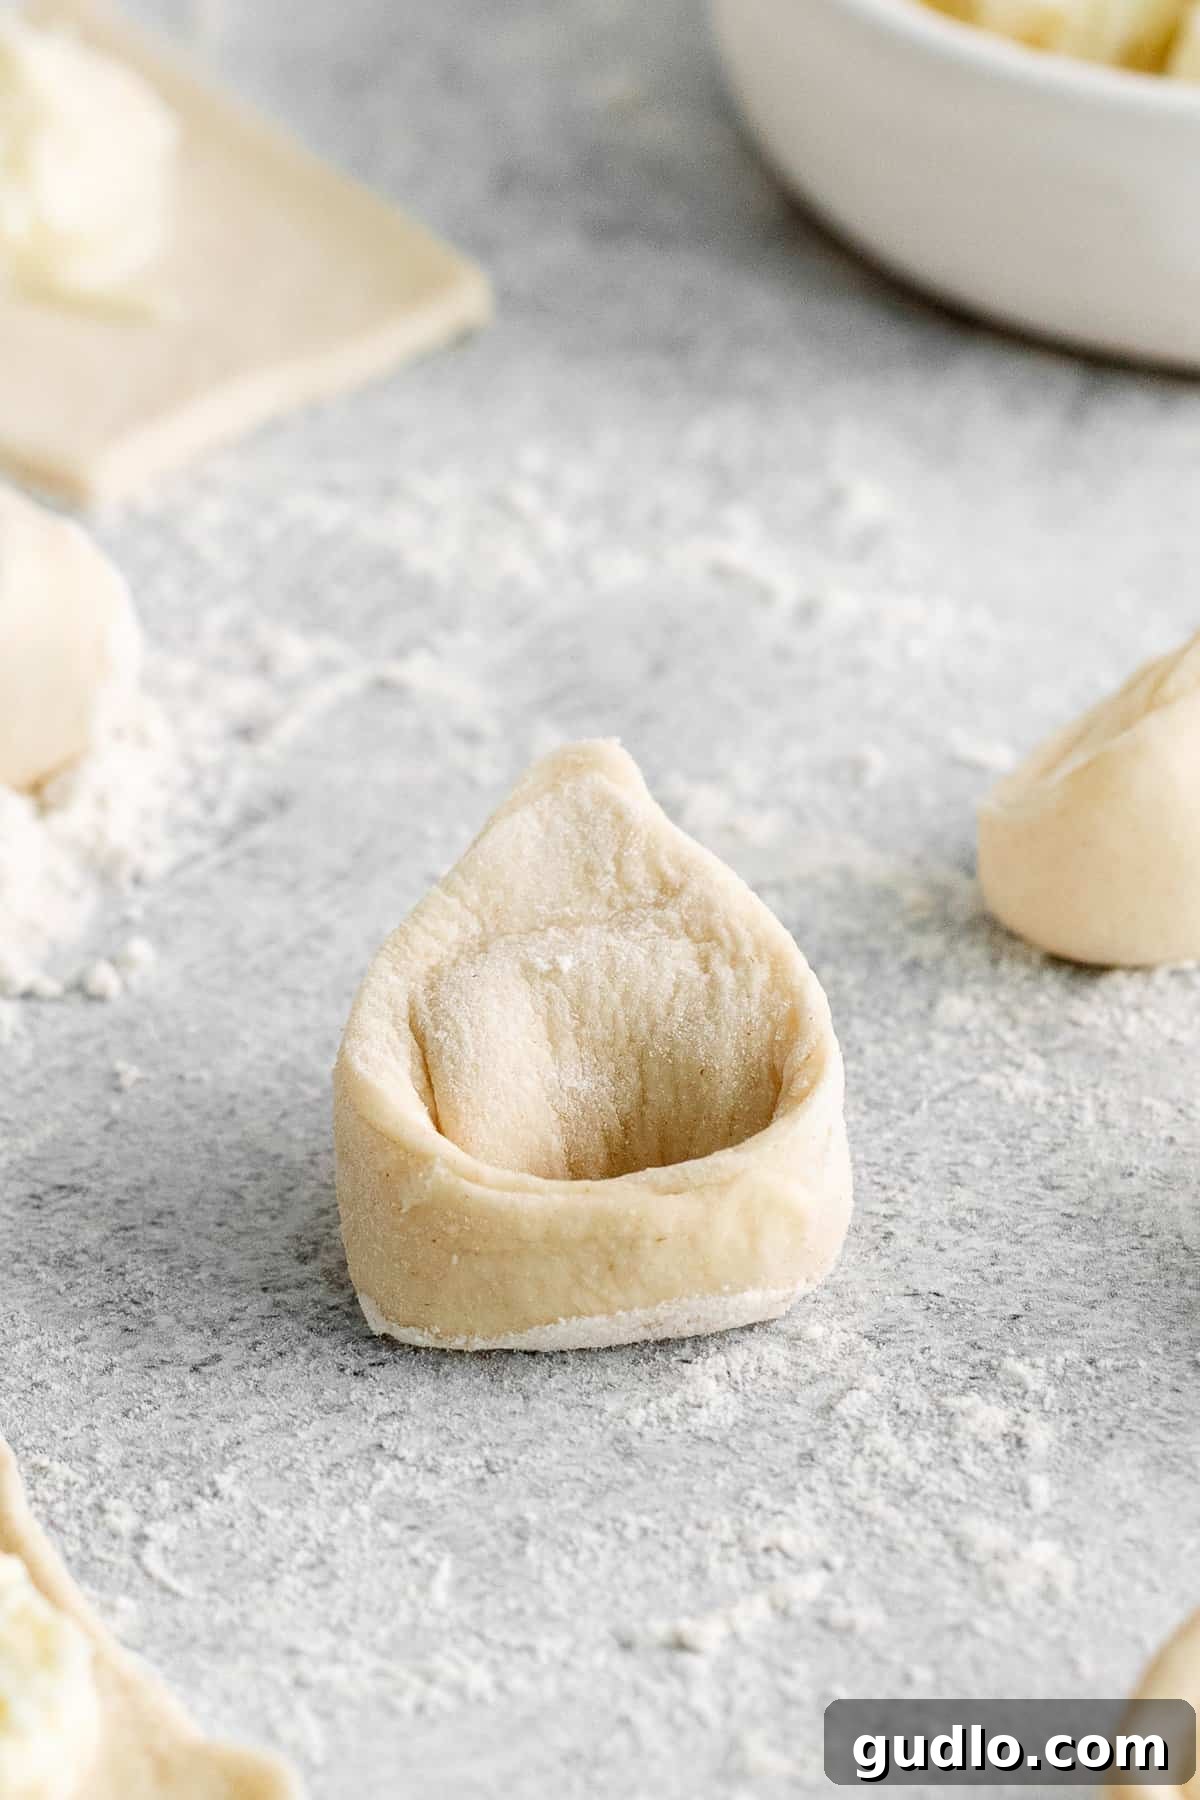
The Irresistible Allure of Homemade Cheese Tortellini
Why settle for ordinary when you can craft extraordinary? This recipe takes your dinner from routine to remarkable with scratch-made tortellini. We use a straightforward homemade pasta dough as the perfect vessel for an opulent filling crafted from five different types of cheese. The result is a vibrant, flavorful dish that tastes infinitely better than anything you’d find pre-packaged.
Serve your exquisite tortellini with a luscious homemade vodka sauce, a classic marinara, or a simple garlic butter sauce. No matter your choice, the fresh taste and tender texture of homemade tortellini are unparalleled. Preparing them from scratch might seem daunting, but with our detailed steps, you’ll discover it’s a surprisingly rewarding and achievable kitchen project.
What Exactly is Tortellini?
Tortellini are a beloved Italian stuffed pasta, originating from the Emilia-Romagna region, particularly Bologna. These small, ring-shaped pasta pieces are typically filled with a medley of meat, cheese, or vegetables. Their distinctive shape, often compared to a “navel,” makes them not only delightful to eat but also visually charming. While readily available in stores, crafting tortellini at home offers superior flavor, texture, and the immense satisfaction of creating a traditional Italian dish with your own hands.
Why Choose Homemade Pasta for Your Tortellini?
There’s an undeniable magic in making pasta from scratch. Beyond the therapeutic process, homemade pasta offers significant advantages over its store-bought counterparts. When you embark on a journey like making your own homemade ravioli or tortellini, you gain complete control over the ingredients. This means no hidden preservatives, artificial flavors, or unnecessary additives often found in commercially produced pasta.
The difference in taste and texture is profound. Fresh pasta has a delicate elasticity and a richer flavor that beautifully absorbs sauces, elevating your entire dish. It’s a healthier option, as you know exactly what goes into your food, ensuring a wholesome and delicious meal for your family. Plus, the process itself can be a fun and engaging activity, perfect for a weekend kitchen project or a memorable cooking session with loved ones.
Essential Ingredients for Your Cheese Tortellini
Crafting the Perfect Tortellini Pasta Dough
Our tortellini dough is remarkably simple, requiring just four fundamental ingredients that come together to form a tender, pliable pasta perfect for stuffing and shaping. The secret lies in a special addition that sets this dough apart:
- All-Purpose Flour: The foundation of our pasta. Ensure you use good quality all-purpose flour for the best texture and workability. It provides the necessary structure without being too tough.
- Water: Crucial for hydrating the flour and binding the dough. The amount can vary slightly depending on your environment and flour, so add gradually.
- Mascarpone Cheese: This is our unique touch! Mascarpone, an Italian cream cheese, adds an incredible richness and subtle creaminess directly into the pasta dough itself. It contributes to a wonderfully tender texture and a delicate flavor that complements the cheese filling beautifully.
- Salt: A non-negotiable ingredient. Salt enhances the flavor of the dough, making it more savory and balanced. Don’t skip it!
Pro Tip: Make Your Own
Mascarpone Cheese
Did you know making fresh mascarpone cheese at home is surprisingly simple? A homemade batch will bring an unparalleled depth of flavor and creaminess to your tortellini dough and filling. Follow our easy, step-by-step homemade mascarpone cheese tutorial to enjoy this luxurious ingredient in no time!
The Decadent 5-Cheese Filling
Why limit yourself to one cheese when five can create an explosion of flavor and texture? Our signature 5-cheese filling is the heart of this recipe—creamy, rich, and perfectly seasoned. Each cheese plays a vital role:
- Ricotta Cheese: Provides a light, fluffy texture and a delicate, milky base for the filling. Whole milk ricotta is recommended for maximum creaminess.
- Mozzarella Cheese: Adds a classic mild, stretchy, and incredibly creamy element when melted. Use shredded for easy blending.
- Mascarpone Cheese: Further enhances the luxurious creaminess and richness, tying all the flavors together with its smooth, buttery consistency.
- Asiago Cheese: A semi-hard Italian cheese that contributes a nutty, slightly sharp flavor, adding complexity and depth.
- Romano Cheese: Known for its sharp, salty, and pungent notes, Romano cheese provides a wonderful savory punch that balances the richness of the other cheeses.
- Italian Seasoning: A blend of herbs like oregano, basil, thyme, and rosemary, it infuses the filling with aromatic, traditional Italian flavors.
This harmonious blend ensures a filling that is both comforting and sophisticated, making every bite of your homemade tortellini an experience to savor.
Step-by-Step Guide: How to Make Cheese Tortellini
Creating homemade tortellini is a labor of love, but it’s a process that yields incredible rewards. Follow these detailed steps to craft your own Italian masterpieces.
1. Prepare the Decadent Cheese Filling
- In a medium-sized mixing bowl, combine the ricotta cheese, shredded mozzarella, mascarpone cheese, shredded Asiago, shredded Romano cheese, and Italian seasoning.
- Using a fork or spoon, mix all the ingredients thoroughly until well combined and a smooth, consistent filling forms. The goal is a creamy texture that is easy to scoop.
- Cover the bowl and set aside. This allows the flavors to meld while you prepare the pasta dough.
2. Create the Tender Tortellini Dough
- In a large mixing bowl, combine the all-purpose flour and salt. Create a well in the center of the flour mixture.
- Pour ½ cup of water and add the 3 tablespoons of mascarpone cheese into the well.
- Using a fork or wooden spoon, gradually incorporate the flour from the sides into the wet ingredients, mixing until a shaggy, loose ball of dough begins to form.
- If the dough seems too dry, add the remaining ¼ cup of water, a tablespoon at a time, until it just comes together. Avoid adding too much water, as sticky dough is harder to work with.
3. Knead the Dough to Perfection
- Lightly flour a clean work surface (a large cutting board or countertop works well).
- Transfer the shaggy dough ball onto the floured surface. Knead the dough vigorously with your hands for approximately 5-7 minutes.
- During kneading, the dough should transform from rough and sticky to smooth, elastic, and firm. If it feels too dry, lightly dampen your hands. If it’s too sticky, add a tiny bit more flour, but be careful not to make it tough. The dough should spring back slightly when poked.
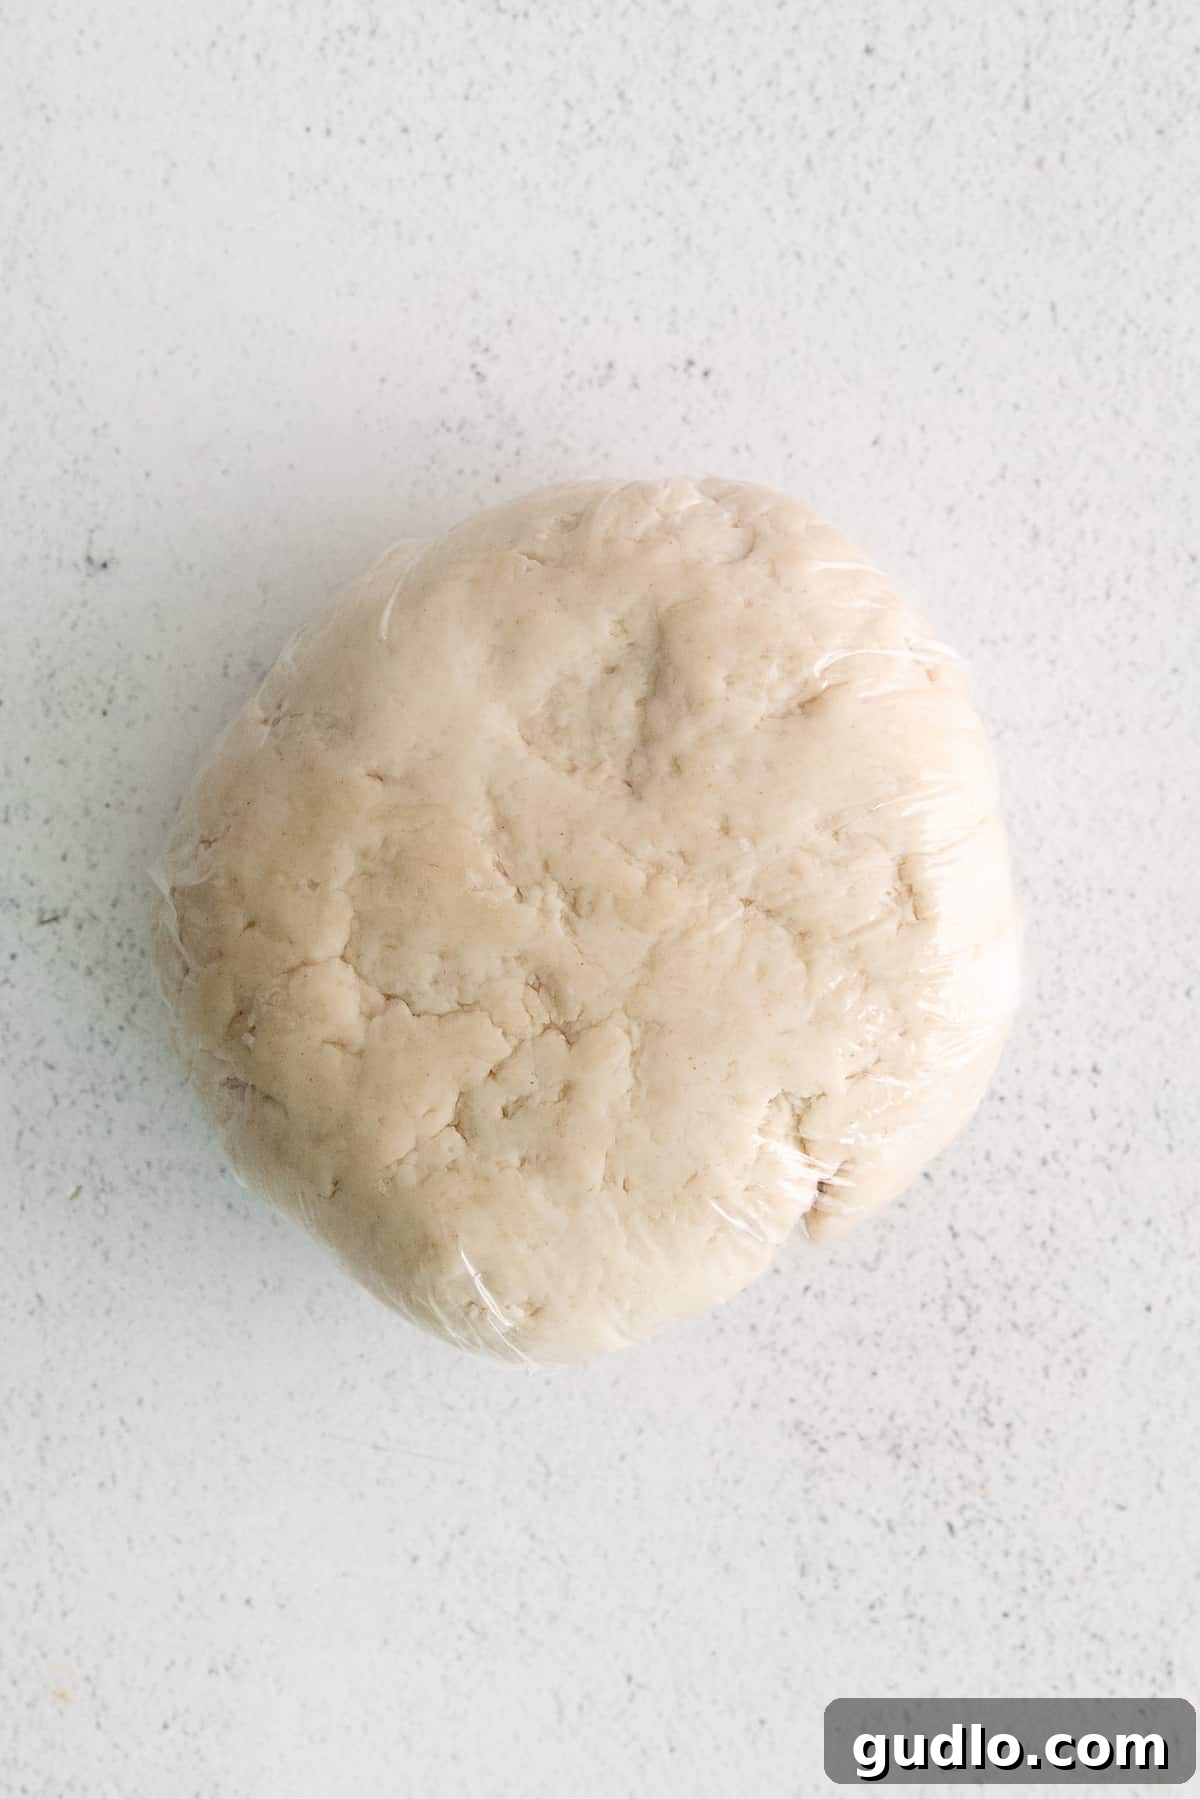
- Once kneaded, wrap the dough tightly in plastic wrap to prevent it from drying out.
- Allow the dough to rest at room temperature for at least 30 minutes. This resting period is crucial as it allows the gluten to relax, making the dough much easier to roll out thinly.
4. Roll Out the Pasta Dough Thinly
The key to delicate tortellini is thin pasta. For this recipe, a KitchenAid stand mixer with a pasta roller attachment is highly recommended for consistent results and ease, but you can also use a hand-crank pasta machine or a rolling pin with some extra effort.
- Prepare your workspace: lightly flour your work surface and have a small bowl of water ready for sealing the tortellini.
- Divide the rested dough in half. Keep one half wrapped in plastic wrap to prevent drying while you work with the first piece.
- Flatten the first half of the dough into a rough rectangle.
- **Using a KitchenAid Pasta Attachment:**
- Attach the pasta roller to your KitchenAid. Start with the thickest setting (usually #1). Pass the dough through the rollers.
- Fold the dough into thirds, rotate it 90 degrees, and pass it through setting #1 again. Repeat this step 2-3 times to further knead and smooth the dough.
- Gradually decrease the roller setting by one notch at a time (e.g., from #1 to #2, then #3, and so on). Pass the dough through each setting once, without folding, until you reach setting #5 (or until the dough is thin enough that you can just see your fingers through it when held up to the light).
- **Using a Hand-Crank Pasta Machine:** Follow similar steps as above, gradually thinning the dough through successive settings.
- **Using a Rolling Pin:** If rolling by hand, flour your surface and rolling pin well. Roll the dough as thinly as possible, working from the center outwards, rotating the dough frequently to ensure even thickness.
5. Cut Dough into Squares
- Once your pasta sheet is rolled thin, lay it flat on your lightly floured surface.
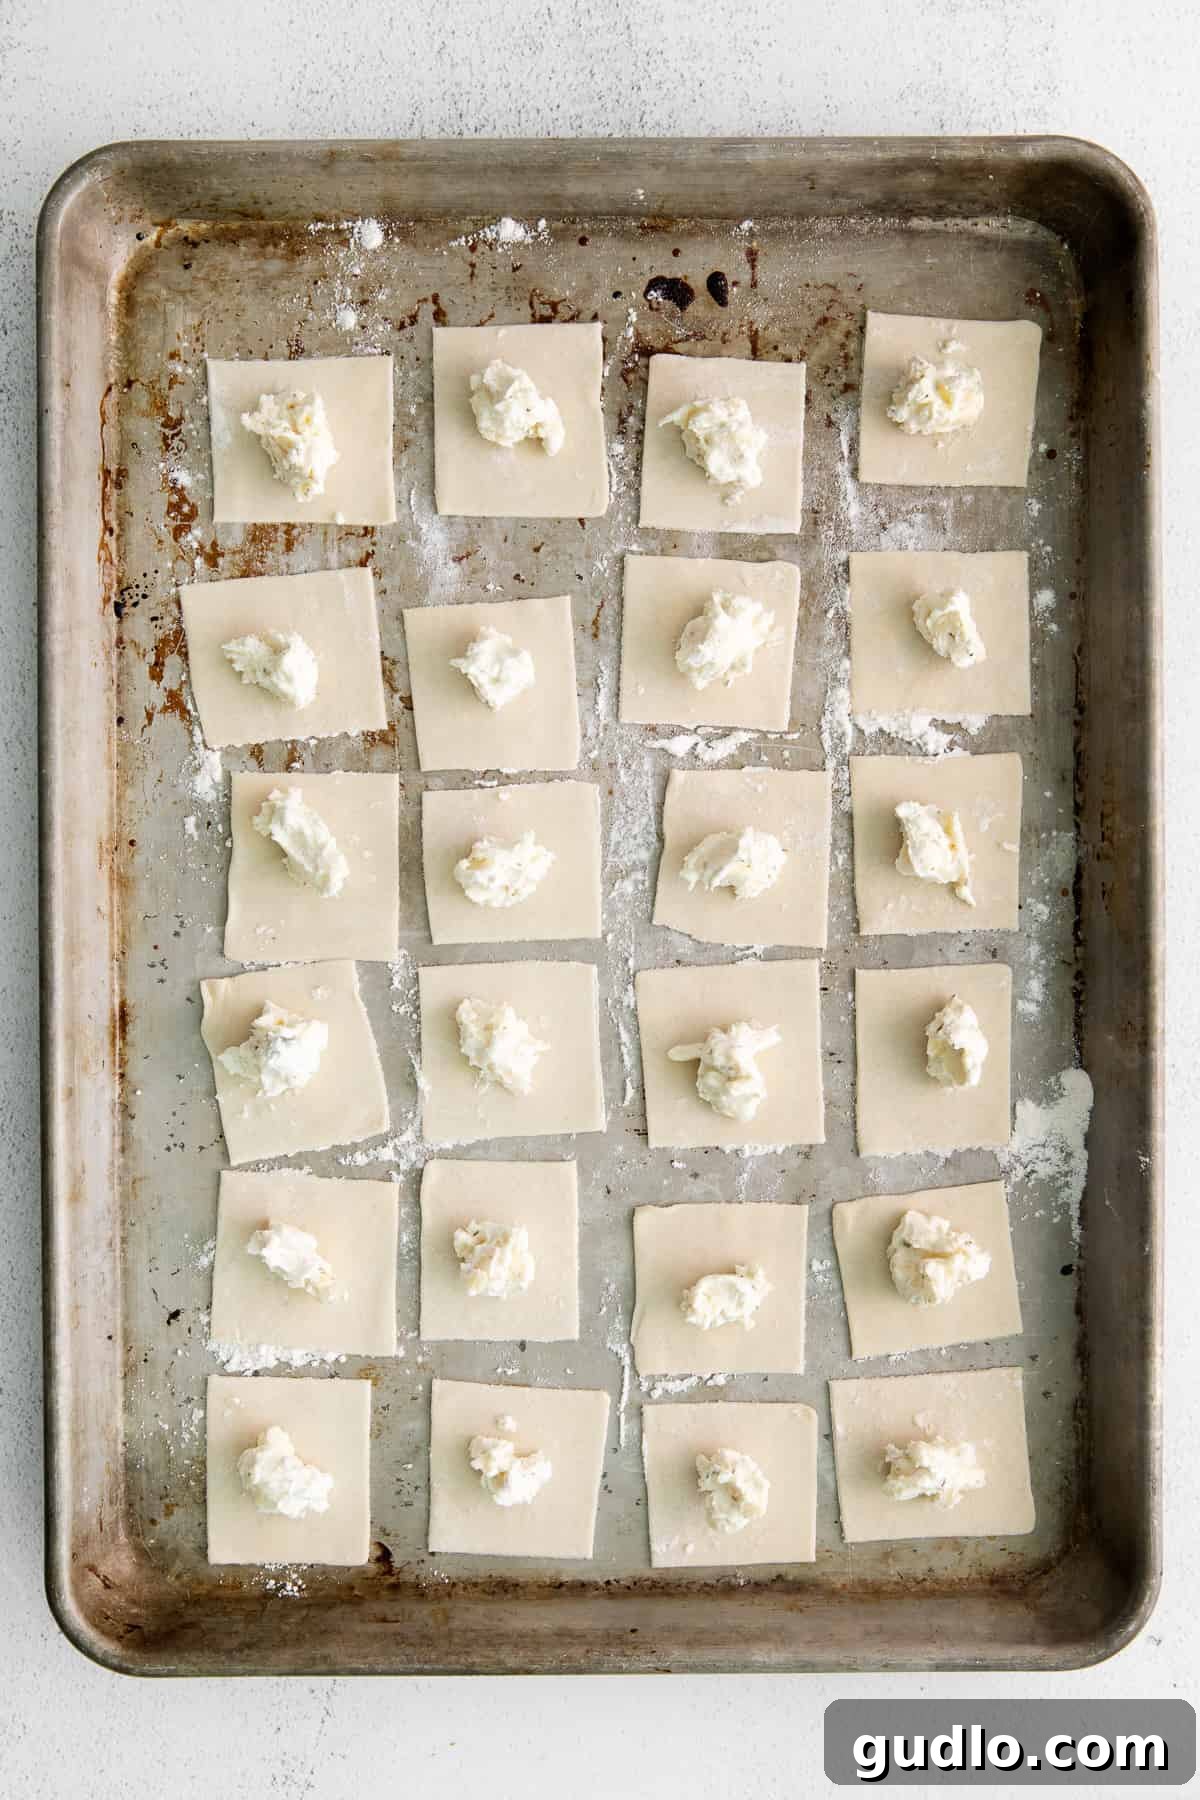
- Using a sharp knife, pizza cutter, or pastry wheel, trim the pasta sheet into neat, even 2×2-inch squares.
- Gather any dough scraps, re-knead them briefly, wrap in plastic, and let them rest for 10-15 minutes before re-rolling to make more tortellini.
6. Fill and Master the Tortellini Shape
This is where the tortellini truly come to life! Precision and gentle handling are key.
- Place about 1 teaspoon of the cheese filling into the center of each pasta square. Avoid overfilling, as this makes sealing difficult.
- Dip your finger into the bowl of water and lightly moisten the outer edges of the pasta square. This water acts as glue, ensuring a tight seal.
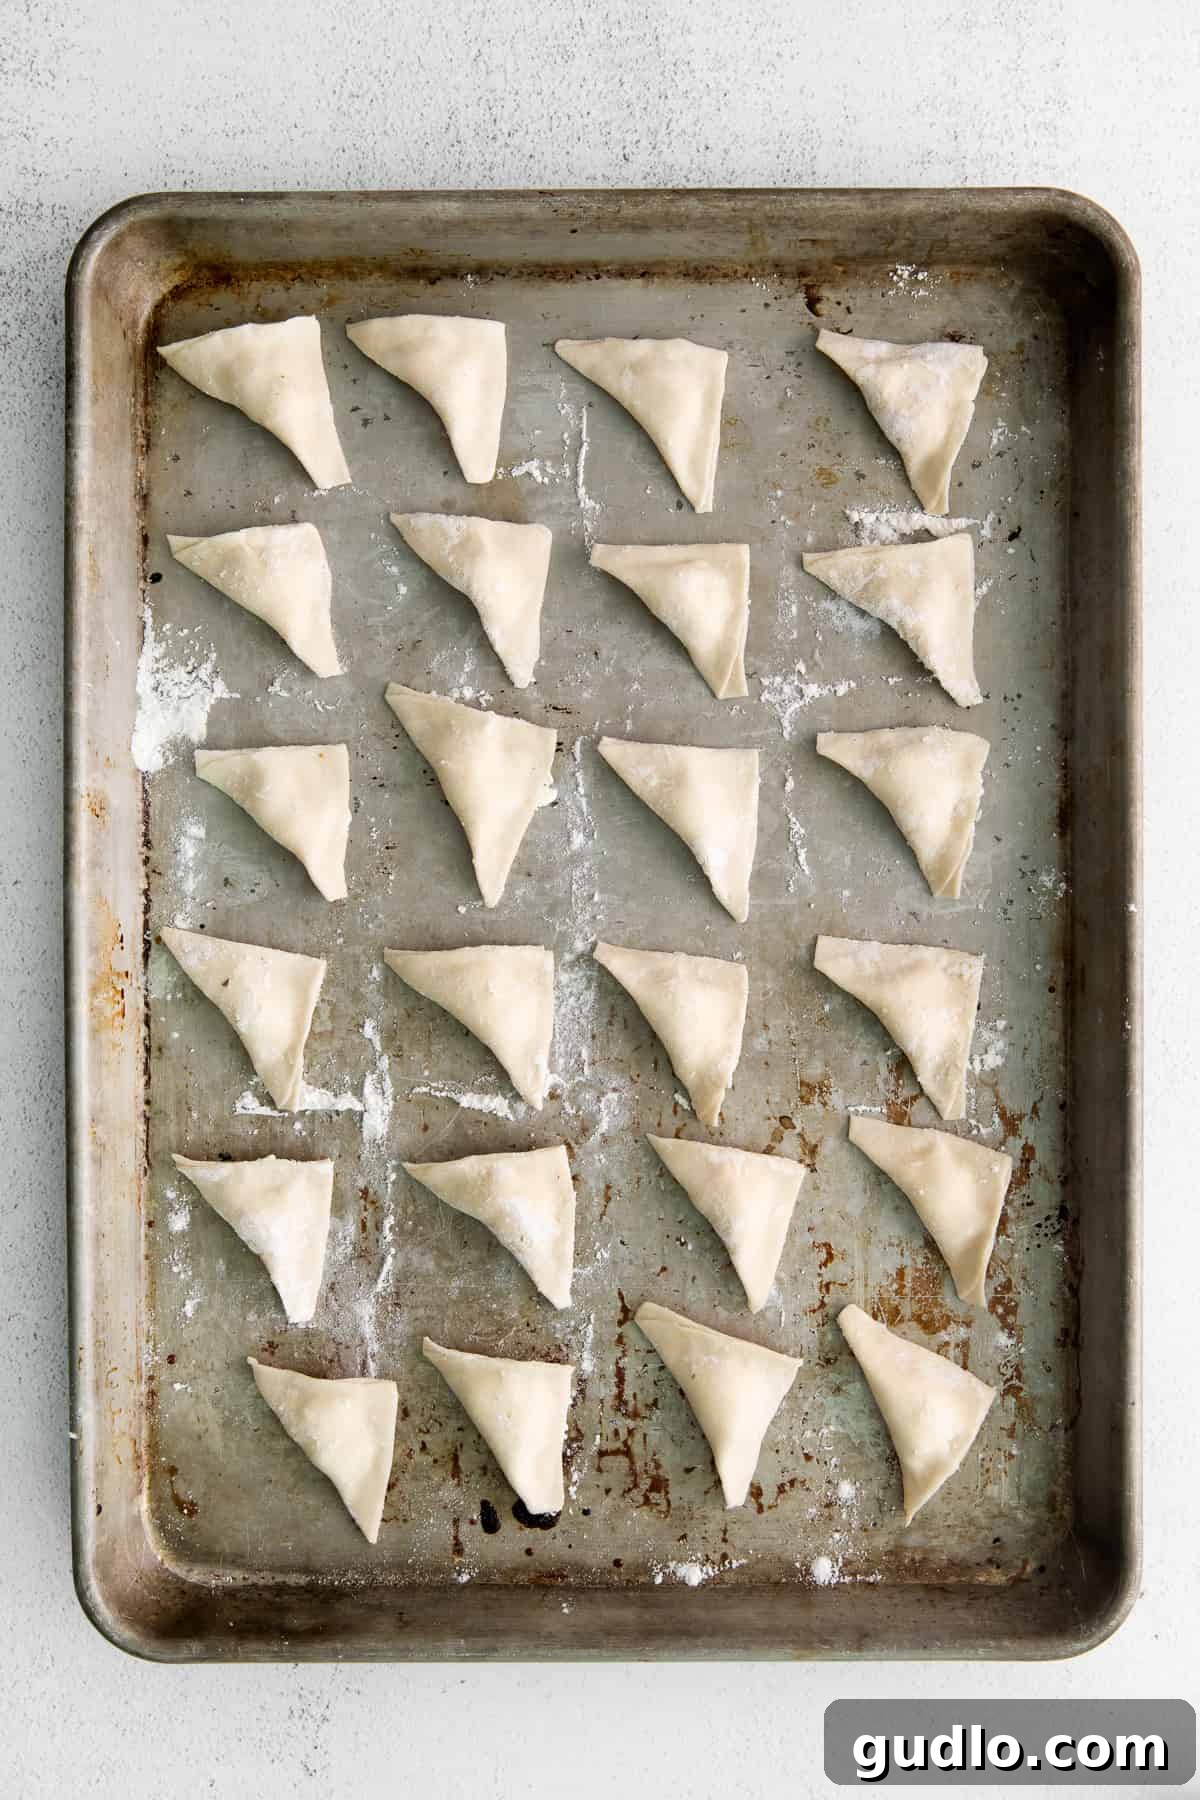
- Take one corner of the square and fold it diagonally over the filling to meet the opposite corner, forming a triangle.
- Gently but firmly press the edges of the triangle together with your fingers, working from the center outwards, to seal securely and remove any air pockets.
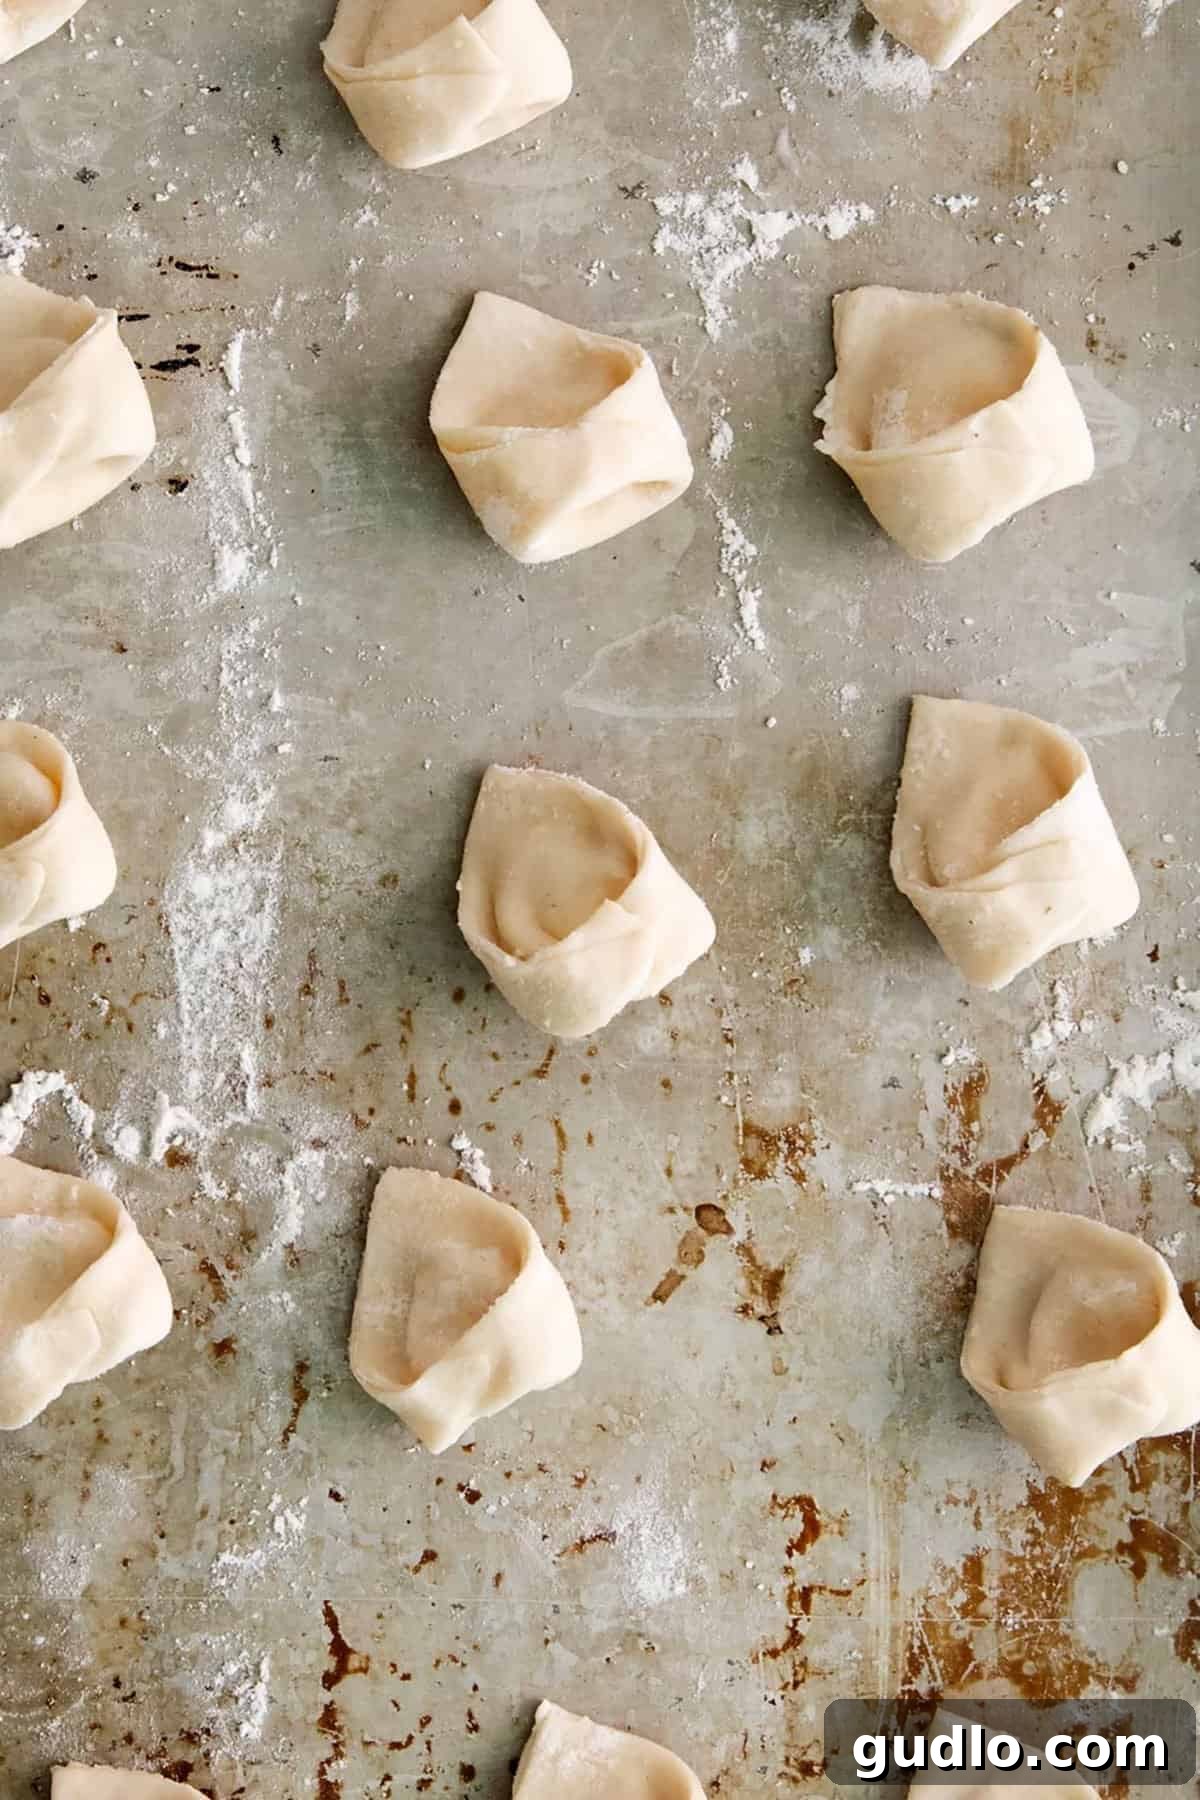
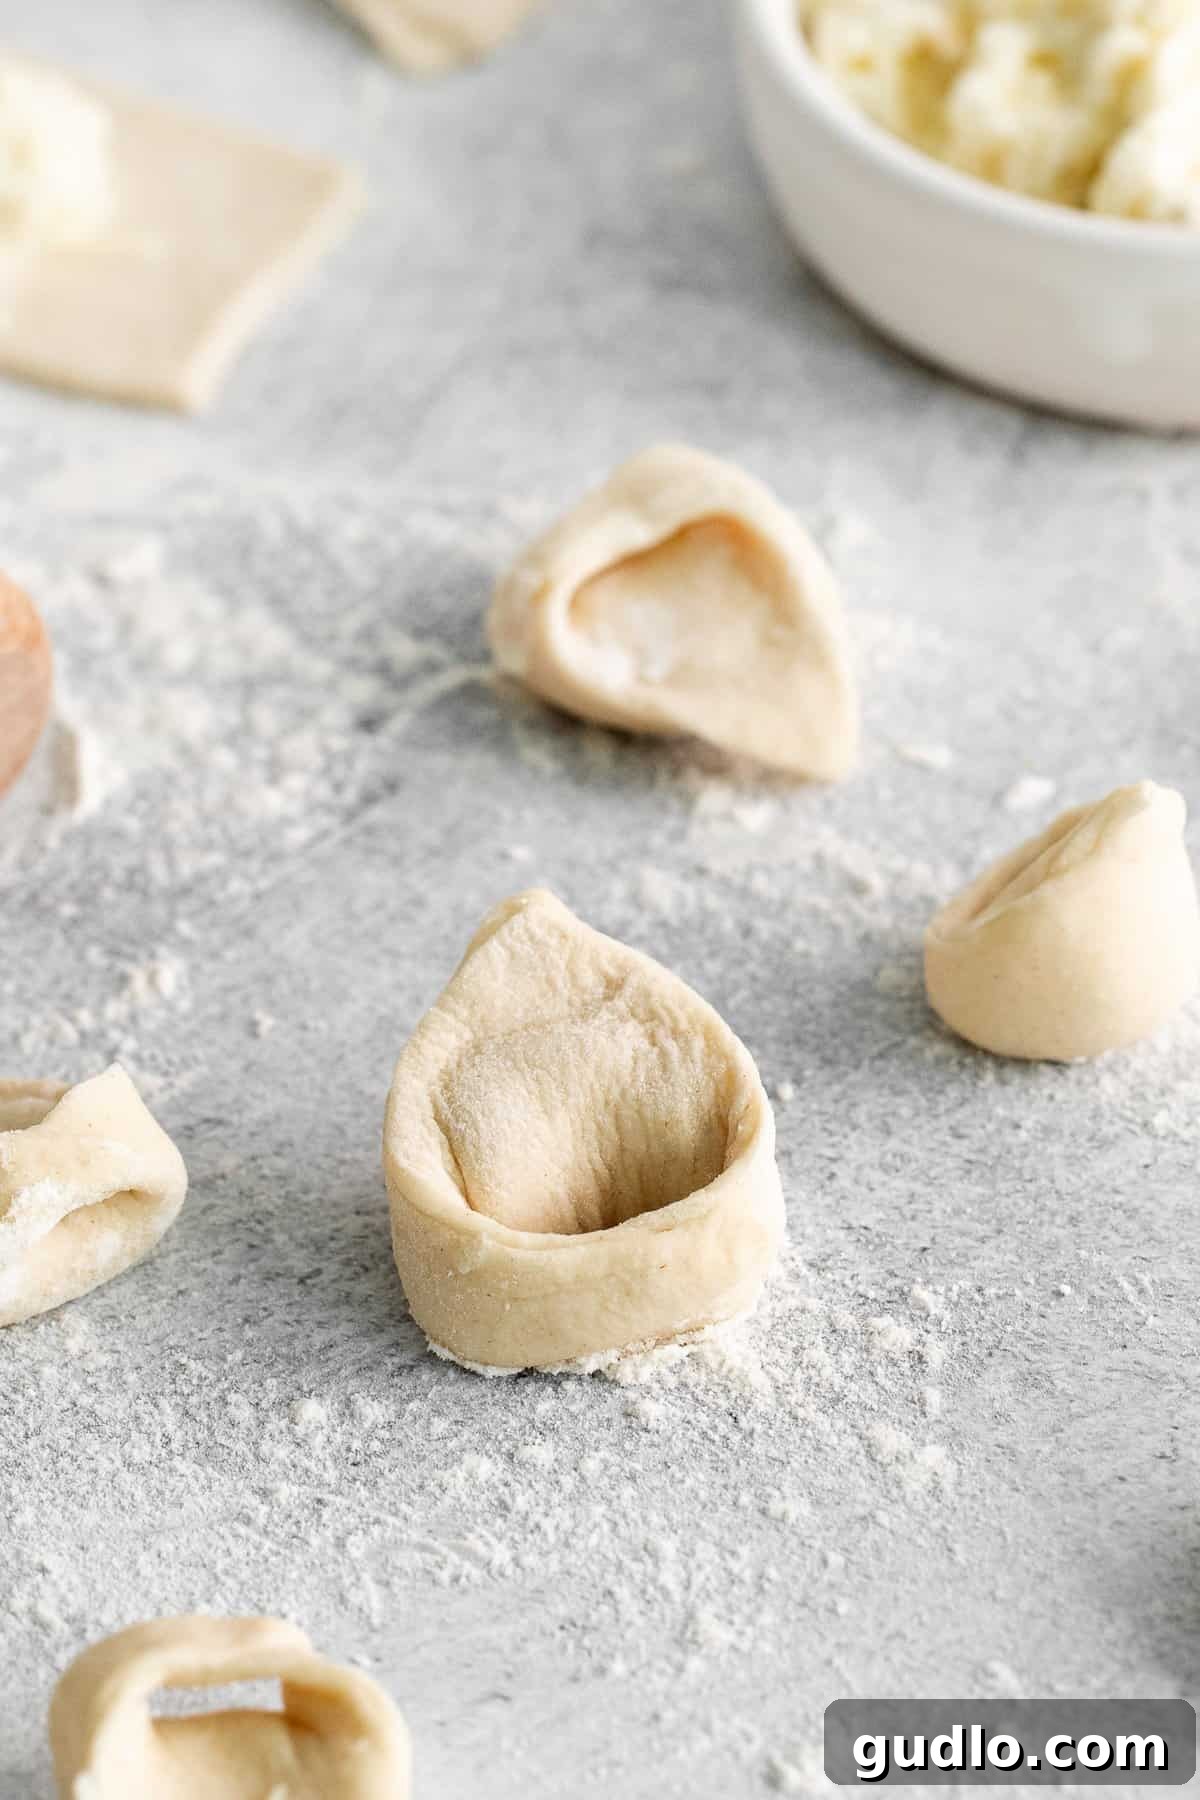
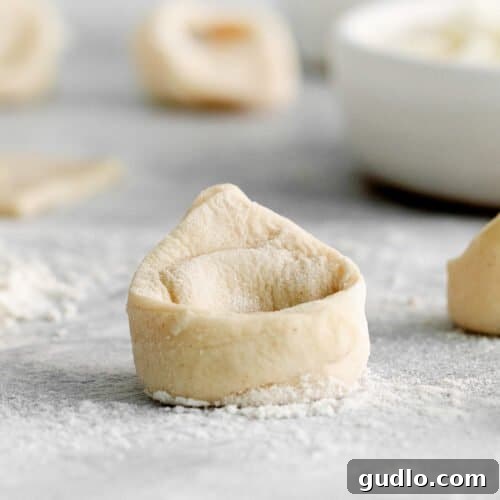
- Now, to form the classic tortellini shape: lightly moisten one of the bottom tips of the triangle. Bring the two bottom tips of the triangle together, overlapping them slightly, and press firmly to seal, forming a ring or “navel” shape. You can wrap the tips around your finger to help achieve the curve.
- Place the finished tortellini on a lightly floured baking sheet or parchment paper, ensuring they do not touch each other to prevent sticking. Repeat with the remaining dough and filling.
7. Boil Your Homemade Tortellini
Cooking fresh tortellini is quick, so have your sauce ready!
- Fill a large pot with water, adding a generous pinch of salt. Bring the water to a rolling boil over high heat.
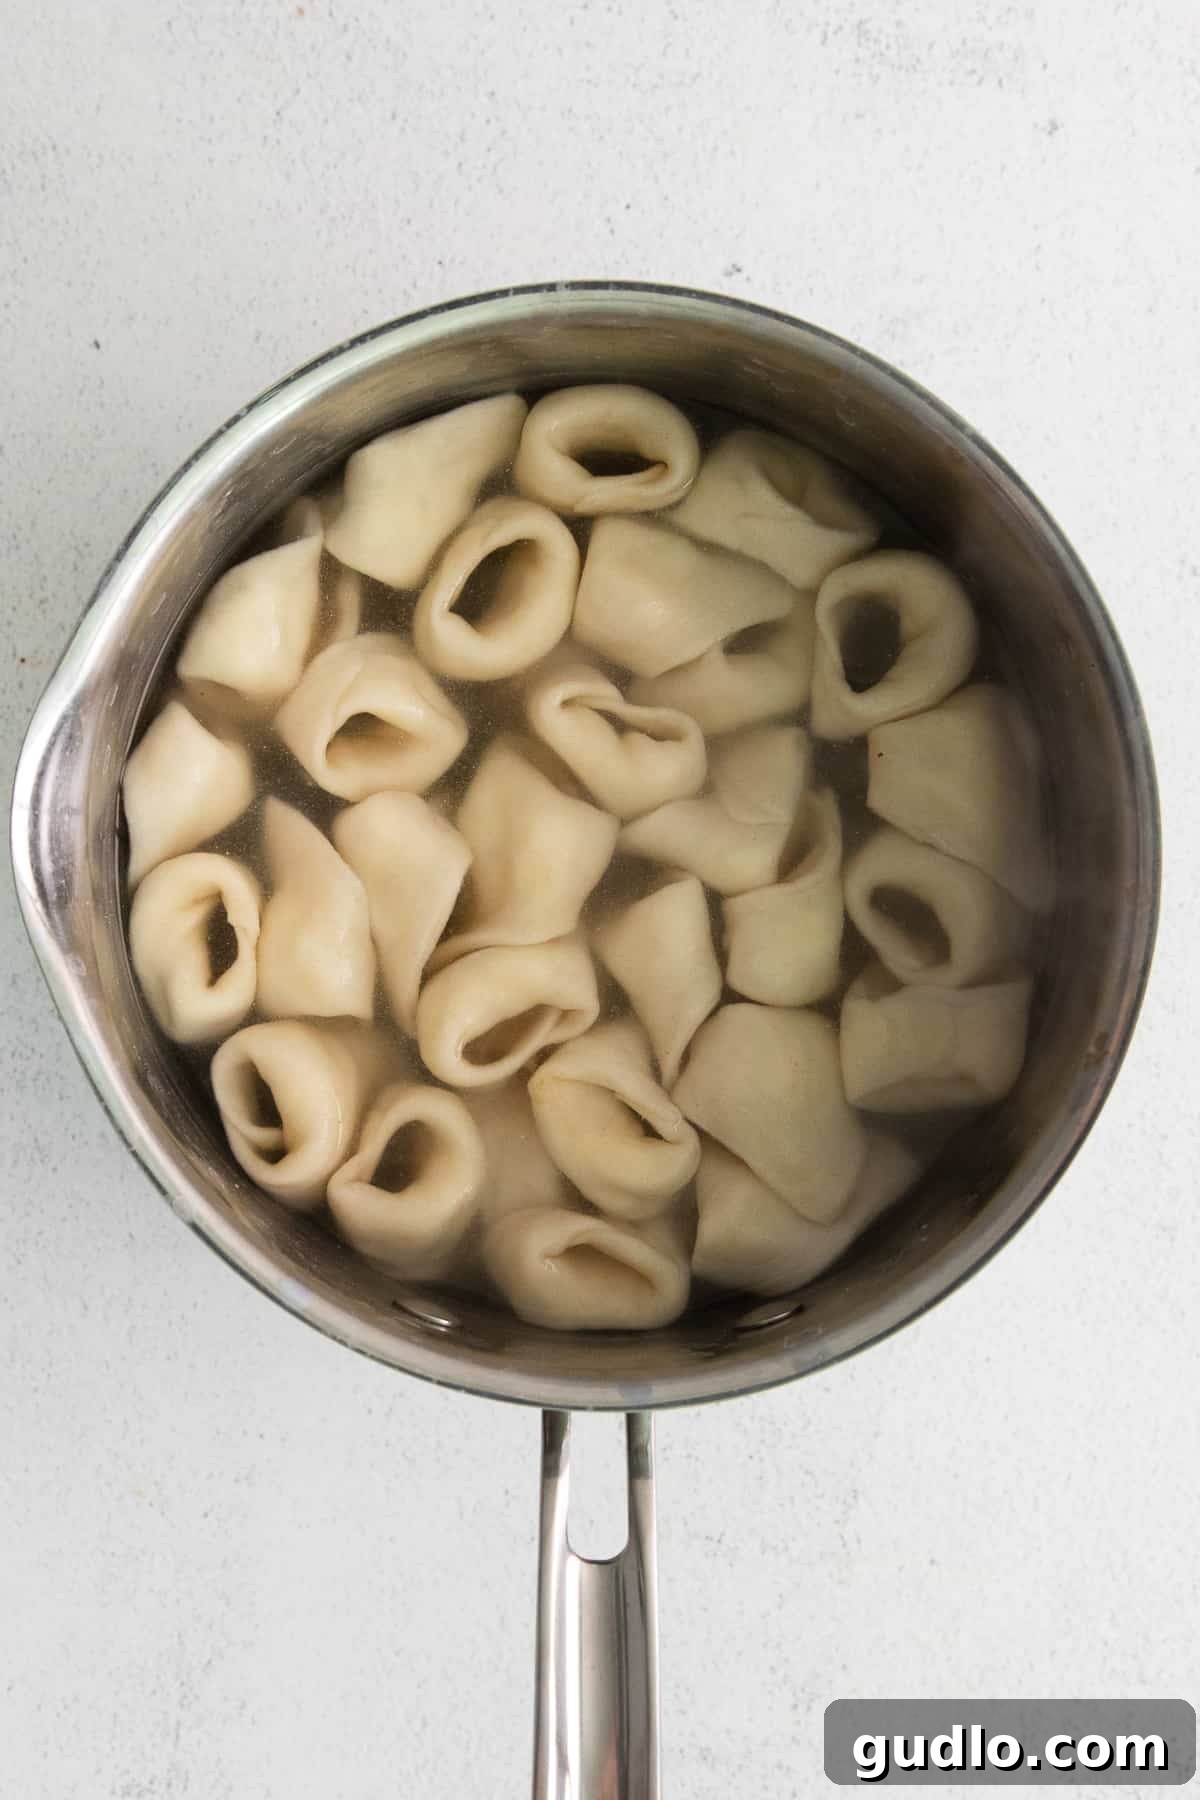
- Carefully add the fresh cheese tortellini to the boiling water in batches, making sure not to overcrowd the pot. Overcrowding will lower the water temperature and can cause the tortellini to stick or cook unevenly.
- Boil the tortellini for approximately 2-3 minutes, or until they float to the surface and are tender yet still slightly firm (al dente). Fresh pasta cooks much faster than dried pasta.
- Using a slotted spoon, carefully remove the cooked tortellini from the water. Do not drain in a colander, as they are delicate.
- Immediately toss the hot tortellini with your desired sauce.
Frequently Asked Questions About Homemade Cheese Tortellini
What kind of cheese is typically inside tortellini?
While our recipe features a luxurious 5-cheese blend, traditional cheese tortellini fillings often include a combination of ricotta (for creaminess), Parmesan (for salty, nutty flavor), and sometimes mozzarella or other local Italian cheeses. The key is a harmonious blend that offers both flavor and a pleasant texture when cooked.
How do you make cheese tortellini from scratch?
Making cheese tortellini involves two main components: preparing a pliable homemade pasta dough from flour, water, and unique additions like mascarpone, and then crafting a rich, soft cheese filling. The dough is rolled thin, cut into squares, filled, and then carefully folded and sealed into their distinctive ring shape before boiling. Our comprehensive guide above breaks down each step for you.
How long should you boil homemade tortellini?
Uncooked homemade tortellini should be boiled for a very short duration, typically around 2-3 minutes, or until they rise to the surface of the water and are cooked through but still have a slight bite (al dente). Since fresh pasta cooks quickly, it’s essential to keep a close eye on them to avoid overcooking.
Can I make the tortellini ahead of time?
Absolutely! Homemade tortellini can be prepared a few hours in advance and stored on a lightly floured baking sheet in the refrigerator, covered loosely with plastic wrap. For longer storage, freezing is an excellent option.
What if my pasta dough is too sticky or too dry?
If your dough is too sticky, gradually add small amounts of flour (a teaspoon at a time) during kneading until it reaches the desired firm, non-sticky consistency. If it’s too dry and crumbly, add very small amounts of water (half a teaspoon at a time) during kneading until it comes together and feels pliable. Humidity and flour type can affect hydration, so always adjust as needed.
Perfect Sauce Pairings for Your Cheese Tortellini
Now that you’ve mastered this simple yet impressive cheese tortellini recipe, it’s time to complement your creation with a delicious sauce. Here are a few favorites that perfectly pair with the rich cheese filling:
- Garlic Butter Sauce: A simple, aromatic choice that allows the cheese filling to shine.
- Creamy Vodka Sauce: A rich and tangy tomato-cream sauce that’s always a crowd-pleaser with stuffed pasta.
- Garlic Parmesan Sauce: Savory and cheesy, this sauce enhances the flavors of the tortellini without overpowering them.
- Earthy Mushroom Pasta Sauce: A robust, umami-rich sauce that provides a wonderful contrast to the creamy cheese.
- Velvety Alfredo Sauce: Indulgently creamy and rich, this classic sauce is a perfect match for cheese tortellini.
Storage Solutions for Your Delicious Tortellini
Whether you’ve made a big batch or have some leftovers, proper storage ensures your homemade cheese tortellini remains fresh and delicious.
Store leftover cooked cheese tortellini in an airtight container in the refrigerator for up to 3 days. When reheating, gently warm them in your chosen sauce on the stovetop, adding a splash of water or broth if needed to prevent drying.
How to Freeze Fresh Cheese Tortellini for Later Enjoyment
Freezing homemade tortellini is an excellent way to prepare meals in advance and enjoy the convenience of fresh pasta whenever you desire. Here’s how to do it effectively:
- Flash Freeze: Arrange the freshly made (uncooked) tortellini in a single layer on a baking sheet lined with parchment paper. Ensure they are not touching each other, as this prevents them from sticking together during freezing.
- Freeze Until Solid: Place the baking sheet in the freezer for 30 minutes to 1 hour, or until the tortellini are completely hard and frozen solid. This “flash freezing” step is crucial.
- Transfer to Storage: Once flash-frozen, transfer the tortellini into a freezer-safe gallon-size bag or an airtight container. Remove as much air as possible from the bag to prevent freezer burn.
- Long-Term Storage: Frozen homemade cheese tortellini can be stored in the freezer for up to 3 months.
- Cooking from Frozen: When you’re ready to cook, there’s no need to thaw! Simply add the frozen tortellini directly to a pot of boiling salted water. They may take an extra minute or two to cook compared to fresh tortellini, so boil for 3-5 minutes, or until they float and are tender.
Discover More of Our Favorite…
Pasta Recipes
- Garlic Parmesan Pasta
- Easy Mushroom Pasta
- Classic Baked Ziti
- Goat Cheese Ravioli
Explore Other Delicious…
Homemade Pasta Recipes
- Classic Cheese Ravioli
- Comprehensive Guide: How to Make Ravioli
- Light and Fluffy Ricotta Gnocchi
- Seasonal Pumpkin Gnocchi
Recipe: Homemade Cheese Tortellini
This homemade cheese tortellini recipe, featuring a simple pasta dough and a luxurious 5-cheese filling, will become a new favorite in your kitchen.
Recipe Summary
- By: Lee Funke
- Prep Time: 1 hour
- Cook Time: 15 minutes
- Total Time: 1 hour 15 minutes
- Servings: 4
Ingredients
Pasta Dough
- 2 cups all-purpose flour
- ¾ cup water
- 3 tablespoons mascarpone cheese
- ½ teaspoon salt
5-Cheese Filling
- ½ cup whole milk ricotta cheese
- ½ cup mozzarella cheese, shredded
- ¼ cup mascarpone cheese
- ¼ cup asiago cheese, shredded
- ¼ cup romano cheese, shredded
- 1 teaspoon Italian seasoning
Instructions
- Prepare the Cheese Filling: In a medium bowl, combine all the cheeses (ricotta, mozzarella, mascarpone, asiago, romano) with the Italian seasoning. Mix thoroughly until well incorporated and set aside.
- Make the Tortellini Dough: In a mixing bowl, combine flour and salt. Create a well in the center. Add ½ cup of water and the 3 tablespoons of mascarpone cheese into the well. Mix with a fork or wooden spoon until a loose, shaggy ball forms.
- Knead the Dough: Transfer the dough to a lightly floured surface. Knead with your hands for 5-7 minutes until the dough is firm, smooth, and elastic. Add more water sparingly if needed to achieve the right consistency (not sticky, not dry).
- Rest the Dough: Wrap the kneaded dough tightly in plastic wrap and let it rest at room temperature for at least 30 minutes. This helps relax the gluten, making it easier to roll.
- Prepare for Rolling: Set up your pasta roller (KitchenAid attachment or hand-crank machine). Have a small bowl of water ready for sealing the tortellini. Lightly flour your work surface.
- Roll Out Pasta Dough: Divide the dough in half, keeping one half wrapped. Flatten the working dough portion. Pass it through the pasta roller, starting at the widest setting (usually #1). Fold and re-roll a few times at the widest setting. Then, gradually decrease the setting, passing the dough through each subsequent setting until you reach setting #5 or until the dough is thin enough to see your fingers through.
- Cut Squares: Trim the rolled pasta sheet into 2 equal size rectangles. Cut these rectangles into 2×2-inch squares using a pastry cutter or knife.
- Fill and Seal Tortellini: Scoop approximately 1 teaspoon of the cheese filling into the center of each pasta square. Dip your finger into water and moisten the outer edges of the square. Fold one corner of the square diagonally over the filling to the opposite corner, forming a triangle. Press the edges tightly to seal.
- Shape the Tortellini: Lightly moisten one of the bottom tips of the triangle. Bring the two bottom tips together, overlapping them slightly, and press firmly to seal, forming the classic tortellini ring shape. Place finished tortellini on a lightly floured baking sheet, ensuring they do not touch.
- Boil Tortellini: Bring a large pot of salted water to a rolling boil. Carefully add the tortellini in batches. Boil for 2-3 minutes, or until they float to the surface and are cooked through. Remove with a slotted spoon and immediately toss with your favorite sauce.
Tips & Notes
- Cheese Substitutions: If you don’t have Asiago and Romano on hand, you can substitute with an equal amount of good quality Parmesan cheese.
- Italian Seasoning: We prefer using homemade Italian seasoning for fresh, vibrant flavors. If using store-bought, taste your filling before adding any extra salt, as some blends can be saltier.
- Vodka Sauce Tip: If you’re using our homemade vodka sauce recipe and don’t have tomato paste, you can substitute with ½ cup of tomato sauce and cook it for 4-5 minutes (instead of 1-2 minutes) to allow it to reduce and intensify in flavor.
We hope you thoroughly enjoy the process of making and savoring these delightful homemade cheese tortellini. There’s truly nothing like the taste of fresh pasta crafted with care.
Love this recipe? We’d love to hear from you! Please leave a comment below and share your experience. Don’t forget to tag your culinary creations on social media with the hashtag #cheeseknees. We can’t wait to see what you’re up to in your kitchen!