
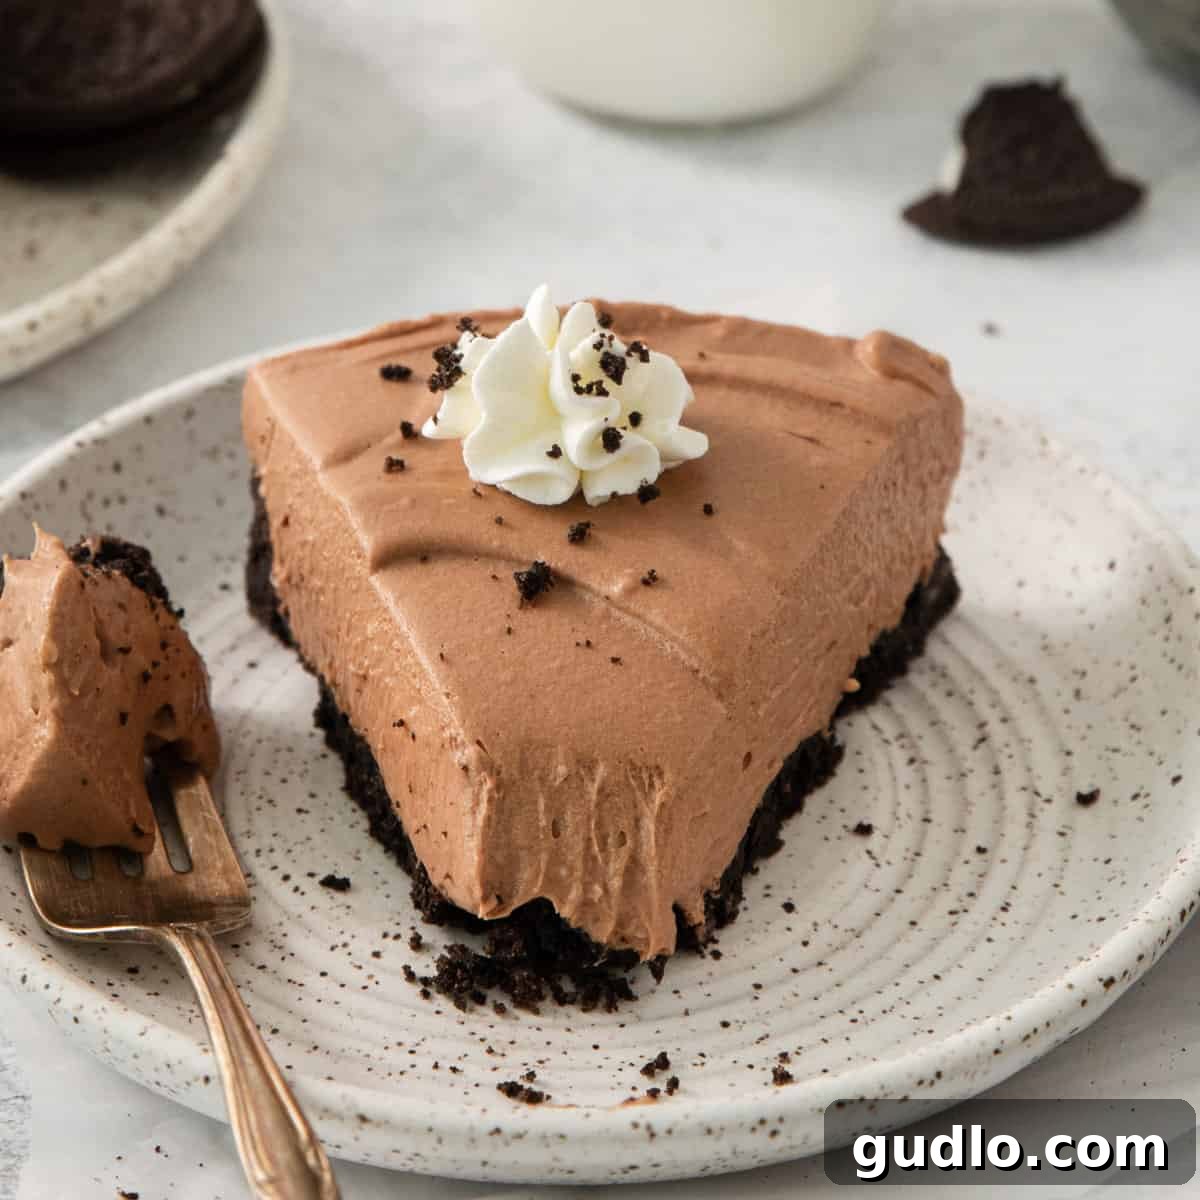
Indulge in a truly unforgettable dessert experience with this exquisite Chocolate Mousse Pie. This no-bake masterpiece is the ultimate dream for any chocolate enthusiast, boasting a rich, velvety chocolate filling that melts in your mouth. What sets this recipe apart is the delightful inclusion of cream cheese, a secret ingredient that transforms the mousse into an even more decadent and uniquely satisfying treat. Paired with a classic, crumbly Oreo cookie crust, this pie delivers an unparalleled symphony of textures and flavors that will have your taste buds singing with joy.
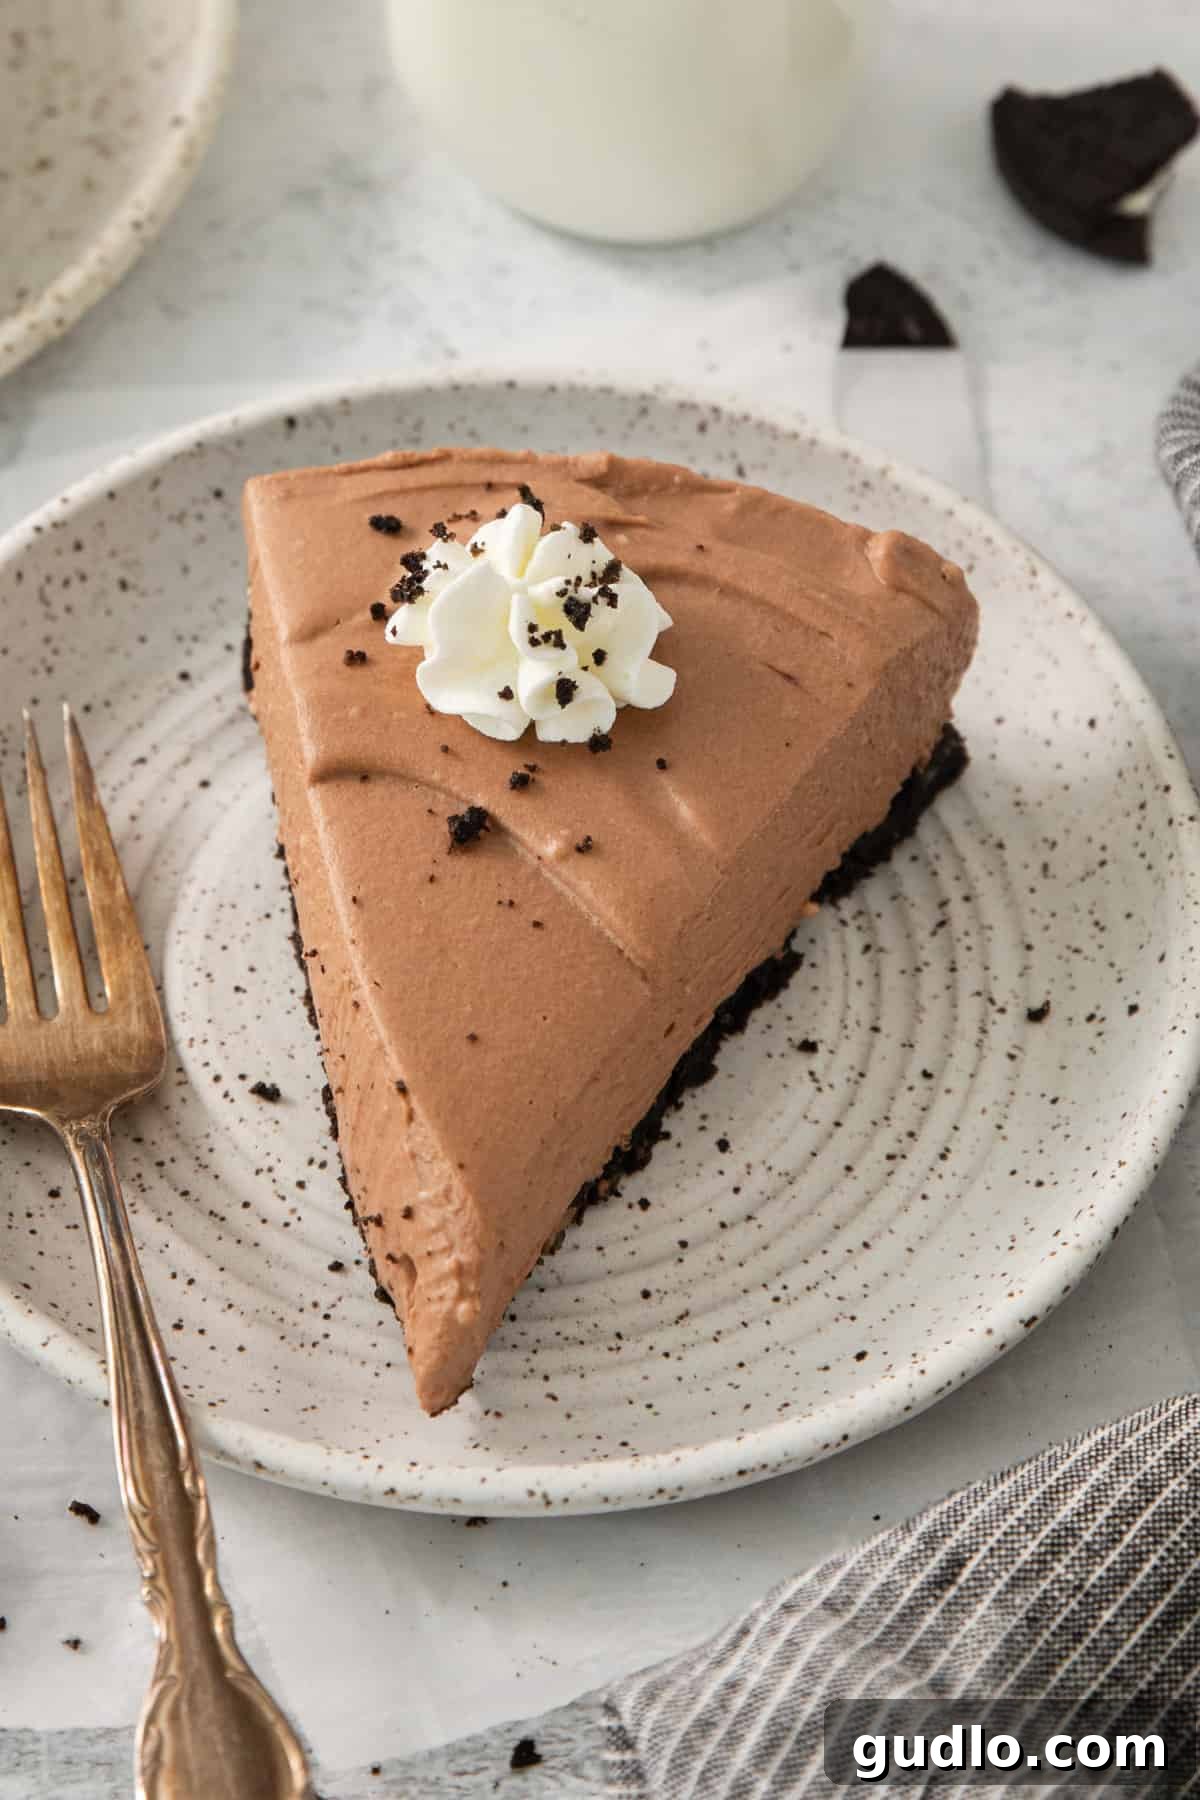
Prepare to have your perception of chocolate desserts revolutionized! The addition of cream cheese is nothing short of a game-changer, lending an incredible richness, a subtle tang, and a stable, luscious texture to the chocolate mousse. But let’s not overlook the unsung hero: the irresistible Oreo cookie crust. This simple yet brilliant foundation provides the perfect textural contrast, a sweet, buttery crunch that perfectly complements the smooth, airy filling. Together, these elements create a harmonious balance that makes every bite pure bliss.
We absolutely adore this recipe not only for its phenomenal taste but also for its remarkable simplicity. It’s incredibly easy to prepare, making it an ideal choice for both seasoned bakers and complete novices alike. The process is straightforward: create and bake the simple Oreo cookie crust, then whip up the decadent chocolate cream cheese filling. Once assembled, a minimum of 3 hours in the refrigerator is all it takes for this magnificent pie to set, allowing the flavors to meld beautifully before it’s ready to be savored. It’s truly a dessert that delivers maximum impact with minimal effort.
Why This No-Bake Chocolate Mousse Pie Will Become Your New Favorite
Beyond its obvious deliciousness, there are many reasons why this chocolate mousse pie stands out:
- Effortlessly Elegant: Despite its sophisticated appearance, this pie is surprisingly easy to make, requiring no complex techniques or extensive baking skills.
- The No-Bake Advantage: Perfect for warm weather or when you simply don’t want to turn on the oven (after the crust bakes). The majority of the work is done with a mixer and refrigerator.
- Cream Cheese Magic: The cream cheese isn’t just a filler; it enhances the chocolate flavor, adds a lovely tang, and gives the mousse a wonderfully stable, rich consistency that traditional mousse often lacks. It truly elevates the entire pie.
- Oreo Perfection: Who can resist an Oreo crust? It’s a nostalgic and universally loved base that provides a satisfying crunch against the creamy filling.
- Make-Ahead Marvel: This pie is an excellent choice for entertaining as it needs to chill for several hours, allowing you to prepare it well in advance.
- Crowd-Pleaser: Chocolate and cream cheese are a match made in heaven, guaranteeing this dessert will be a hit at any gathering, from casual dinners to festive celebrations.
Essential Ingredients for Your Decadent Chocolate Mousse Pie
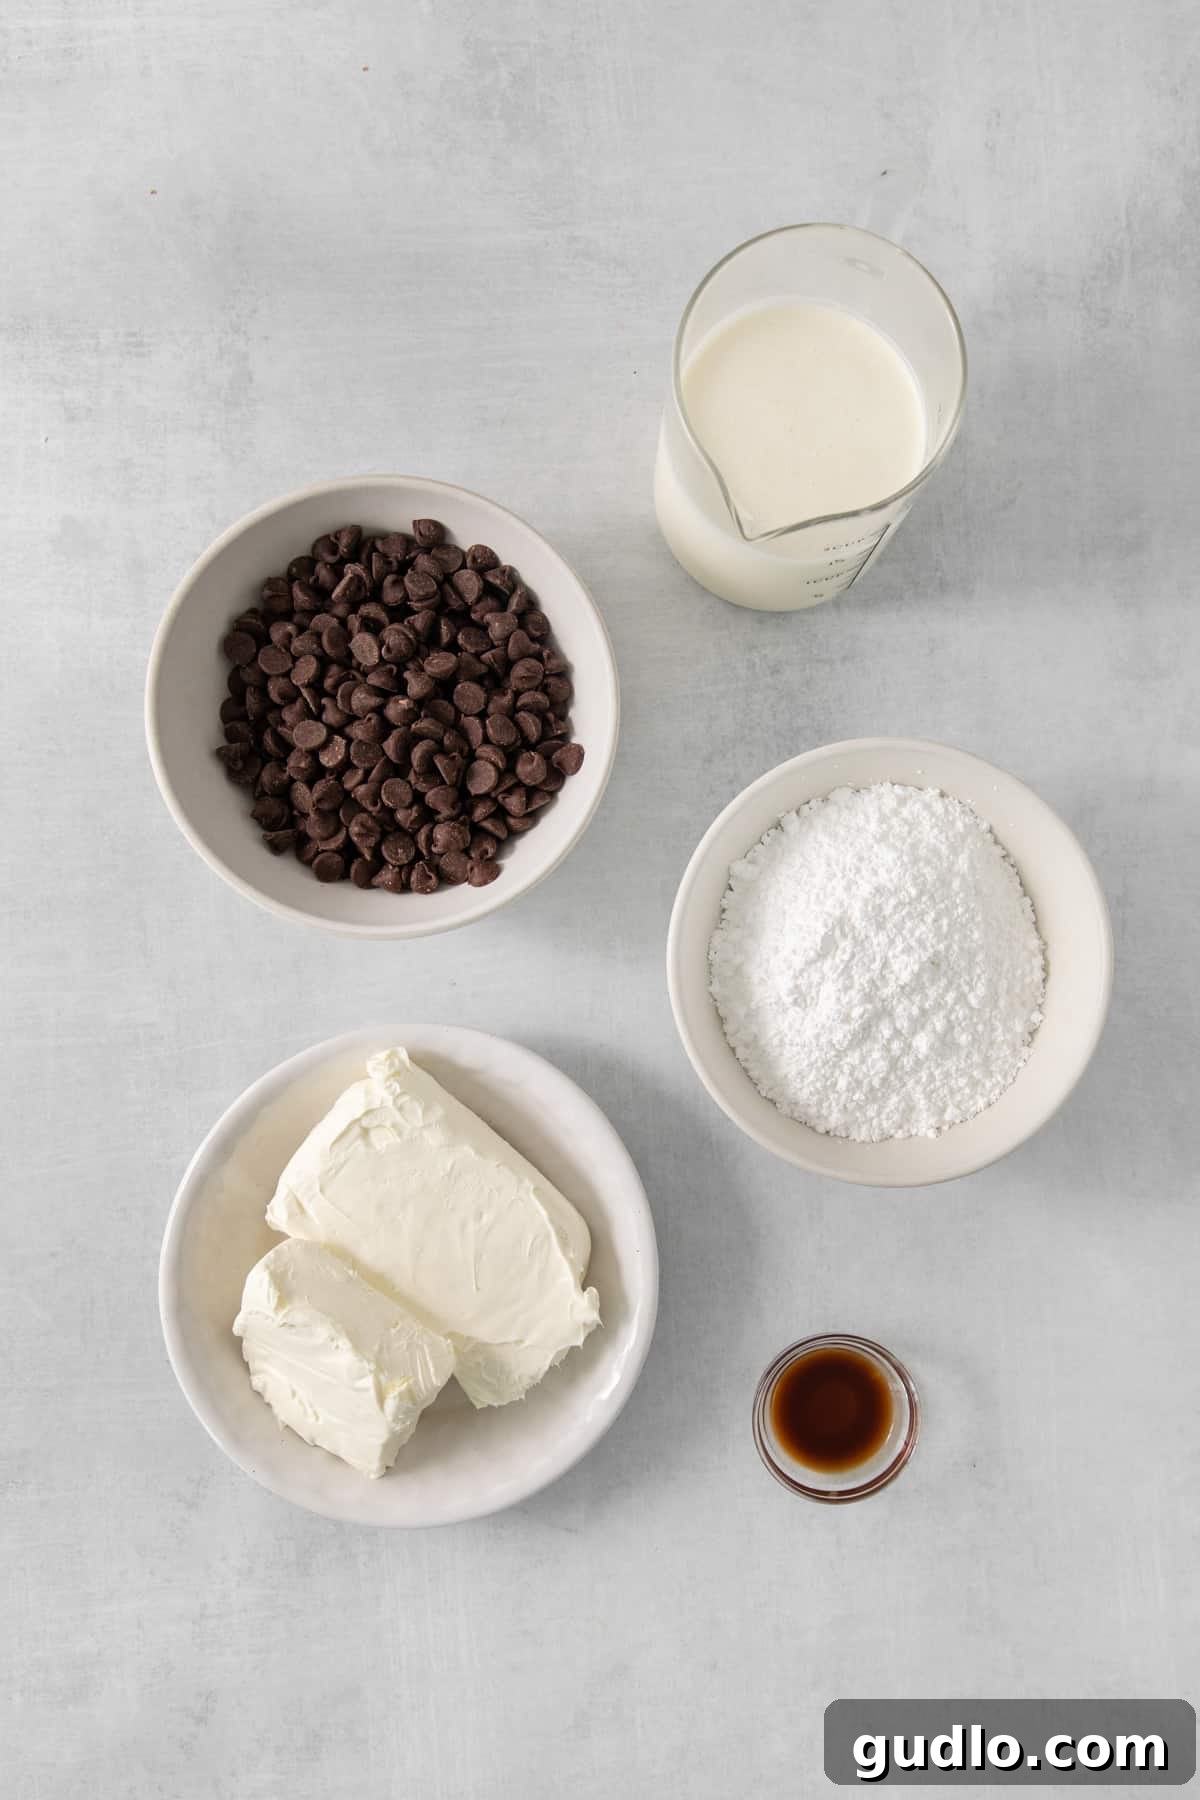
Crafting this irresistible chocolate mousse pie requires a few key ingredients, each playing a crucial role in its delicious outcome:
- Oreo Cookies: The star of our crust! Crushed Oreos provide a rich, chocolatey, and perfectly crumbly base for the pie. Their distinct flavor complements the mousse beautifully.
- Unsalted Butter: Essential for binding the Oreo crumbs together, creating a firm and flavorful crust that bakes to perfection. Ensure it’s softened for easy blending.
- Heavy Cream: This forms the luscious, airy base of our chocolate mousse. Whipped to stiff peaks, it contributes to the pie’s incredibly rich and creamy texture.
- Cream Cheese: The secret ingredient that truly makes this easy chocolate mousse pie extraordinary. It adds a delightful tang, enhances the richness, and helps stabilize the mousse, preventing it from becoming too soft. Be sure it’s at room temperature for smooth blending.
- Powdered Sugar: Also known as confectioners’ sugar, this fine sugar sweetens the mousse without adding graininess, ensuring a silky-smooth filling that is perfectly delectable.
- Vanilla Extract: A touch of vanilla enhances and deepens the overall chocolate flavor, adding a warm, aromatic note to the mousse.
- Semi-Sweet Chocolate Chips: The heart of our chocolate mousse pie! These chips melt down to create a robust, deep chocolate flavor that is both satisfying and not overly sweet.
Required Kitchen Tools for a Seamless Baking Experience
While this recipe is incredibly easy, having the right tools on hand will make the preparation process even smoother:
- Food Processor: This is your best friend for achieving the perfect Oreo cookie crust. It quickly and efficiently crumbles the cookies and blends them with butter to the ideal “wet sand” consistency.
- Hand Mixer (or Stand Mixer): Absolutely necessary for whipping the heavy cream to stiff peaks and for blending the cream cheese into a smooth, airy mousse. A good mixer ensures a light and fluffy filling.
- 9-inch Springform Pan: This type of pan is highly recommended for easy removal of the pie, ensuring a beautiful, intact presentation of your finished dessert. Its removable sides make slicing and serving a breeze.
- Microwave-Safe Bowl: For melting your chocolate chips quickly and evenly.
- Large Mixing Bowls: Several bowls will be needed for preparing the crust and the mousse components separately.
- Spatula or Rubber Scraper: Essential for folding the melted chocolate into the cream cheese mixture and for transferring the filling into the crust.
Creative Variations and Simple Substitutions
While this chocolate mousse pie recipe is perfect as is, it’s also incredibly versatile, allowing for fun variations and easy substitutions to suit your taste or what you have on hand:
- Crust Customization:
- Beyond Oreos: If Oreos aren’t your preference, a classic graham cracker crust offers a delightful, slightly spiced alternative.
- Cookie Swap: Experiment with other cookie varieties! Chocolate wafer cookies, digestive biscuits, shortbread, or even Biscoff cookies would make an excellent crust. Feel free to use off-brand chocolate sandwich cookies – no judgment here!
- Go No-Bake with the Crust: For an entirely no-bake experience, simply purchase a high-quality premade chocolate cookie crust from your local grocery store. This saves a step and makes the recipe even quicker!
- Chocolate Choices:
- Dark Chocolate Delight: If you prefer a richer, more intense chocolate flavor with a hint of bitterness, swap the semi-sweet chocolate chips for dark chocolate chips or a finely chopped dark chocolate bar.
- Milk Chocolate Sweetness: For a sweeter, milder chocolate profile, milk chocolate chips can be used. Just be mindful that milk chocolate can be a bit softer when melted.
- White Chocolate Twist: While not a “chocolate mousse” pie, a white chocolate variation could be a fun experiment, perhaps with a dash of almond extract.
- Flavor Boosters:
- Espresso Powder: A teaspoon of instant espresso powder added to the melted chocolate or the cream cheese mixture will deepen the chocolate flavor without making it taste like coffee.
- Liqueur: For an adult twist, a splash of Kahlúa, Baileys, or a raspberry liqueur could be folded into the mousse.
- Mint Extract: A few drops of mint extract could transform this into a refreshing mint chocolate mousse pie.
- Topping Ideas: Beyond simple whipped cream, consider shaved chocolate, chocolate curls, a dusting of cocoa powder, fresh berries (raspberries or strawberries pair wonderfully), or even a drizzle of caramel sauce.
Expert Tip: How to Soften Cream Cheese to Perfection
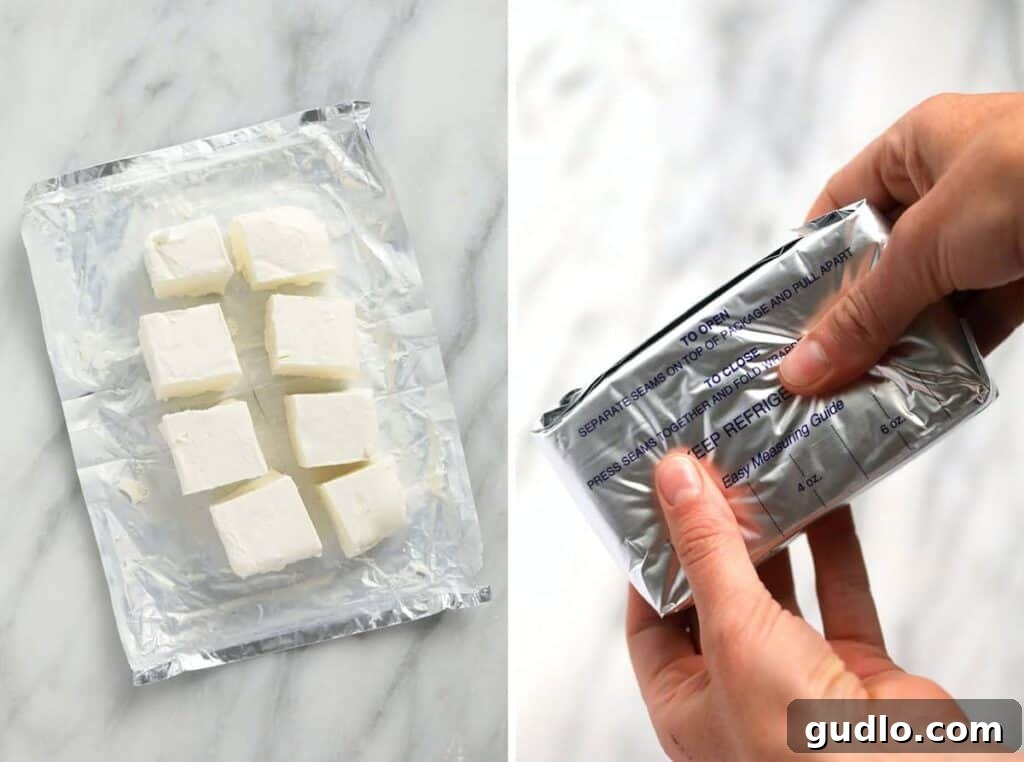
Achieving a silky-smooth chocolate mousse is largely dependent on having perfectly softened cream cheese. Cold cream cheese will result in a lumpy, inconsistent mixture, no matter how much you whip it. Looking for a quick method to get your cream cheese to that ideal, spreadable consistency? Check out our detailed guide for various techniques – How to Soften Cream Cheese – 4 Ways! Here you’ll discover unique (and quick!) methods to bring cream cheese to the perfect temperature, ensuring seamless blending for all your baking and cooking endeavors.
Frequently Asked Questions About Chocolate Mousse Pie
The primary difference lies in their preparation and texture. Chocolate pudding is traditionally cooked on the stovetop, often thickened with cornstarch or eggs, resulting in a denser, smoother, and gel-like consistency. Mousse, on the other hand, is typically not cooked. It achieves its light, airy, and fluffy texture through the incorporation of whipped ingredients like heavy cream or egg whites, which are folded into a chocolate base. Our recipe, with the addition of cream cheese and whipped heavy cream, offers a rich yet airy mousse texture that is distinct from the thicker, more uniform texture of pudding.
A chocolate mousse that turns hard, rather than retaining its creamy lightness, usually indicates that the chocolate seized during the mixing process. This commonly occurs when a significant amount of cold or cool liquid (like heavy cream or milk) is rapidly added to melted chocolate that has already cooled down. The sudden temperature difference causes the cocoa solids in the chocolate to clump and harden. To prevent this, ensure all ingredients, especially cream cheese, are at room temperature and that melted chocolate is still slightly warm but not hot when gently folded into the cream mixture.
Several pitfalls can lead to less-than-perfect mousse. The main mistake is not properly emulsifying the ingredients, especially when combining the melted chocolate with the cream cheese and whipped cream mixture. An emulsion helps to blend all components smoothly, preventing separation and ensuring a consistent texture. If the emulsion process is rushed or not done correctly, you might end up with a grainy or sandy texture, or a mousse that’s too soft and doesn’t hold its shape. Other common mistakes include over-whipping the heavy cream (which can make it grainy), under-whipping (leading to a loose mousse), using cold ingredients, or not allowing sufficient chilling time for the mousse to set properly.
To prevent a soggy crust, ensure you press the Oreo mixture firmly and evenly into the pan, extending about an inch up the sides. Baking it for 8 minutes helps to set the butter and create a barrier. Also, make sure the crust is completely cooled before adding the mousse filling. Storing the pie in an airtight container in the refrigerator will also help maintain the crispness of the crust over time.
No, chocolate sauce is not a suitable substitute for chocolate chips in this recipe. Chocolate sauce has a different composition, often containing water, corn syrup, and other additives, which would significantly alter the texture and stability of the mousse. The recipe relies on the pure, solid chocolate from chips to provide the necessary structure and rich flavor once melted and incorporated into the creamy base.
Storage and Freezer Directions for Your Chocolate Mousse Pie
To keep your delicious chocolate mousse pie fresh and flavorful, proper storage is key:
- Refrigerator Storage: Any leftover chocolate mousse pie should be stored in an airtight container in the fridge. It will remain wonderfully fresh and delicious for up to 3 to 4 days. Always keep it covered to prevent it from absorbing other odors and drying out.
- Freezer Storage: This pie also freezes beautifully! To freeze, place your chocolate mousse pie (either whole or in individual slices) in a freezer-safe, airtight container. Ensure it’s well-wrapped to prevent freezer burn. It can be stored in the freezer for 2 to 3 months.
- Thawing Frozen Pie: When you’re ready to enjoy a slice of frozen pie, simply transfer it from the freezer to the refrigerator and allow it to thaw slowly for several hours or overnight until it reaches a creamy, enjoyable consistency.
Delightful Serving Suggestions for Your Chocolate Mousse Pie
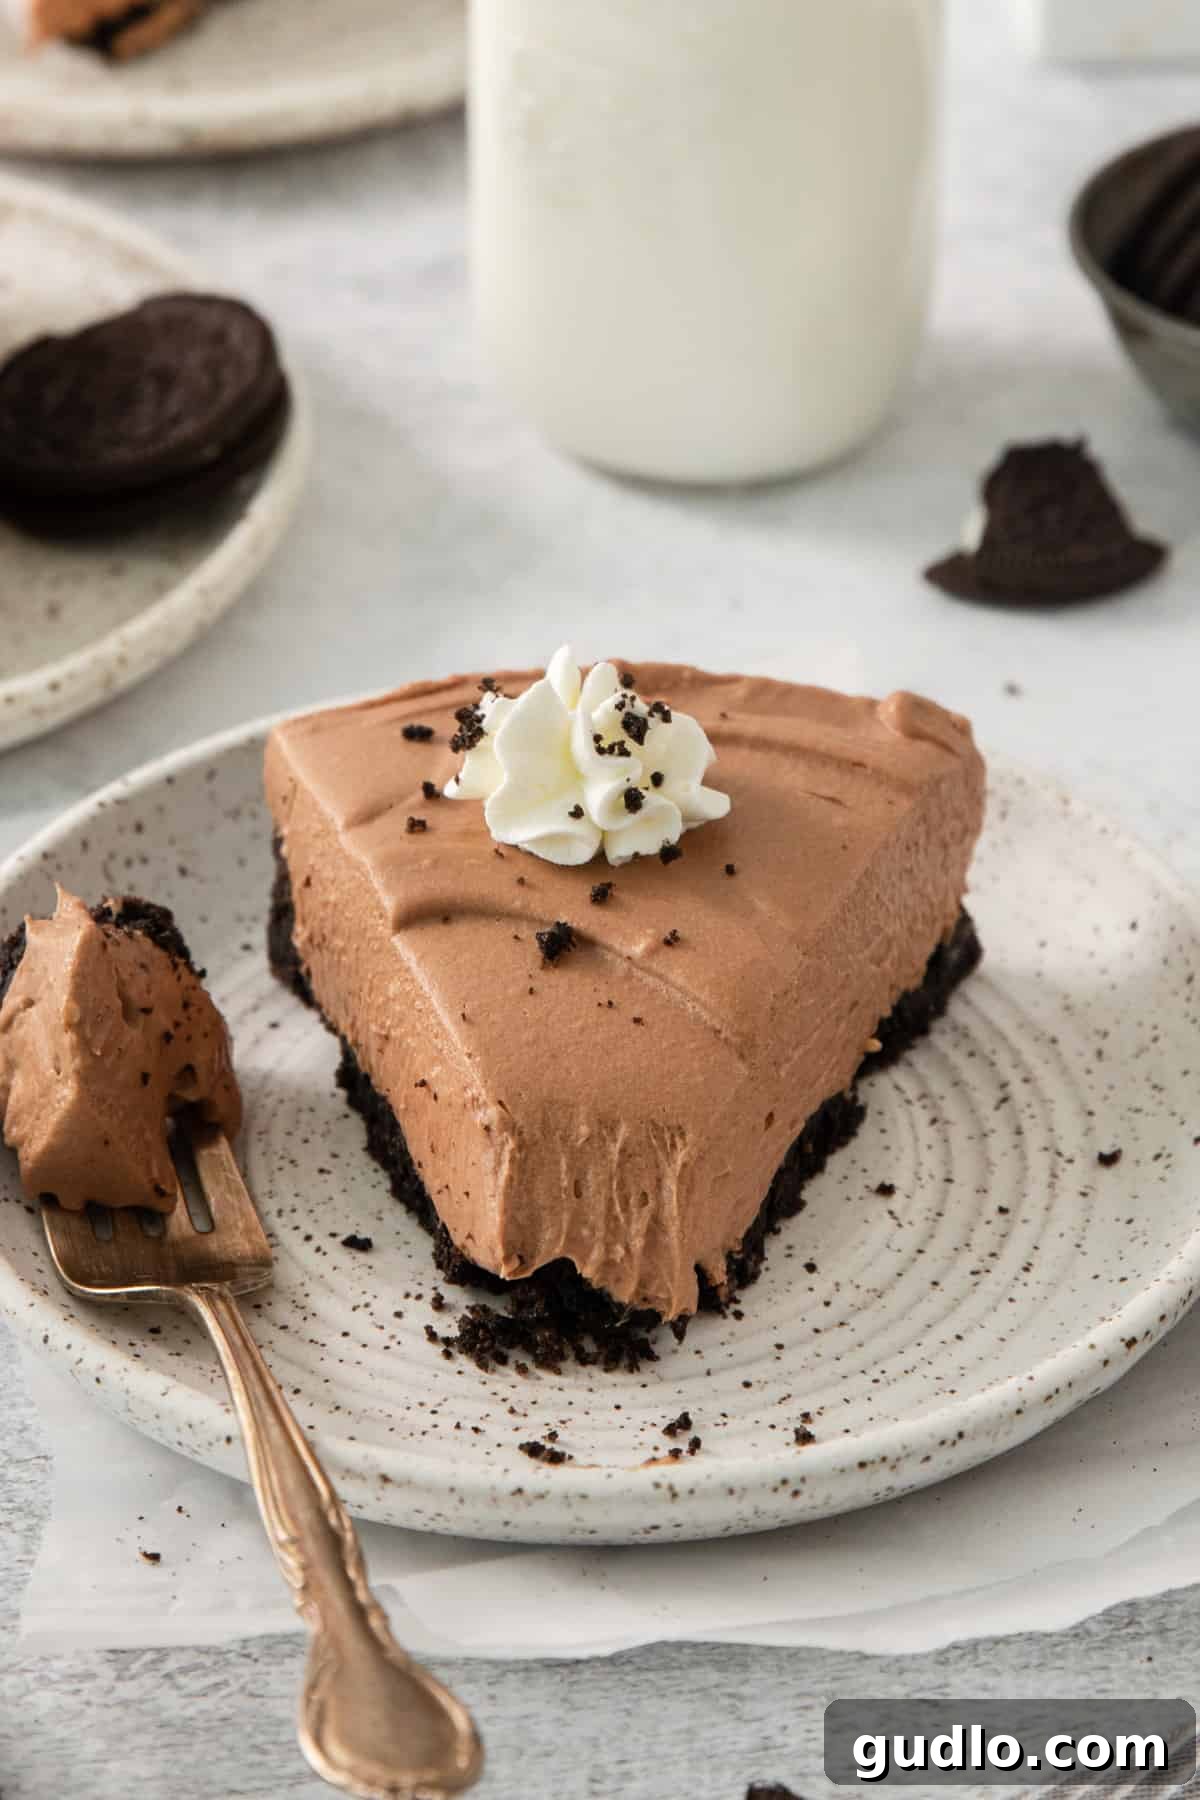
This chocolate mousse pie is a showstopper on its own, but a few simple garnishes can elevate it even further. Serve this rich, creamy dessert as the perfect grand finale to a delicious meal. We love the idea of balancing its sweetness with savory main courses like our hearty White Cheddar Mac and Cheese, the comforting Creamy Mushroom Chicken, or a classic Meat Lasagna before diving into this irresistible chocolate dream. Garnish each slice with a dollop of fresh whipped cream, a dusting of cocoa powder, a sprinkle of extra cookie crumbs, or a handful of chocolate shavings or mini chocolate chips for an added touch of elegance and texture. Fresh raspberries or strawberries also offer a lovely tart contrast to the rich chocolate.
Did we get you obsessed with the magic of cream cheese in cooking and baking? If you’re as enamored with its versatility as we are, then you must try our other fantastic cream cheese-infused dishes! Explore the savory side with our Cream Cheese Chicken Enchiladas, the comforting Baked Spaghetti with Cream Cheese, and the succulent Creamy Garlic Chicken. Each recipe highlights how cream cheese can transform ordinary meals into extraordinary culinary experiences!
Chocolate Mousse Pie
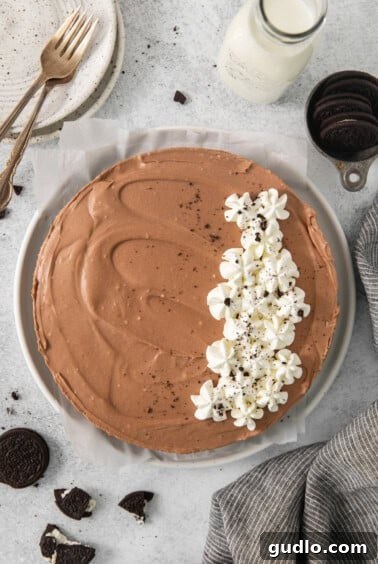
This chocolate mousse pie uses cream cheese to make a decadent dessert that every chocolate lover will, no doubt, obsess over!
By: Linley Hanson
Prep Time: 20 mins
Cook Time: 8 mins
Total Time: 28 mins
Servings: 10
Ingredients
Oreo Crust
- 22 Oreo Cookies
- 5 tablespoons unsalted butter, softened
Chocolate Mousse
- 1.5 cups heavy cream
- 12 oz. cream cheese, room temperature
- 1.5 cups powdered sugar
- 2 teaspoons vanilla extract
- 1.5 cups semi-sweet chocolate chips
Instructions
-
Prepare the Oven: Preheat your oven to 350℉ (175°C). This ensures your crust bakes evenly and crisply.
-
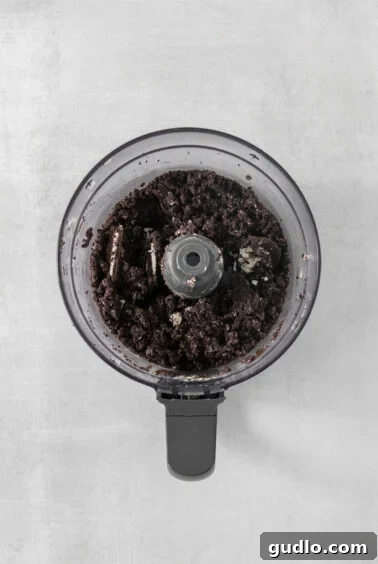
Make the Oreo Crust: In a food processor, combine the whole Oreo cookies and the softened unsalted butter. Pulse until the mixture forms a wet sand-like consistency. The butter helps bind the crumbs.

-
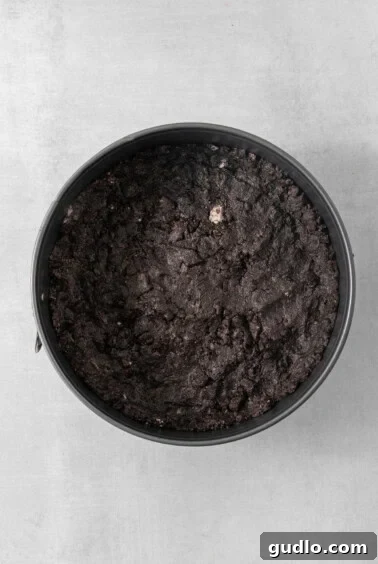
Press and Bake Crust: Firmly press the Oreo mixture into the bottom of a 9-inch springform pan, extending about 1 inch up the sides. Ensure an even layer. Bake for 8 minutes. Once baked, remove from the oven and set aside to cool completely. A cool crust prevents the mousse from melting.
-
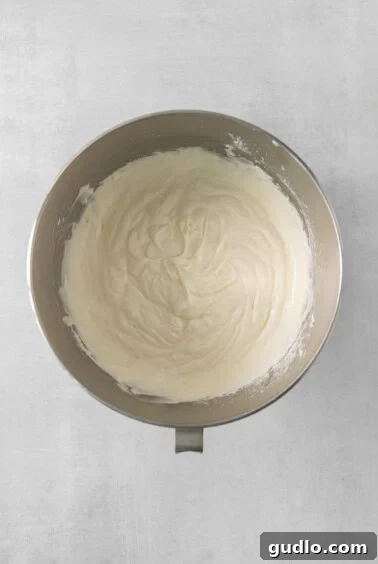
Whip the Cream Cheese: Place the room temperature cream cheese into a large mixing bowl. Using a hand mixer (or stand mixer with a whisk attachment), whip the cream cheese until it’s smooth and creamy, about 1 minute. This ensures there are no lumps in your mousse.
-
Prepare the Mousse Base: Add the heavy cream, powdered sugar, and vanilla extract to the whipped cream cheese. Continue mixing with the hand mixer on medium-high speed until stiff peaks form. The mixture should be thick and hold its shape. Set this creamy base aside.
-
Melt the Chocolate: Place the semi-sweet chocolate chips into a microwave-safe bowl. Heat the chocolate on high power in 20-second increments, stirring thoroughly after each increment, until the chocolate is completely melted and smooth. Be careful not to overheat it, which can cause it to seize.
-
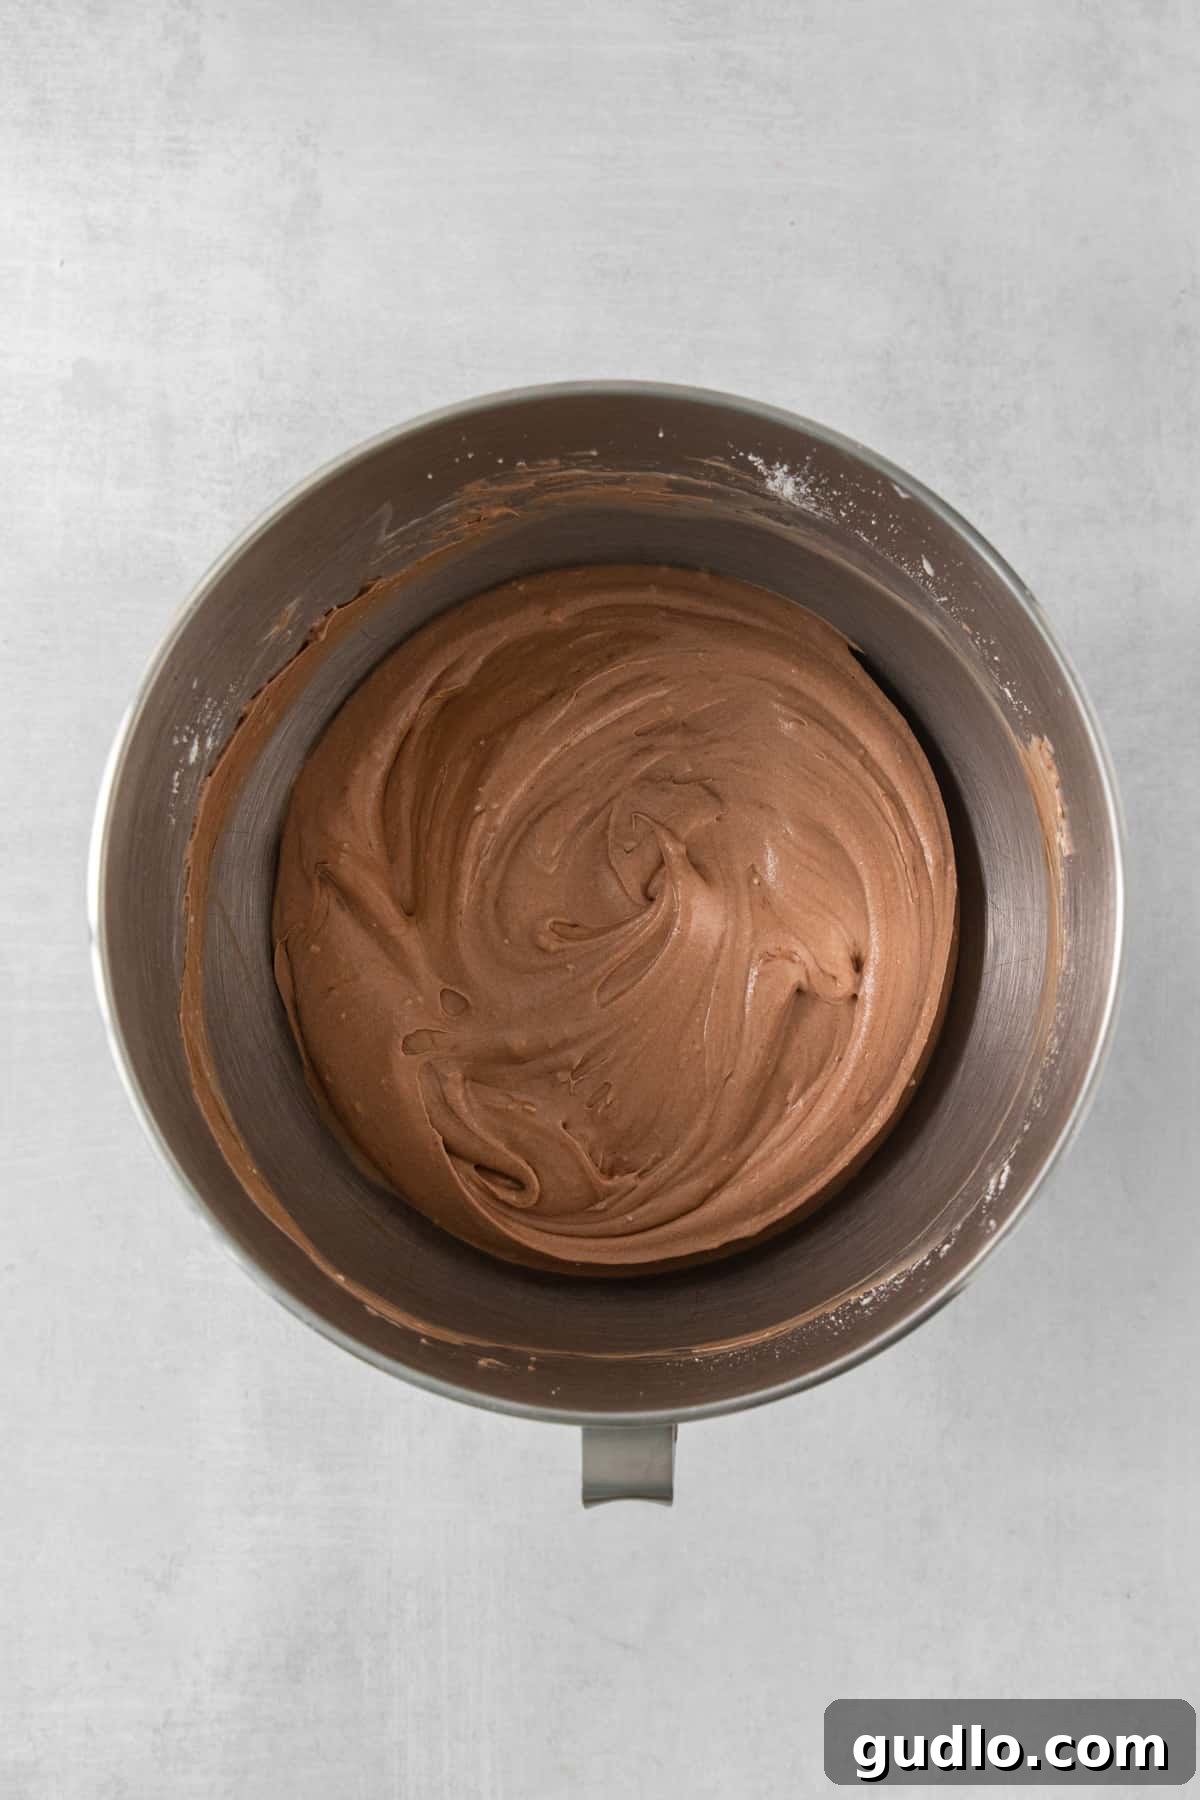
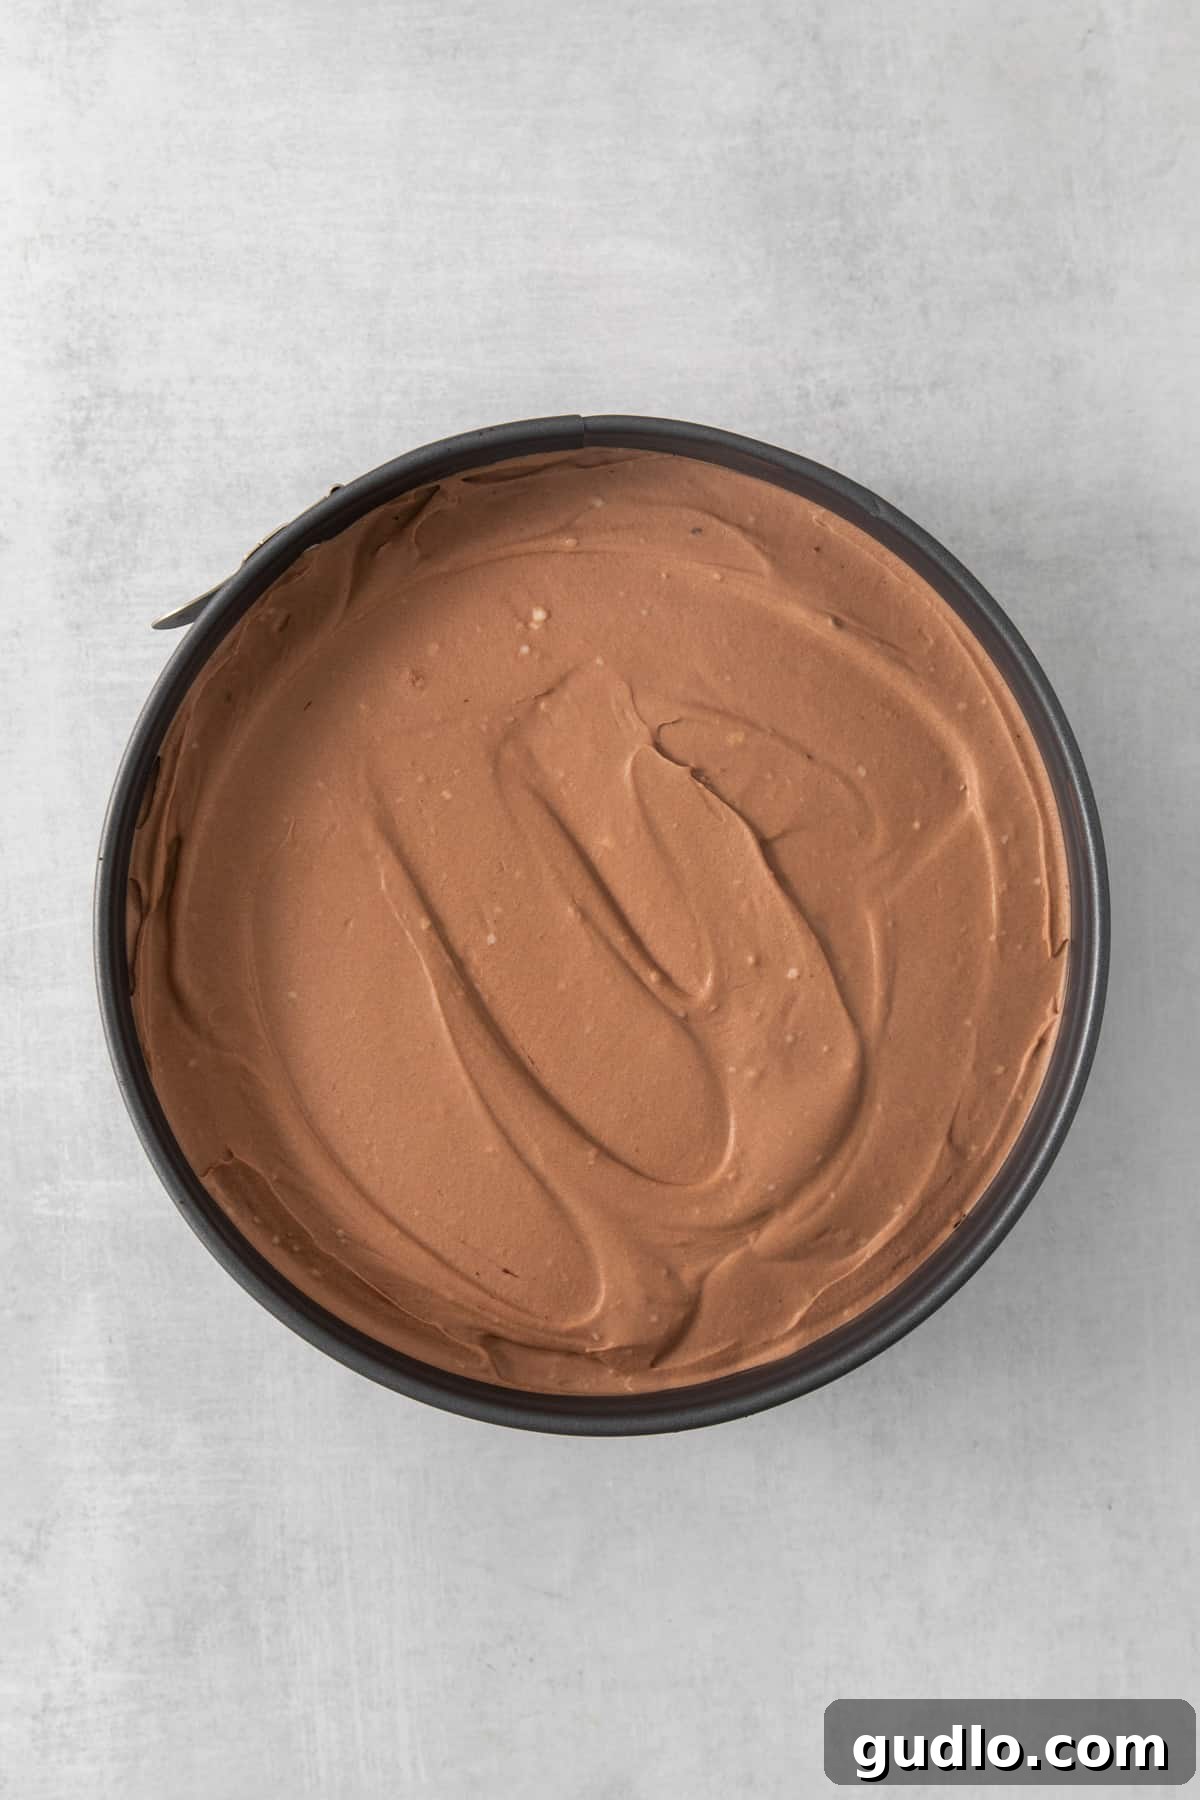
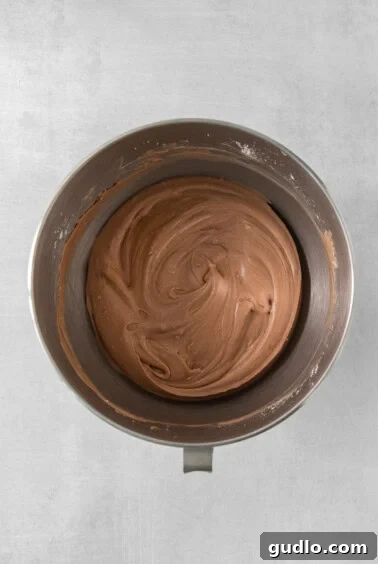
Combine and Assemble: Gently fold the melted chocolate into the cream cheese and whipped cream mixture until just combined and streak-free. Be careful not to deflate the whipped cream. Transfer this rich chocolate mousse filling into the cooled Oreo cookie crust. Spread it evenly. Refrigerate the pie for at least 3 hours, or preferably overnight, to allow it to set completely.
-
Slice and Serve: Once chilled and set, remove the springform pan sides. Slice and serve the chocolate mousse pie as is for a classic treat. For an extra special touch, garnish with a dollop of whipped cream, more crushed cookie crumbs, or a sprinkle of chocolate chips. Enjoy!
Tips & Notes for a Perfect Pie
- Room Temperature Cream Cheese is Crucial: To ensure your cream cheese blends perfectly into the chocolate mixture without lumps, it is absolutely essential that it is at room temperature. Cold cream cheese will result in a grainy mousse.
- Cool the Crust Completely: Always allow your Oreo crust to cool entirely before adding the mousse filling. A warm crust can melt the mousse, compromising its texture and setting ability.
- Gentle Folding for an Airy Mousse: When incorporating the melted chocolate into the whipped cream cheese mixture, use a gentle folding technique with a spatula. Avoid vigorous mixing, which can deflate the air from the whipped cream, resulting in a dense rather than airy mousse.
- Don’t Overheat Chocolate: When melting chocolate chips, do so slowly in short bursts in the microwave, stirring well after each interval. Overheated chocolate can become grainy or seize.
- Chilling Time is Non-Negotiable: The stated chilling time of at least 3 hours (preferably longer or overnight) is vital for the mousse to firm up and for all the flavors to meld together beautifully. Patience will be rewarded with a perfectly set pie.
Watch It
Nutrition information is automatically calculated, so should only be used as an approximation.
Love this recipe? Share your thoughts below!
Don’t forget to tag your delicious creations on social media with the hashtag #cheeseknees. We absolutely love seeing what you’re whipping up in your kitchen!