
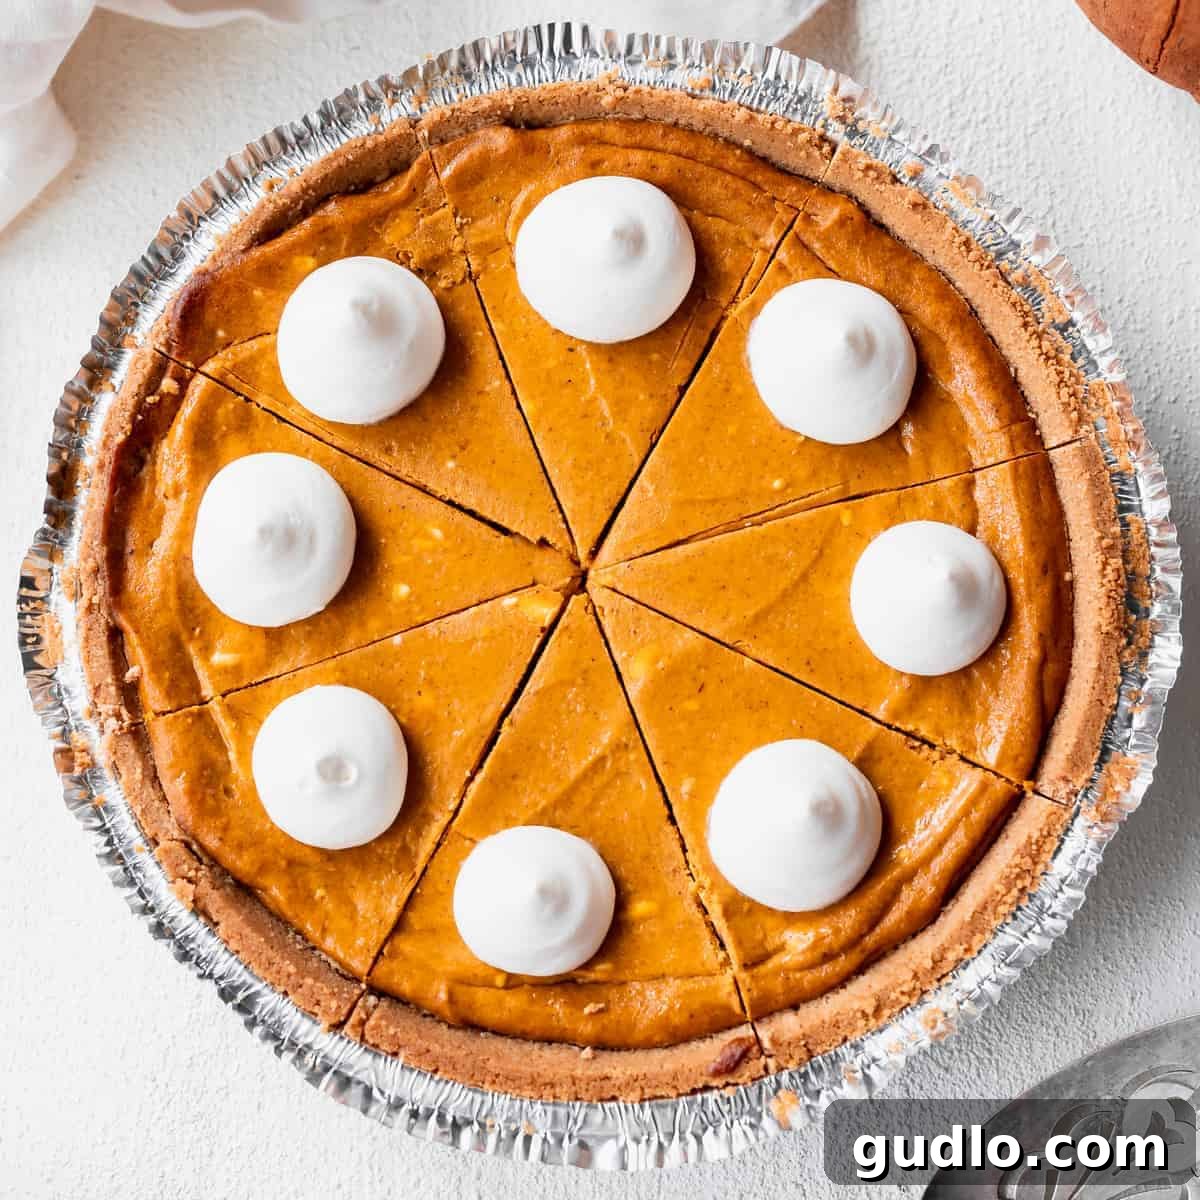
Irresistibly Easy Pumpkin Cheesecake: Your New Fall Favorite Dessert!
Prepare to elevate your autumn dessert game with our incredibly Easy Pumpkin Cheesecake recipe. While traditional pumpkin pie holds a special place in our hearts, this creamy, spiced pumpkin cheesecake takes everything you love about fall flavors and wraps it in a decadent, smooth texture that’s simply irresistible. Forget complicated steps and lengthy preparations – we’ve designed this recipe to be straightforward, ensuring you can enjoy a perfect slice of this heavenly dessert today, without any fuss. It’s the ultimate blend of classic pumpkin spice and rich cream cheese, creating a dessert experience that will delight your taste buds and impress your guests, making it a truly unforgettable treat for any occasion.
Embrace the Autumn Spirit: Why This Pumpkin Cheesecake Shines
As the leaves begin to turn vibrant hues of red and gold, and a crispness fills the air, there’s an undeniable pull towards all things warm, comforting, and pumpkin-spiced. Fall isn’t just a season; it’s an experience, and our easy pumpkin cheesecake is crafted to be at the heart of it. While pumpkin pie traditionally graces Thanksgiving tables, we firmly believe the joyous aroma and delightful taste of pumpkin pie spice shouldn’t be confined to just one holiday. This recipe celebrates the entire autumn season, offering a dessert that’s perfect for a cozy weeknight treat, a festive gathering with friends, or simply when you’re craving that comforting taste of fall.
What makes this particular recipe stand out in a world of beloved pumpkin desserts? It’s the magical fusion of two timeless classics: the earthy sweetness of pumpkin pie and the luxurious creaminess of a cheesecake. We’re not just making a pumpkin pie; we’re elevating it to an art form, creating a dessert that’s richer, smoother, and more utterly decadent. Imagine the familiar warmth of cinnamon, nutmeg, and ginger beautifully balanced with the tangy, velvety texture of cream cheese. This isn’t just another dessert; it’s a sensory journey into the heart of autumn, designed to make every bite a memorable one. Prepare to be captivated by its exquisite flavor profile, a symphony of seasonal spices and creamy delight that will leave everyone asking for more. It’s the perfect way to bring the essence of fall into your home, effortlessly and deliciously.
Essential Ingredients for Your Perfect Pumpkin Cheesecake
Creating this irresistible pumpkin cheesecake requires just a handful of straightforward ingredients, many of which you likely already have in your pantry during the fall season. We believe that exceptional flavor comes from quality components, so choose wisely, and you’ll be rewarded with a truly delightful dessert. This recipe thoughtfully combines 11 key ingredients, including a fantastic shortcut for the crust, making the entire process enjoyable and manageable. Here’s a closer look at what you’ll need and why each element is important:
- Graham Cracker Pie Crust: To keep things incredibly easy and save you valuable time, we highly recommend grabbing a pre-made graham cracker crust from your local grocery store. It provides a perfect, sturdy base that’s both sweet and slightly crunchy, forming the ideal foundation for your creamy filling without the hassle of baking from scratch.
- Plain Cream Cheese: Opt for full-fat cream cheese for the richest flavor and creamiest texture. Crucially, ensure it’s softened to room temperature before you begin mixing. This is vital for achieving that smooth, lump-free, and velvety cheesecake texture we all crave, allowing it to blend seamlessly with other ingredients.
- Pumpkin Puree: Make sure you’re using 100% pure pumpkin puree, not pumpkin pie filling. Pumpkin pie filling already contains spices and sweeteners, which would throw off the carefully balanced flavors of this recipe. The pure version allows you to control the flavor profile precisely.
- Ground Cinnamon: A cornerstone of fall baking, cinnamon brings warmth, a sweet aroma, and a classic comforting taste that is synonymous with autumn desserts.
- Ground Ginger: Adds a delightful zing and a subtle spicy kick that perfectly complements the sweetness of the pumpkin and the richness of the cream cheese, creating a well-rounded spice blend.
- Ground Nutmeg: For a hint of earthy sweetness and complexity, nutmeg is essential in any pumpkin spice blend, providing depth to the overall flavor.
- Maple Syrup: This natural sweetener contributes a rich, distinctive flavor that enhances the autumn theme beautifully. Choose pure maple syrup for the best, most authentic taste, adding a nuanced sweetness that granulated sugar alone can’t achieve.
- Light Brown Sugar: Provides moisture and a deep, molasses-like sweetness that pairs wonderfully with pumpkin and spices. Make sure it’s packed when measuring to ensure the correct amount.
- All-Purpose Flour: A small amount of flour helps stabilize the cheesecake filling during baking. It acts as a gentle binder, contributing to a smooth set and helping to prevent those dreaded cracks on the surface.
- Large Egg (Room Temperature): This egg acts as a primary binder, giving the cheesecake its essential structure and helping it set into that firm yet creamy consistency. Using a room-temperature egg helps it incorporate more smoothly into the batter, preventing overmixing.
- Large Egg White (Room Temperature): The addition of an extra egg white contributes to a slightly lighter, airier texture without compromising the richness. It helps achieve a delicate creaminess that sets this cheesecake apart.
Each ingredient plays a crucial role in creating the harmonious balance of flavors and the luxurious texture of this pumpkin cheesecake. Paying attention to details like using room-temperature dairy and eggs will make a significant difference in your final product, ensuring a cheesecake that is both easy to make and absolutely delicious to eat.
The Genius of a Store-Bought Crust: Simplify Your Baking Experience
In the world of baking, there are moments when a clever shortcut makes all the difference, and for this easy pumpkin cheesecake, a store-bought graham cracker crust is precisely that stroke of genius. While we certainly appreciate the artistry and satisfaction of crafting a homemade graham cracker crust from scratch – pulverizing crumbs in a food processor, mixing with melted butter, and pressing it perfectly into a pan – the reality is, sometimes we need efficiency without compromising quality. This is where the pre-made crust truly shines, transforming a potentially time-consuming recipe into a wonderfully accessible one.
Opting for a store-bought crust streamlines your baking process, allowing you to dedicate your focus and creative energy entirely to perfecting the rich, spiced pumpkin cheesecake filling. Major grocery stores offer excellent quality graham cracker crusts that provide a robust and flavorful foundation for your cheesecake, delivering that classic, slightly sweet, crumbly texture you desire. These crusts are typically pre-baked and designed to hold up beautifully to creamy fillings, making them a reliable choice that ensures consistent results every time.
Beyond mere convenience, a pre-made crust cleverly sidesteps some of the more “finicky” or advanced techniques often associated with traditional cheesecake baking. You won’t need a specialized 9-inch springform pan, which can sometimes be intimidating for less experienced bakers or simply an extra piece of equipment to clean and store. Furthermore, this method beautifully eliminates the need for a water bath (bain-marie) – that often dreaded step of baking your cheesecake in a pan of boiling water on the oven rack, a technique traditionally designed to prevent cracks and ensure even cooking. By using a standard pie crust, we simplify the baking environment, greatly reducing the chances of cracks and achieving a beautiful, smooth top without the extra effort. This approach makes our pumpkin cheesecake not just easy, but virtually foolproof, perfect for bakers of all skill levels who want impressive results with minimal stress. Enjoy the satisfaction of a homemade-tasting dessert with the ease of a smart shortcut!
Crafting Your Creamy Delight: Step-by-Step Pumpkin Cheesecake Instructions
Making this pumpkin cheesecake is a surprisingly straightforward process, especially with our simplified approach. The key to a perfect cheesecake lies in careful mixing and mindful baking, followed by crucial cooling. Follow these detailed steps to ensure a smooth, creamy, and crack-free dessert that will impress everyone with its rich flavor and perfect texture.
Making the Irresistible Filling: A Detailed Guide
- Prepare Your Oven: Begin by preheating your oven to a precise 325ºF (160ºC). This ensures the oven is at a consistent, even temperature when the cheesecake goes in, which is crucial for even baking and preventing temperature shocks that can lead to cracking.
- Cream the Cream Cheese: In a large mixing bowl, add your softened, room-temperature plain cream cheese. Using a hand mixer or a stand mixer with the paddle attachment, beat the cream cheese on low speed until it becomes incredibly smooth, light, and creamy. This step is essential to eliminate any lumps and create a silky, homogeneous base for your filling. Don’t rush it; a well-creamed base makes all the difference in the final texture of your cheesecake!
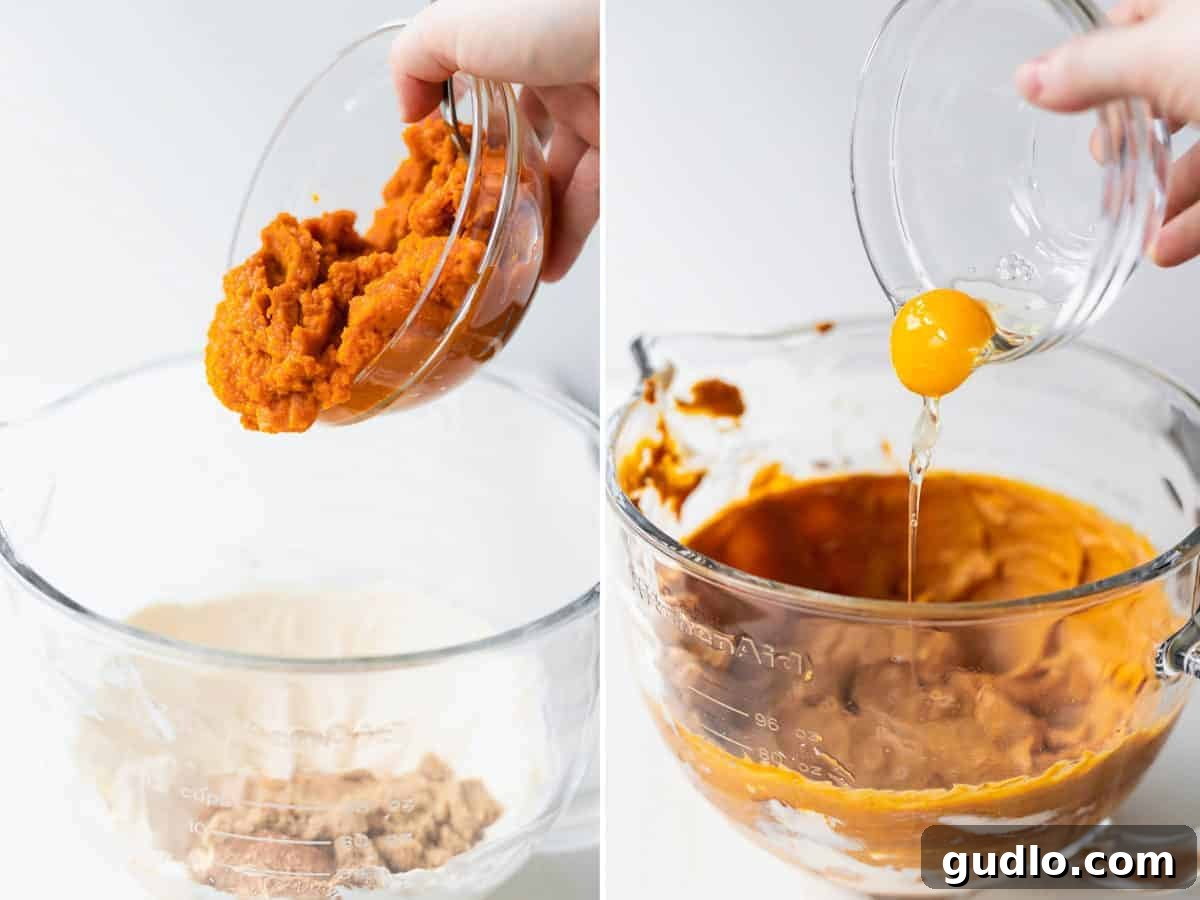
- Incorporate Pumpkin and Spices: Next, add the full can of pumpkin puree, ground cinnamon, ground ginger, ground nutmeg, maple syrup, and light brown sugar to the bowl with the cream cheese. Continue beating on low speed until all the ingredients are fully incorporated and the mixture is smooth and evenly colored. Scrape down the sides of the bowl occasionally with a spatula to ensure everything is mixed thoroughly and no dry pockets remain. The aroma at this stage will be absolutely divine and truly signals the start of fall baking!
- Gently Add Eggs for Structure: Carefully crack one large room-temperature egg into the pumpkin mixture. With the electric mixer set to its lowest speed, mix until the egg is just barely combined. Overmixing eggs can introduce too much air into the batter, which can cause the cheesecake to puff up and then crack as it cools, so be gentle and stop as soon as it’s incorporated. For the second egg, separate the yolk from the egg white, and add only the egg white to the bowl. Mix again on the lowest speed just until combined. The extra egg white contributes to a slightly lighter texture without sacrificing richness.
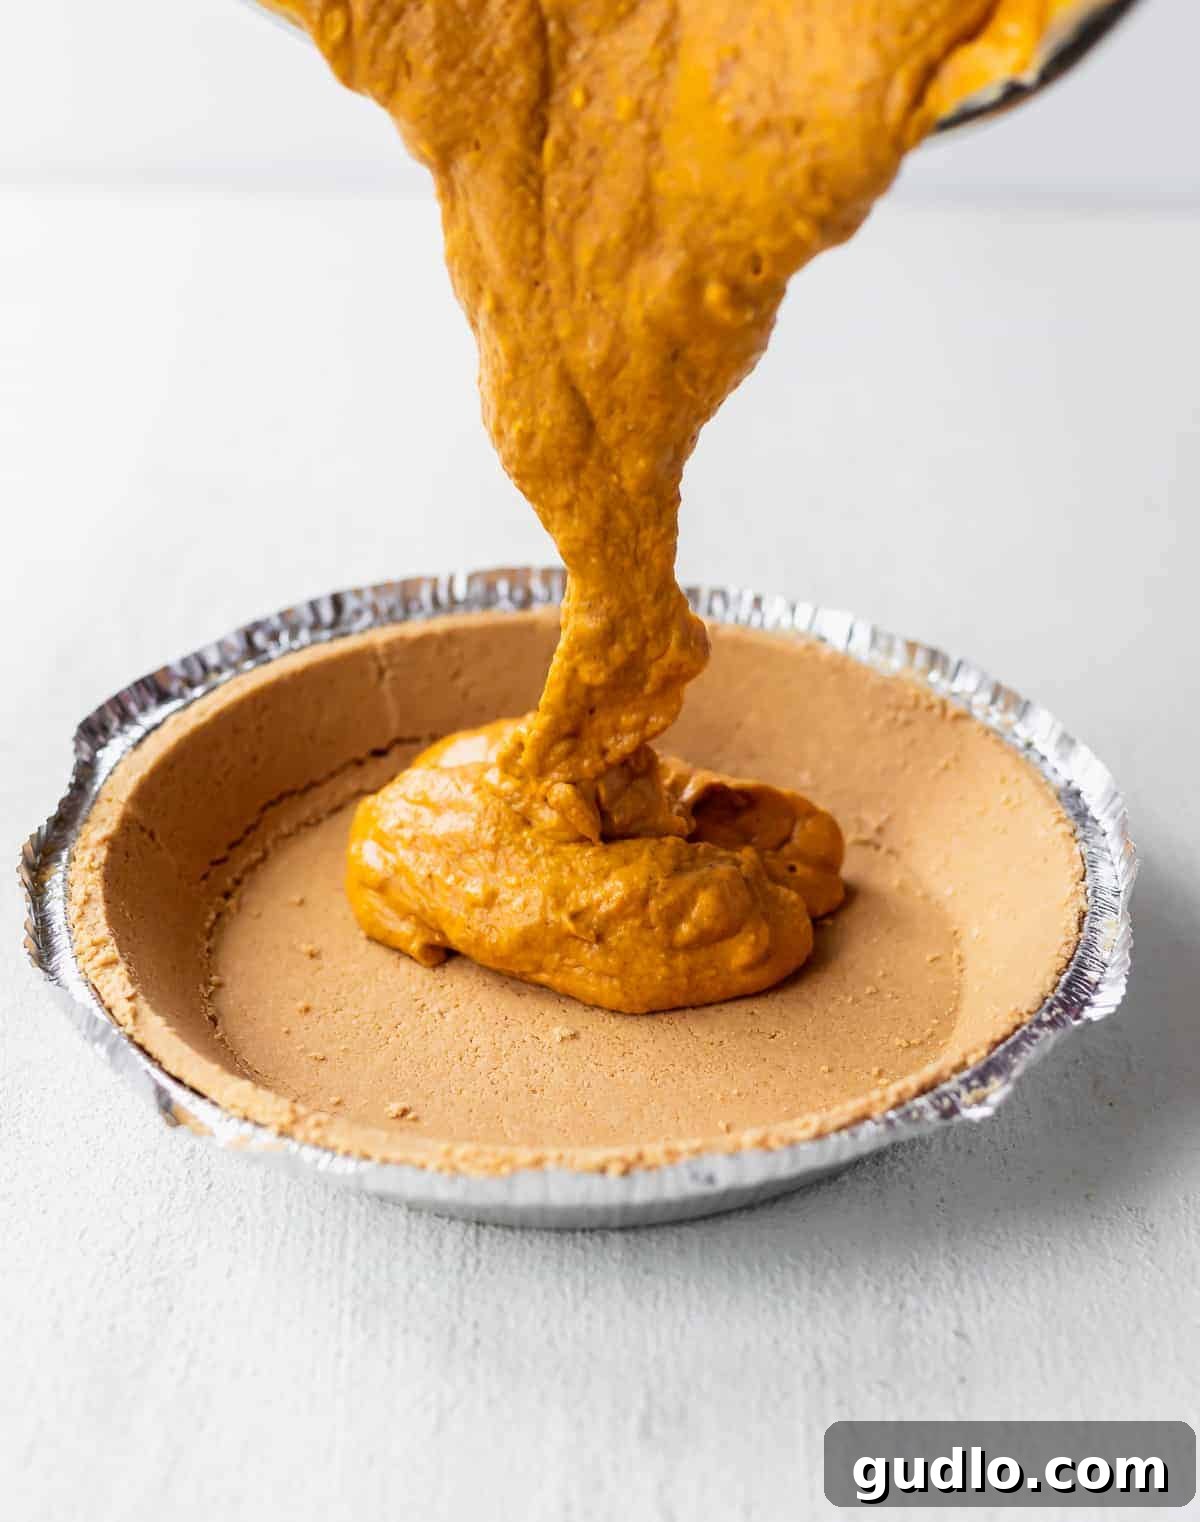
- Prepare for Baking: Carefully pour your perfectly smooth pumpkin cream cheese mixture into the pre-made graham cracker pie crust. Gently spread the filling out with a spatula or the back of a spoon to ensure it’s evenly distributed and level within the crust. This helps in achieving uniform baking and a beautiful, flat surface for presentation.
Baking and Cooling for Perfection
These critical steps ensure your cheesecake is cooked through without cracks and sets beautifully.
- Bake to Golden Perfection: Place the pie tin with the filled crust into your preheated oven. Bake at 325ºF (160ºC) for approximately 45-55 minutes. The cheesecake is ready when the edges are set and appear slightly puffed, but the very center still has a slight, gentle jiggle to it when the pan is carefully nudged. It might also begin to show small, hairline cracks around the edges, which is perfectly normal. Avoid overbaking, as this is the most common cause of larger, unsightly cracks in cheesecakes.
- Cooling is Key: Once baked, remove the pumpkin cheesecake from the oven and allow it to cool completely on a wire rack at room temperature for at least 1 hour. This gradual cooling process is vital; it prevents drastic temperature changes that can shock the cheesecake and lead to cracking. After it has cooled completely to room temperature, transfer the cheesecake to the refrigerator and chill for a minimum of 2 hours, or ideally, until thoroughly cold and firm. Chilling is absolutely crucial for the cheesecake to set properly and to achieve its signature dense, creamy, and sliceable texture. An overnight chill is often best for optimal results.
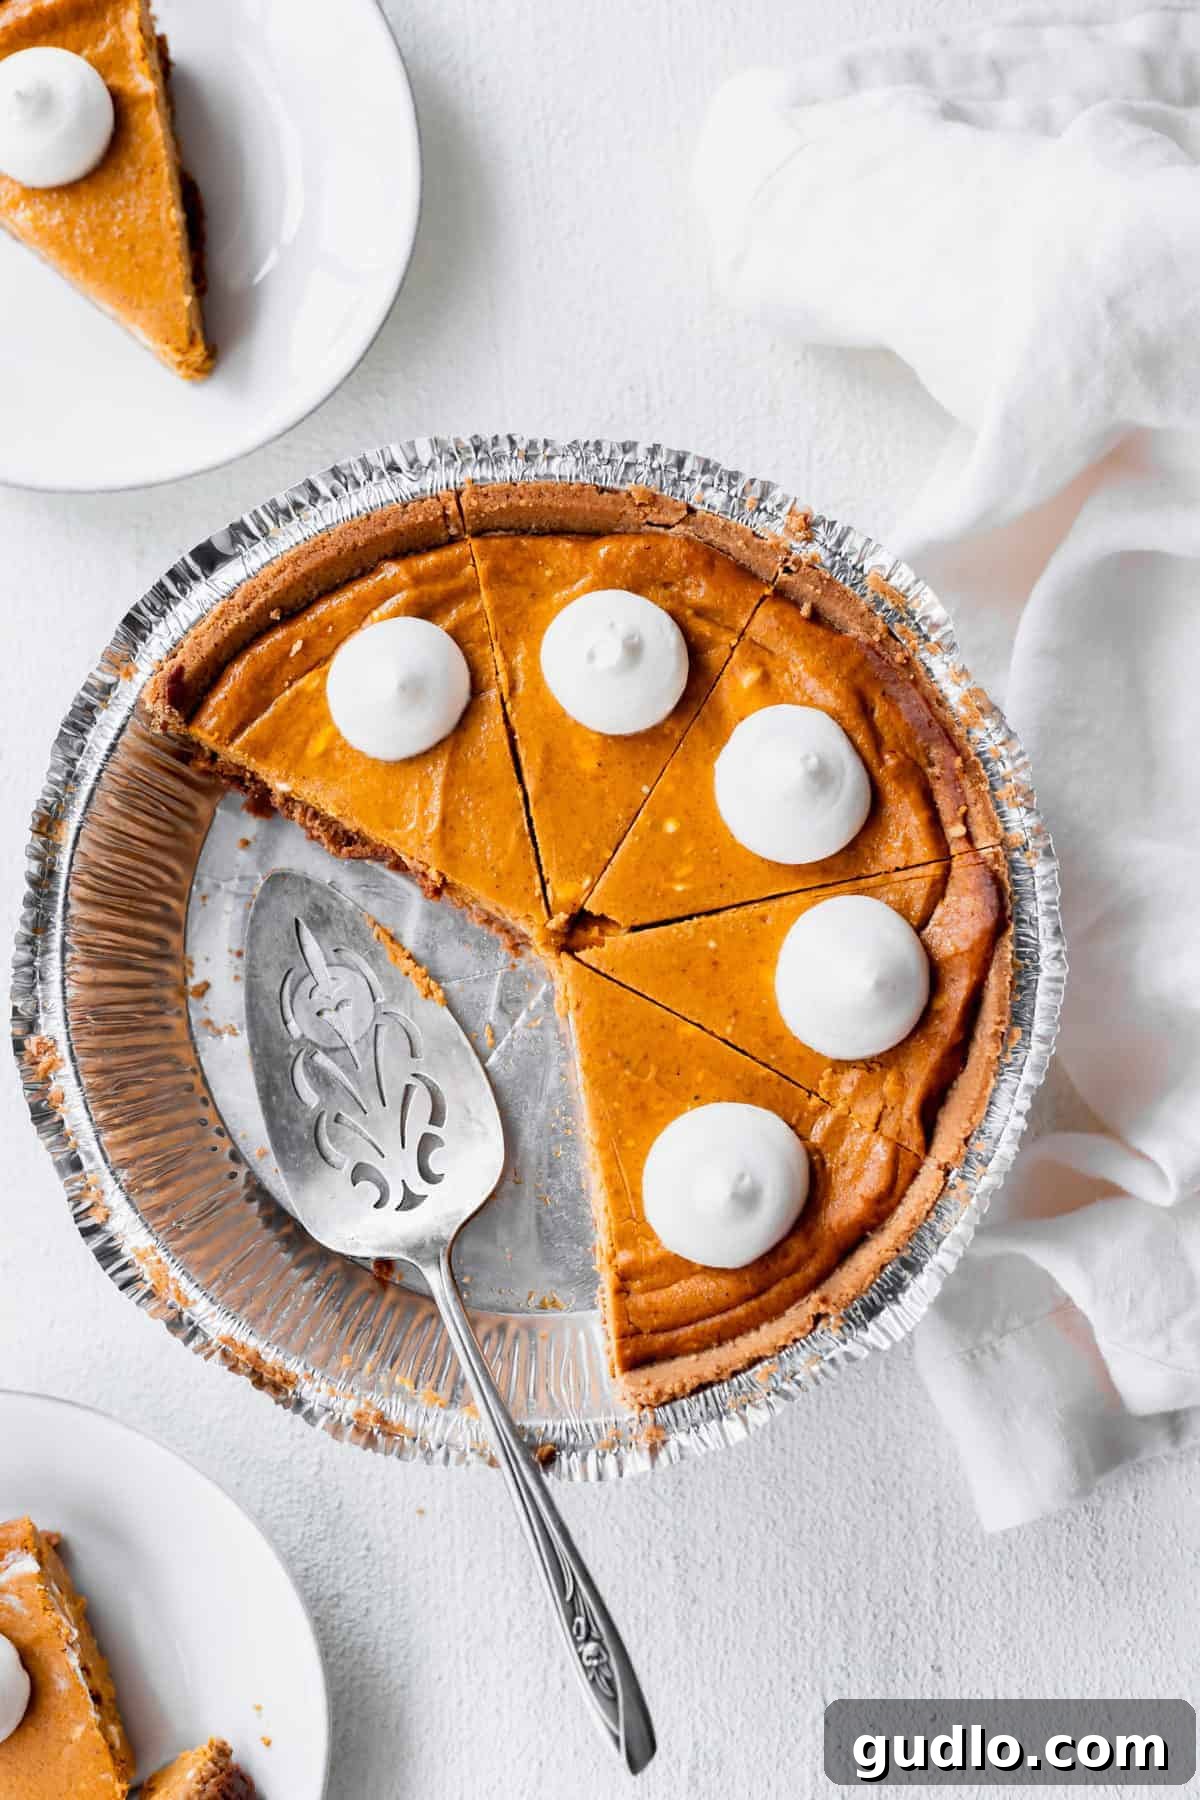
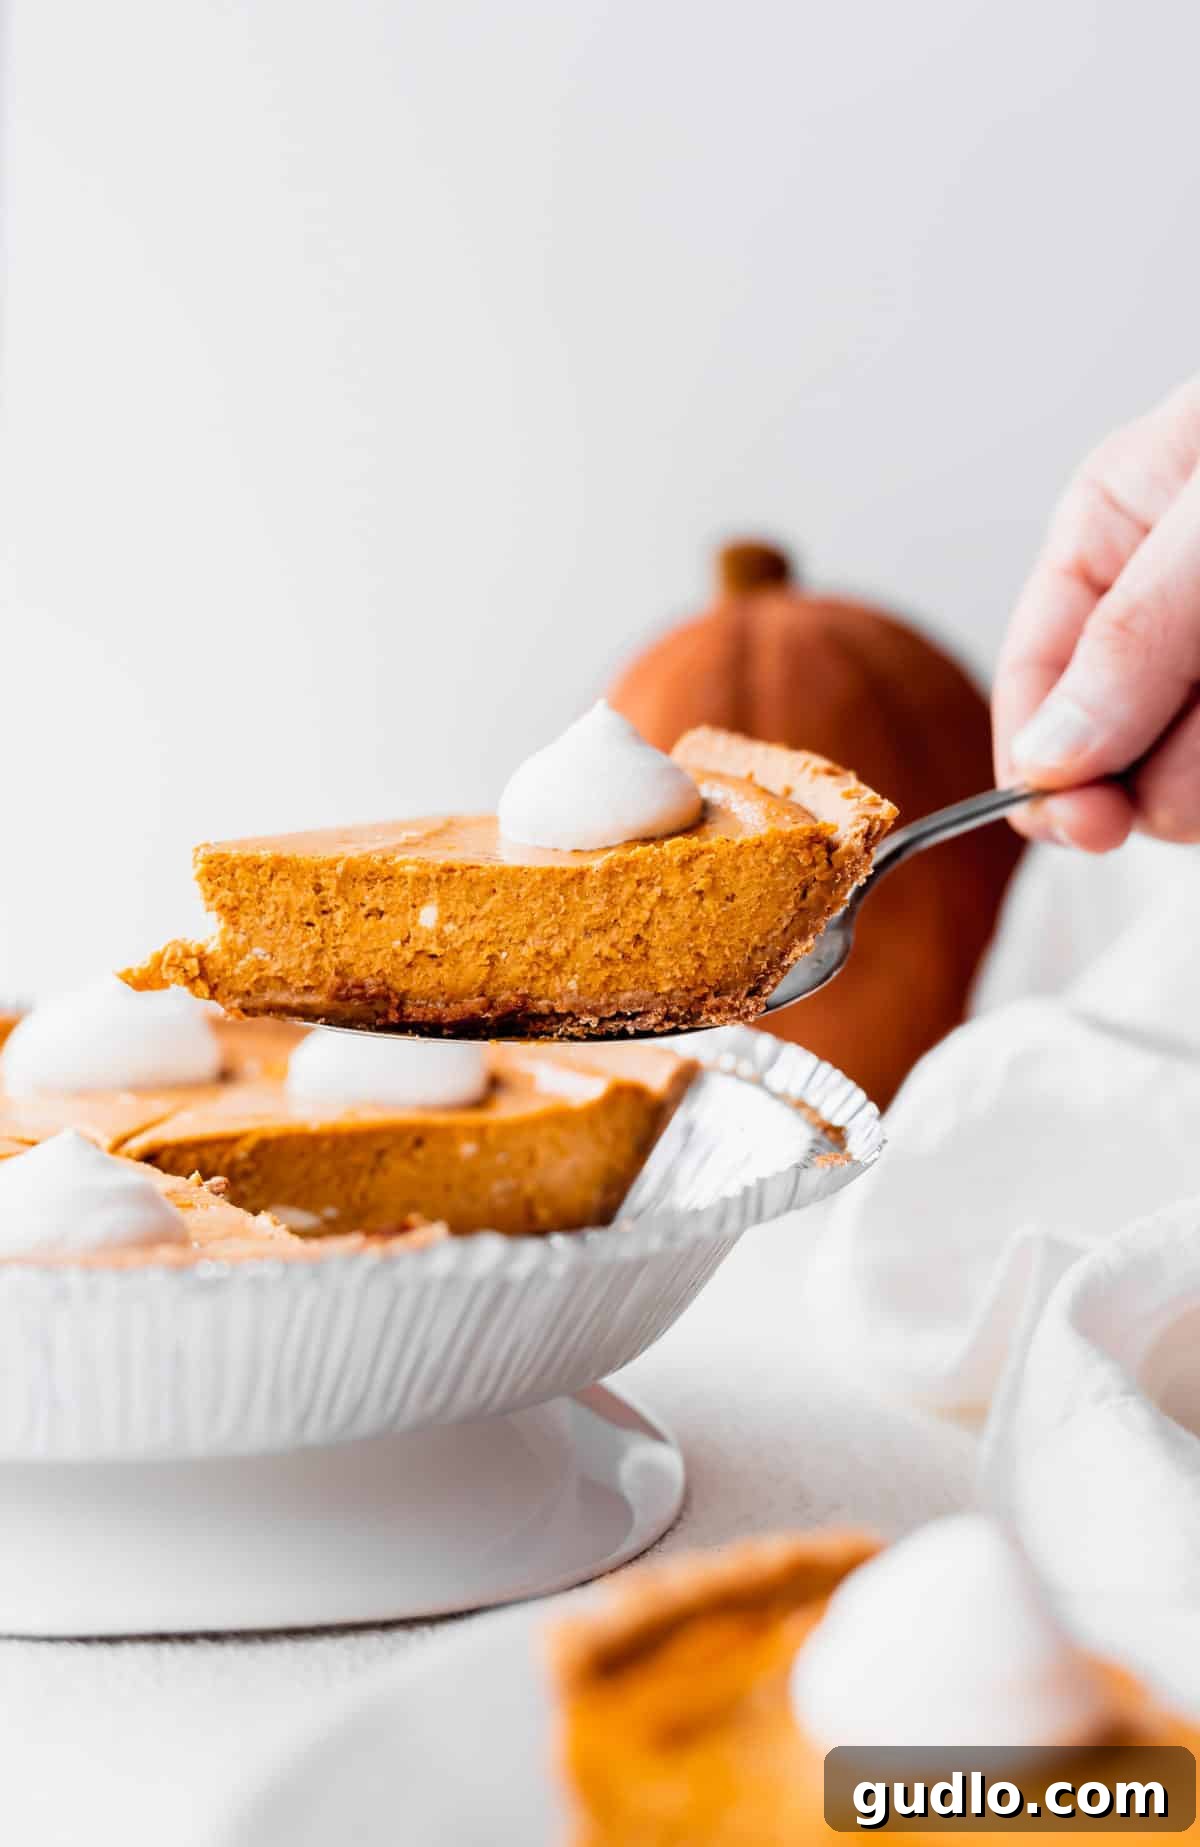
- Serve with Style: Once fully chilled, your pumpkin cheesecake is ready to be sliced and served. For the cleanest cuts and best presentation, use a sharp knife warmed under hot water and wiped clean between each slice. Don’t forget the glorious toppings!
The Perfect Garnish: Don’t Forget the Whipped Cream!
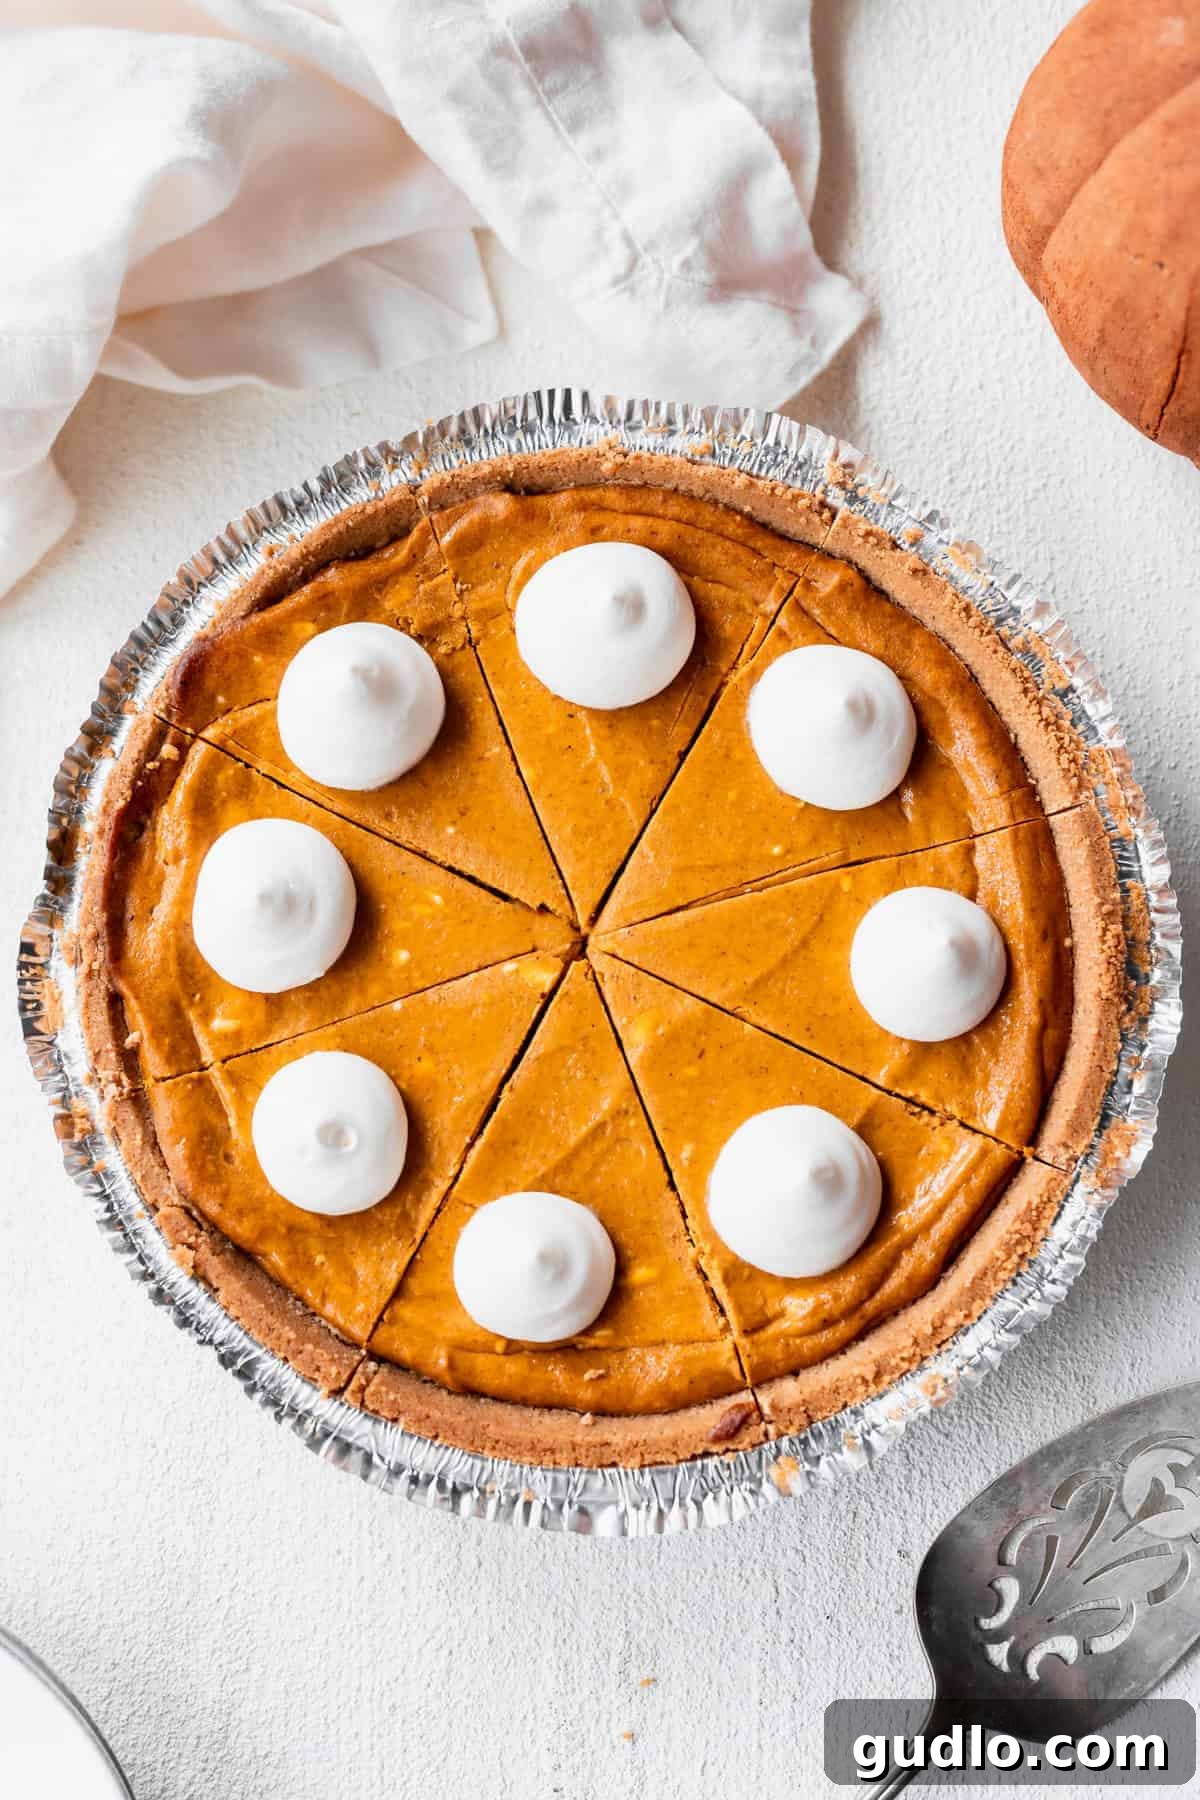
While this pumpkin cheesecake is undoubtedly spectacular on its own, a generous dollop of whipped cream elevates it to an even higher level of dessert perfection. Is there anything more iconic than a cloud of fluffy, sweet cream crowning a slice of rich pumpkin dessert? We think not! The cool, light texture of whipped cream provides a beautiful contrast to the dense, spiced cheesecake, making each bite an absolute delight and adding a touch of elegance. Here are our top recommendations for topping your masterpiece:
- Classic Cool Whip: For ultimate convenience and a consistently light, sweet topping that holds its shape beautifully, Cool Whip is a fantastic choice that’s always ready to go straight from the tub.
- Convenient Reddi-wip: If you prefer the ease and instant gratification of an aerosol can, Reddi-wip offers a quick and effortless way to add a beautiful swirl of light, airy cream to each serving.
- Homemade Whipped Cream: For a truly gourmet touch and the freshest flavor, nothing beats freshly made whipped cream. It’s surprisingly simple to prepare and allows you to customize the sweetness and texture:
- Combine 1 cup of very cold heavy cream with 1-2 tablespoons of powdered sugar (or maple syrup/honey for an extra fall flavor boost) and ½ teaspoon of pure vanilla extract in a chilled mixing bowl.
- Using an electric mixer on high speed, beat until stiff peaks form. Be careful not to overbeat, or you’ll end up with butter! This homemade version allows you to control the sweetness and flavor, adding a personal, sophisticated touch to your dessert.
Beyond whipped cream, consider other delightful garnishes to enhance both the flavor and visual appeal of your pumpkin cheesecake. A light sprinkle of ground cinnamon or a dusting of freshly grated nutmeg can amplify the autumnal spices. For an extra layer of decadence, a delicate drizzle of warm caramel sauce or a handful of crunchy candied pecans or toasted walnuts can add wonderful texture and flavor contrasts. These small additions can transform your serving into an Instagram-worthy presentation, perfect for any casual family dinner or elegant holiday gathering.
Serving Your Delight: How Many Slices Does This Cheesecake Yield?
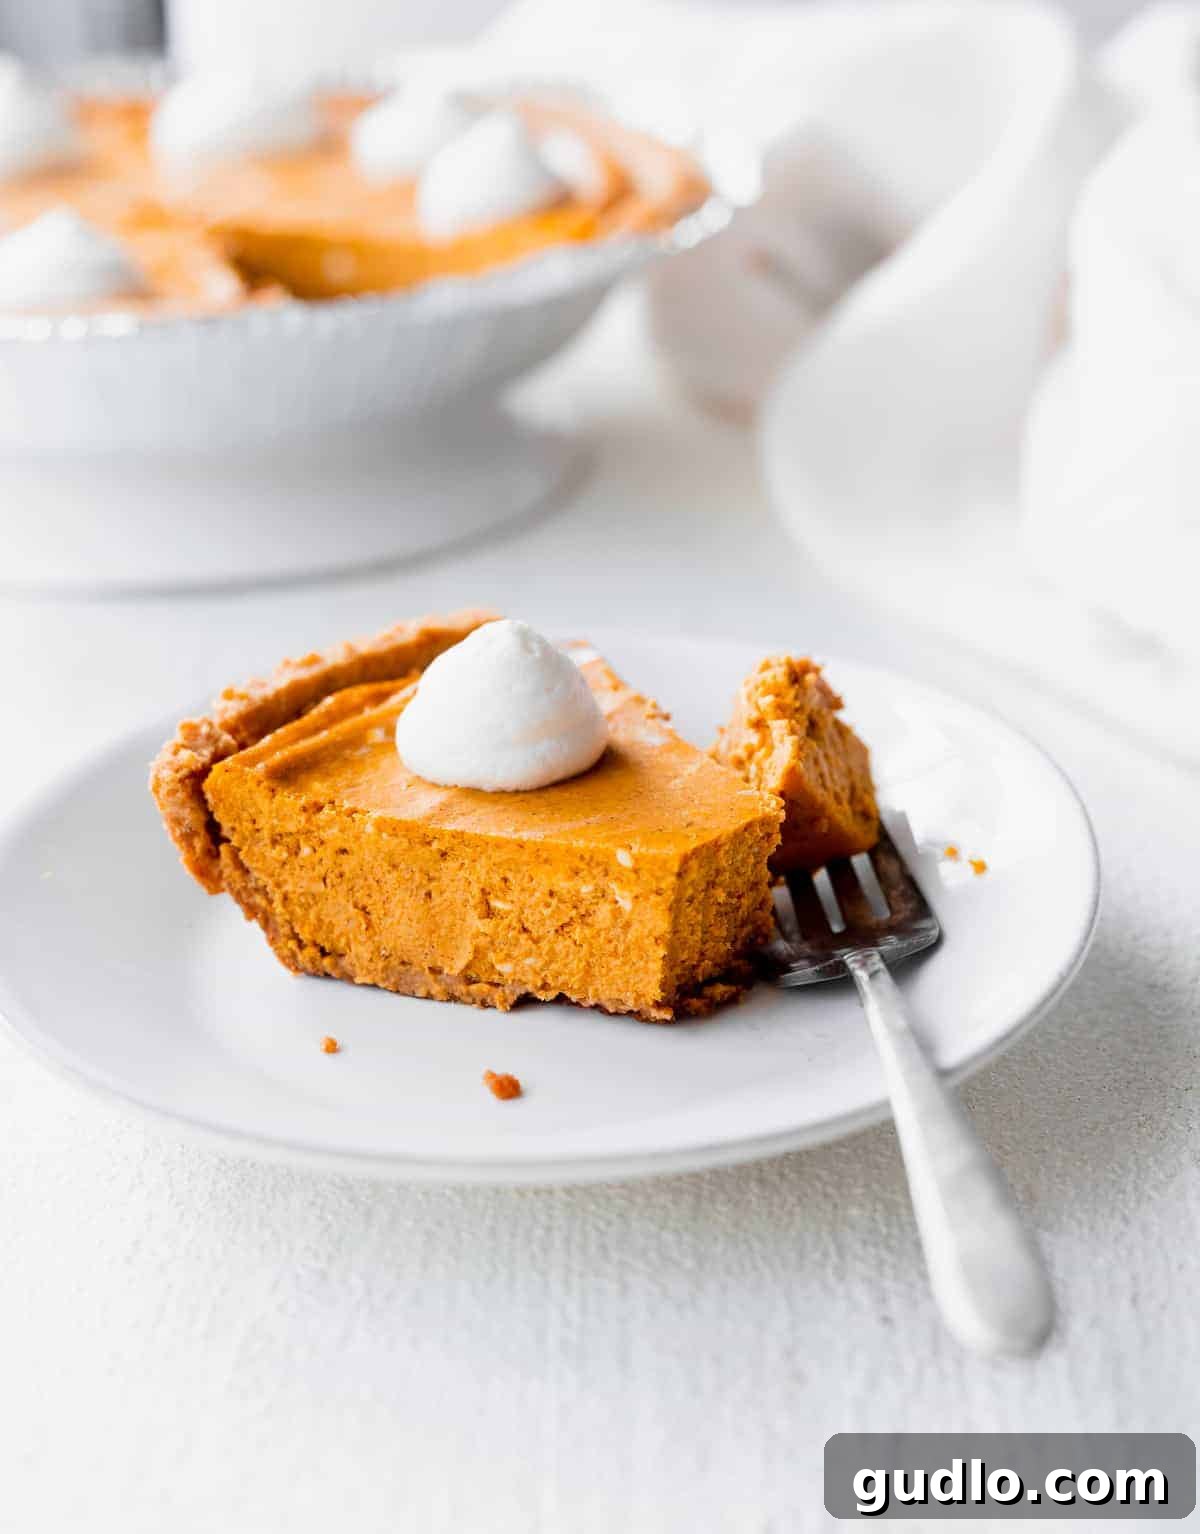
One of the beauties of this easy pumpkin cheesecake is its generous yield, making it an ideal dessert for sharing or savoring over several days. When perfectly sliced from a standard 10-inch pie tin, this recipe provides 8 wonderfully indulgent portions. Each slice is substantial enough to feel like a decadent treat, yet perfectly balanced for a delightful end to any meal. This makes it a highly versatile dessert for various occasions and group sizes.
This serving size makes it an excellent choice for a variety of occasions:
- Family Dinners: It’s the perfect size for a dessert with your immediate family, offering a satisfying treat for everyone around the table.
- Small Gatherings: Easily satisfies a small group of friends or guests after a cozy autumn meal or a casual get-together.
- Potlucks & Parties: While it generously serves 8, you can easily cut slightly smaller slices for larger potlucks or holiday parties if you have other desserts on offer, extending it to 10-12 servings without anyone feeling shortchanged.
- Meal Prep for Dessert: For those who love to have a sweet treat readily available throughout the week, this cheesecake stores beautifully, allowing you to enjoy a perfect slice whenever a craving strikes over a few days. Its robust flavor only seems to deepen slightly with time in the fridge.
Whether you’re sharing it with loved ones during a special occasion or reserving it for your own personal enjoyment after a long day, you’ll find that each slice of this pumpkin cheesecake is a taste of pure autumnal bliss, perfectly portioned for maximum satisfaction.
Preserving Perfection: How to Store Your Pumpkin Cheesecake
Ensuring your delicious pumpkin cheesecake stays fresh and flavorful for as long as possible is simple with proper storage techniques. Due to its dairy content, refrigeration is essential to maintain its quality and safety. Proper storage also prevents the cheesecake from drying out or absorbing unwanted odors from other foods in your refrigerator. Here’s how to best store your cheesecake, whether for short-term enjoyment or longer-term preservation:
- Immediate Refrigeration (3-5 days): For fresh enjoyment, store your pumpkin cheesecake in an airtight container in the refrigerator. An airtight container is crucial as it prevents the cheesecake from absorbing ambient odors from other foods (like onions or garlic) and helps maintain its moisture content, keeping it wonderfully fresh and delicious for up to 3-5 days.
- Storing in the Pie Tin: If you’re keeping the cheesecake in its original pie tin, make sure to cover it securely. The best way is to use a layer of plastic wrap directly over the surface of the cheesecake, gently pressing it down to avoid air pockets. Then, seal the entire pie tin tightly around the edges with aluminum foil. This dual layer of protection is key to preserving its freshness and preventing freezer burn if you choose to freeze it later.
- Freezing for Longer Storage (1-2 months): If you’ve made the cheesecake ahead of time or wish to enjoy it for an extended period, it freezes exceptionally well!
- Slice First (Optional but Recommended): For ultimate convenience when thawing, consider slicing the cheesecake into individual portions before freezing. This way, you can easily thaw only what you need without having to defrost the entire dessert.
- Wrap Individually: Wrap each slice (or the entire cheesecake, if kept whole) tightly first in plastic wrap, ensuring no air gaps. Then, add an additional layer of heavy-duty aluminum foil. This double wrapping is essential for preventing freezer burn and maintaining the cheesecake’s texture and flavor.
- Airtight Container/Bag: Place the wrapped slices or the entire cheesecake in a freezer-safe airtight container or a heavy-duty freezer bag. This adds another layer of protection.
- Storage Duration: Properly wrapped and stored, frozen pumpkin cheesecake can maintain its quality for up to 1-2 months.
- Thawing: To enjoy your frozen cheesecake, simply transfer a slice or the whole cheesecake from the freezer to the refrigerator and let it thaw slowly for several hours or overnight. Avoid thawing at room temperature for food safety.
Always ensure your cheesecake is completely cooled to room temperature before storing it, especially before refrigeration or freezing, as placing a warm cheesecake directly into a cold environment can create condensation that affects its delicate texture and promotes sogginess.
Looking for more creamy, dreamy dessert inspiration? Explore our collection of beloved cheesecake recipes that are sure to impress and satisfy any craving:
More Irresistible Cheesecake Recipes
- Decadent Salted Caramel Cheesecake (featuring an incredible homemade caramel sauce!)
- Classic New York-Style Cheesecake Recipe
- Crowd-Pleasing Oreo Cheesecake Recipe
- Rich Triple Chocolate Cheesecake
Pumpkin Cheesecake Recipe
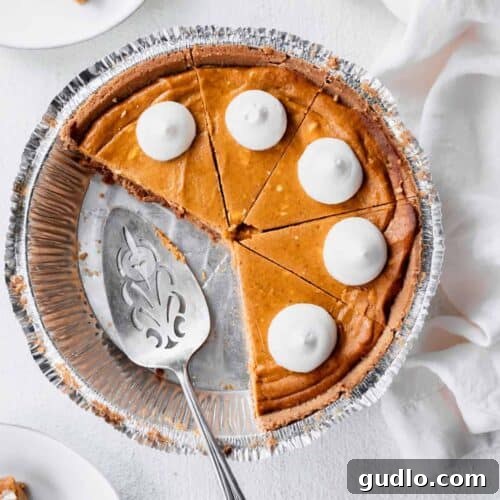
This delightful pumpkin cheesecake combines the rich flavors of traditional pumpkin pie with the creamy texture of cheesecake, made simple and quick with a convenient store-bought crust. It’s the ultimate fall dessert!
By: Emily Richter
Prep Time: 20 minutes
Cook Time: 45-55 minutes
Total Time: Approximately 1 hour 5 minutes (plus essential cooling and chilling time)
Servings: 8 generous slices
Print Recipe
Ingredients
- 1 (10-inch) pre-made graham cracker pie crust
- 12 oz. plain cream cheese, softened to room temperature
- 1 (15 oz) can 100% pure pumpkin puree
- 2 teaspoons ground cinnamon
- 1.5 teaspoons ground ginger
- 1/2 teaspoon ground nutmeg
- 2 tablespoons pure maple syrup
- 1/2 cup light brown sugar, packed
- 2 tablespoons all-purpose flour
- 1 large egg, room temperature
- 1 large egg white, room temperature
Instructions
- Preheat Oven: First, preheat your oven to 325ºF (160ºC).
- Cream Cheese Base: In a large bowl, add the softened, room-temperature cream cheese. Beat on low speed with an electric mixer (hand or stand mixer with a paddle attachment) until it is completely creamy and smooth.
- Combine Wet Ingredients & Spices: Add the pumpkin puree, ground cinnamon, ground ginger, ground nutmeg, maple syrup, brown sugar, and all-purpose flour to the bowl. Beat on low speed until the mixture is thoroughly smooth and well combined. Scrape down the sides of the bowl as needed to ensure even mixing.
- Integrate Eggs Gently: Crack the large egg into the bowl with the pumpkin filling. Separate the yolk from the egg white of the second egg, and add only the egg white to the bowl. Mix on the lowest speed with the electric mixer just until the eggs are combined. Be careful not to overmix, as this can introduce too much air and lead to cracks.
- Fill the Crust: Pour the smooth pumpkin cream cheese mixture evenly into the pre-made graham cracker pie crust, spreading it out gently with a spatula to ensure a level surface.
- Bake the Cheesecake: Place the cheesecake in the preheated oven and bake for approximately 45-55 minutes. The cheesecake is done when the edges are set and lightly puffed, but the center still has a slight, gentle jiggle. Small cracks around the edges are normal.
- Cool & Chill: Remove the cheesecake from the oven and let it cool completely on a wire rack at room temperature for at least 1 hour. Once it has reached room temperature, transfer it to the refrigerator and chill for a minimum of 2 hours, or ideally, until thoroughly cold and firm (overnight is best for optimal setting).
- Serve & Enjoy: Once fully chilled, slice the pumpkin cheesecake and top each serving with whipped cream, if desired. Serve immediately and enjoy!
Nutrition Information (Approximate)
Calories: 341 kcal
Carbohydrates: 34 g
Protein: 5 g
Fat: 20 g
Fiber: 2 g
Sugar: 10 g
Disclaimer: Nutrition information is automatically calculated and should be used as an approximation. Individual nutritional values may vary based on specific ingredients and preparation methods.
Loved This Recipe? Share Your Thoughts!
If you’ve whipped up this delicious Easy Pumpkin Cheesecake, we’d absolutely love to hear from you! Your feedback, tips, and personal touches help our community grow. Please feel free to leave a comment below to share your experience, ask questions, or offer your own serving suggestions.
Don’t forget to tag your beautiful creations on social media with the hashtag #cheeseknees. We cherish seeing your culinary adventures and celebrating your baking successes!