
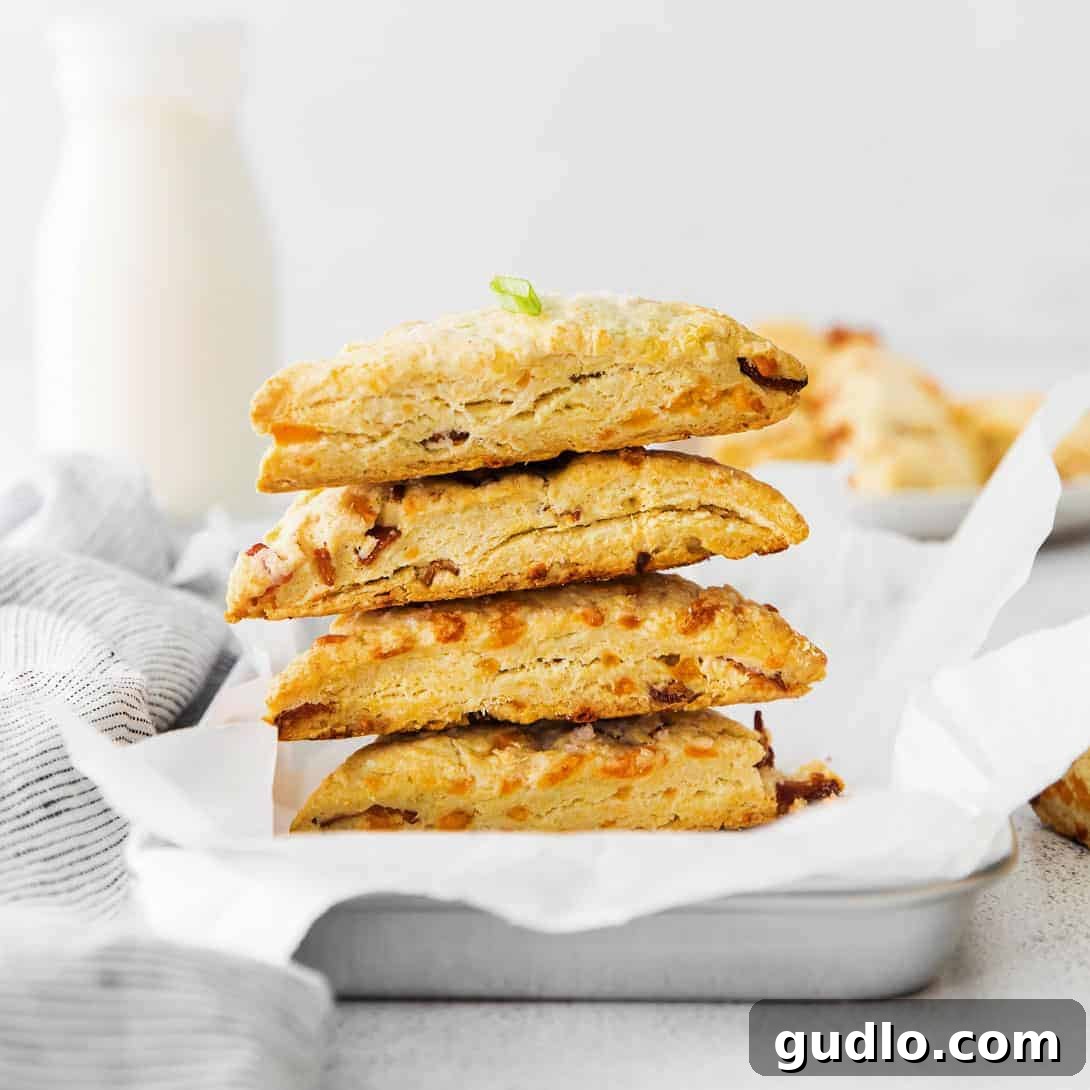
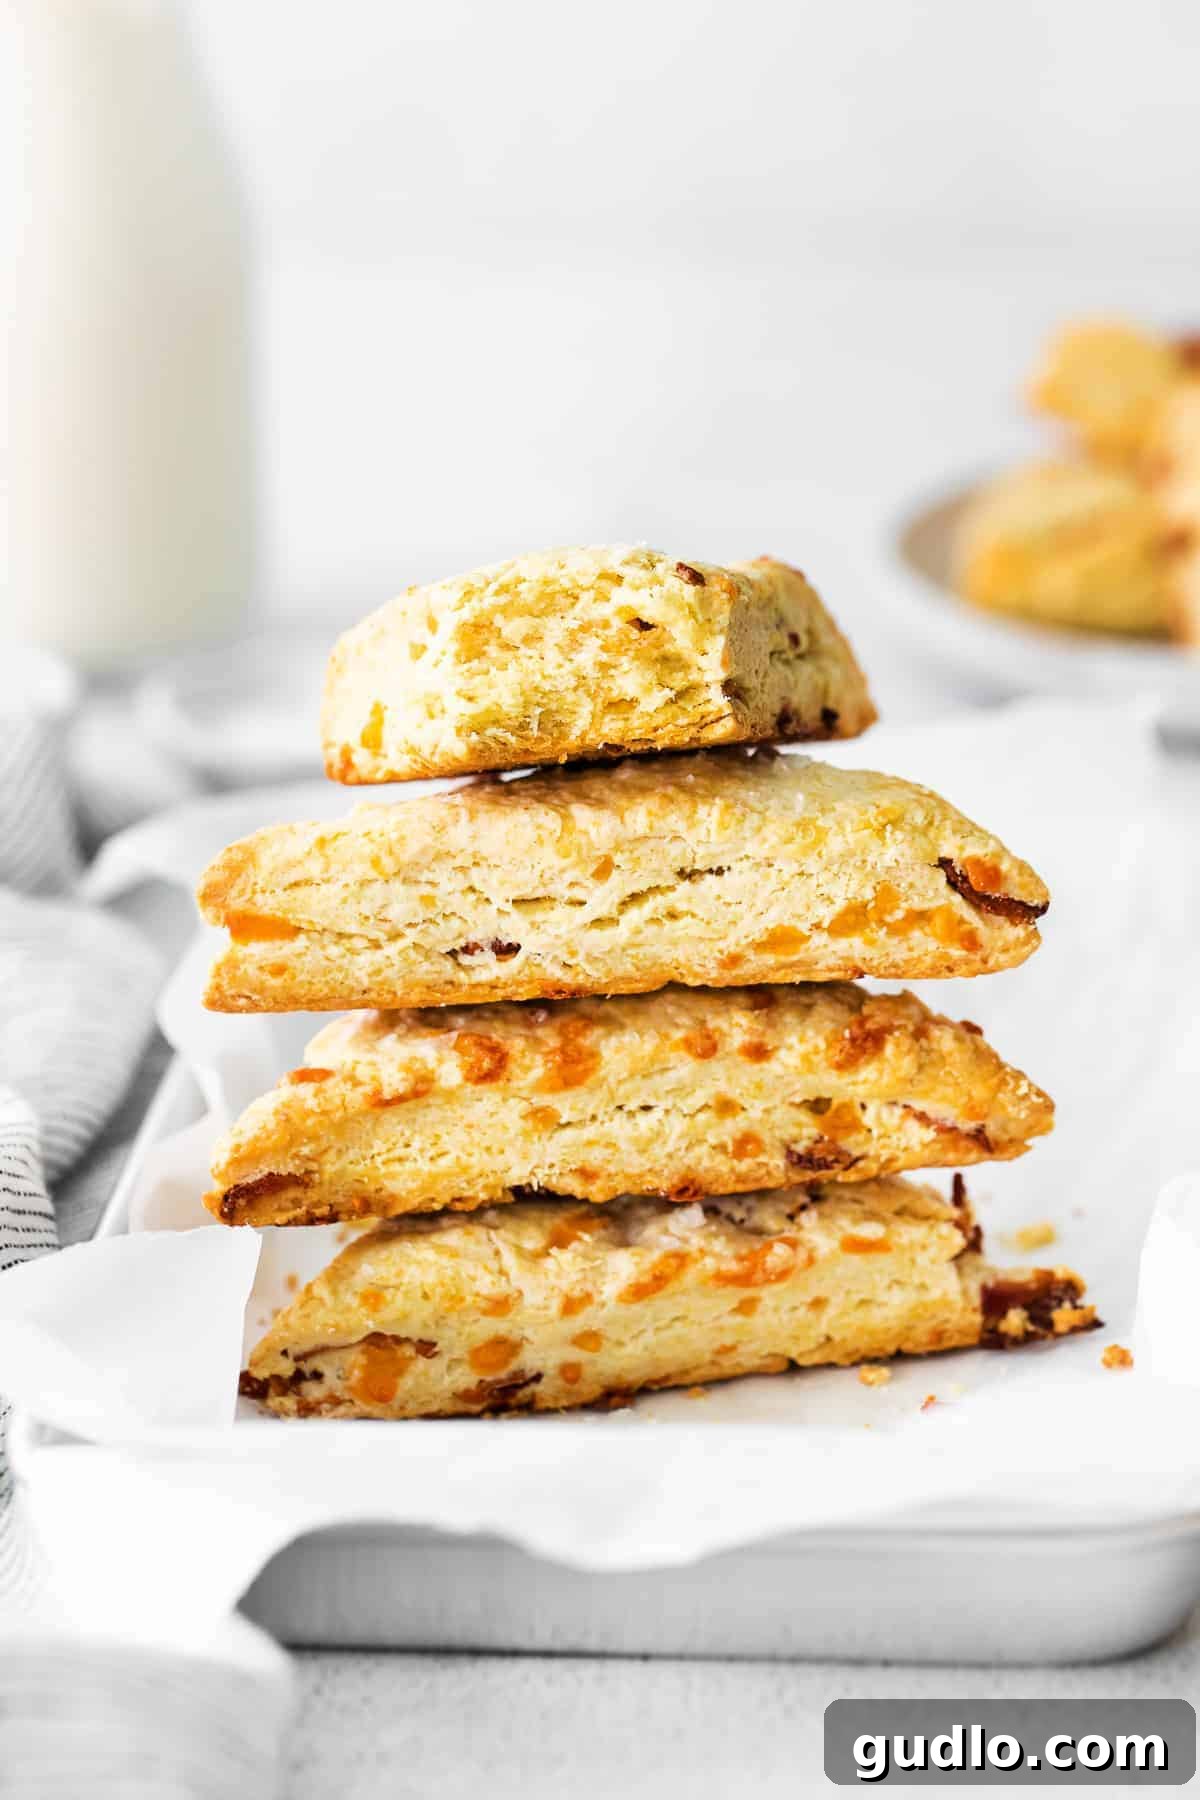
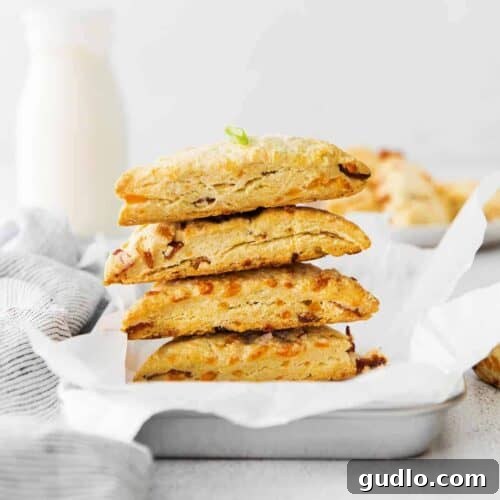
There’s something incredibly comforting and satisfying about a freshly baked scone. And when that scone is bursting with the irresistible flavors of savory bacon and sharp cheddar cheese, it elevates the experience to a whole new level. These **bacon and cheddar scones** are not just buttery and crumbly; they are a celebration of flavor and texture, making them an ideal choice for a special breakfast, a delightful brunch, or even a sophisticated afternoon treat.
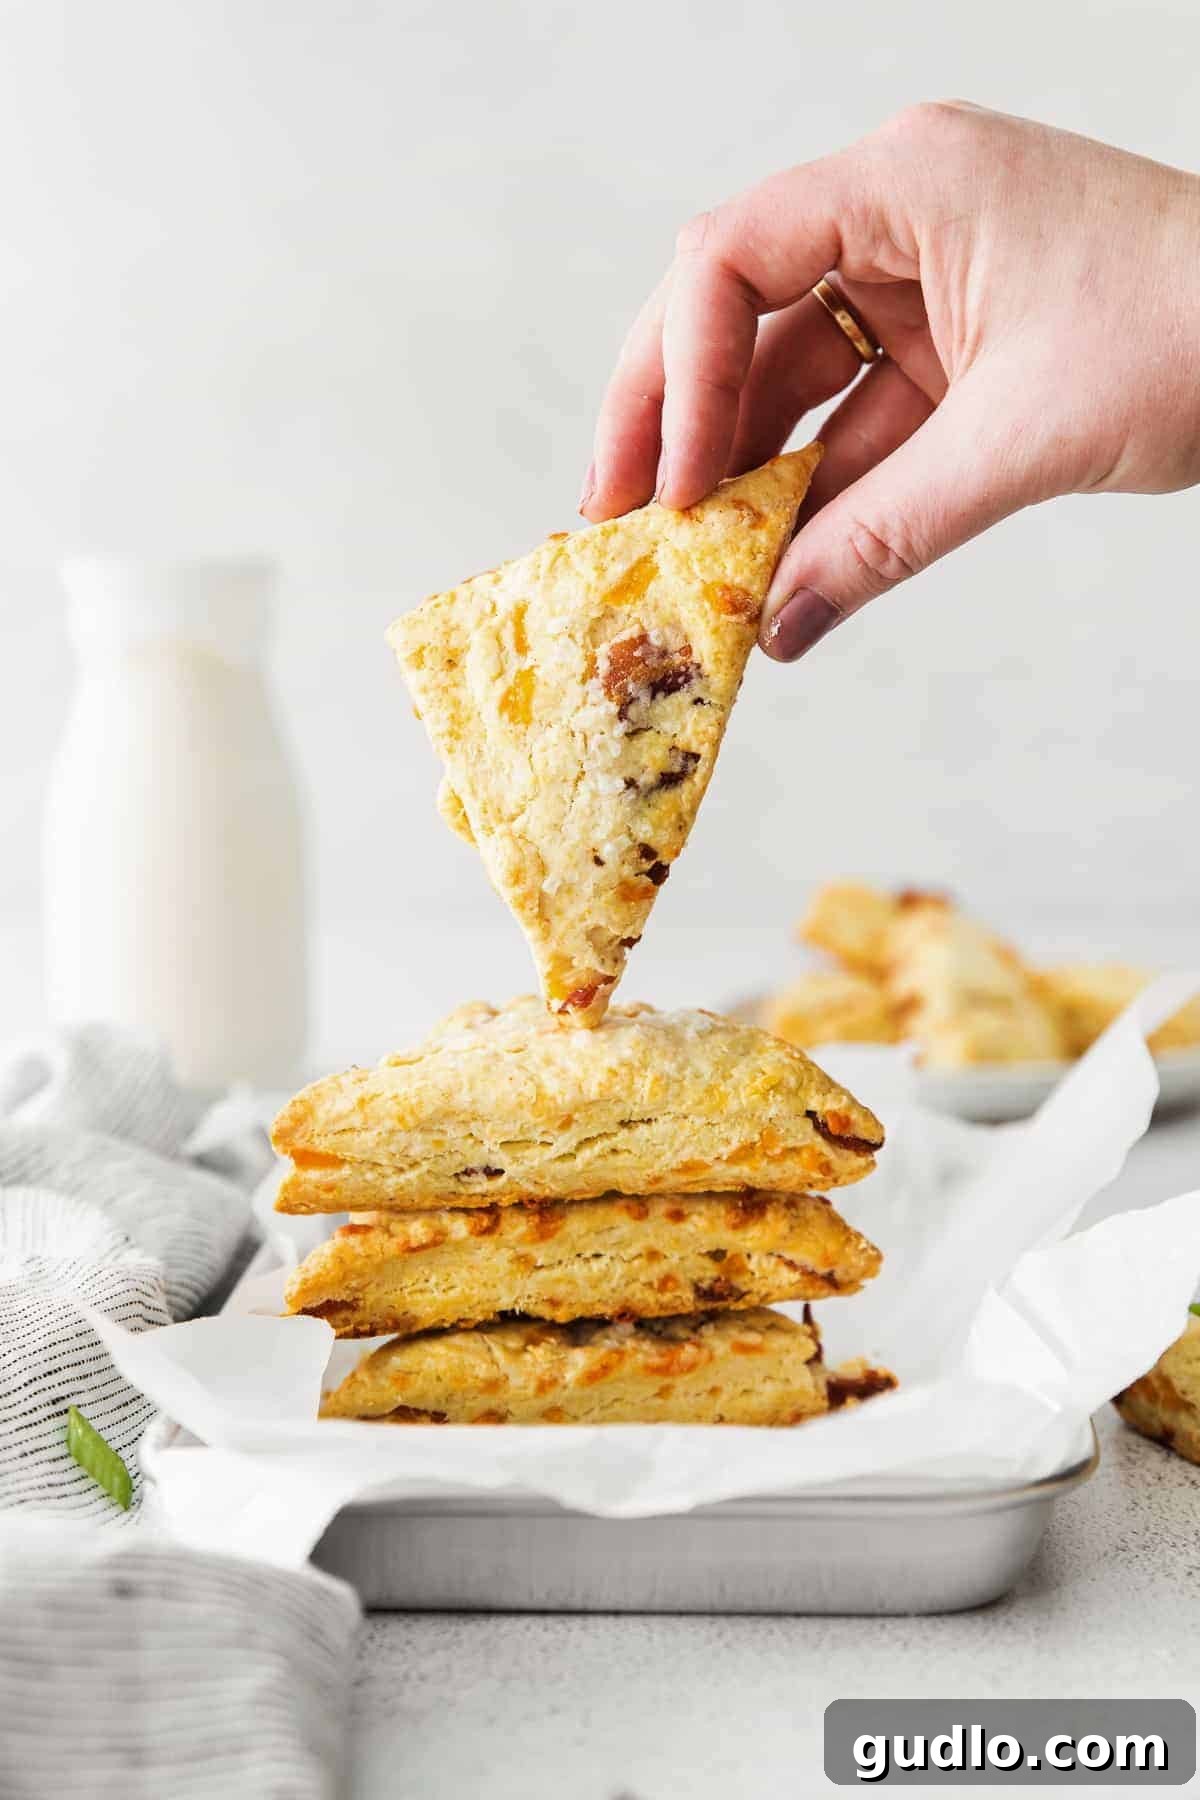
Indulge in the Ultimate Savory Delight: Bacon and Cheddar Scones
For those who prefer a savory start to their day over sweet pastries, these bacon and cheddar scones are an absolute dream come true. Imagine pairing a warm, tender scone with your morning coffee, perhaps alongside a perfectly fried egg. It’s a breakfast combination that feels both luxurious and incredibly comforting, designed to fuel your day with deliciousness.
While we appreciate scones in all their glorious forms, from sweet berry varieties to light and airy plain ones, there’s truly no savory scone flavor quite as captivating as bacon and cheddar. The salty crispness of the bacon, coupled with the rich, melt-in-your-mouth creaminess of the cheddar cheese, creates a symphony of tastes and textures. Each bite delivers that perfect balance of saltiness, richness, and the signature crumbly-yet-tender scone structure that we all adore. This recipe ensures you achieve that coveted flaky texture and deep savory flavor every single time.
Essential Tips for Baking Perfect Scones
Before you even begin mixing, take a moment to absorb these crucial tips. Mastering them will guarantee your bacon and cheddar scones turn out light, flaky, and absolutely irresistible. Scone making isn’t complicated, but a few key principles can make all the difference between a good scone and a truly exceptional one.
- The Golden Rule: Keep Your Butter Cold! This is hands down the most critical tip for achieving those wonderfully flaky layers. Cold butter, when introduced into the dough, creates pockets of steam during baking. As these pockets expand, they separate the layers of dough, resulting in that desirable light and airy texture. If your butter is too warm, it will simply blend into the flour, yielding a dense, cake-like scone.
- Measure Your Flour Accurately: Overpacking your flour is a common pitfall that can lead to dry, heavy, and dense scones. Always use the “spoon and level” technique: spoon the flour into your measuring cup, then level it off with a straight edge (like the back of a knife) without compacting it. This ensures you’re using the exact amount needed for a perfectly moist scone.
- Baking Powder Power: We’re using a generous amount of baking powder in this recipe, and for good reason! It’s the primary leavening agent that will give your scones their impressive rise and super light, fluffy interior. Make sure your baking powder is fresh and active for the best results.
- Don’t Skip the Salt: While bacon adds plenty of saltiness, a touch of additional salt in the dough itself is essential. It doesn’t just make the scones taste “salty”; it enhances and balances all the other flavors, particularly the savory notes of the bacon and the sharpness of the cheddar cheese. It truly brings out the best in every ingredient.
- Heavy Cream for Richness and Moisture: Heavy cream is a secret weapon in scone making. Its high fat content not only adds incredible richness and a tender crumb but also ensures your scones remain beautifully moist. It contributes to the luxurious mouthfeel and keeps them from drying out.
- Customizing Your Fillings: While bacon and cheddar are a match made in heaven, feel free to experiment with the fillings! This recipe is incredibly versatile. You could swap the bacon for finely chopped ham, or try different cheeses like gruyere, smoked gouda, or even a Monterey Jack. You can even add a pinch of chives or green onions for an extra burst of fresh flavor.
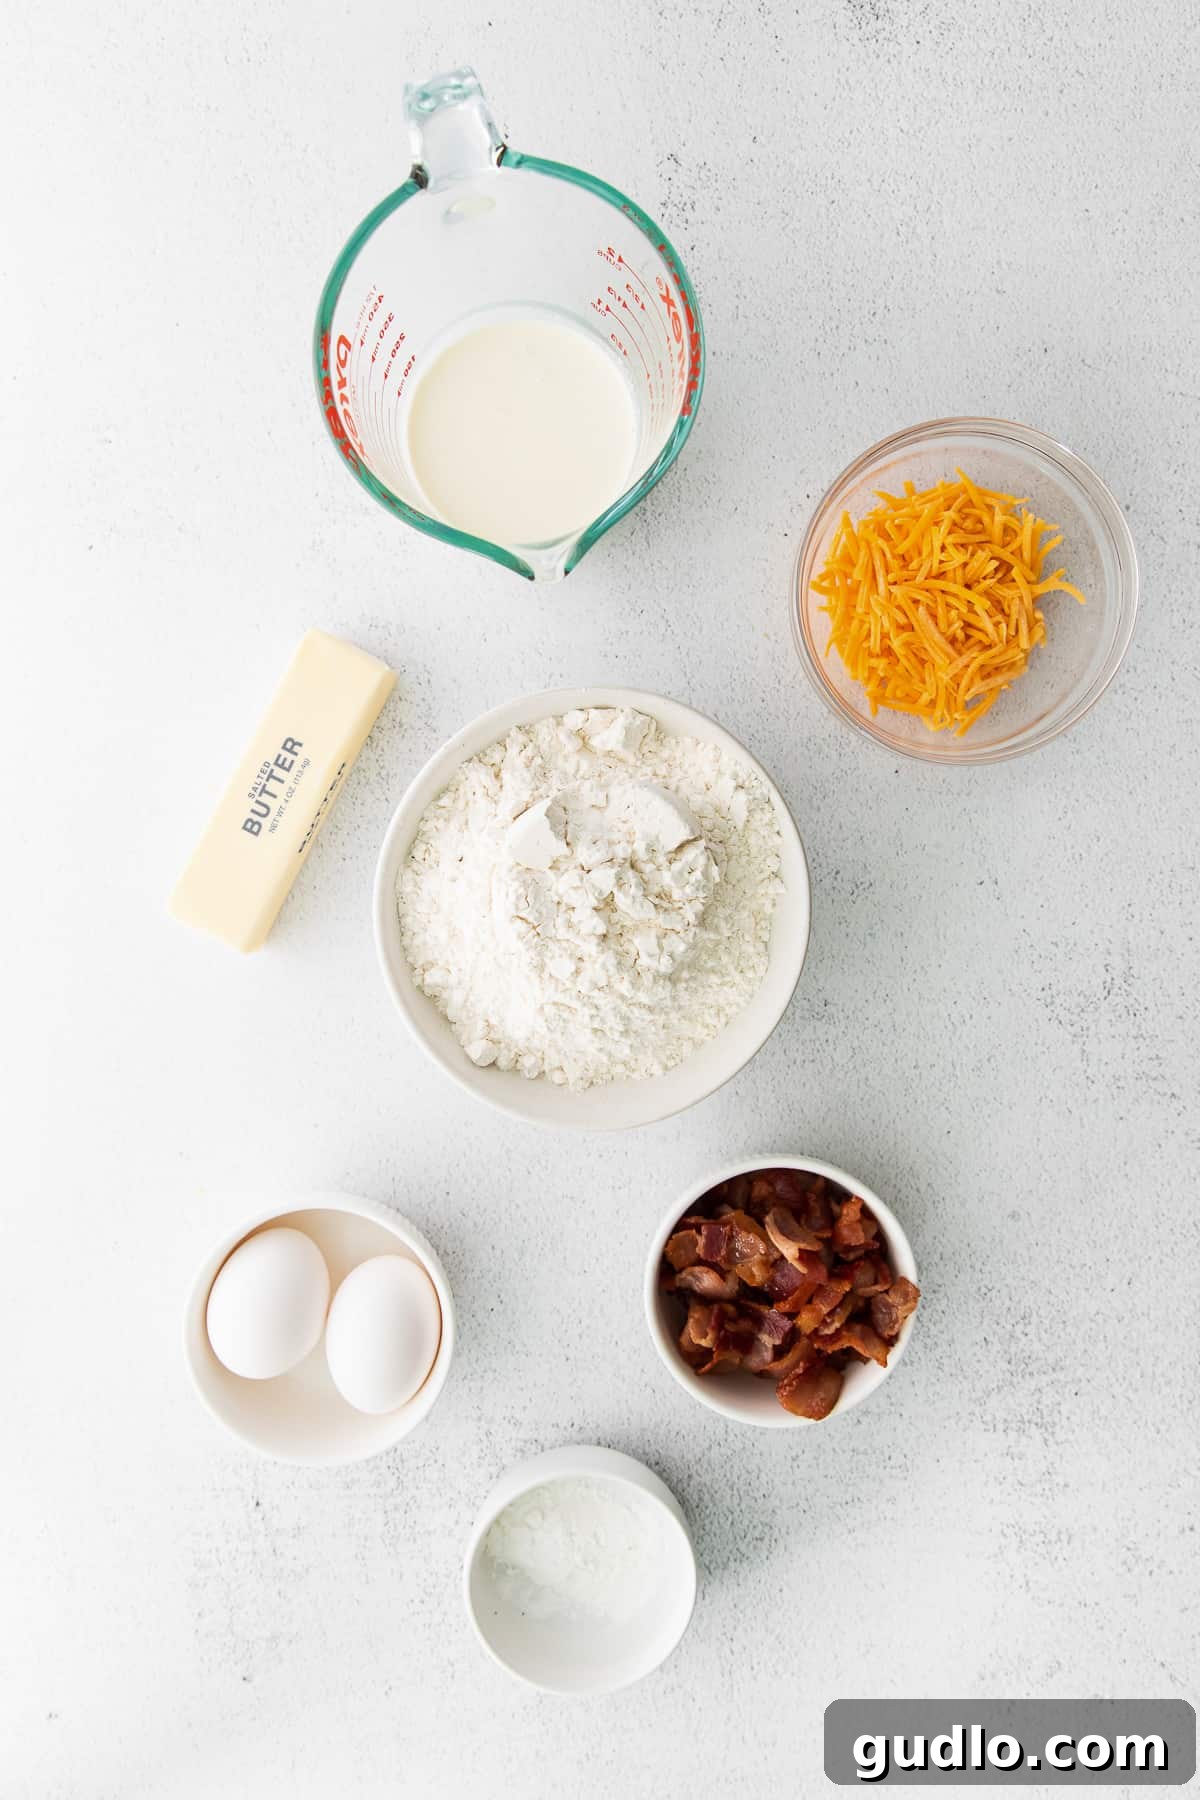
Essential Ingredients for Your Bacon and Cheddar Scones
Crafting perfect scones starts with understanding each ingredient and its role. Here’s a detailed look at what you’ll need and why specific choices matter:
- All-Purpose Flour: This is the foundation of our scones. We strongly recommend using high-quality all-purpose flour for consistent results. Ensure your flour is fresh and not expired, as old flour can significantly impact the texture and rise of any baked good, leaving your scones dense instead of light and fluffy.
- Baking Powder: Crucial for lift! Double-check that you’re using baking powder, not baking soda, as they react differently and using the wrong one will compromise your scones’ texture. Baking powder provides the necessary leavening for a light and airy interior.
- Salt: A fundamental flavor enhancer in all baking. Beyond just adding a salty taste, it balances sweetness (though minimal here), amplifies the savory notes of the bacon and cheese, and rounds out the overall flavor profile. Never skip it!
- Cold Butter: We cannot emphasize this enough – you need **COLD, COLD, COLD** butter! Cube it and keep it in the freezer for 10-15 minutes before using, especially if your kitchen is warm. This is the secret to flaky layers. When cold butter melts in the oven, it creates steam, separating the dough layers and resulting in that characteristic scone texture.
- Large Eggs: The size of your eggs truly matters in baking, as it affects the liquid content of the dough. This recipe calls for large eggs, so avoid substituting with medium or extra-large eggs, which can alter the dough consistency. Eggs add richness, moisture, and help bind the ingredients together.
- Heavy Cream: Any brand of heavy cream (also known as heavy whipping cream) will work perfectly. It’s vital for adding luxurious richness and ensuring your scones remain moist and tender, contributing to their delicate crumb.
- Chopped Cooked Bacon: The star savory component! For the best flavor and texture, cook your bacon until it’s crispy but not overly brittle. You can prepare it using your preferred method: baking it in the oven for even crispness, air frying for speed, or even microwaving if you’re in a pinch. Just ensure it’s fully cooked and finely chopped before adding it to the dough.
- Shredded Cheddar Cheese: For superior flavor and melt, we highly recommend shredding your own block of sharp or medium cheddar cheese. Pre-shredded cheeses often contain anti-caking agents that can hinder smooth melting and slightly alter the texture of your scones. A good quality block of cheddar will provide that rich, tangy burst of flavor that pairs beautifully with the bacon.
Step-by-Step Guide to Crafting Perfect Bacon and Cheddar Scones
1. Prepare the Dough
For ease and efficiency, we recommend using a food processor for this initial step. Begin by pulsing together the all-purpose flour, baking powder, and salt. This ensures all the dry ingredients are thoroughly combined and evenly distributed, which is crucial for a consistent rise.
Next, add your cubed, **ice-cold butter** to the food processor. Pulse the mixture in short bursts until the butter pieces are roughly the size of small peas or coarse meal. This usually takes about 20-30 seconds. Be careful not to over-process; you want distinct pieces of butter, not a smooth mixture. These butter pieces are what will create those wonderful flaky layers.
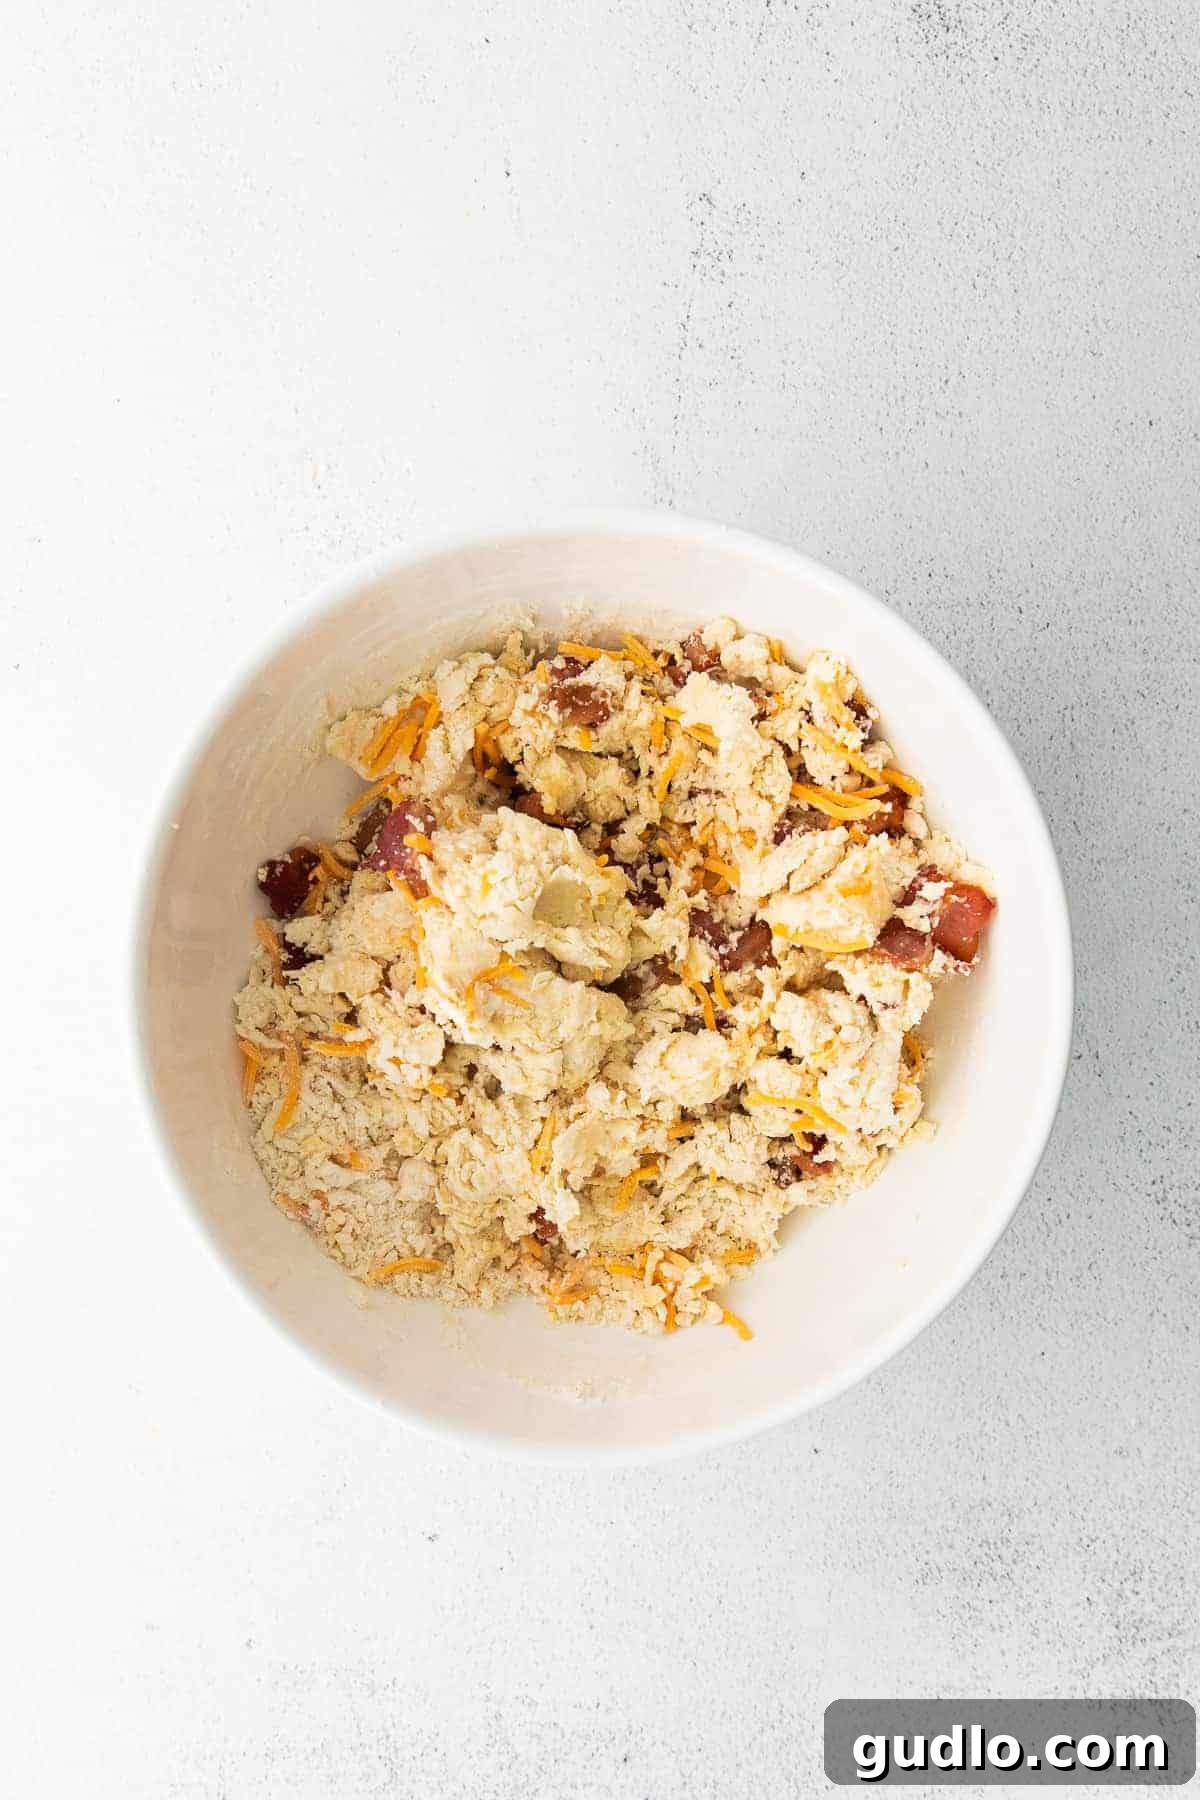
Transfer this flour and butter mixture from the food processor to a large mixing bowl. Now, add the large eggs and heavy cream. Stir gently with a spoon or a sturdy spatula until a shaggy, somewhat crumbly dough begins to form. At this stage, it won’t look like a smooth, cohesive dough, and that’s exactly what you want.
Finally, incorporate your chopped cooked bacon and shredded cheddar cheese into the shaggy dough. Stir just enough to distribute the bacon and cheese evenly throughout the mixture. Avoid overworking the dough, as excessive mixing can develop the gluten in the flour, leading to tough scones.
A Crucial Warning: Do Not Overmix! This cannot be stressed enough. Overmixing is the enemy of flaky scones. You absolutely want to see visible chunks of cold butter in your dough. These small pockets of butter are what will melt and create steam during baking, resulting in the desired crumbly and exceptionally flaky texture. A shaggy, somewhat rough dough is a happy scone dough!
2. Roll and Shape Your Scones
Once all your ingredients are combined into that shaggy dough, gently turn it out onto a lightly floured, clean work surface. Resist the urge to add too much flour to your surface, just enough to prevent sticking. Gather the dough together with your hands, pressing it gently to form a loose ball.
Don’t Be Alarmed by the Texture! It’s important to remember that scone dough is naturally a bit flakey and may feel dry or crumbly compared to other doughs. This is perfectly normal and indicates that your butter is cold and properly incorporated, setting the stage for perfectly flaky scones. Trust the process and handle it gently.
Using a rolling pin, carefully roll the dough out into a rectangle, approximately 1 inch thick. Aim for an even thickness across the entire sheet of dough, as this will ensure your scones bake uniformly.
Now comes the fun part: cutting your scones! You can use a round biscuit cutter for classic circular shapes, a sharp knife for elegant squares or triangles, or even a cookie cutter for fun shapes if you’re feeling creative. Place the cut scones carefully onto a baking sheet lined with parchment paper or a silicone baking mat. This prevents sticking and ensures easy removal.

3. Chill the Scones for Optimal Flakiness
After your scones are shaped and neatly arranged on the parchment-lined baking sheet, it’s time for a crucial chilling step. Place the entire baking sheet into the freezer for at least 15 minutes. This chilling period is vital because it re-solidifies the butter in the dough, preventing the scones from spreading too much in the oven and promoting maximum flakiness. It’s a small step that makes a huge difference in the final texture.
4. Bake to Golden Perfection
While your scones are chilling, preheat your oven to 400ºF (200ºC). A hot oven helps the scones rise quickly, creating a lighter texture.
Once the oven is preheated and the scones have chilled sufficiently, remove them from the freezer. Before baking, gently brush the tops of each scone with a little extra heavy cream. This cream wash will give them a beautiful golden-brown crust and a slightly richer finish. If desired, you can sprinkle a pinch of flake salt on top for an extra touch of flavor and visual appeal.
Carefully place the baking sheet into the preheated oven and bake for 12-14 minutes, or until the scones are gloriously golden brown around the edges and on top, and a toothpick inserted into the center comes out clean. Keep an eye on them, as oven temperatures can vary.

5. Serve and Savor
Once baked to perfection, remove the scones from the oven and let them cool on the baking sheet for a few minutes before transferring them to a wire rack. They are absolutely divine served warm, fresh out of the oven, but they also hold up beautifully for enjoyment throughout the week.
Creative Ways to Serve Your Bacon and Cheddar Scones
These versatile savory scones can be enjoyed in a multitude of ways, making them a fantastic addition to any meal, especially breakfast or brunch. Here are our favorite suggestions:
- Simply Warm with a Spread: The simplest way is often the best. Serve them warm with a dollop of unsalted butter that melts right into their flaky layers, or a generous smear of softened cream cheese for an extra creamy touch. A sprinkle of fresh chives or finely chopped green onions on top can add a lovely burst of freshness.
- The Ultimate Breakfast Sandwich: Elevate your breakfast game by transforming a scone into a sensational sandwich! Slice a warm scone in half horizontally, then fill it with a fried or scrambled egg. Add a slice of avocado, a thin slice of tomato, or even an extra piece of crispy bacon. It’s a hearty and incredibly flavorful alternative to traditional breakfast sandwiches.
- Accompaniment to Soup or Salad: These savory scones are robust enough to stand alongside a light lunch or dinner. Serve them as a delicious bread accompaniment to a creamy tomato soup, a hearty lentil soup, or a fresh garden salad. They add a wonderful texture and flavor contrast.
- Brunch Centerpiece: Arrange them on a platter for an impressive brunch spread. Their golden hue and savory aroma will surely be a hit with guests. Consider offering a variety of spreads and toppings for a custom experience.
Storage and Freezing for Lasting Enjoyment
To ensure your homemade bacon and cheddar scones stay fresh and delicious, proper storage is key. Whether you plan to enjoy them over a few days or save them for future cravings, here’s how to do it right:
For immediate enjoyment, allow the scones to cool completely to room temperature before storing. Place them in an airtight container at room temperature, where they will retain their best quality for 2-3 days. If you wish to extend their freshness slightly, you can store them in an airtight container in the refrigerator for up to 5-7 days. To reheat, a quick warm-up in a toaster oven or microwave will bring back their tender texture.
If you’re looking to enjoy these delightful scones beyond a few days, freezing is an excellent option. Once the baked scones have completely cooled, transfer them to a freezer-safe container or a heavy-duty freezer bag. Be sure to remove as much air as possible to prevent freezer burn. They can be frozen for up to 3 months. When you’re ready to enjoy, simply thaw them overnight in the refrigerator or at room temperature, then warm them in a preheated oven at 350ºF (175ºC) for about 10-15 minutes, or until heated through and crisp on the outside.
Discover More of Our Favorite…
Delicious Breakfast Recipes
If you’re a fan of starting your day with something truly special, be sure to explore more of our beloved breakfast creations. From quick and easy options to more elaborate brunch fare, we have something to delight every palate.
- Instant Pot Cheesy Egg Bites: A simple, protein-packed way to kickstart your morning.
- Leftover Cheesy Potato Pancakes: Repurpose last night’s potatoes into a savory, crispy breakfast sensation.
- Goat Cheese Soft Scrambled Eggs: Elevate your everyday scrambled eggs with the creamy tang of goat cheese.
Bacon and Cheddar Scones Recipe
These bacon and cheddar scones are a testament to simple ingredients yielding extraordinary results. Requiring no fancy equipment beyond a food processor, they are ultra-cheesy and wonderfully savory, thanks to the harmonious blend of salty bacon and sharp shredded cheddar cheese. This recipe offers a straightforward path to a truly satisfying and utterly delicious breakfast or brunch.
By: Linley Hanson
Prep time: 25 minutes
Cook time: 10-14 minutes
Total time: Approximately 35-39 minutes
Servings: 9 scones
Ingredients
- 2 ¼ cups all-purpose flour
- 1 tablespoon baking powder
- 1 teaspoon salt
- ½ cup cold butter, cubed
- 2 large eggs
- ½ cup heavy cream
- ½ cup chopped cooked bacon
- ½ cup shredded cheddar cheese
- Optional: Additional heavy cream (for brushing), flake salt (for sprinkling)
Instructions
- In the bowl of a food processor, combine the flour, baking powder, and salt. Pulse briefly until thoroughly mixed.
- Add the cubed, cold butter to the food processor. Pulse in short bursts until the butter is incorporated and the mixture resembles coarse crumbs with butter pieces roughly the size of small peas (about 30 seconds).
- Transfer the flour and butter mixture to a large mixing bowl. Add the eggs and ½ cup heavy cream. Stir gently with a spatula until a shaggy, somewhat dry dough begins to form. Be careful not to overmix.
- Add the chopped cooked bacon and shredded cheddar cheese to the dough. Stir just until the bacon and cheese are evenly distributed. Again, do not overmix.
- Turn the dough out onto a lightly floured, clean surface. Gently gather and press the dough together with your hands. Roll the dough out carefully with a rolling pin to an even thickness of approximately 1 inch.
- Using a biscuit cutter or a sharp knife, cut the dough into your desired scone shapes (circles, squares, or triangles). Carefully transfer the cut scones to a baking sheet lined with parchment paper or a silicone baking mat.
- Place the baking sheet with the scones into the freezer for 15 minutes to allow them to chill thoroughly. This helps prevent spreading and promotes flakiness.
- While the scones are chilling, preheat your oven to 400ºF (200ºC).
- Once the oven is preheated, remove the scones from the freezer. Lightly brush the tops of the scones with a little extra heavy cream (or milk) and, if desired, sprinkle with a pinch of flake salt for an enhanced crust and flavor.
- Bake the scones for 12-14 minutes, or until they are puffed, golden brown around the bottom edges, and cooked through.
- Remove from the oven and let them cool slightly on the baking sheet before transferring to a wire rack. Enjoy warm or at room temperature.
- Store any leftover scones in an airtight container in the refrigerator for up to one week, or freeze them for longer storage (see storage notes above).
Tips & Notes
- For the best texture, always ensure your butter is as cold as possible. Chilling the cut scones before baking also contributes significantly to flakiness.
- Measure flour precisely using the spoon and level method to avoid dense scones.
- A generous amount of fresh baking powder is key for light and fluffy scones.
- Don’t underestimate the role of salt; it perfectly balances and enhances the savory flavors of bacon and cheese.
- Heavy cream not only adds richness but also keeps the scones wonderfully moist.
- While bacon and cheddar are classic, feel free to get creative! Substitute with chopped ham, different cheeses like Gruyere or smoked gouda, or add fresh herbs like chives.
Nutrition
(Approximate values per serving, based on 9 servings)
- Serving Size: 1 scone
- Calories: 321 kcal
- Carbohydrates: 23 g
- Protein: 8 g
- Fat: 22 g
- Fiber: 1 g
- Sugar: 0 g
Nutrition information is automatically calculated and should be used only as an approximation.
Love this recipe? We’d be thrilled if you left a comment below to share your experience!
Don’t forget to tag your beautiful creations on social media with the hashtag #cheeseknees – we absolutely love seeing what you’re baking up!