
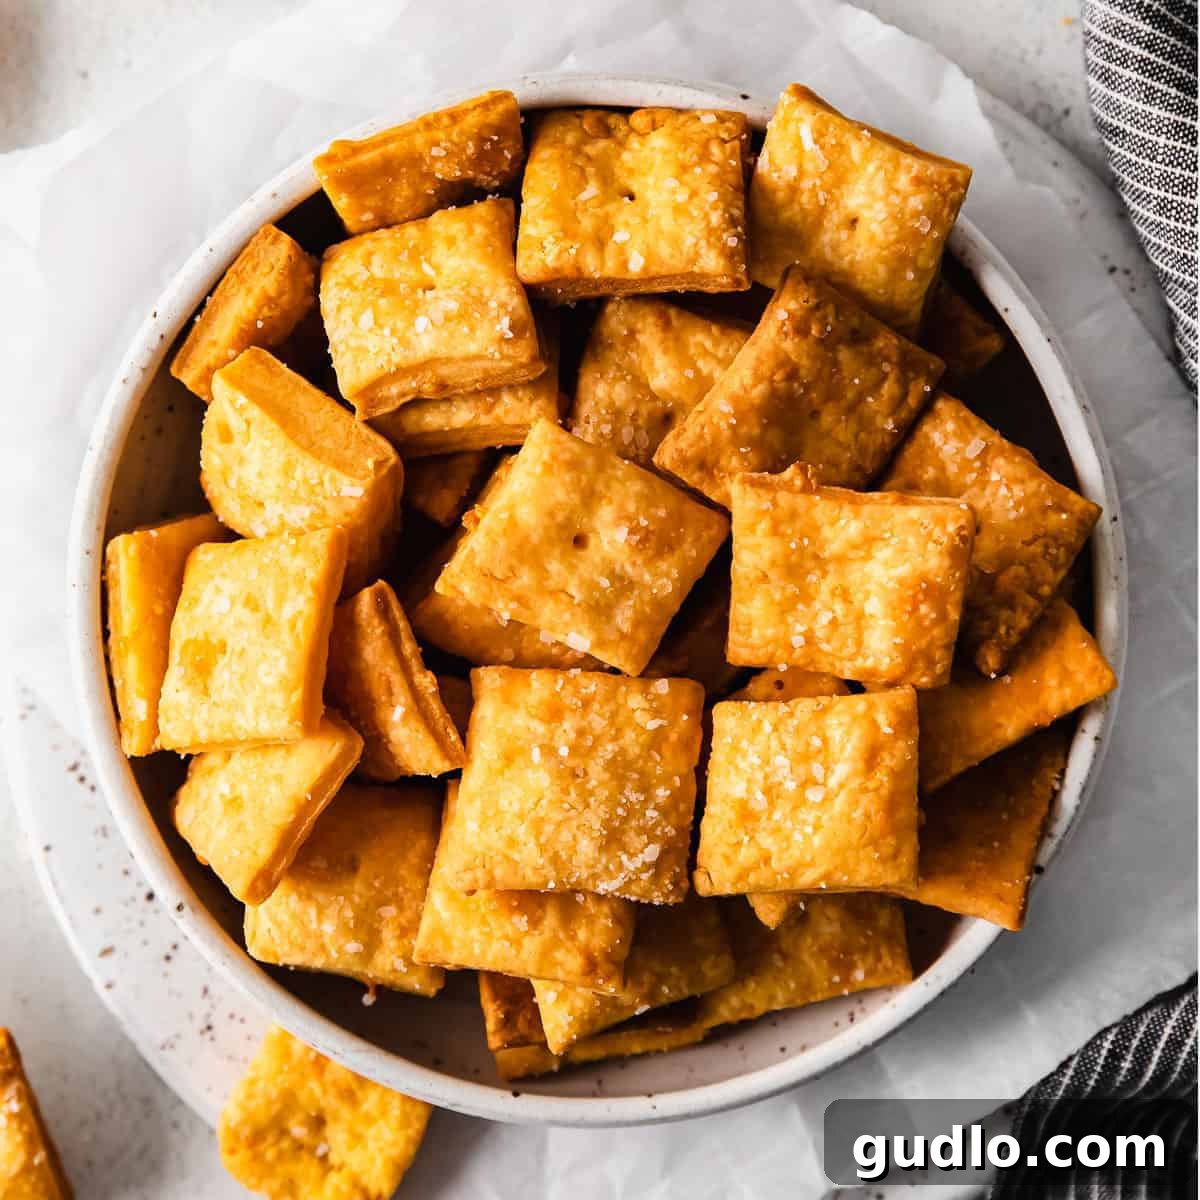
Homemade Cheez-Its Recipe: Your Ultimate Guide to Crispy, Cheesy Crackers
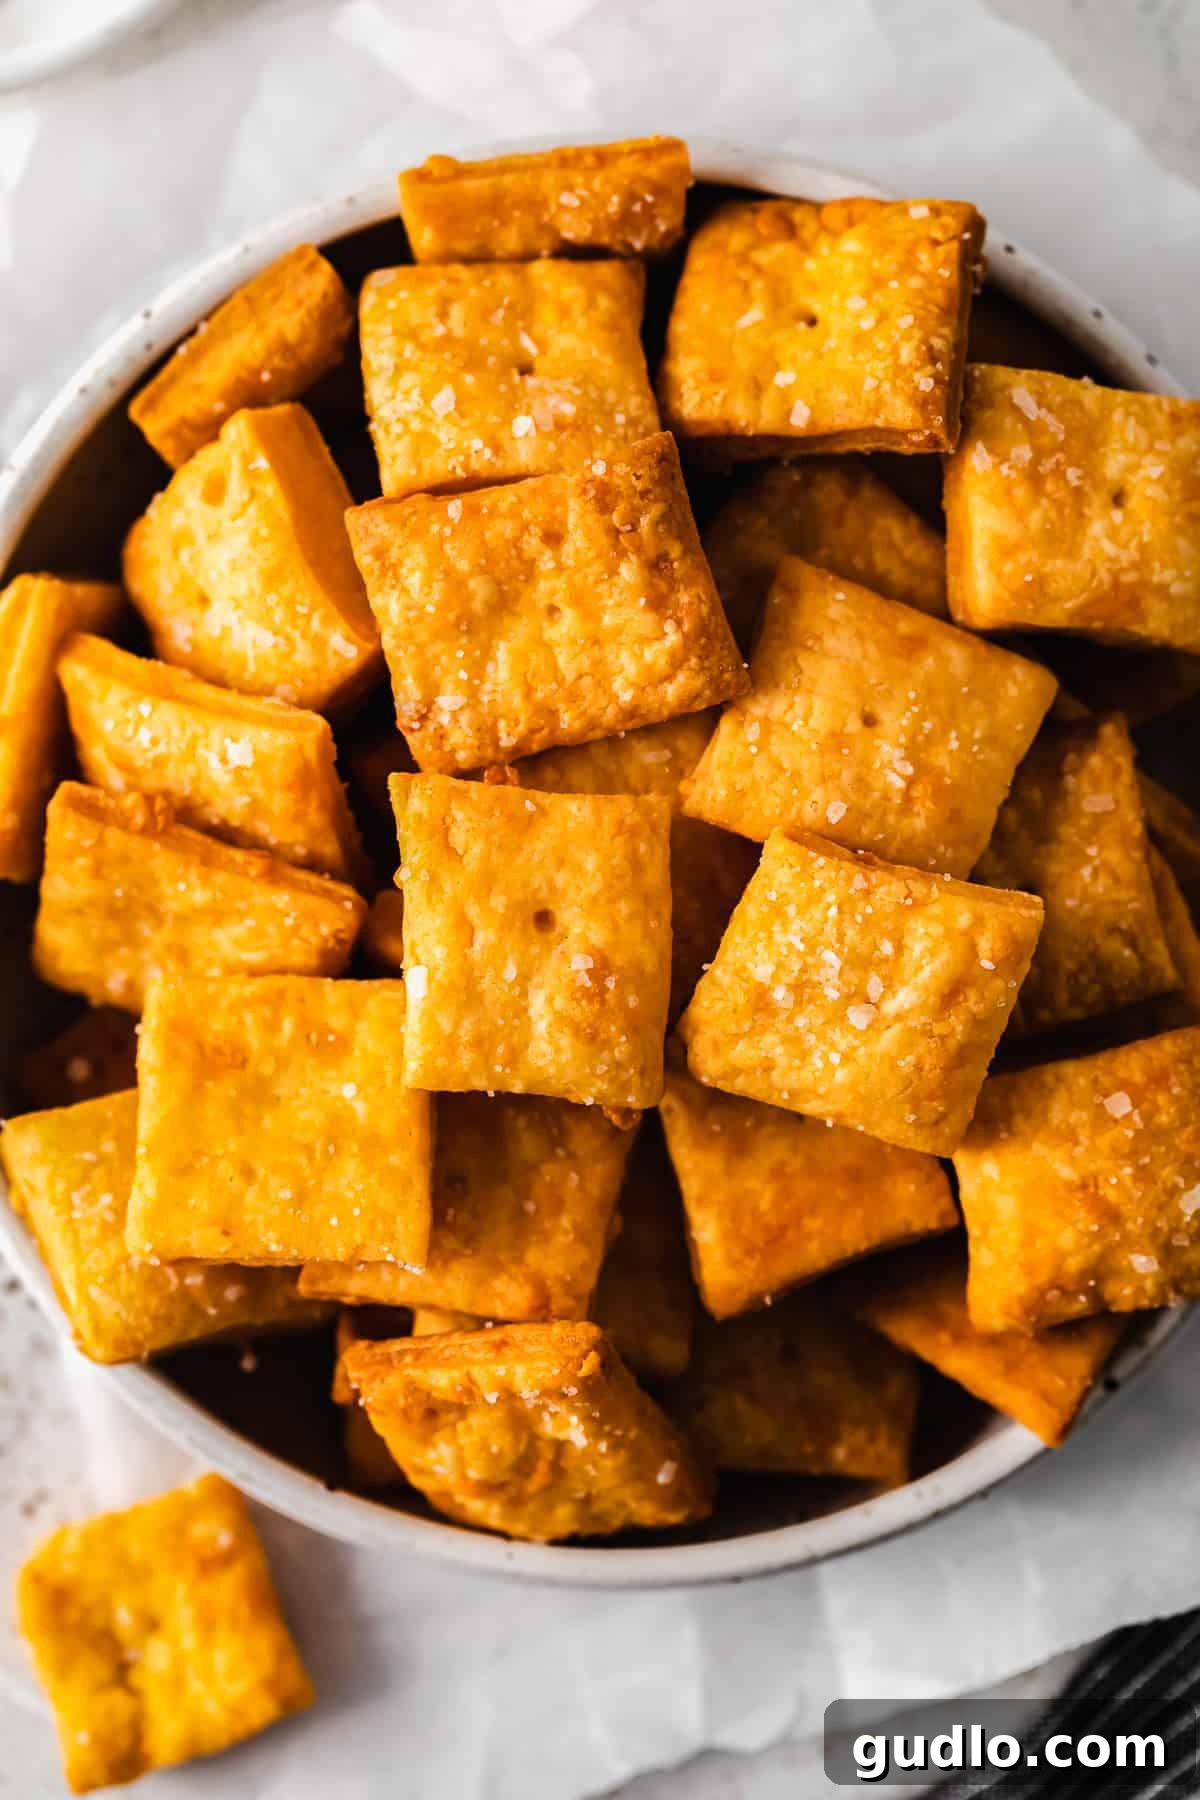
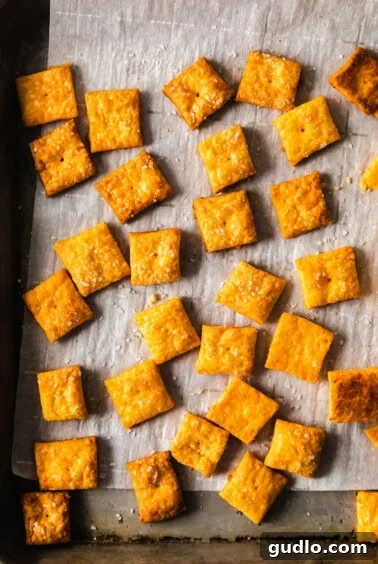
There’s nothing quite like the satisfying crunch and rich, savory flavor of a Cheez-It. But what if we told you that you could recreate this beloved snack in your own kitchen, using just a handful of simple ingredients? This recipe for homemade Cheez-Its uses only 6 basic components – shredded cheddar cheese, butter, water, olive oil, all-purpose flour, and salt – to deliver a cheesy treat that surpasses its store-bought counterpart in freshness and taste. These crackers are not only easy to make but are also incredibly rewarding. Many enthusiasts love to double the batch, ensuring a steady supply of these irresistible crispy, salty, and utterly perfect cheesy crackers for any occasion. Whether you’re planning a movie night, looking for a quick snack, or preparing appetizers for a gathering, these homemade Cheez-Its are guaranteed to be a hit.
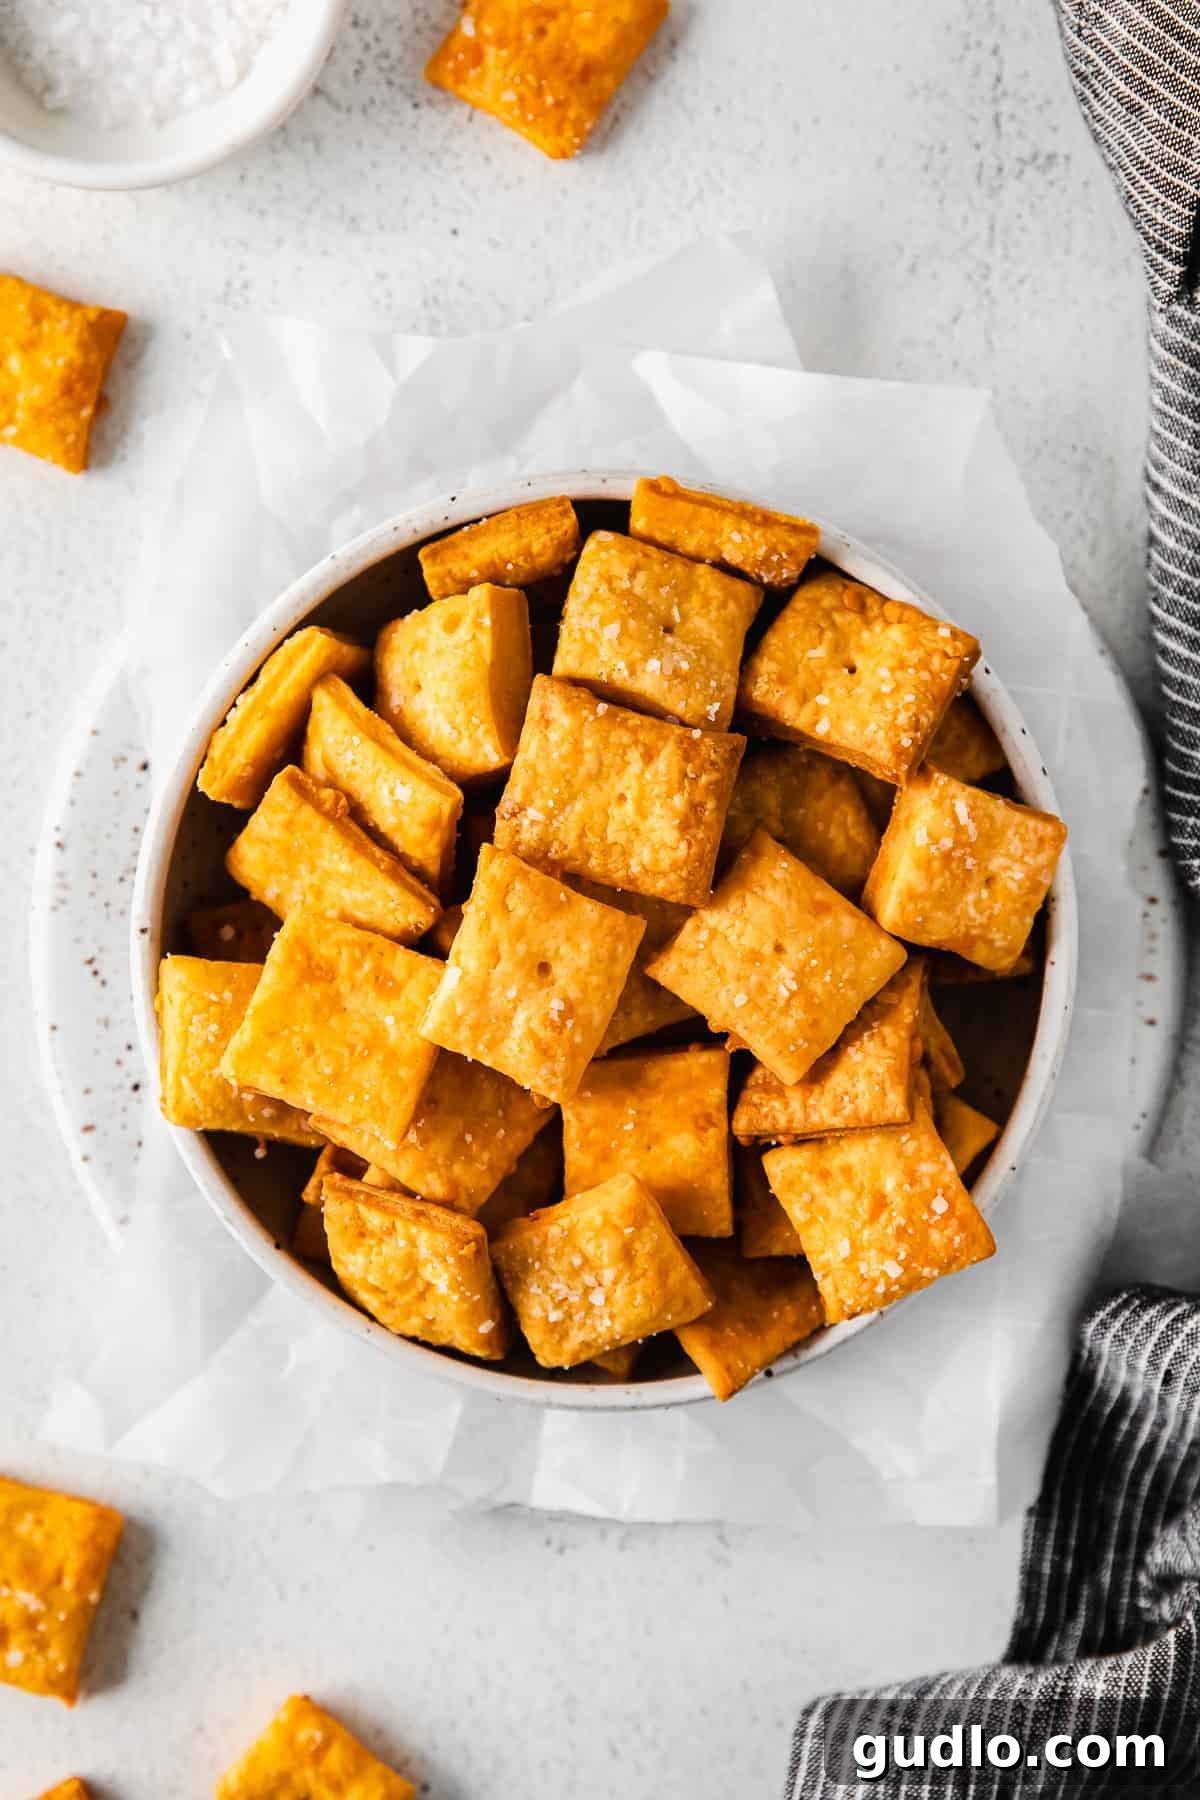
Why Make Homemade Cheez-Its? The Wisconsin Way!
As true cheese aficionados, hailing from Wisconsin, Cheez-Its have always held a special place in our snack repertoire. We understand the universal appeal of a good cheesy snack, and crispy crackers are undoubtedly at the top of that list. Given our passion for all things cheese, developing a homemade Cheez-It recipe that truly captures the essence of this classic snack – especially one made with genuine, real cheese – was a natural next step. The difference a high-quality cheddar makes is undeniable, transforming a simple cracker into an extraordinary culinary experience. When you make these crackers at home, you’re not just baking; you’re crafting a snack that boasts superior flavor, texture, and the wholesome goodness of ingredients you can trust. Forget artificial flavors and preservatives; embrace the rich, authentic taste of real cheese in every bite.
This streamlined recipe calls for a mere 6 basic ingredients, yet it yields an impressive approximately 4 cups of crunchy, salty, and absolutely perfect homemade Cheez-Its. This generous batch is ideal for sharing, or for keeping on hand to satisfy those inevitable cheesy cravings. If your quest for delicious cheesy snacks continues, we highly recommend exploring our other recipes, such as these delightful cheese crackers with Pecorino Romano, which offer a different but equally divine cheesy experience.
The Simple Six: Essential Ingredients for Perfect Homemade Cheez-Its
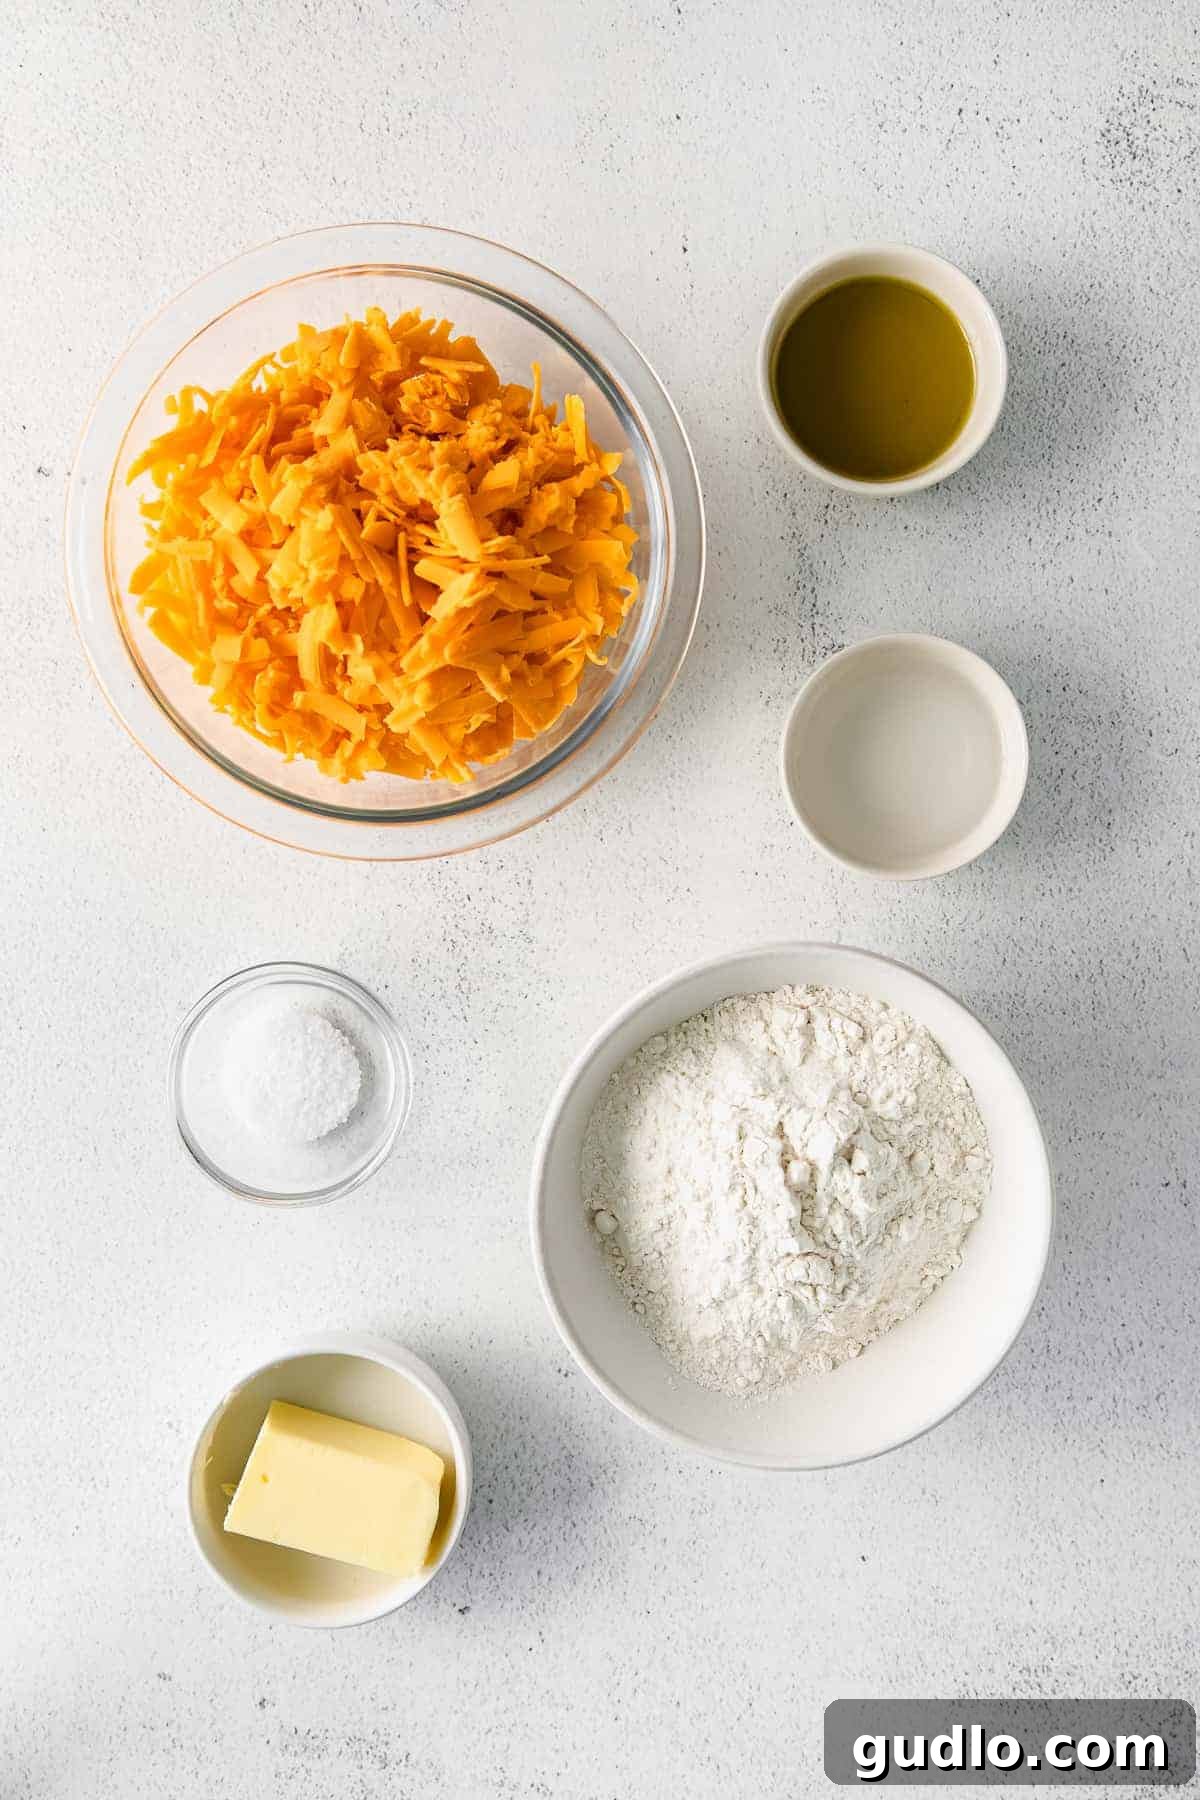
The beauty of this recipe lies in its simplicity. With just six core ingredients, you can create a snack that’s full of flavor and incredibly satisfying. Each component plays a crucial role in achieving the desired taste and crisp texture. Here’s a closer look at what you’ll need:
- Unsalted Butter: We strongly recommend using unsalted butter for this recipe. Butter provides richness and helps create that desirable flaky texture. Using unsalted butter gives you precise control over the overall salt content of your crackers, allowing you to season them exactly to your preference.
- Cheddar Cheese: The star of the show! Both pre-grated and freshly grated sharp cheddar cheese will work, but for the most authentic and robust flavor, we always advocate for freshly grated cheddar. Freshly grated cheese melts more smoothly and incorporates better into the dough, leading to a more intensely cheesy cracker.
- All-Purpose Flour: This forms the essential base of our cracker dough. All-purpose flour provides the structure needed to create a crisp and sturdy cracker. While we haven’t tested this recipe with other types of flour, sticking to all-purpose will ensure consistent and reliable results.
- Salt: A cracker simply wouldn’t be a cracker without salt! It’s indispensable for enhancing the cheese flavor and providing that signature savory kick. Do not skip the salt in the dough, and be prepared to add a sprinkle on top before baking for an extra burst of flavor.
- Cold Water: Water is key to bringing the dough together. Adding cold water helps prevent the butter from melting too quickly, which is crucial for a tender, flaky crust. It’s best to add water gradually, a little at a time, to achieve the perfect dough consistency.
- Olive Oil: Brushed lightly over the tops of the crackers before baking, olive oil is essential for achieving that beautiful golden-brown color and irresistible crunch. It also contributes a subtle depth of flavor that complements the sharp cheddar.

Get More
Cheddar Cheese Recipes
Looking for more delicious recipes featuring the versatile and beloved cheddar cheese? Dive into our curated collection of cheesy cheddar recipes, perfect for every meal and snack!
Creative Twists: Substitutions and Flavor Variations
While the classic cheddar flavor is what makes Cheez-Its iconic, don’t hesitate to unleash your culinary creativity with substitutions and variations. Experimenting with different cheeses and spices can lead to exciting new snack discoveries that are just as satisfying.
Cheese Substitutions:
The beauty of homemade crackers is the freedom to customize. While traditional Cheez-Its rely on cheddar, you can easily substitute it with other hard or semi-hard cheeses. Consider:
- Parmesan: For a sharper, nuttier cracker.
- Gouda: Offers a milder, slightly sweeter, and buttery note.
- Monterey Jack: A creamy, mild option that melts beautifully.
- Pepper Jack: For a subtle spicy kick.
- Gruyère: Brings a complex, savory, and slightly nutty flavor.
Keep in mind that different cheeses may affect the dough’s texture and moisture content, so you might need minor adjustments to the water quantity. Also, the flavor profile will, of course, vary significantly, offering a new experience with each cheese.
Flavor Additions:
Infuse your homemade Cheez-Its with a burst of extra flavor by mixing in various spices and herbs directly into the dough, or by sprinkling them on top before baking. Popular and highly recommended additions include:
- Garlic Powder or Onion Powder: For an aromatic, savory depth.
- Smoked Paprika or Cayenne Pepper: To add a smoky warmth or a spicy kick.
- Dried Herbs: Finely chopped rosemary, thyme, or oregano can introduce an herbaceous complexity.
- Everything Bagel Seasoning: Sprinkle on top before baking for a bold, textural topping.
- Nutritional Yeast: Can enhance the “cheesy” flavor even further, particularly if you’re experimenting with milder cheeses.
Start with a small amount (e.g., 1/2 teaspoon per batch) and adjust to your taste. These simple additions can transform your classic cheesy crackers into a gourmet snack that’s uniquely yours.
Troubleshooting & FAQs: Ensuring Cheesy Cracker Success
Why aren’t my homemade Cheez-Its crispy?
Several factors can affect the crispiness of your crackers. To ensure that delightful crunch, consider these points:
- Thickness: If your cracker dough is rolled too thick, it will likely result in a softer, chewier texture rather than a crisp one. Aim for a uniform, very thin roll-out, ideally less than 1/8 inch.
- Oven Temperature: An accurately calibrated and properly preheated oven is crucial. If your oven runs cold, the crackers won’t crisp up properly. Use an oven thermometer to verify its temperature.
- Baking Time: Baking time is always an estimate and can vary based on your oven, the thickness of your dough, and the desired level of crispiness. Keep a close eye on your first batch; they should be golden brown around the edges and firm to the touch. Don’t be afraid to extend baking by a few minutes if they still seem soft.
- Moisture: Too much moisture in the dough (e.g., from not chilling enough, or too much water added) can also inhibit crispiness.
My dough is too sticky/crumbly, what should I do?
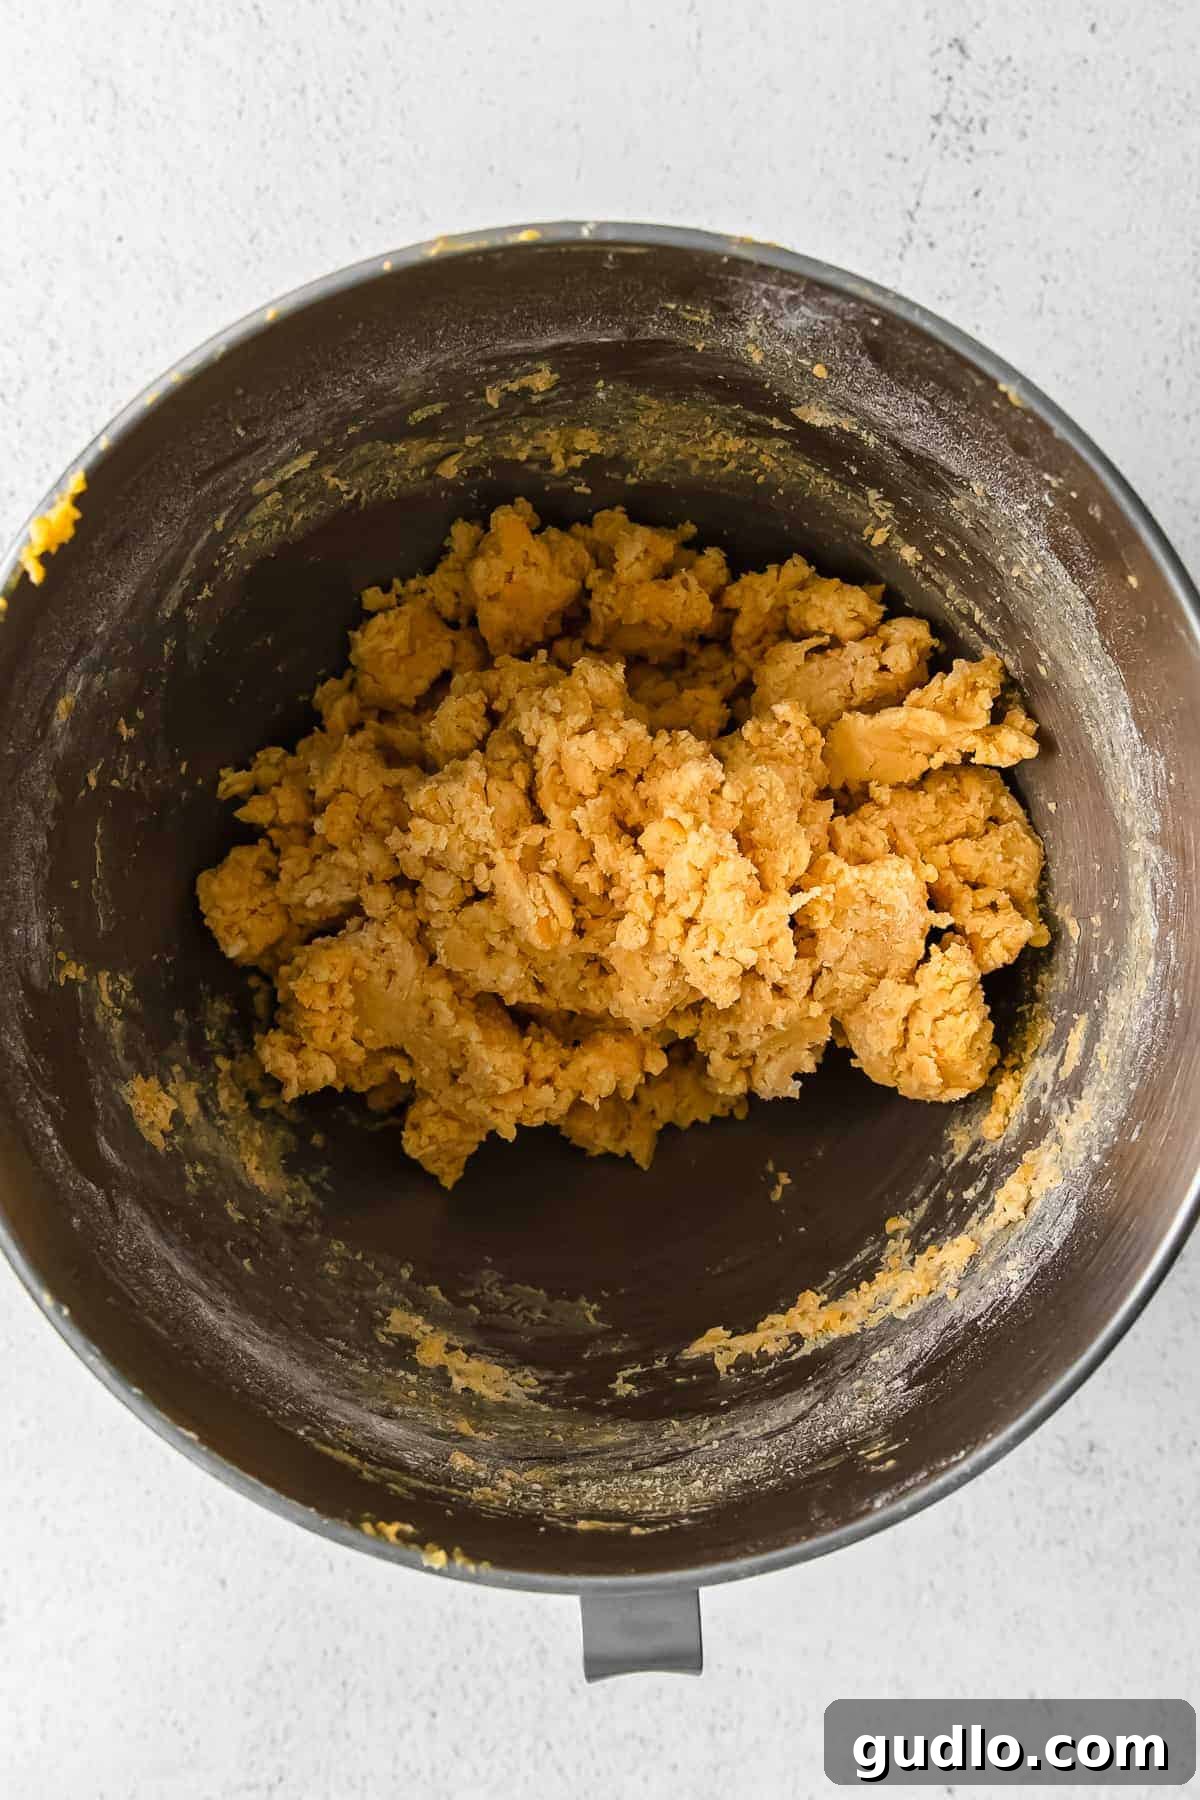
Achieving the right dough consistency is key. If your dough is too sticky, it likely has too much water. Try dusting your work surface and rolling pin with a little extra flour. If it’s too crumbly and won’t come together, add a tiny bit more cold water, half a teaspoon at a time, until it forms a cohesive ball. Remember, the initial mixture after adding flour will be quite crumbly, but it should come together after adding the cold water.
Can I use different types of cheese?
Absolutely! While sharp cheddar is traditional, feel free to experiment with other hard or semi-hard cheeses like Parmesan, Gouda, Monterey Jack, or even a blend. Be aware that the flavor and texture will vary. Harder, drier cheeses might require slightly more water to form a cohesive dough.
How thin should I roll the dough?
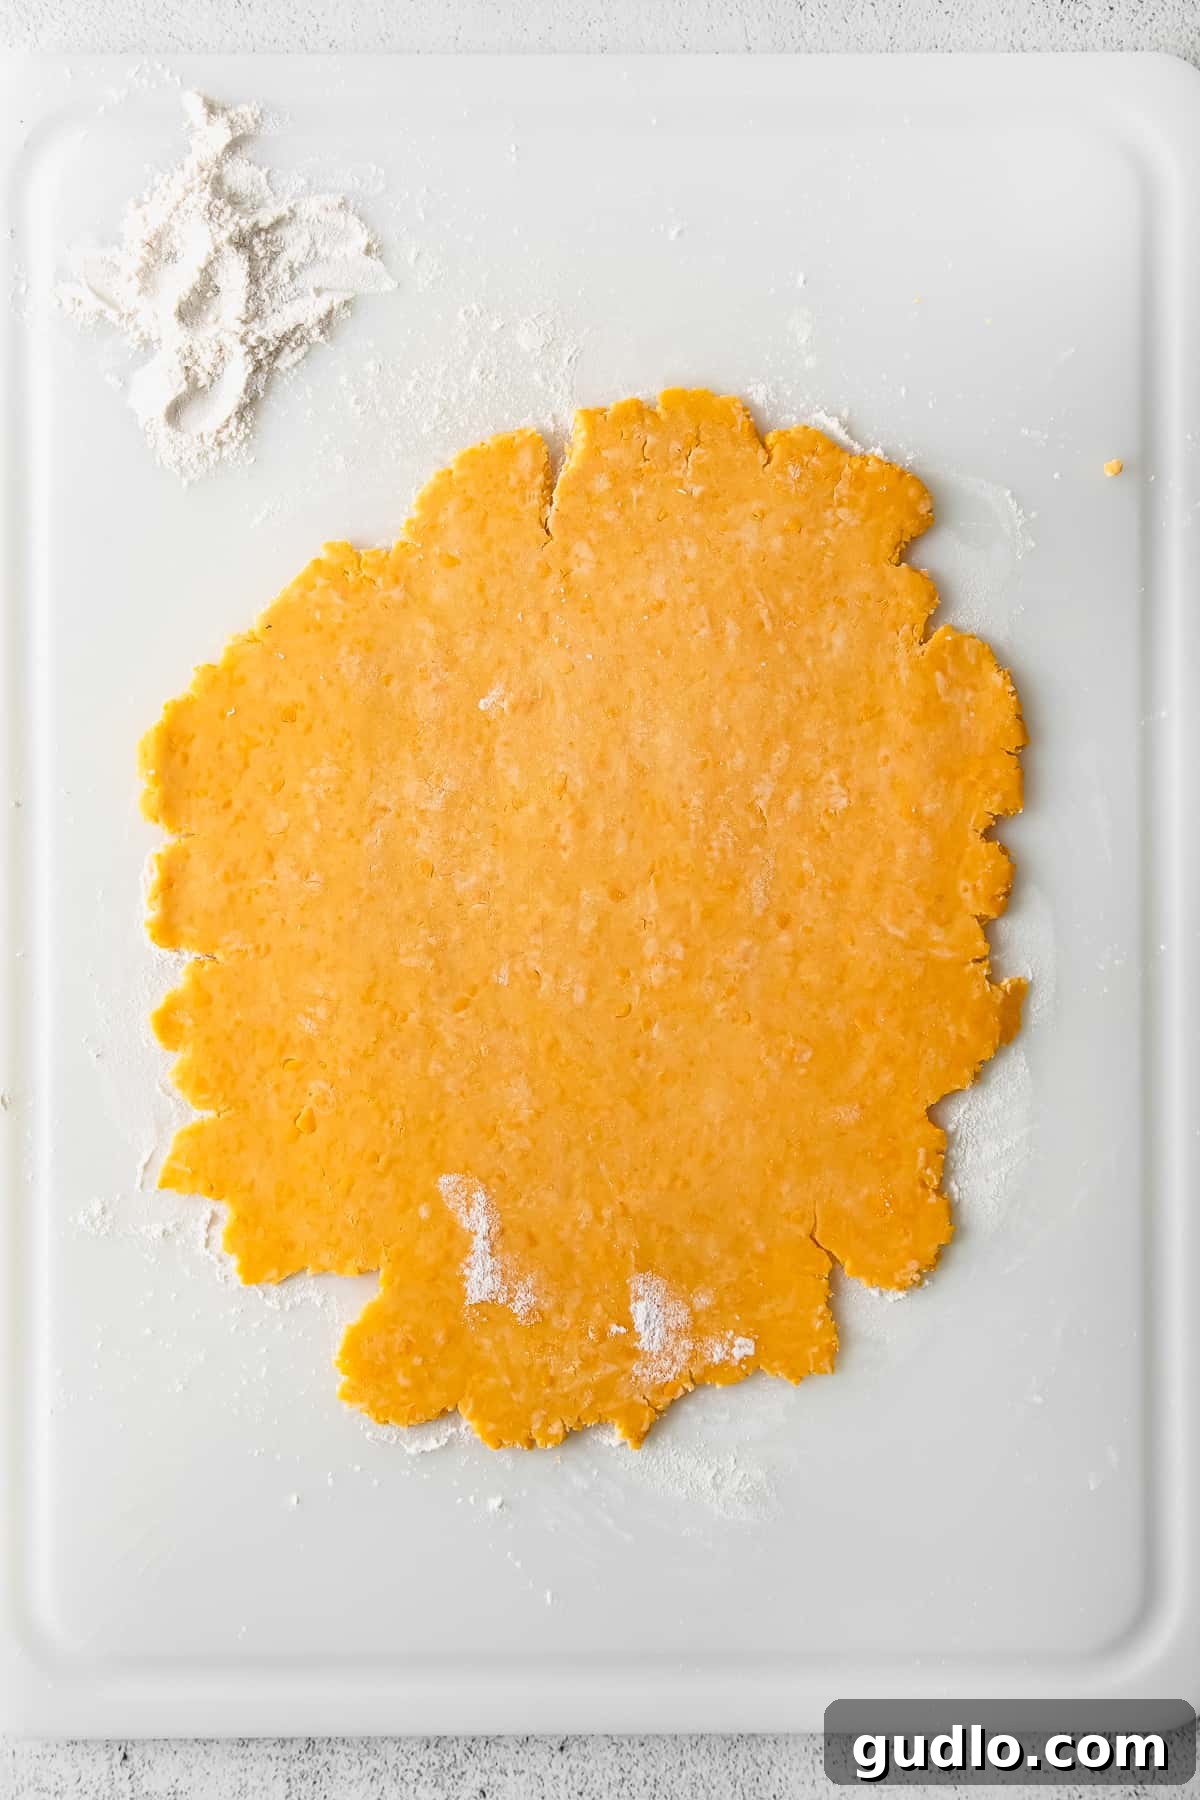
For truly crispy Cheez-Its, rolling the dough thinly is paramount. Aim for a thickness of less than 1/8 inch, ideally closer to 1/16 inch. The thinner the dough, the crisper your crackers will be. A good tip is to roll it so thin that you can almost see the parchment paper through it.
More of our Favorite…
Irresistible Cheesy Snacks
If you can’t get enough of cheesy goodness, we’ve got more recipes to satisfy your cravings. Explore these other fantastic cheesy snacks:
- Parmesan Cheese Crisps
- Homemade Cheese Popcorn
- Homemade Mozzarella Sticks
- Classic Cheese Crackers
Mastering the Craft: Top Tips for Perfect Homemade Cheez-Its
Crafting the perfect batch of homemade Cheez-Its is a simple process, but a few key techniques can elevate your crackers from good to absolutely amazing. Pay attention to these expert tips for crispy, cheesy perfection every time:
- Room Temperature Butter is Non-Negotiable: Ensure your unsalted butter is at true room temperature. This isn’t just a suggestion; it’s vital for proper creaming. When butter and shredded cheese are creamed together, they need to become a homogeneous, fluffy mixture. Cold butter won’t blend properly, leading to an uneven dough texture and less consistent results.
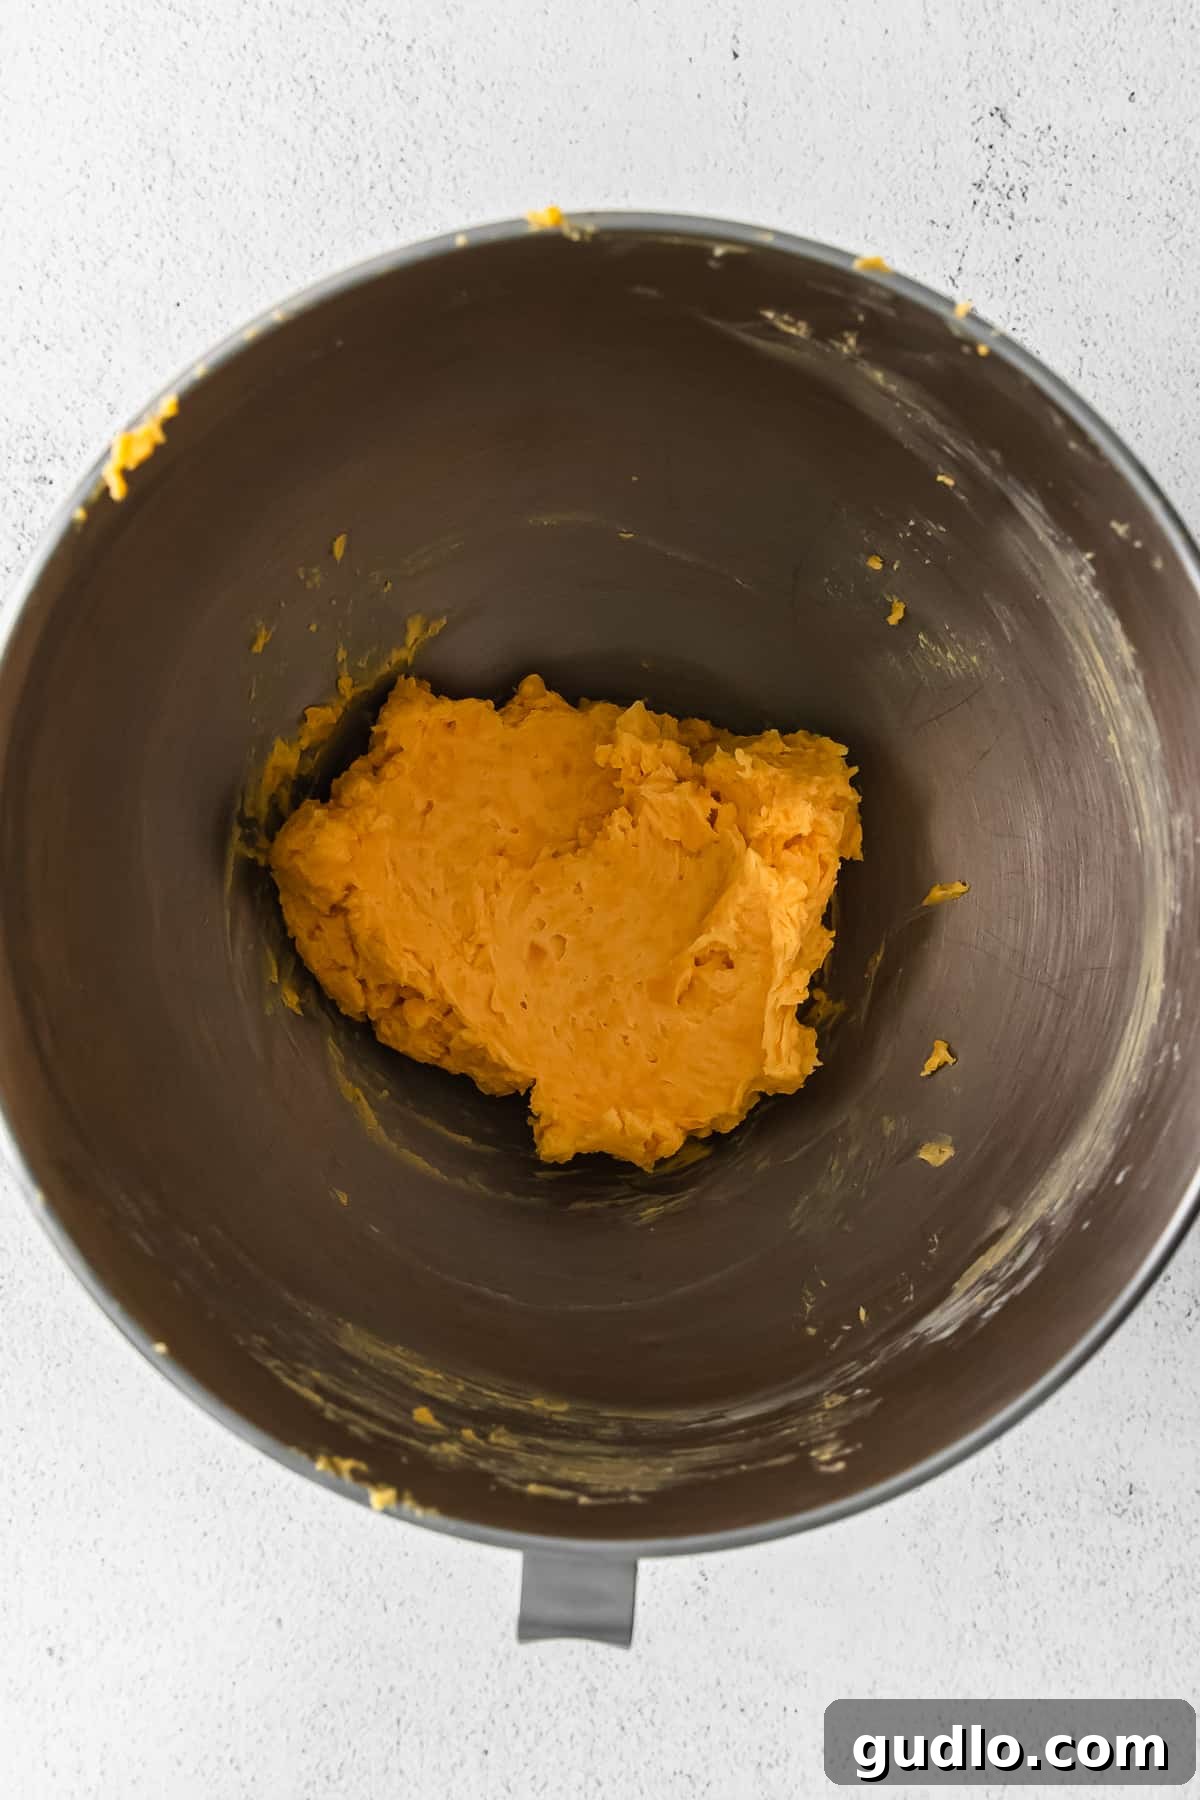
- Don’t Fret Over Crumbly Flour: When you first add the flour to the butter and cheese mixture, it will look incredibly crumbly and dry. This is exactly how it’s supposed to be! Resist the urge to add more liquid at this stage. The dough will come together as you gradually incorporate the cold water.
- Start Small with Water, Then Add Gradually: Dough hydration is crucial. Begin by adding just 2 tablespoons of cold water to the flour mixture. Mix until just combined. If the dough still feels too dry and won’t form a cohesive ball when squeezed, add the third tablespoon, half a teaspoon at a time, until it just comes together. Over-hydrating the dough can lead to tough crackers.
- Roll It Out Very Thin: This is arguably the most critical step for achieving truly crispy Cheez-Its. You must roll the dough out as thin as possible – think less than 1/8 inch, ideally closer to 1/16 inch. If your dough is too thick, you’ll end up with softer, cakier crackers instead of the desired crisp bite. Imagine rolling it thin enough to almost see the pattern of your parchment paper underneath.
- Embrace Parchment Paper for Easy Transfer: To simplify your life and minimize mess, roll the dough directly onto the same piece of parchment paper you plan to bake the Cheez-Its on. This eliminates the tricky step of transferring delicate, thinly rolled dough from your countertop to the baking sheet.
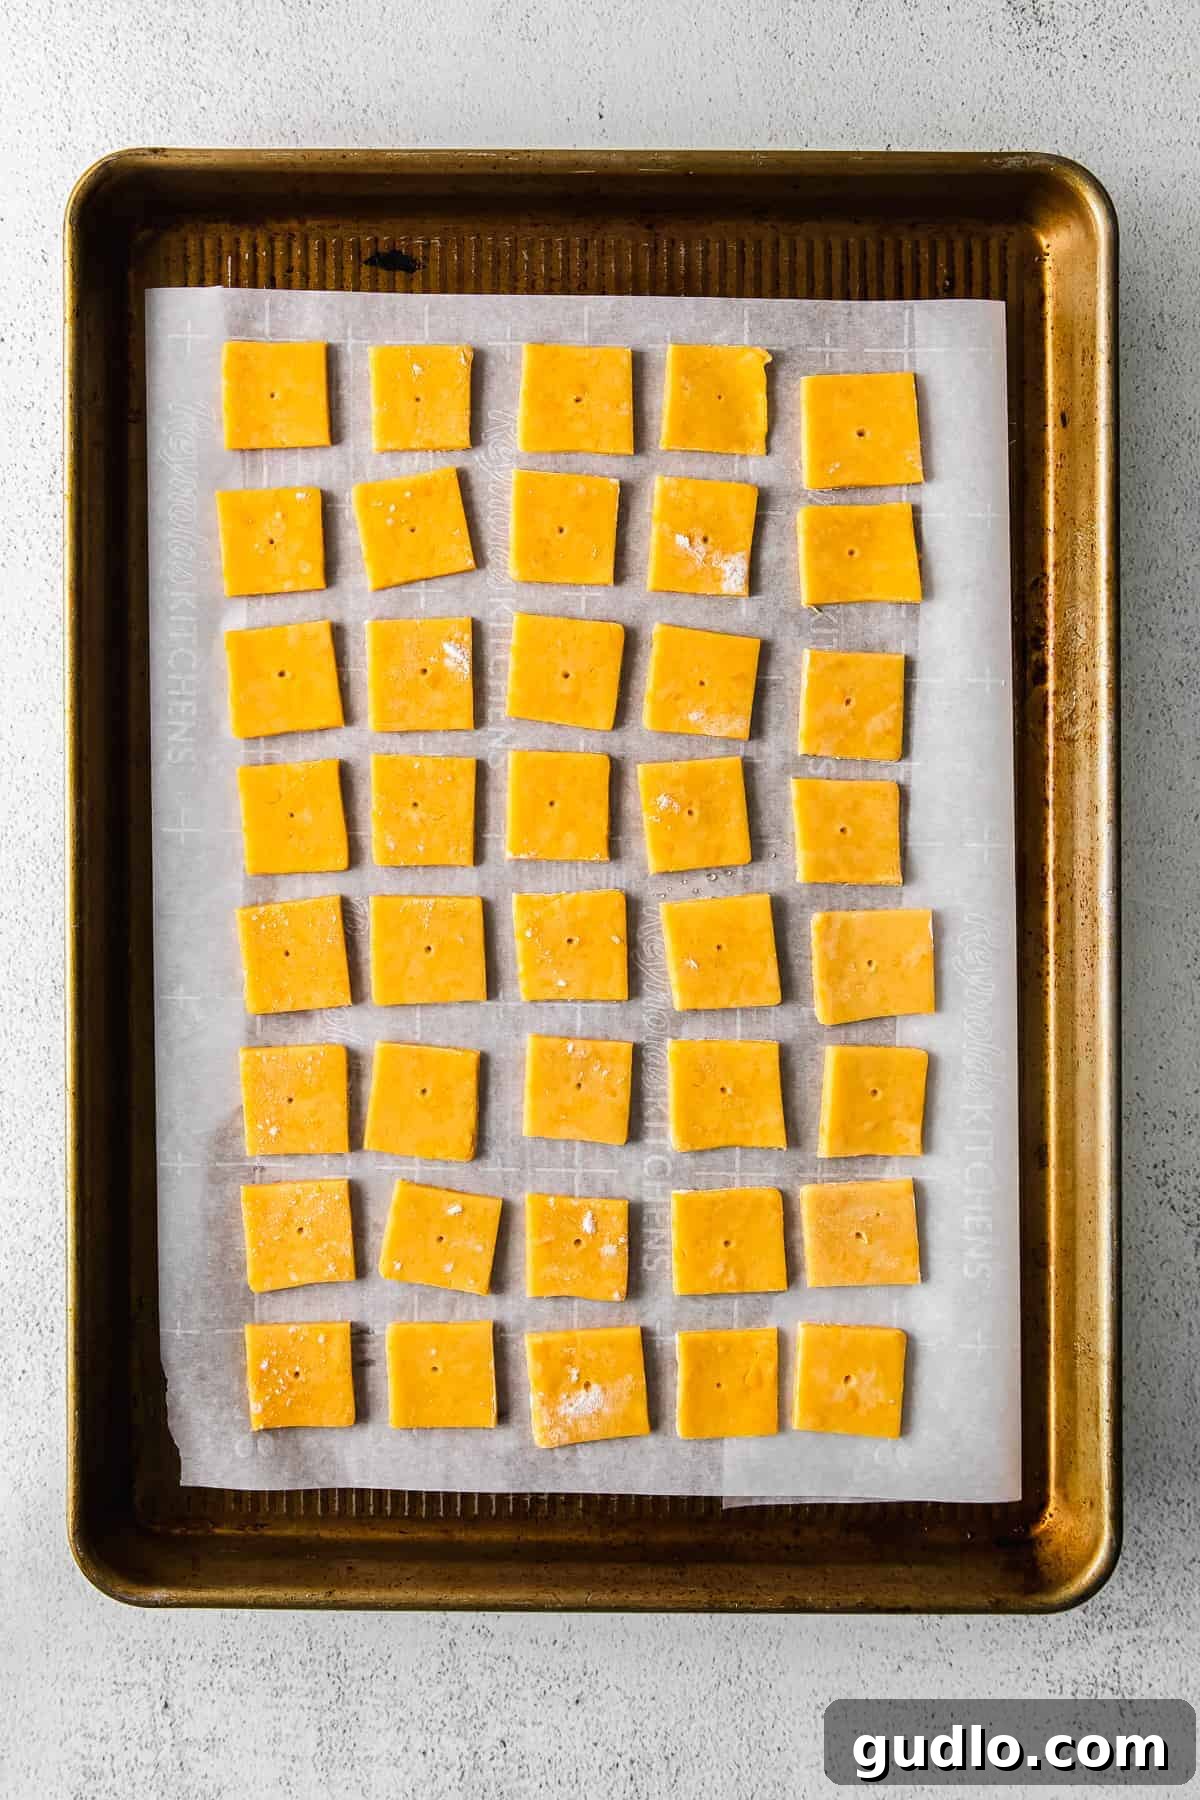
- Don’t Forget to Dock Your Crackers: Once cut into squares, use the flat end of a wooden skewer or a toothpick to poke a small hole in the center of each cracker. This “docking” prevents the crackers from puffing up excessively in the oven, ensuring a flat, uniform, and consistently crispy texture.
- Rotate for Even Baking: Ovens often have hot spots. For uniformly golden and crispy crackers, consider rotating your baking sheet halfway through the baking time. This helps ensure every cracker gets an even bake.
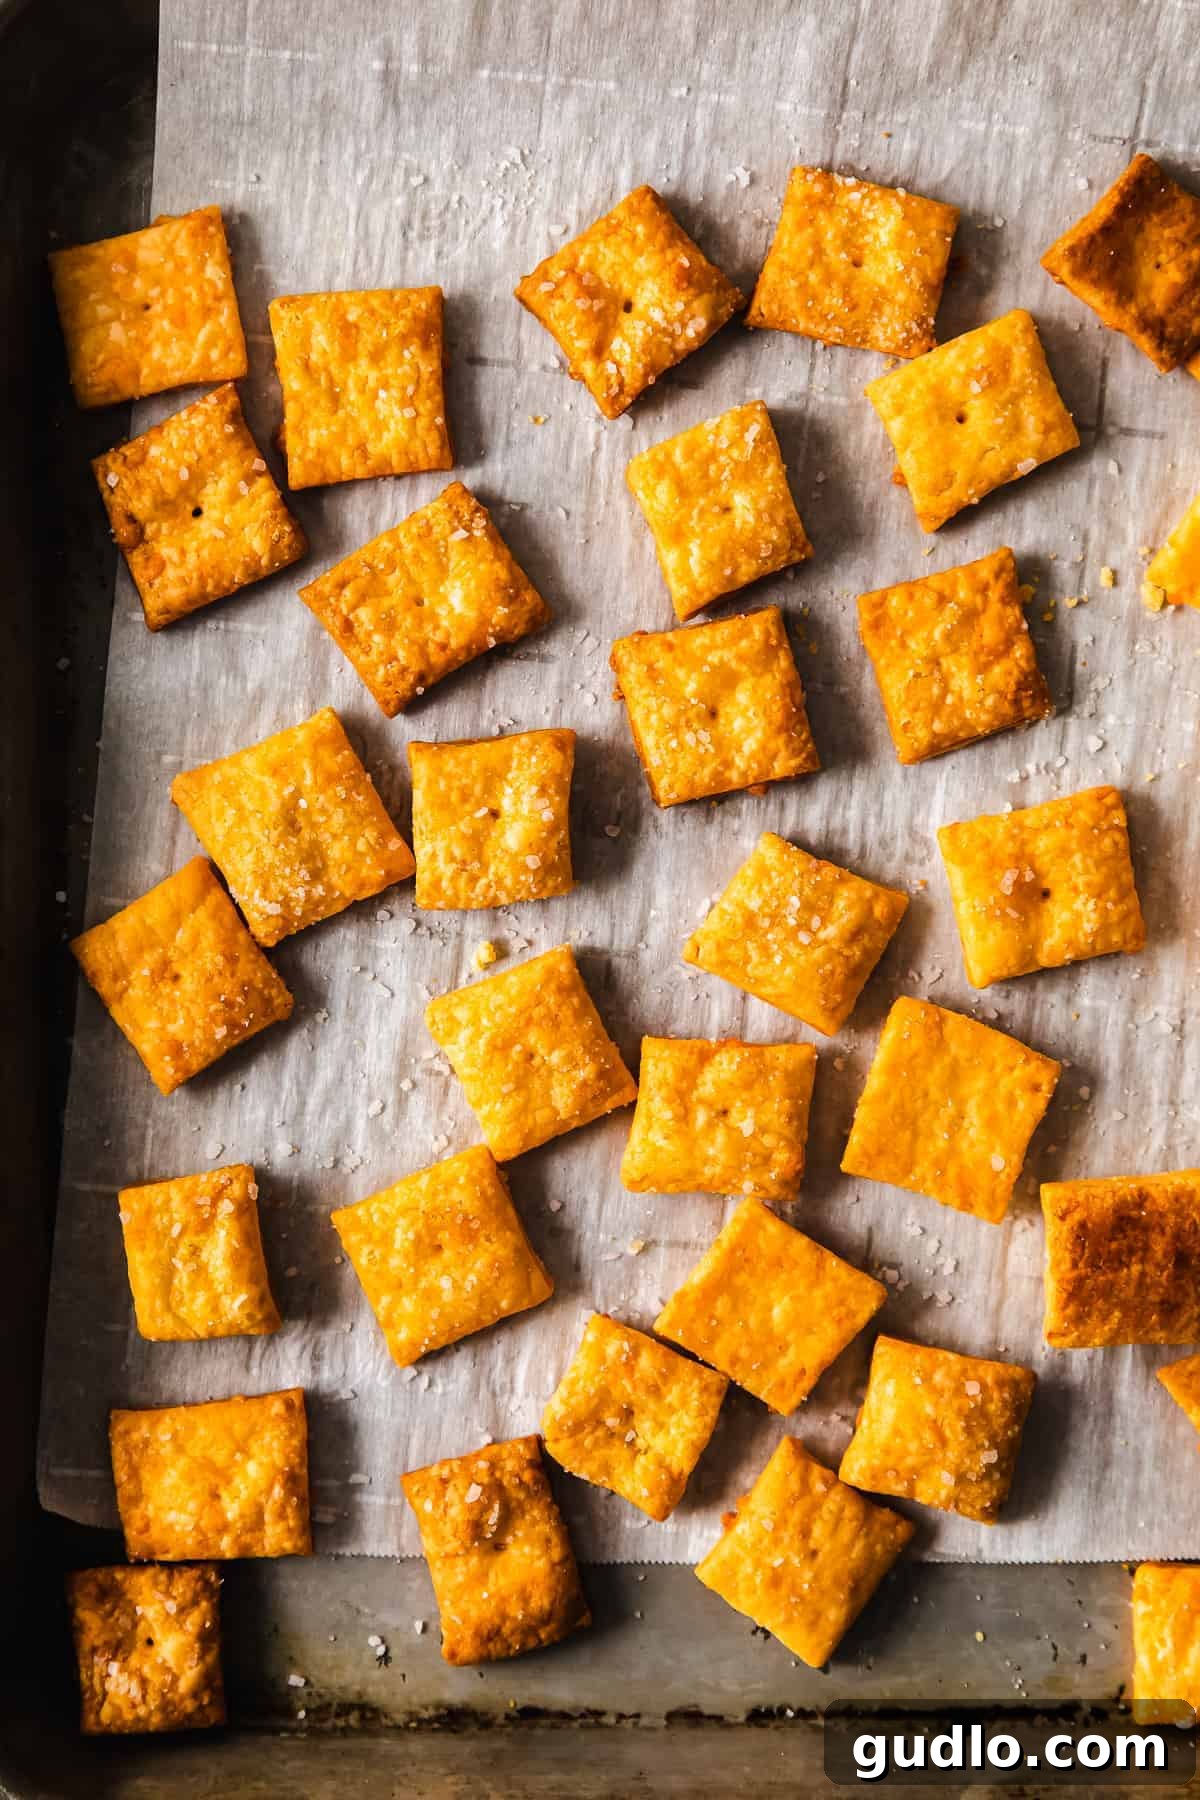
- Cool Completely for Ultimate Crispness: After removing the crackers from the oven, immediately transfer the parchment paper with the crackers to a wire cooling rack. This allows air to circulate around them, preventing them from steaming and becoming soft. They will crisp up further as they cool.
Storage Solutions: Keeping Your Cheesy Creations Fresh
To maintain the delightful crispness and fresh flavor of your homemade Cheez-Its, proper storage is key. Once baked, allow your crackers to cool completely on a wire rack. This is a crucial step; storing them while still warm will trap moisture and make them soft.
Once fully cooled, transfer the crackers into an airtight container. A cookie tin, a plastic container with a tight-fitting lid, or a zip-top bag will work perfectly. Store the container in a cool, dark place, such as your pantry or a cupboard, away from direct sunlight or humidity. Stored correctly, your homemade Cheez-Its will retain their peak freshness and crisp texture for up to 1 week. For longer storage, you can also freeze the raw dough (wrapped tightly in plastic wrap) for up to 1 month, or even freeze the baked crackers for a few weeks, though they might lose a bit of their crunch upon thawing.
Serving Suggestions: Pairing Your Homemade Cheez-Its
Homemade Cheez-Its are incredibly versatile and can be enjoyed in countless ways beyond just snacking straight from the bowl. They make a fantastic addition to any fun gathering or casual meal. Their rich, cheesy flavor and satisfying crunch make them perfect for pairing with a variety of dips and other dishes.
- Dip It! Serve these crispy crackers with a delicious dip for an elevated snack experience. Our homemade Top-the-Tater dip, sizzling scallion dip, or a hearty chicken bacon ranch dip would all be absolutely delicious complements to these cheesy crackers.
- Soup Companion: Crumble them over your favorite creamy tomato soup or a hearty chili for an extra layer of crunch and flavor.
- Charcuterie Board Star: Add them to a cheese or charcuterie board alongside cheeses, cured meats, and olives for a homemade touch that will impress your guests.
- Salad Topping: Crush them slightly and sprinkle over salads as a crunchy, savory crouton alternative.
- Lunchbox Treat: Pack them in lunchboxes for a wholesome and satisfying snack that kids and adults alike will love.
- Game Day Essential: They are the ultimate crowd-pleaser for any sports event or casual get-together.
The Ultimate Homemade Cheez-Its Recipe
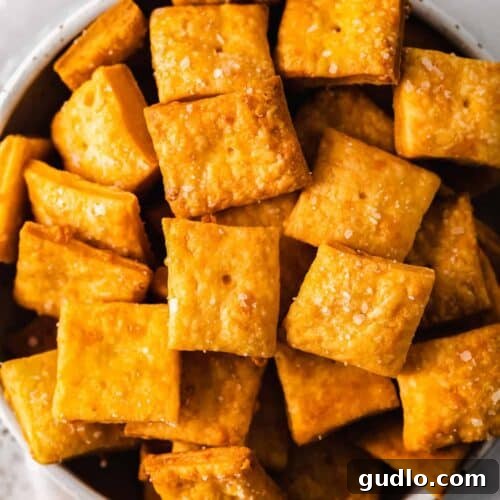
Homemade Cheez Its
These homemade Cheez Its are made with 6 basic ingredients including real cheddar cheese. Learn how to make them in this simple tutorial.
By: Lee Funke
- Prep Time: 1 hour 30 mins
- Cook Time: 17 mins
- Total Time: 1 hour 47 mins
- Servings: 8
Ingredients
- ¼ cup unsalted butter, room temperature
- 8 oz. sharp cheddar cheese, shredded
- 1 ¼ cups all-purpose flour
- 1 teaspoon kosher salt + more for topping
- 2-3 tablespoons cold water
- 2 tablespoons olive oil
Instructions
- Place the room temperature unsalted butter and shredded sharp cheddar cheese into a mixing bowl. Using a standing mixer or an electric hand mixer, cream the two ingredients together on medium-high speed for 4-5 minutes, or until the mixture becomes smooth, thoroughly combined, and light and fluffy.
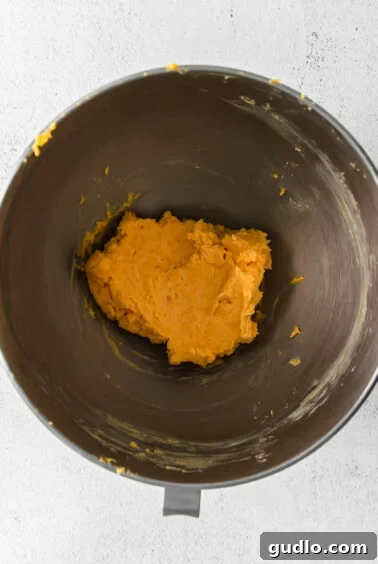
- In a separate small bowl, combine 1 teaspoon of kosher salt with the all-purpose flour and whisk them together until well blended. Gradually add the flour and salt mixture to the butter and cheese mixture in the mixing bowl. Mix on low speed until the ingredients are just combined. The mixture will appear dry and crumbly at this stage, which is perfectly normal.
- Once all the flour has been incorporated, begin to slowly add the cold water, one teaspoon at a time, to the bowl while the mixer is running on low speed. Continue mixing until a cohesive dough begins to form. Be careful not to overmix once the dough comes together.
- Next, remove the dough from the bowl and form it into a smooth ball. Gently flatten the ball into a disk shape. Wrap the dough disk tightly in plastic wrap and place it in the refrigerator to chill for at least 1 hour. Chilling the dough helps firm up the butter, making it easier to roll and contributing to a flakier cracker.

- After the dough has chilled, remove it from the fridge. Preheat your oven to 375ºF (190ºC).
- Lay a large piece of parchment paper down on a clean counter surface. Place the chilled dough in the center and roll it out into a large, even rectangle that is less than ⅛ inch thick, ideally closer to 1/16 inch. The thinner you roll it, the crispier your Cheez-Its will be.
- To create uniform crackers, use a ruler as a guide to measure out 1-inch marks vertically and horizontally across the rolled-out dough. This will help you create a precise grid for cutting your squares.
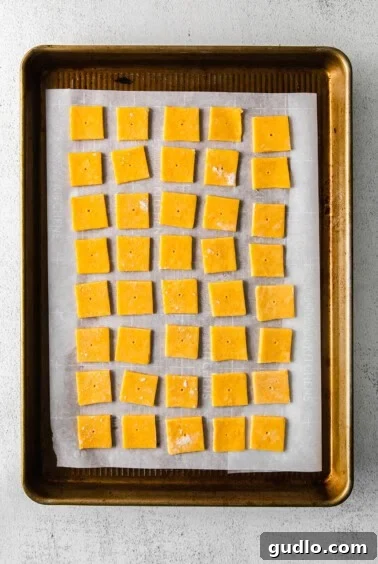
- Carefully use a pizza cutter or a pastry wheel to cut straight lines along the markings, creating 1-inch squares. Be mindful not to cut through the parchment paper underneath. Remove any excess dough from the edges and re-roll if desired.
- Once all the 1-inch squares have been cut, use the flat end of a wooden skewer or a toothpick to gently poke a small hole in the center of each square. This “docking” helps prevent the crackers from puffing up during baking and ensures an even, crispy texture.
- Carefully transfer the parchment paper with the cut dough squares onto a large baking sheet. Ensure that the squares are not touching each other, allowing for even air circulation and baking.
- Finally, lightly brush the top of each cheese square with olive oil. This promotes a beautiful golden-brown color and enhances crispiness. Sprinkle them generously with a pinch of extra kosher salt for added flavor.
- Place the baking sheet in the preheated oven and bake for 15-17 minutes, or until the Cheez-Its are golden brown around the edges and firm to the touch. Baking time may vary depending on your oven and the thickness of your crackers.
- Remove the baking sheet from the oven. Immediately and carefully slide the parchment paper with the baked Cheez-Its off the hot baking sheet and onto a wire cooling rack. This allows air to circulate underneath, preventing them from becoming soggy and ensuring maximum crispness as they cool.
Tips & Notes
- This recipe typically yields around 4 cups of delicious homemade Cheez-Its.
- Every oven can be different, so it’s always a good idea to check on your crackers halfway through the baking time. If you notice one side browning faster than the other, simply rotate your baking sheet for more even cooking.
- For the best flavor and texture, use freshly grated sharp cheddar cheese. Pre-shredded cheeses often contain anti-caking agents that can slightly alter the dough’s consistency.
- Ensure your dough is uniformly thin. This is the secret to maximum crispness!
Nutrition (Approximate)
- Calories: 224 kcal
- Carbohydrates: 12 g
- Protein: 9 g
- Fat: 18 g
- Fiber: 1 g
- Sugar: 0 g
Nutrition information is automatically calculated and should only be used as an approximation.
Love this recipe? Leave a comment below!
Don’t forget to tag your posts on social media with the hashtag #cheeseknees. We’d absolutely love to see your delicious homemade creations!