
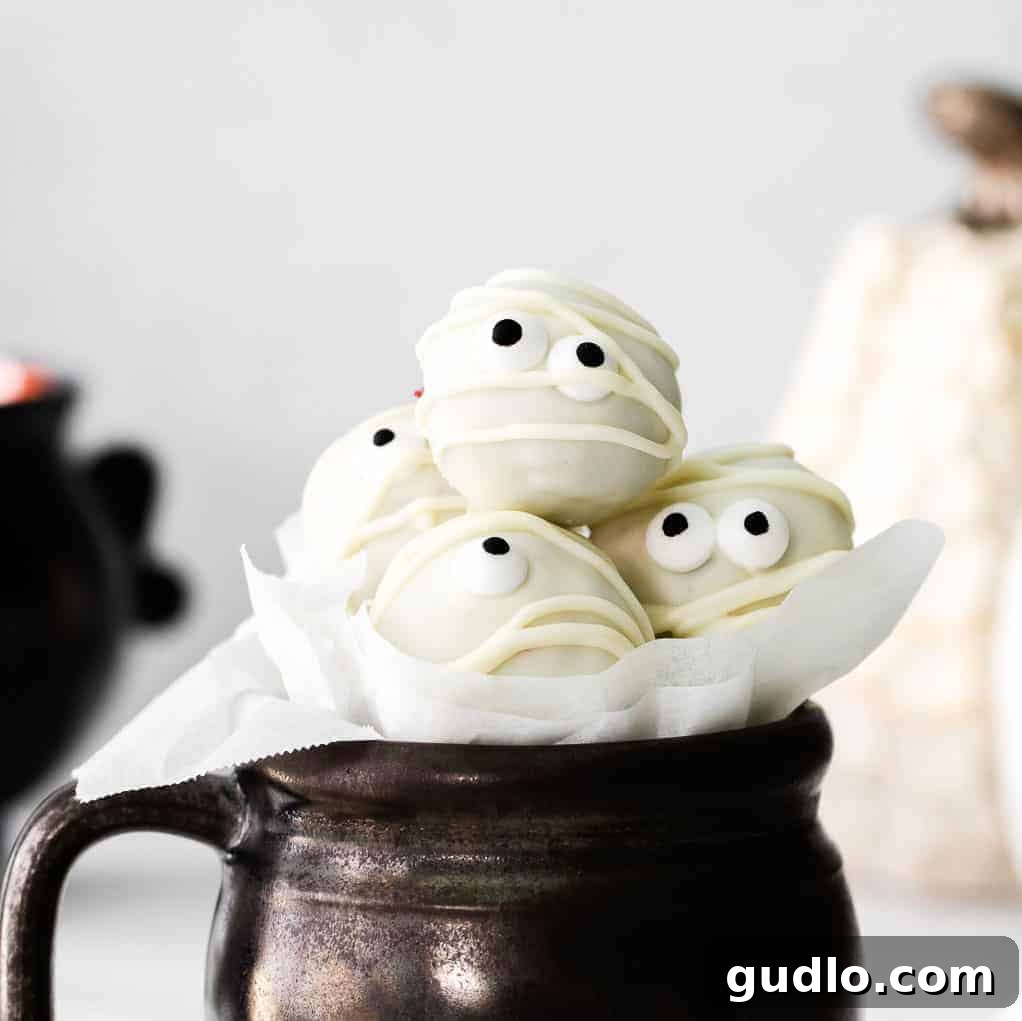
Every festive occasion deserves a special dessert, and Halloween is no exception! Get ready to impress with these charming and undeniably delicious **Red Velvet Mummy Truffles**, the perfect treat to add a touch of spooky fun to your celebrations. These delightful morsels combine the rich, iconic flavor of red velvet cake with a whimsical, ghostly design, making them an absolute must-have for your autumn festivities.
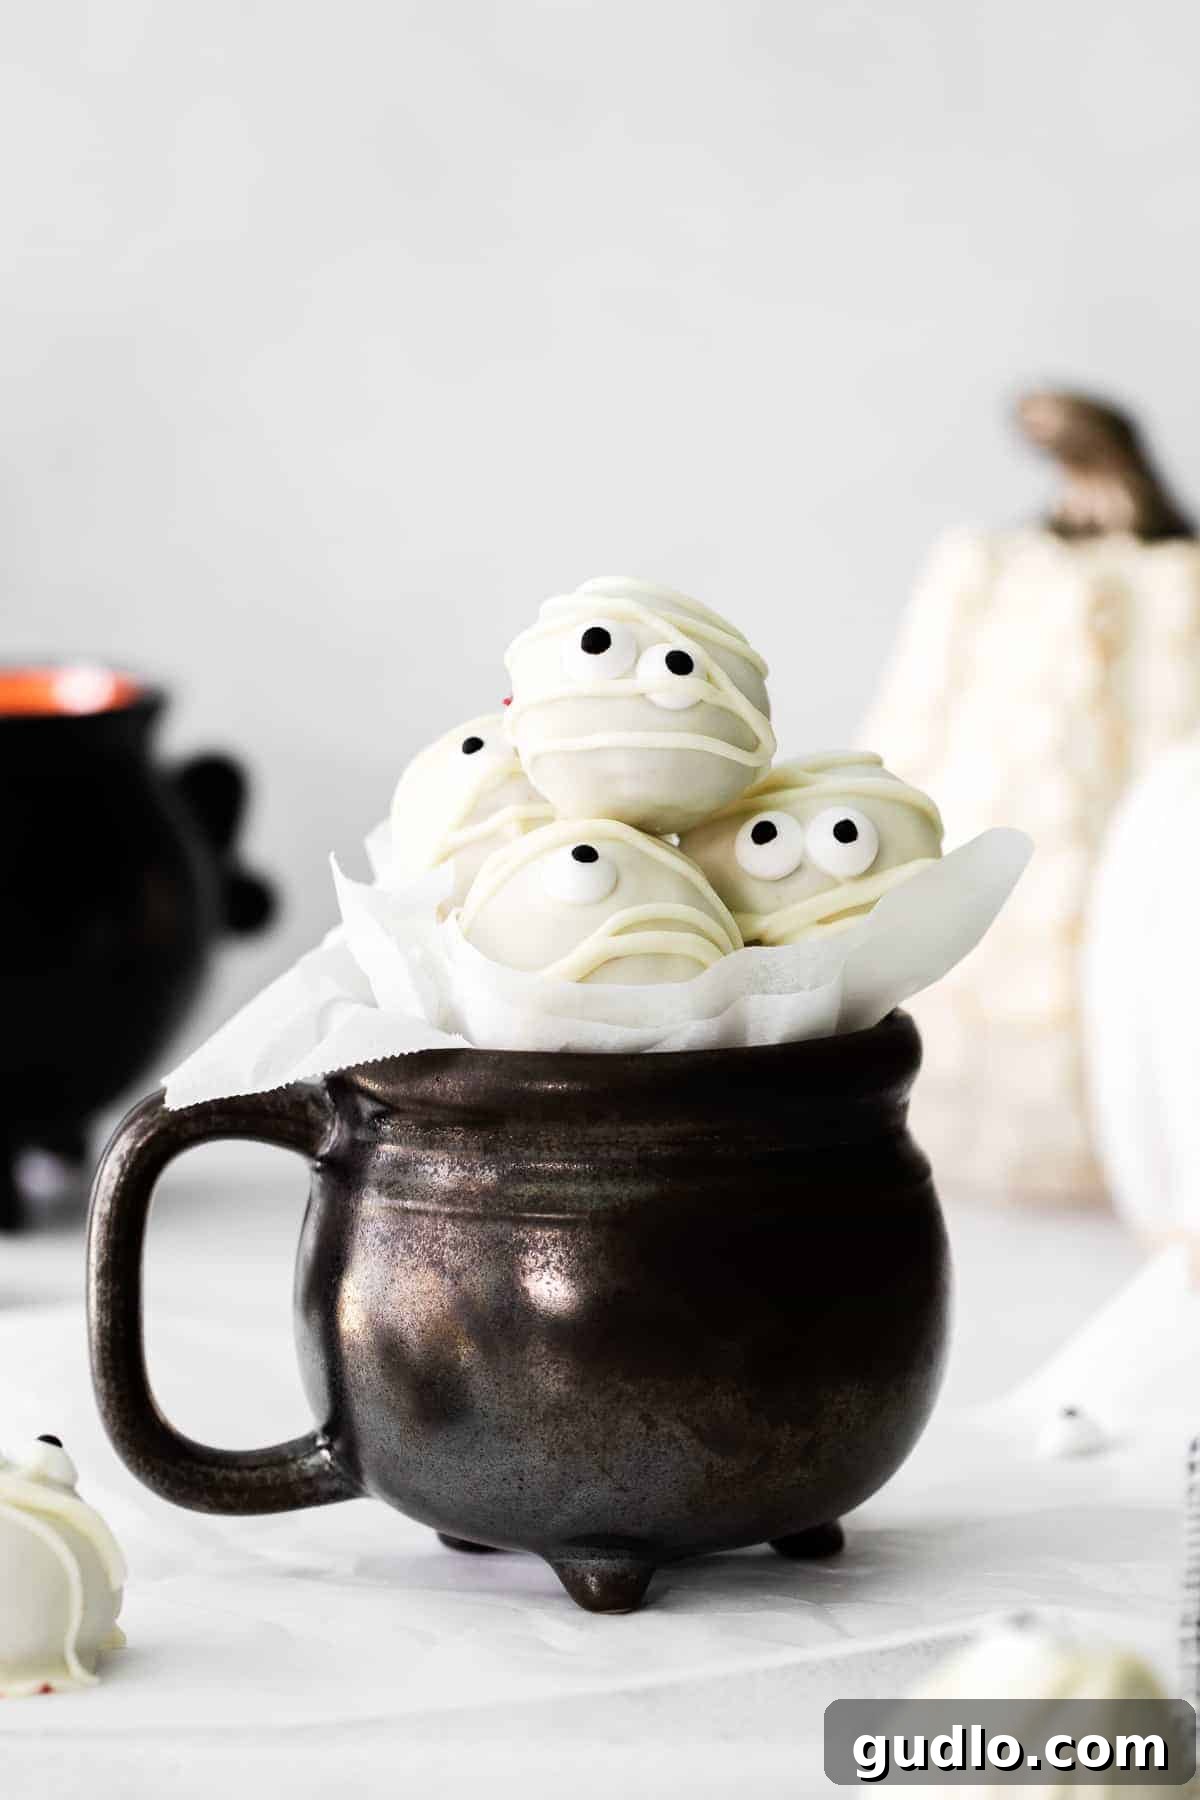
Spooky & Sweet: The Ultimate Red Velvet Mummy Truffles for Halloween Celebrations
As the air turns crisp and spooky decorations emerge, thoughts often turn to delightful Halloween treats that capture the spirit of the season. And what could be more perfect than a dessert that’s both adorable and incredibly simple to make? Introducing our **Red Velvet Mummy Truffles**! These bite-sized wonders are poised to become your go-to Halloween dessert idea, blending classic red velvet flavor with a fun, festive mummy design that’s sure to charm guests of all ages. Whether you’re hosting a ghoulish gathering or simply looking for a fun activity with the family, these truffles deliver on both taste and spectacle.
Why These Mummy Truffles Are the Best Halloween Dessert Idea
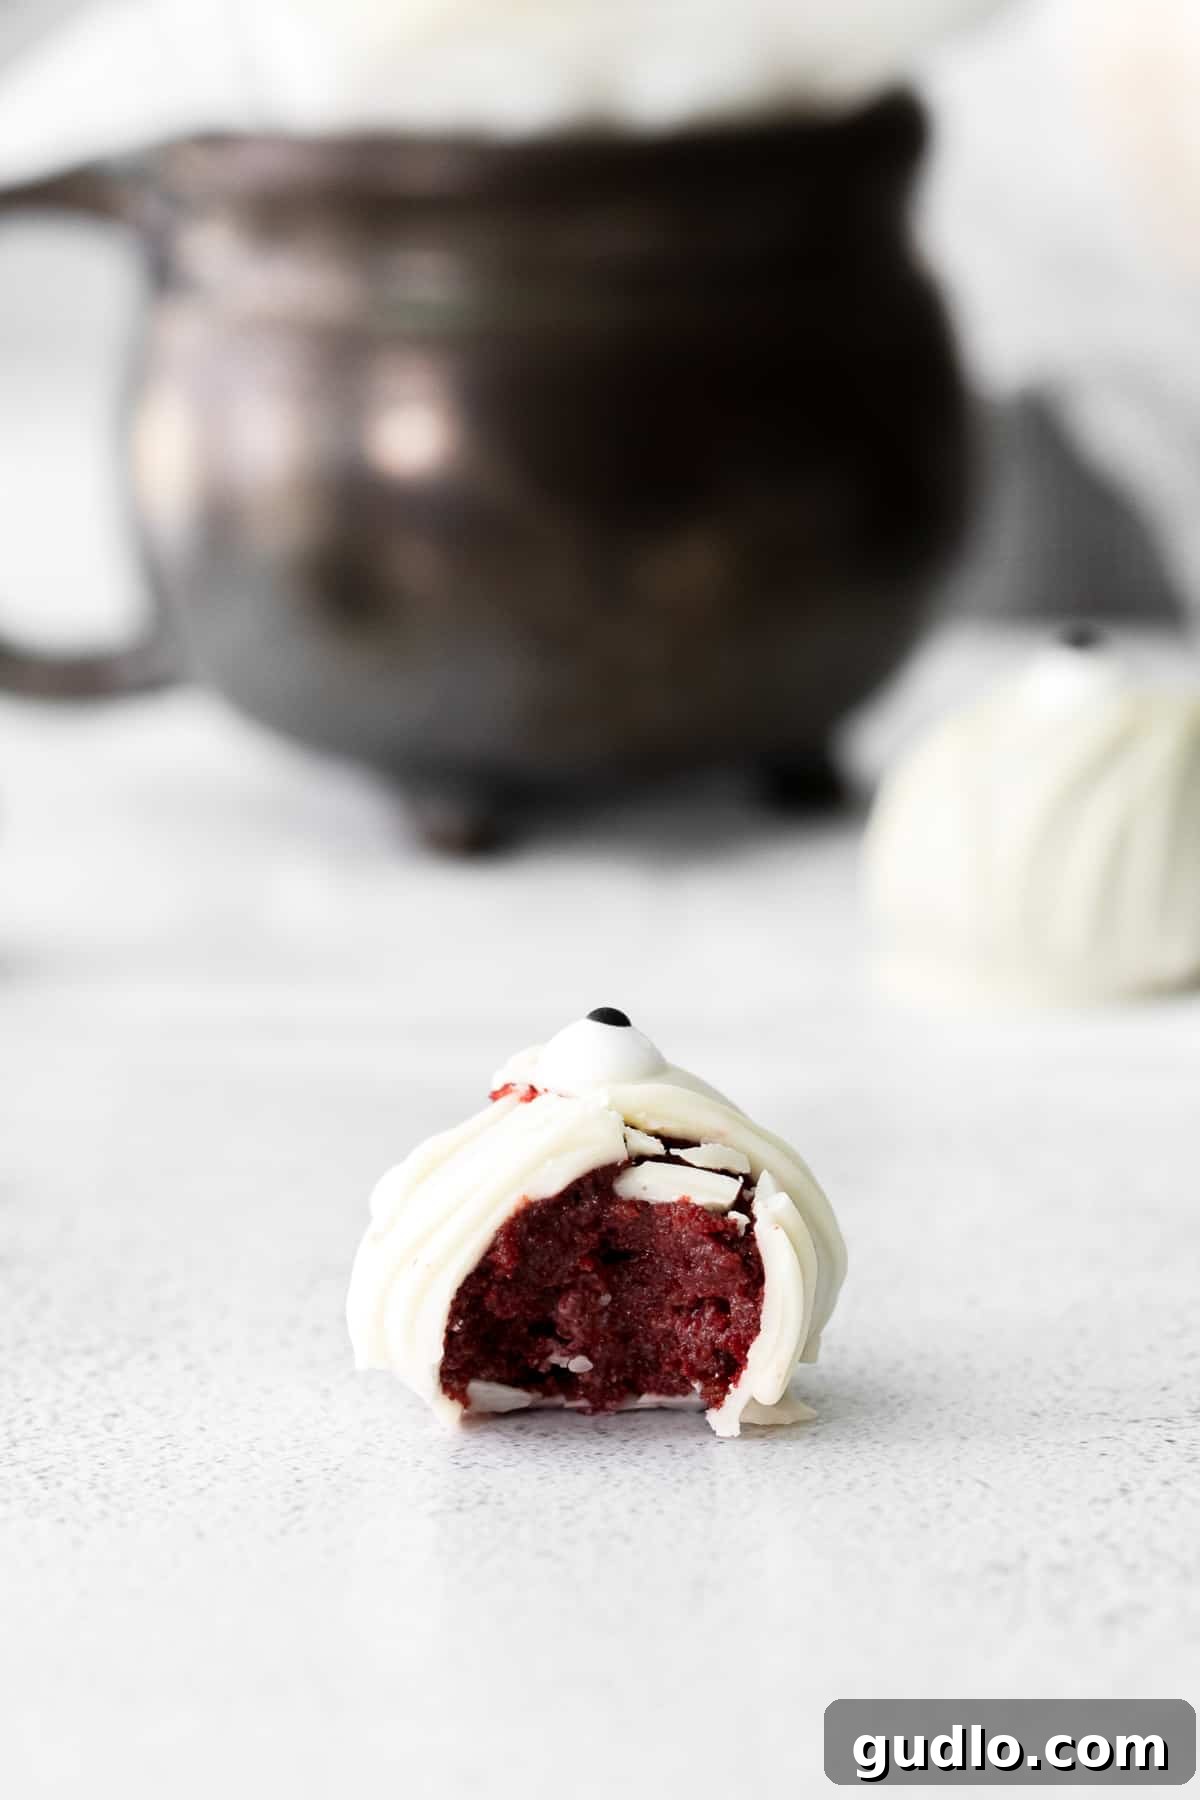
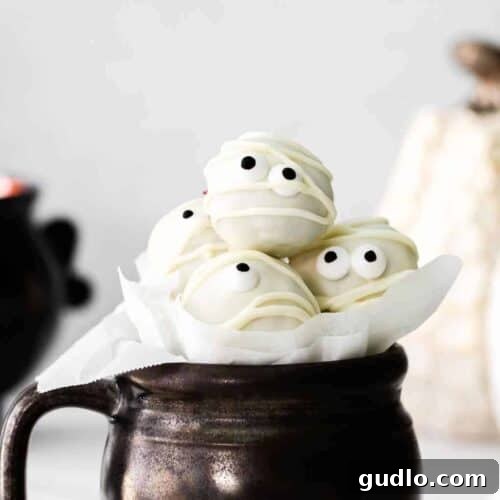
Move over, basic Halloween candy! These Red Velvet Mummy Truffles offer a unique blend of visual appeal and gourmet taste, all while being surprisingly easy to prepare. Imagine the rich, deep red hue of the cake mixed with creamy, tangy frosting, encased in a delicate white chocolate shell and adorned with playful candy eyes and artfully drizzled chocolate “bandages.” They are essentially sophisticated cake pops, reimagined without the stick, making them even easier to eat and serve, especially for little hands or when mingling at a party.
Their charm lies in their simplicity, speed, and versatility. This no-bake (after the cake is made) recipe is perfect for a bustling Halloween party, a cozy family movie night, or even a thoughtful homemade gift for teachers and friends. The recipe yields approximately 45 truffles, making it incredibly suitable for serving a large crowd at school events, office potlucks, or any gathering where you need a substantial amount of delicious, themed treats. Beyond their deliciousness, the hands-on decorating process is an activity in itself! It’s an incredibly fun project to do with kids, fostering creativity, developing fine motor skills, and creating lasting holiday memories as they bring their little mummies to life.
Simple Ingredients for Super Spooky Mummy Truffles: Just 4 Key Components!
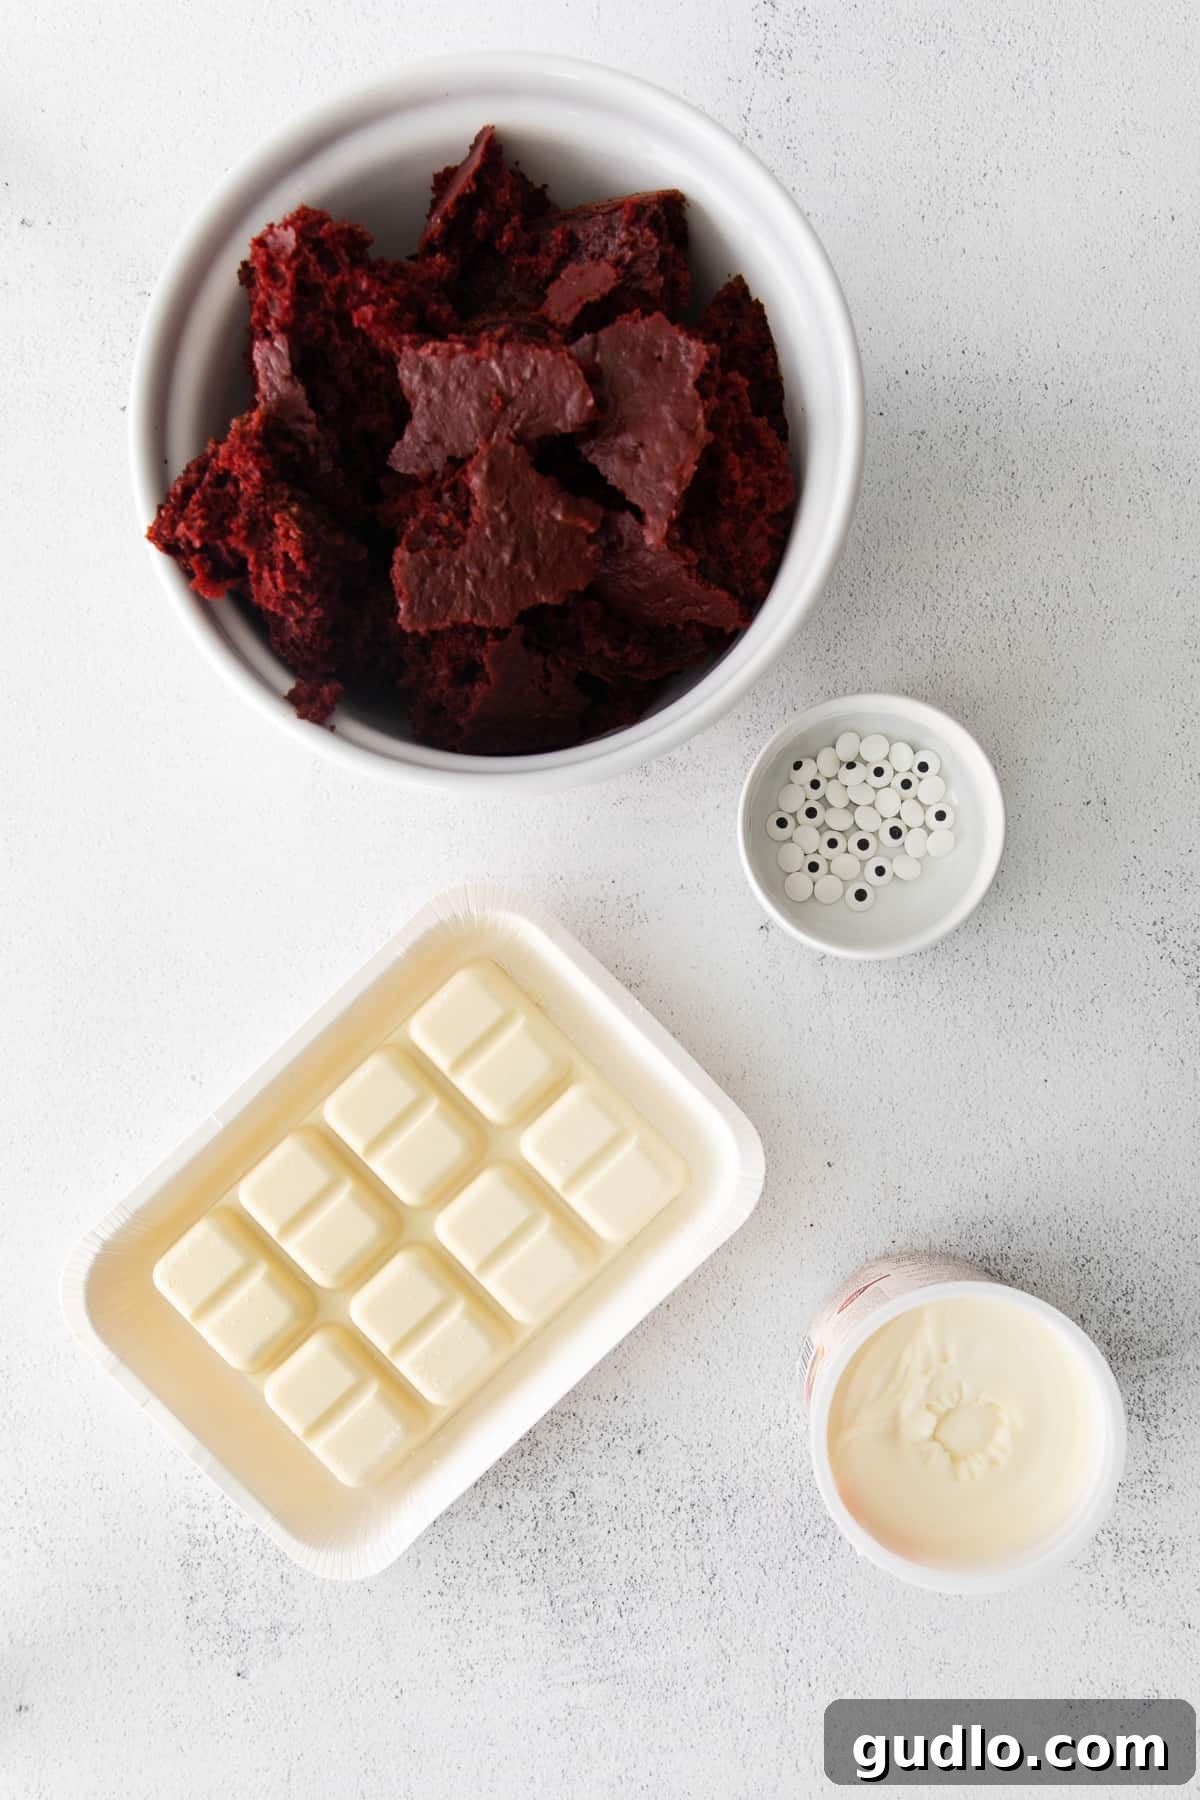
You might be surprised to learn that these impressive Red Velvet Mummy Truffles require only about four main ingredients (plus whatever your chosen cake mix calls for)! This minimal ingredient list makes the recipe incredibly accessible and quick, even for busy Halloween enthusiasts or novice bakers. Here’s a closer look at what you’ll need to create your batch of ghoulishly good treats:
- Red Velvet Cake Mix (and its complementary ingredients): The delicious foundation of our truffles! While we’ve opted for the convenience and ease of a standard box mix, which typically requires just a few pantry staples like oil and eggs, feel free to use your favorite homemade red velvet cake recipe if you have one. For an even faster shortcut, a pre-made store-bought red velvet cake (ensure it’s plain and unfrosted) works wonderfully too. The most critical aspect is to ensure the cake is fully baked and, vitally, completely cooled before you begin the crumbling process. Attempting to crumble a warm or even slightly warm cake will result in a messy, overly soft, and greasy mixture that won’t form into neat truffles.
- Cream Cheese Frosting: This is the essential binder and flavor enhancer that gives red velvet its signature tang and moist texture. The tangy sweetness of cream cheese frosting perfectly complements the rich, cocoa notes of the red velvet cake. Any high-quality vanilla or traditional cream cheese frosting will work beautifully. To keep things incredibly simple and efficient, we highly recommend using a good quality store-bought variety. If you have a cherished homemade cream cheese frosting recipe, that works just as well and can add an extra gourmet touch, but remember that convenience is a key advantage of this recipe!
- Candy Eyes: These small, edible eyes are absolutely non-negotiable for achieving that iconic, adorable mummy look! These small, spherical edible decorations instantly bring your truffles to life, transforming them from simple red velvet balls into charming, wide-eyed little mummies. You can easily find them in the baking aisle of most well-stocked grocery stores, specialty craft stores (like Michaels or Hobby Lobby), or conveniently order them online from retailers like Amazon. Don’t skip this ingredient – they truly make all the difference in the visual appeal of your spooky treats!
- White Chocolate Bark (or Melting Wafers): This forms the crisp, white outer shell and provides the “mummy bandages” effect. White chocolate bark is highly preferred for its superior melting properties and smooth, flowing consistency once melted. It’s significantly easier to work with for dipping and coating compared to regular white chocolate chips, which can often seize, become overly thick, or result in a clumpy coating. White melting wafers are another excellent alternative, specifically formulated for dipping and coating, and offer a similarly smooth, professional finish.
Step-by-Step Guide: How to Make Red Velvet Mummy Truffles
Creating these delightful mummy truffles is a fun and straightforward process that even beginner bakers can master. Follow these detailed steps for perfect results every time:
1. Prepare Your Red Velvet Cake
First and foremost, bake your red velvet cake according to the specific directions on the box mix package. If you’ve opted for a homemade recipe or a store-bought cake, ensure it’s fully baked and ready. Once out of the oven, it is absolutely critical to let the cake cool completely. This means it should be cool to the touch throughout. Attempting to crumble a warm or even slightly warm cake will lead to a dense, oily, and unworkable mixture rather than the light, fluffy crumbs you need for optimal truffle texture.
2. Crumble the Cooled Cake
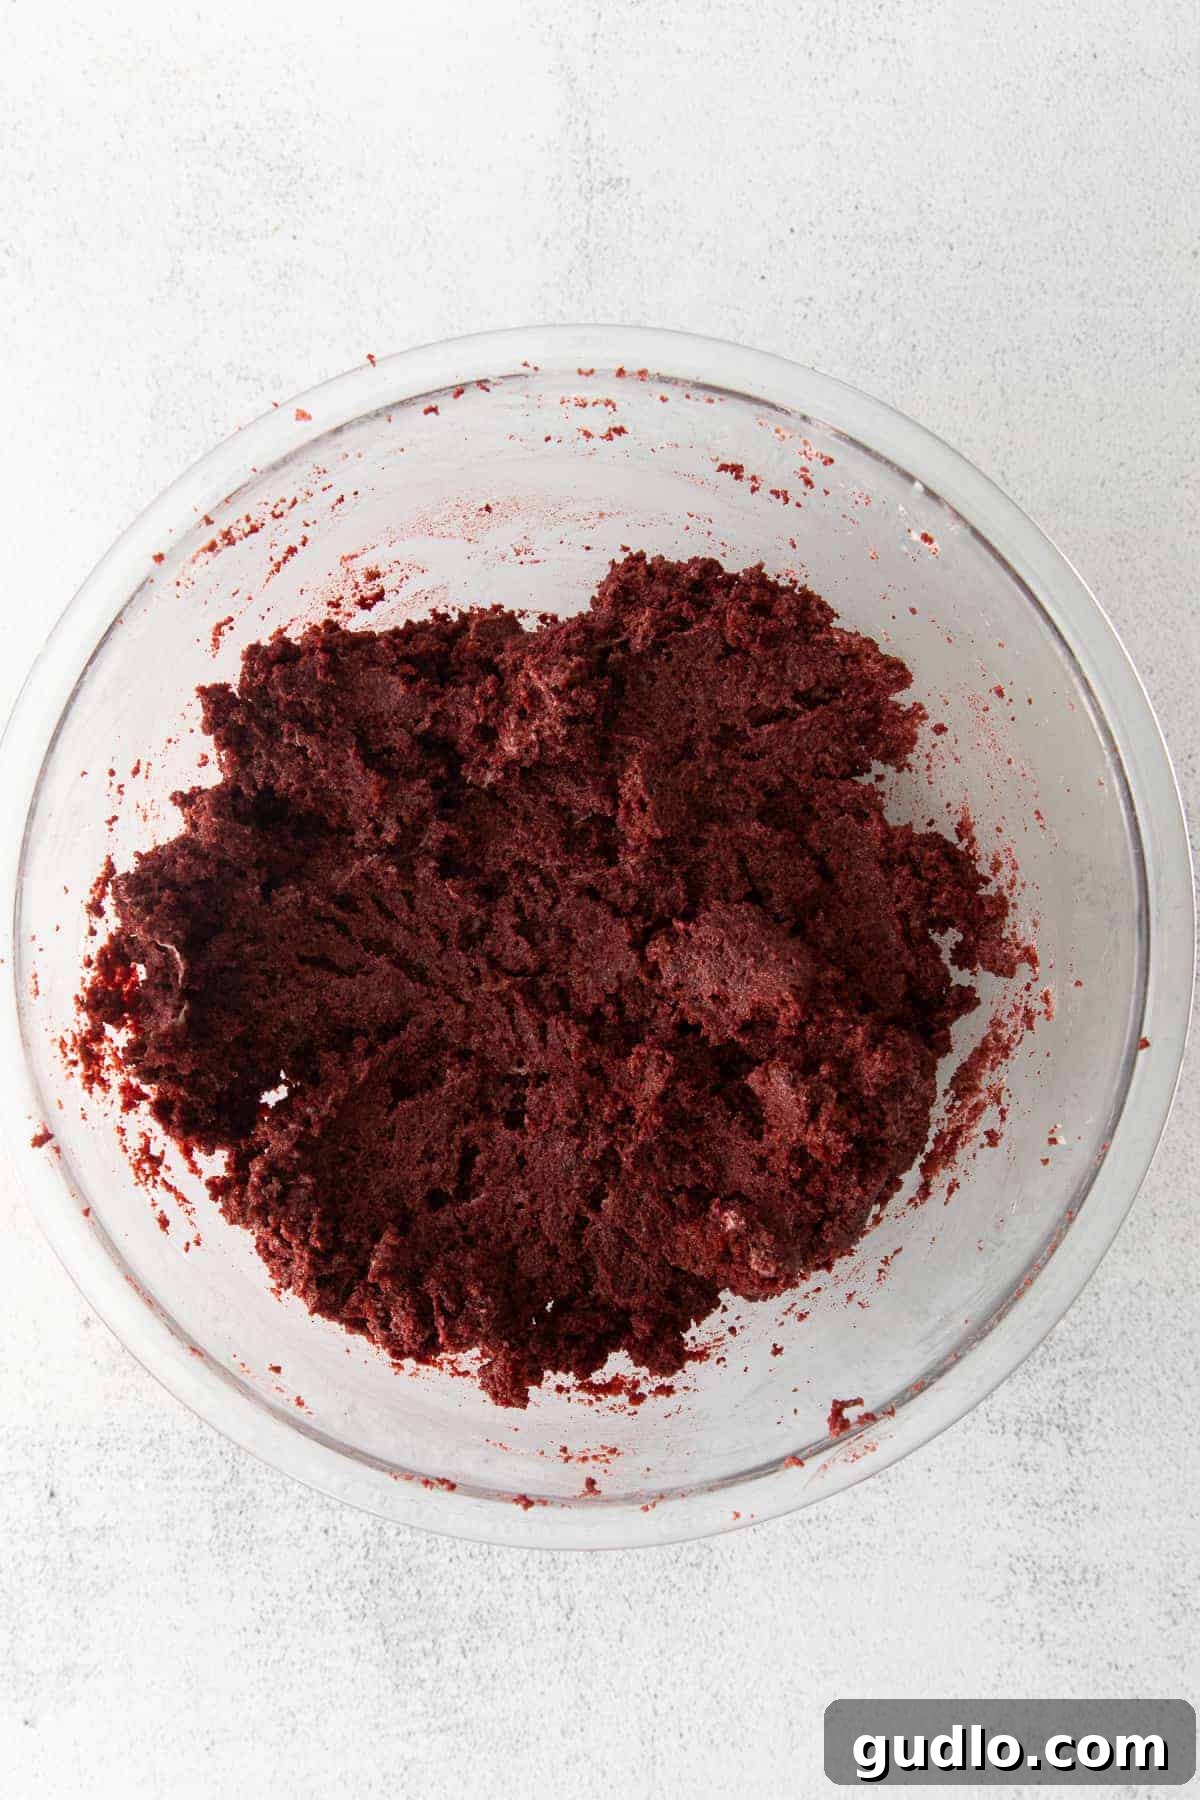
Once the cake is thoroughly cooled, crumble it into a large mixing bowl. You can use your clean hands for this, breaking the cake apart until there are no large lumps remaining. The goal is to achieve fine, even crumbs that will mix smoothly and uniformly with the frosting, creating a consistent truffle base.
3. Combine with Cream Cheese Frosting
To ensure a smooth and easy mix, slightly warm your cream cheese frosting. A quick 20-30 second zap in the microwave (after removing the lid and any foil, of course!) will soften it just enough. Pour the warmed, softened frosting into the bowl containing the crumbled cake. Using a sturdy spatula or your hands (for best results and even distribution), mix until the frosting is evenly incorporated and a cohesive, pliable dough-like mixture forms. It should be moist enough to hold its shape when rolled into balls, but not overly sticky or wet.
4. Scoop and Chill Truffles
Using a 1-tablespoon scoop (an ice cream scoop with a trigger mechanism works perfectly for consistency, or simply a measuring spoon), scoop uniform balls of the mixture onto a baking sheet that has been lined with parchment paper or a silicone baking mat (Silpat). This recipe typically yields around 45 perfectly sized truffles. Once all the balls are formed, place the entire baking sheet into the freezer for at least 30 minutes, or even up to overnight. This chilling step is absolutely vital; it helps the truffles firm up significantly, making them much easier to dip in the melted chocolate without falling apart or losing their shape.
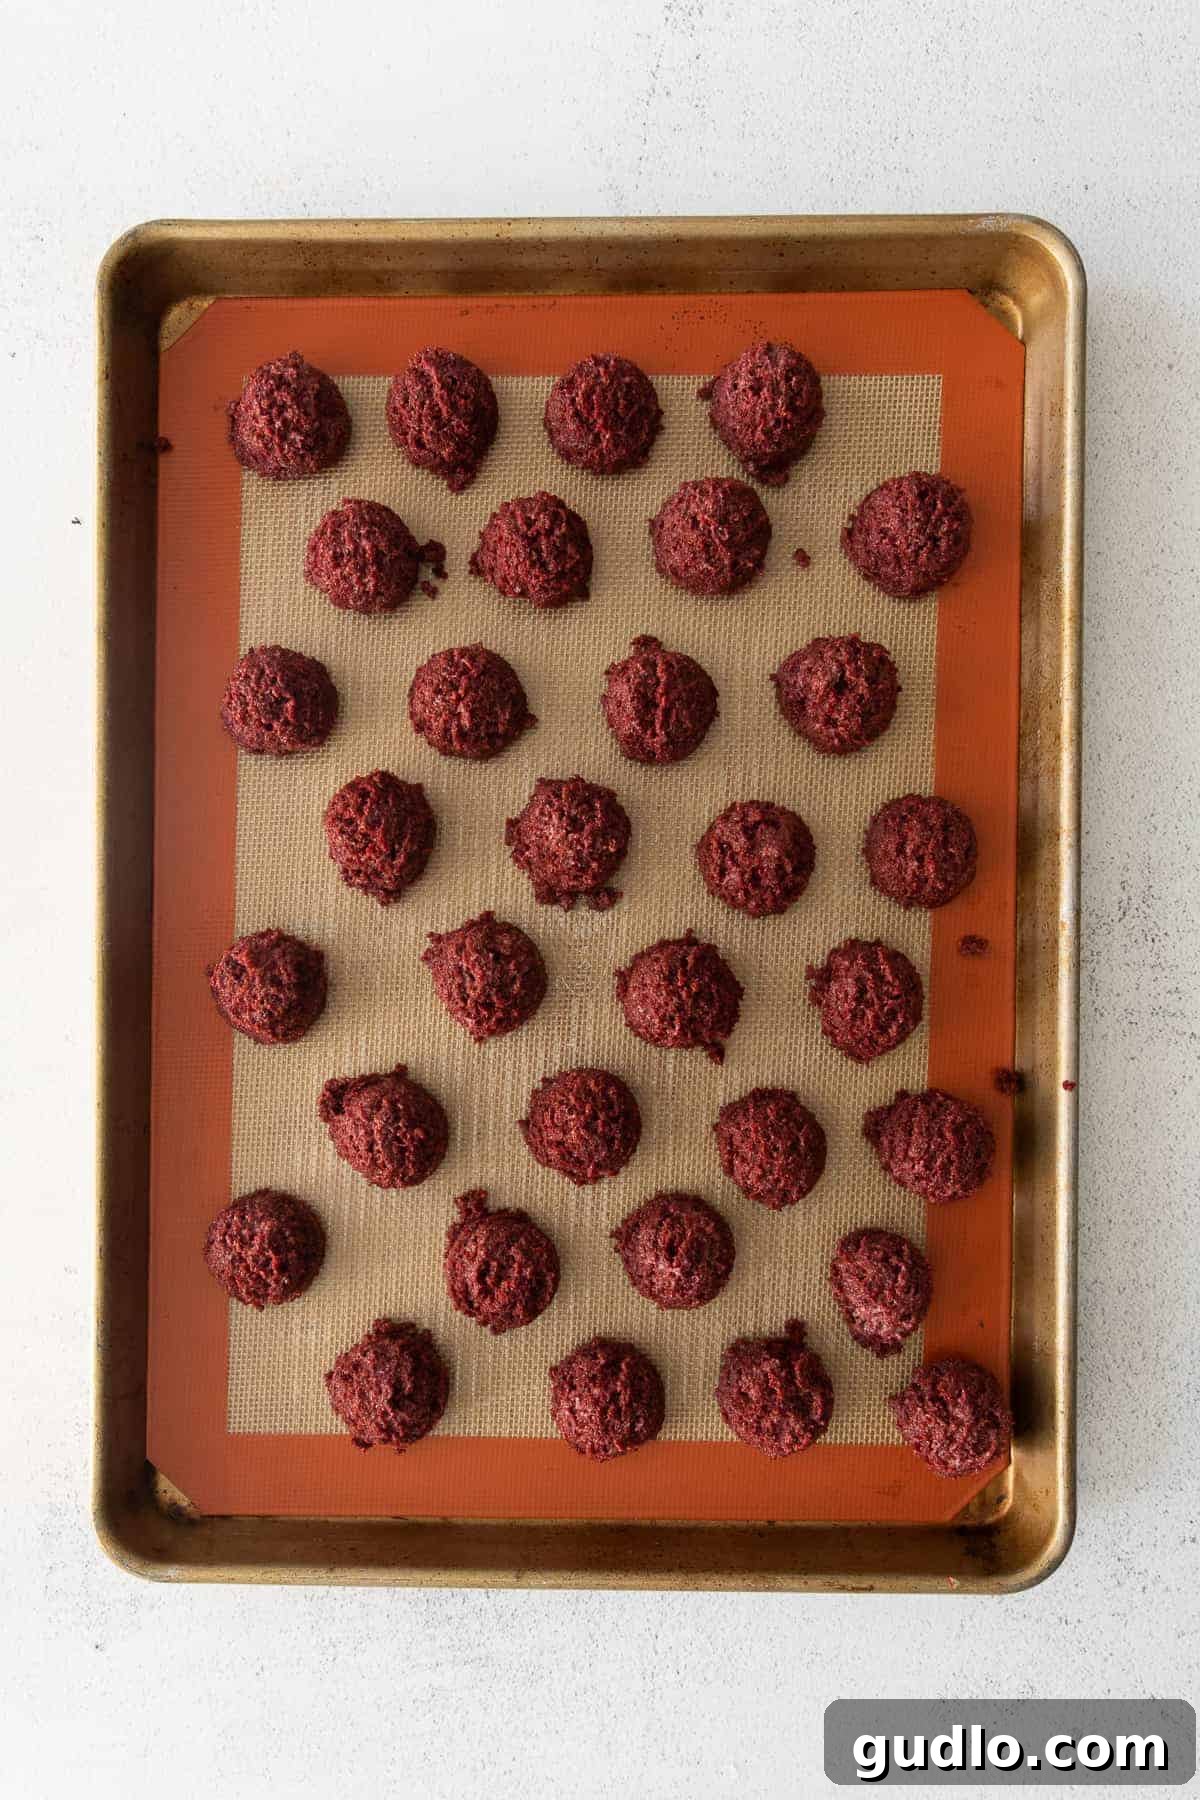
5. Melt the White Chocolate Bark
While your truffles are chilling in the freezer, prepare your white chocolate coating. Melt the white chocolate bark or melting wafers according to the package instructions. This usually involves microwaving in short, 30-second bursts, stirring frequently between each burst to prevent burning, or using a double boiler over simmering water for a gentler melt. Ensure the chocolate is completely smooth and lump-free. Once melted, transfer the warm chocolate into a medium-sized, narrow bowl. A narrow bowl allows for easier and more efficient dipping, ensuring the truffles are fully submerged without using excessive chocolate.
6. Dip and Decorate Truffles
Working quickly, retrieve the chilled truffles from the freezer. Use a fork (a candy dipping fork works best, but a regular fork is fine) to gently lower each truffle into the melted white chocolate, rotating to fully coat it. Lightly tap the fork against the edge of the bowl to allow any excess chocolate to drip off back into the bowl. Place the dipped truffle back onto the lined baking sheet. Immediately, before the chocolate has a chance to set and harden, add two candy eyes to the top or front of each truffle. The still-liquid chocolate will act as a perfect adhesive, securing the eyes firmly in place.
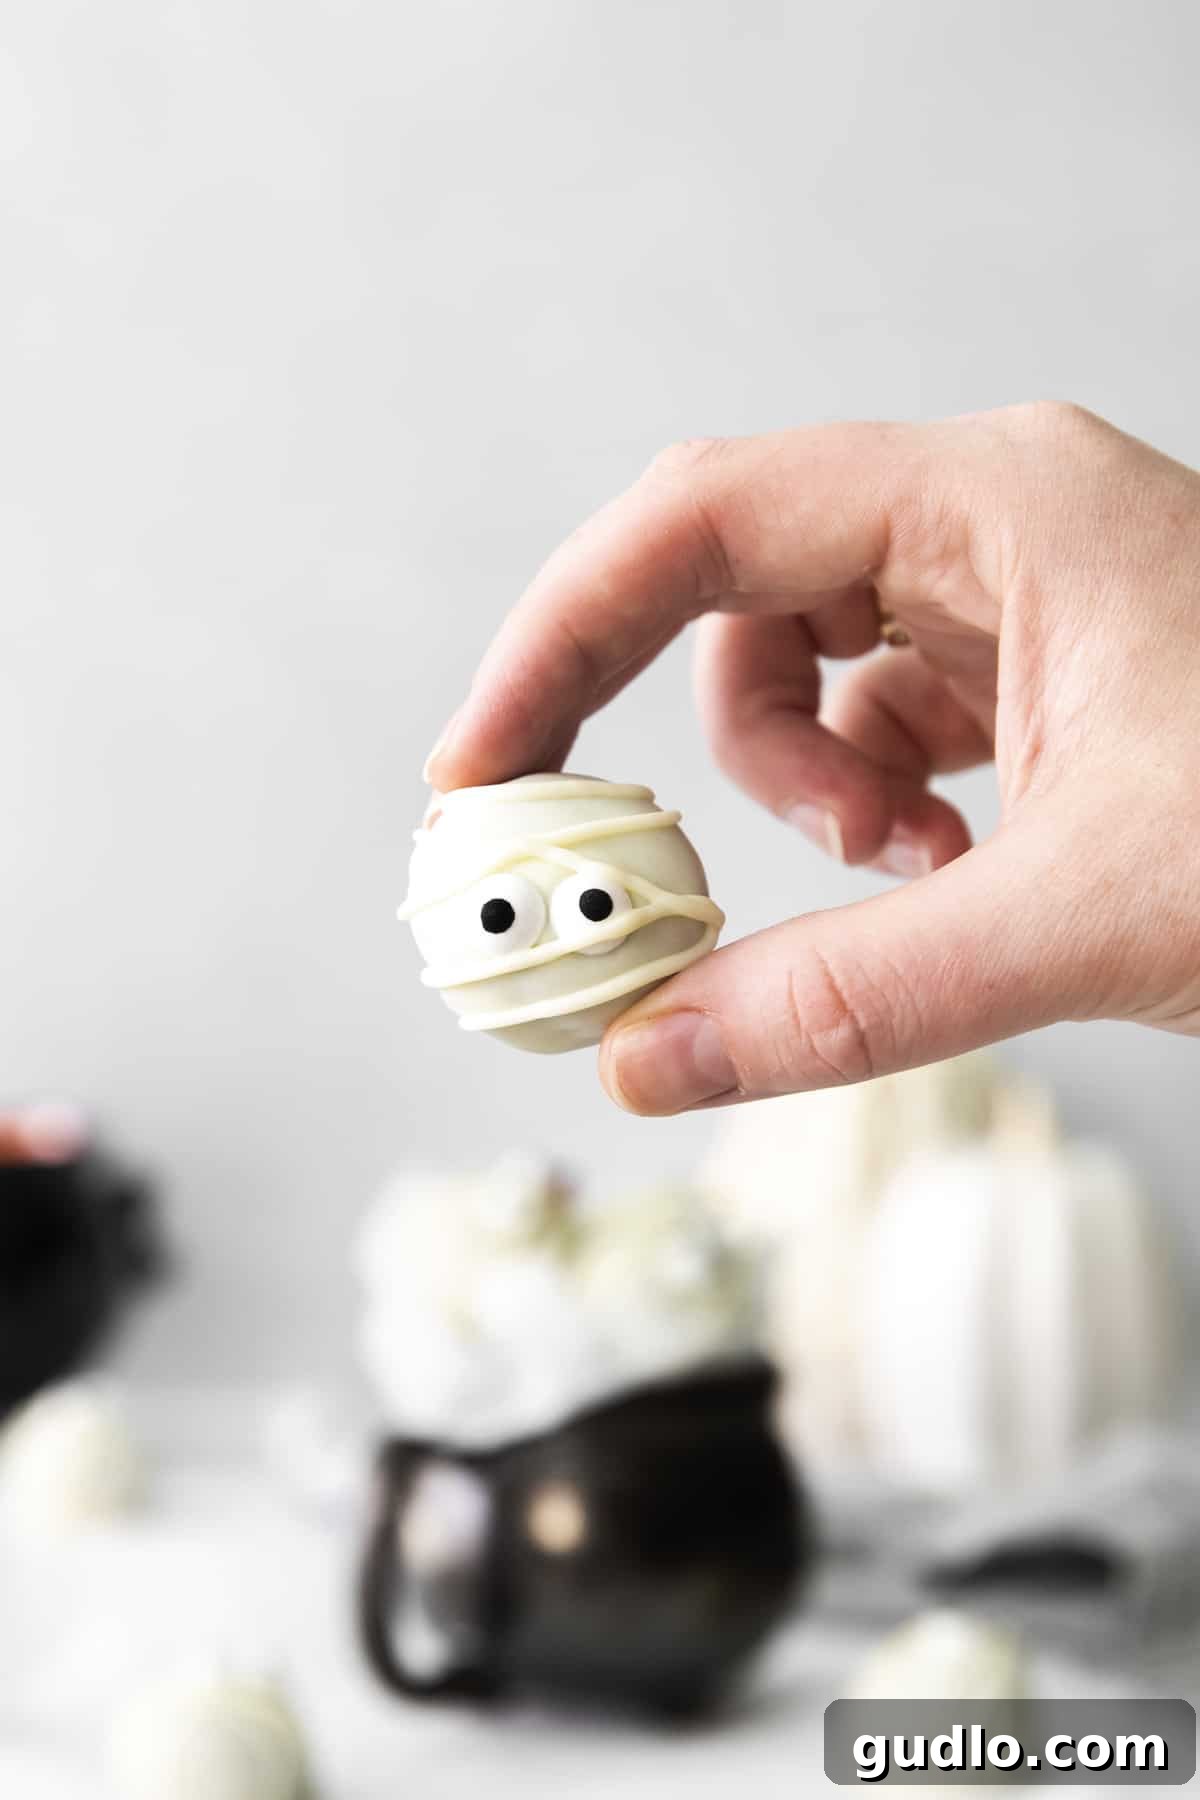
Once all truffles are dipped and have their adorable eyes, gather any remaining melted white chocolate. Pour it into a small plastic bag (such as a ziploc bag or a disposable piping bag). Snip a tiny corner off the bag to create a fine piping tool. Now, artfully drizzle the chocolate back and forth over each truffle in irregular lines, aiming to create the distinctive “mummy bandage” effect. This final touch adds both texture and character, bringing your spooky treats fully to life.
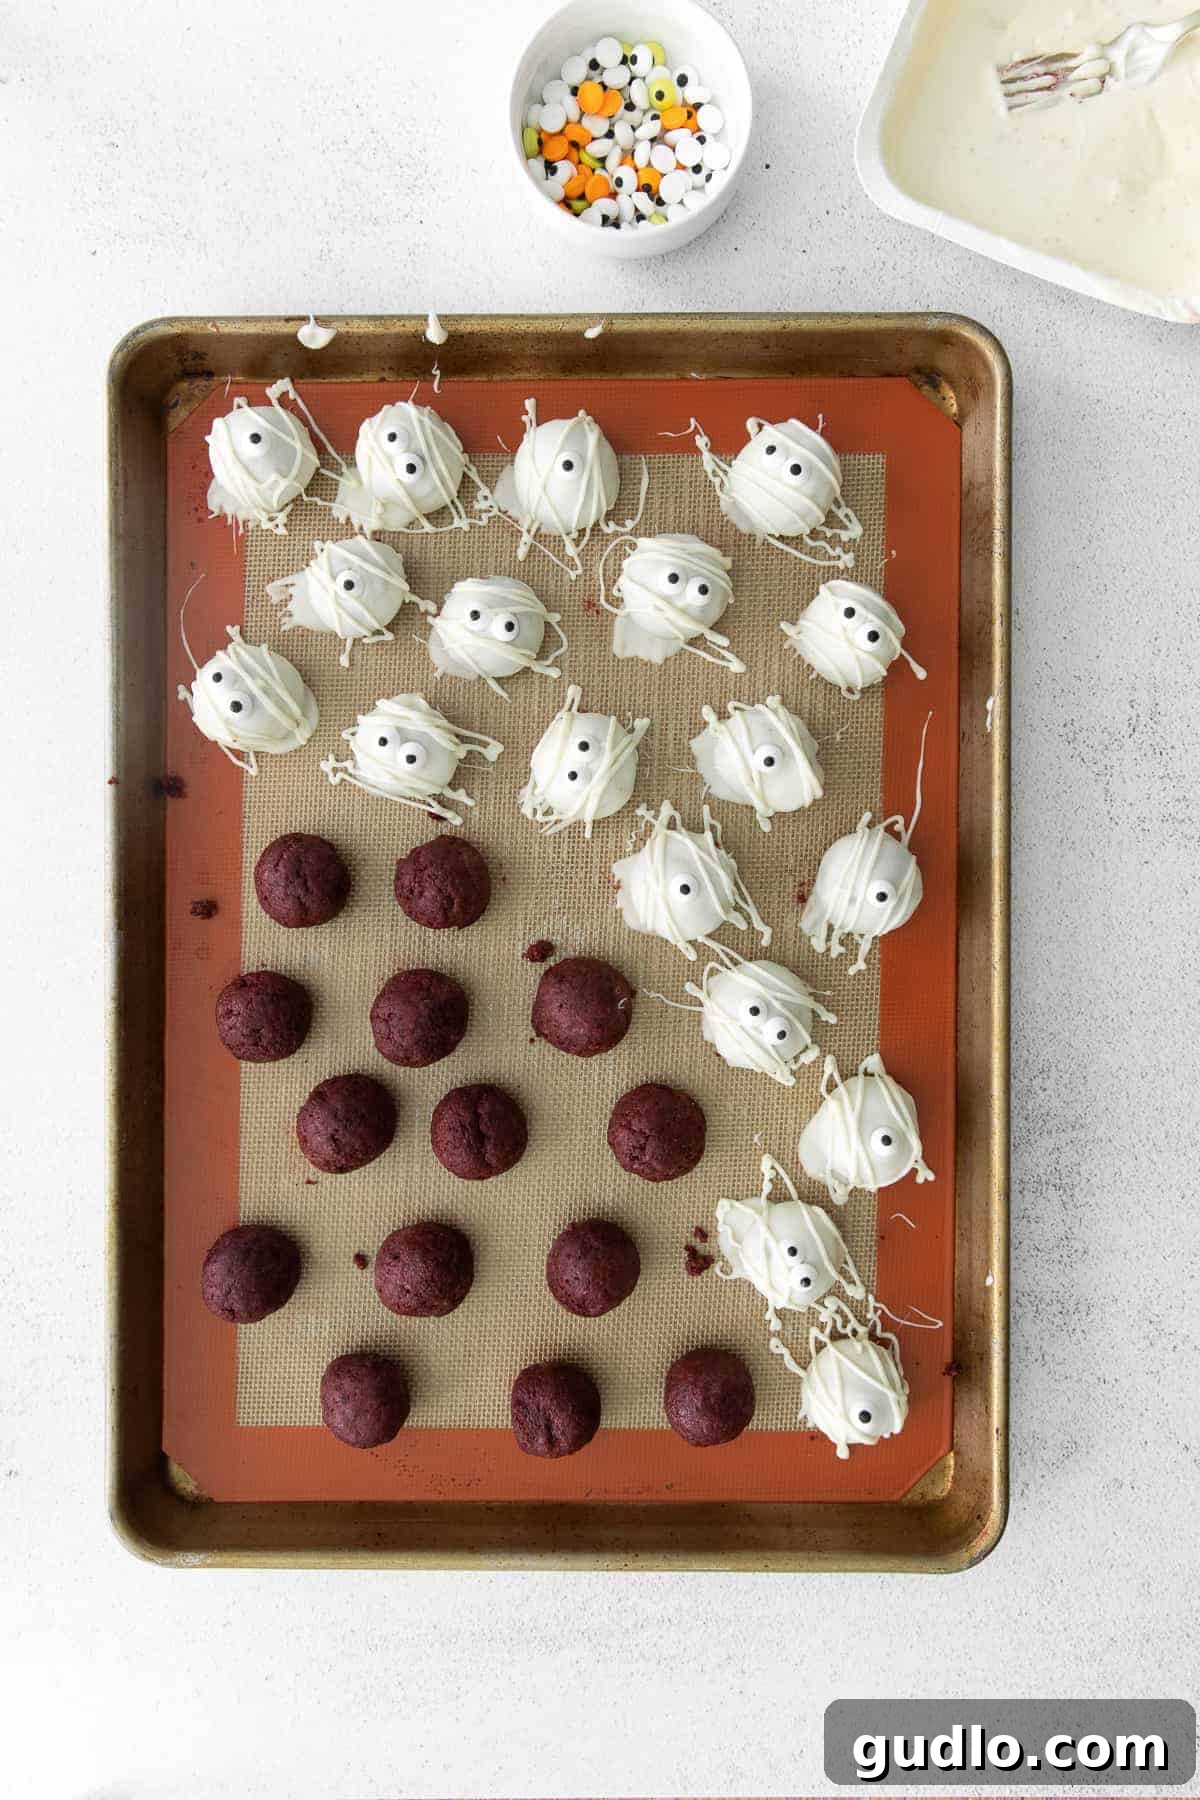
7. Let Truffles Fully Set
Allow your decorated mummy truffles to fully set. You can do this by leaving them at room temperature in a cool, dry place, or for much faster results, place them back into the refrigerator. The chocolate needs to harden completely and become firm before you handle or store them. This prevents smudging, ensures the mummy lines remain crisp, and protects the delicate eyes from falling off.
8. Serve and Enjoy!
Once fully set, your delightful Red Velvet Mummy Truffles are ready to be unveiled and enjoyed! Arrange them artfully on a festive Halloween platter, display them in individual paper cups, or even package them in small treat bags for guests or trick-or-treaters. To maintain their freshness and optimal texture, store any leftover truffles in an airtight container in the refrigerator for up to 3 days. They taste wonderfully chilled and offer a refreshing bite!
Pro Tips for Perfect Red Velvet Mummy Truffles Every Time
Achieving bakery-quality truffles at home is easier than you think with a few expert tips and tricks. These little insights will help ensure your Red Velvet Mummy Truffles are not only delicious but also look professionally made:
- Cake Choice Flexibility: Don’t feel strictly limited to a box mix. While incredibly convenient and reliable, these truffles are equally delightful when made with a homemade red velvet cake from scratch or even with a plain store-bought red velvet cake for the ultimate time-saving hack. The most important factor is achieving consistently fine cake crumbs.
- Frosting Matters: Just like with the cake, a good quality store-bought cream cheese frosting makes this recipe a breeze and delivers excellent flavor. However, if you have a cherished homemade cream cheese frosting recipe, it will undoubtedly elevate the flavor profile even further. Regardless of your choice, ensure the frosting is not too stiff; warming it slightly helps achieve the perfect pliable consistency for mixing evenly with the cake crumbs.
- White Chocolate Alternatives: While white chocolate bark or melting wafers are highly recommended for their smooth melt and easy setting properties, other options exist. If using high-quality white chocolate chips, you might need to add a tiny bit (about a teaspoon per cup) of coconut oil or vegetable shortening during melting to aid in achieving a thinner, smoother dipping consistency and prevent seizing. Avoid using regular white chocolate bars unless they are specifically designed for melting and coating, as they tend to be too thick or may seize.
- Don’t Skimp on Chilling: The freezer time for your truffle balls is not merely a suggestion; it’s crucial. Well-chilled truffles hold their shape impeccably, prevent the chocolate coating from becoming overly thick (as warm truffles melt the chocolate more quickly, creating a thicker coat), and ensure a cleaner, smoother dip.
- Eye Placement Timing is Key: Always place the candy eyes immediately after dipping each individual truffle. The melted chocolate sets surprisingly quickly, and you want it to act as an edible glue. If the chocolate starts to harden before you can place the eyes, a tiny dab of freshly melted chocolate or even a touch of corn syrup can help secure them.
- Mummy Bandage Perfection: For the finest, most delicate mummy lines, use a very small piping bag or a ziploc bag with a truly tiny snip from one corner. Too large an opening will result in thick, less refined lines, diminishing the mummy effect. If your chocolate for drizzling starts to thicken while you’re working, a quick reheat in the microwave for 10-15 seconds (stirring well) will bring it back to the ideal piping consistency.
- Storage for Freshness: These delicious truffles are best stored in an airtight container in the refrigerator. They can last beautifully for up to 3 days, remaining moist and delicious. For longer storage, you can freeze them for up to a month. When ready to serve, simply thaw them in the refrigerator overnight.
Discover More of Our Favorite
Spooky & Sweet Halloween Treats
Looking for more festive inspiration? Explore some of our other popular recipes perfect for the Halloween season:
- Decadent Pumpkin Cheesecake: A rich and creamy classic, perfect for autumn gatherings.
- Aromatic Pumpkin Spice Cream Cheese Cookies: Soft, chewy, and bursting with fall flavors.
Red Velvet Mummy Truffles
Make these spooky Red Velvet Mummy Truffles for a fun Halloween treat the whole family can help make!
By: Lee Funke
Ingredients
- 1 box red velvet cake mix, prepared according to package directions and cooled (see notes for alternatives)
- 16-oz. container cream cheese icing (vanilla flavored, warmed slightly)
- 16-oz. package white chocolate bark (or white melting wafers)
- Candy eyes (for decoration)
Instructions
- Crumble the completely cooled, prepared red velvet cake into a large mixing bowl until fine and even.
- Remove the lid and foil from the cream cheese icing container and microwave for 30 seconds to soften. Pour the warmed icing into the bowl with the crumbled cake.
- Fold and mix the cake mixture together thoroughly until the icing is evenly distributed and a cohesive, pliable dough forms.
- Using a 1 tablespoon scoop, form uniform balls of the mixture and place them onto a baking sheet lined with parchment paper or a Silpat mat.
- Place the baking sheet with the truffles into the freezer to chill for at least 30 minutes, or even up to overnight, to firm them up.
- Melt the white chocolate bark (or melting wafers) according to the package directions until smooth. Transfer to a narrow, medium bowl for easy dipping.
- Using a fork, dip each chilled truffle into the melted white chocolate. Allow any excess chocolate to drip off before placing the truffle back onto the lined baking sheet.
- Immediately after dipping each truffle, carefully place two candy eyes onto its surface before the chocolate sets.
- Repeat the dipping and eye-placement process for all remaining truffles.
- Once all truffles have been dipped and eyed, pour any remaining melted white chocolate into a small plastic bag (e.g., a ziploc bag). Snip a tiny corner off the bag.
- Drizzle the white chocolate over each truffle in irregular, criss-cross lines to create the distinctive mummy bandage look.
- Allow the chocolate coating on the truffles to set completely, either at room temperature or by placing them in the refrigerator.
- Store the finished Red Velvet Mummy Truffles in an airtight container in the fridge for up to three days. Enjoy!
Tips & Notes
- You can easily substitute a homemade red velvet cake or a store-bought cake for the box mix.
- Homemade cream cheese frosting can also be used instead of store-bought, adding an extra layer of flavor. Ensure it’s not too stiff; warming it slightly helps achieve the perfect mixing consistency.
- White chocolate bark or melting wafers are recommended for their smooth melting properties. Regular white chocolate chips may be too thick or seize unless thinned with a little coconut oil or shortening.
- If you don’t have candy eyes, mini chocolate chips or small dots of piped frosting can be used as an alternative for the eyes.
- Nutrition information is an approximation and can vary based on specific brands and exact quantities used. (Example: Nutrition was calculated using Betty Crocker’s Super Moist Delights Red Velvet Cake Mix, 1/2 cup vegetable oil, 3 eggs, and Betty Crocker Rich and Creamy Cream Cheese Frosting as a reference.)
Nutrition (Approximate per truffle)
Calories: 136 kcal
Carbohydrates: 18 g
Protein: 1 g
Fat: 7 g
Fiber: 0 g
Sugar: 13 g
Nutrition information is automatically calculated and should only be used as an approximation. Individual results may vary.

Love this recipe? Leave a comment below and share your creations!
We’d absolutely love to see your Red Velvet Mummy Truffles! Don’t forget to tag your delicious posts on social media with the hashtag #cheeseknees. Happy Halloween baking!