
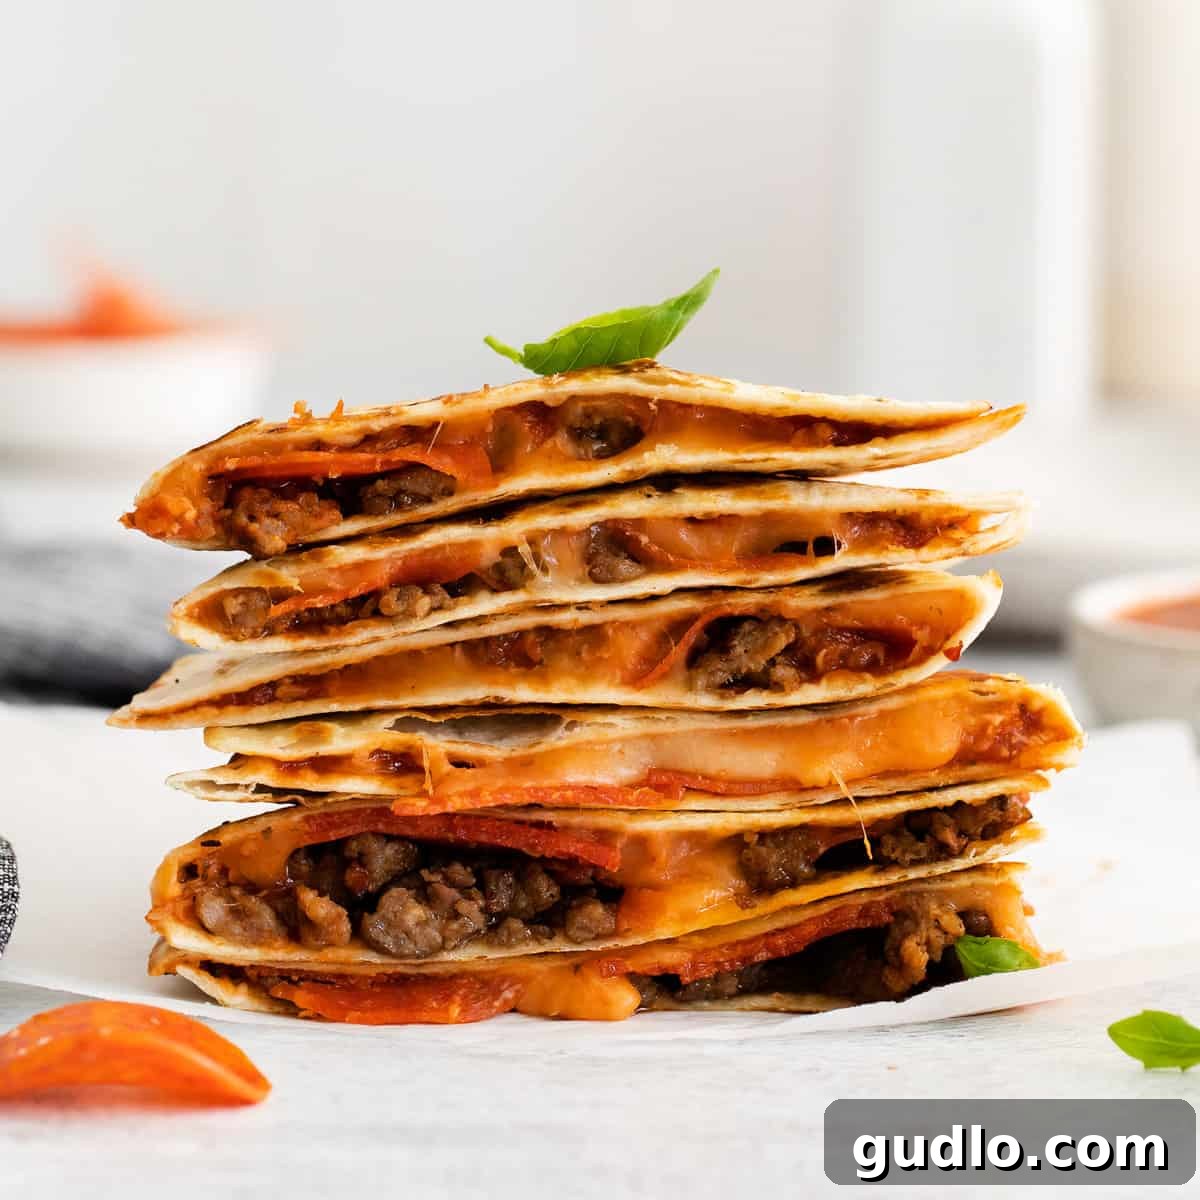
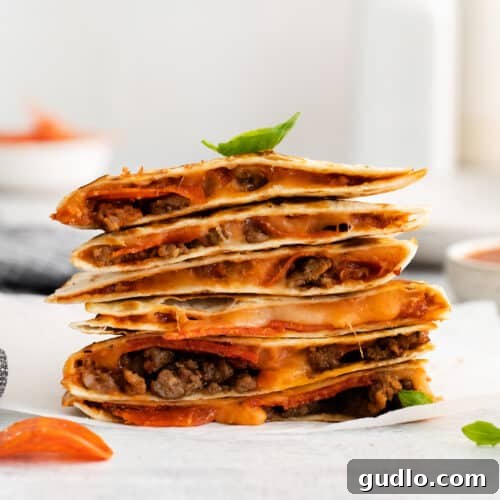
Prepare to tantalize your taste buds with the **ultimate pizza quesadilla recipe** – a brilliant fusion that brings together the gooey, savory goodness of pizza with the crispy, comforting embrace of a quesadilla. This innovative dish is more than just a meal; it’s a culinary adventure, offering the best of both worlds in every bite. We’ll guide you through creating these irresistible pockets, generously stuffed with rich pizza sauce, melt-in-your-mouth mozzarella cheese, savory sausage, and classic pepperoni. It’s a guaranteed family favorite that will have everyone asking for seconds!
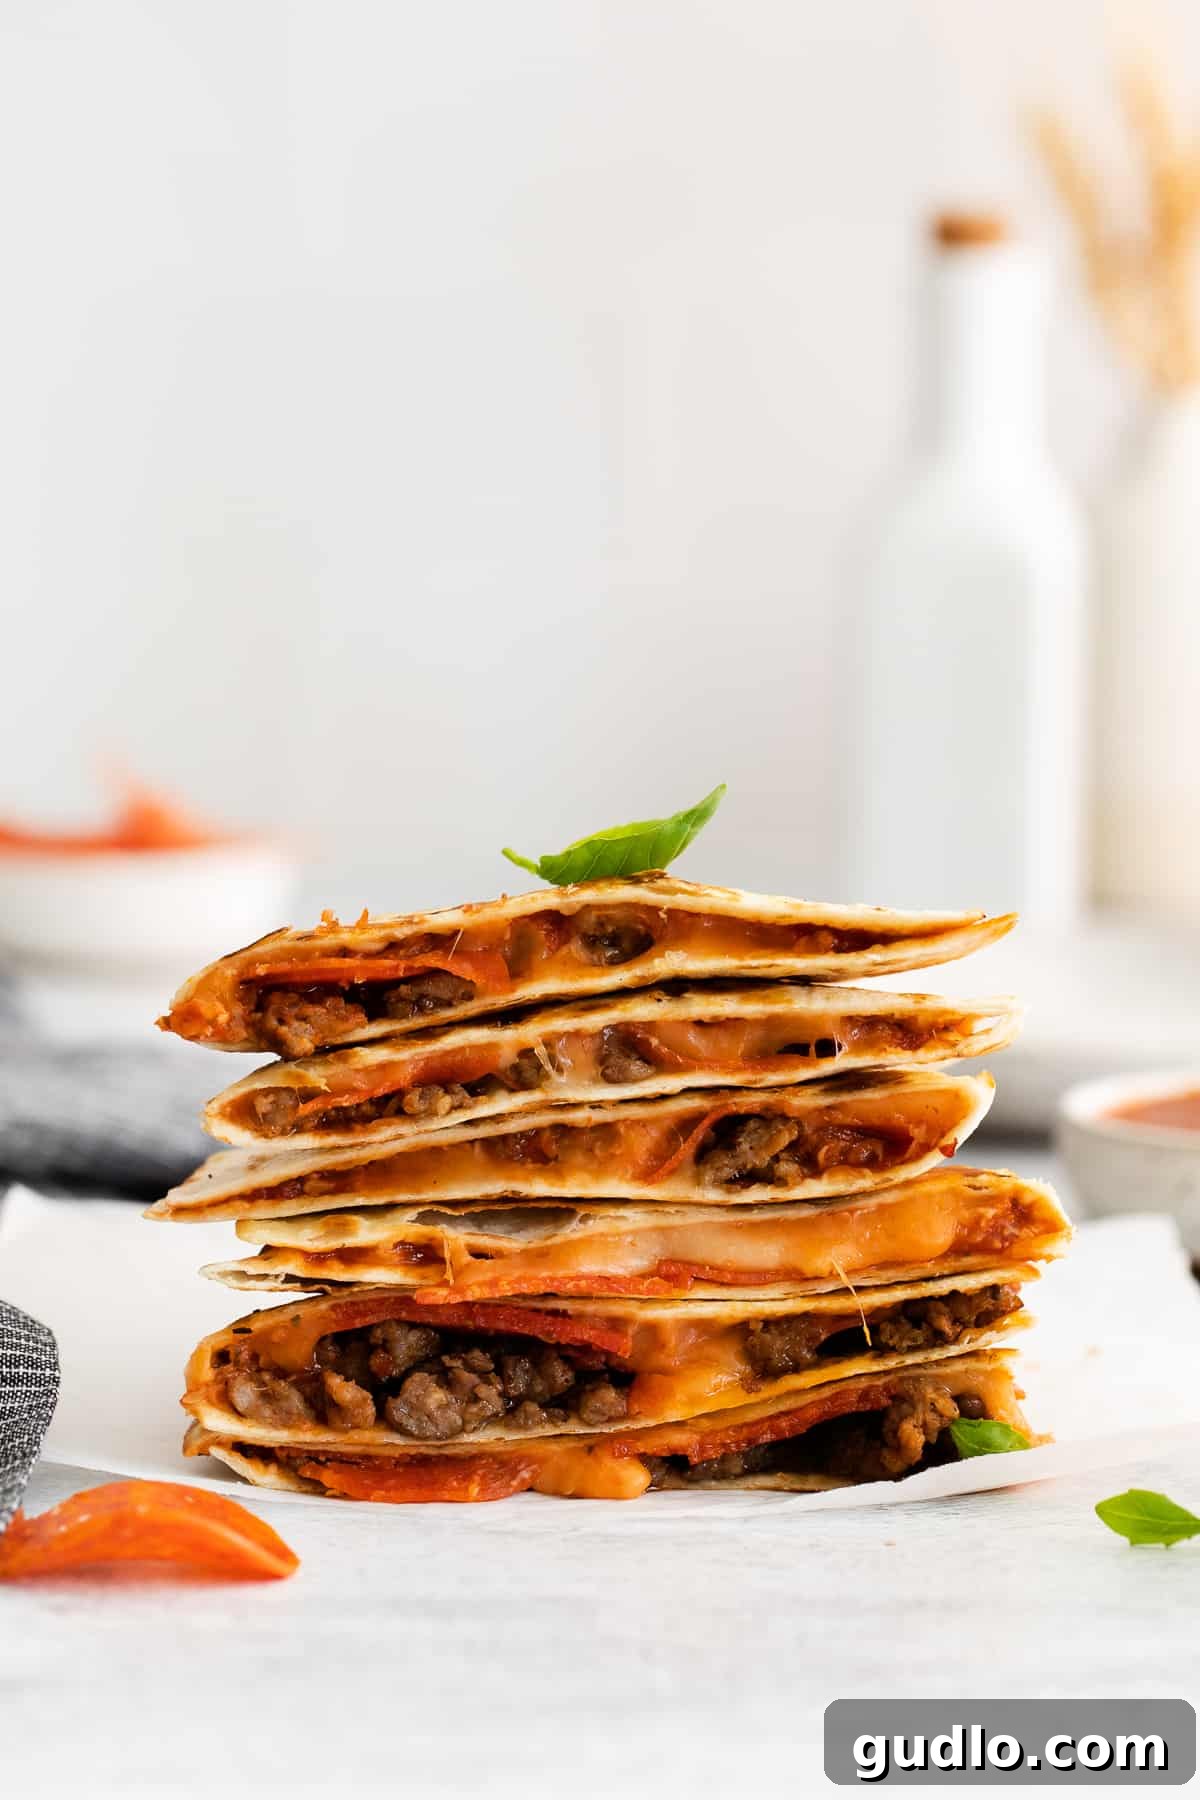
The Cheesy Delight: Unveiling the Pizza Quesadilla
It’s no secret that this recipe is the delicious love child of two of the most universally adored and easy-to-prepare dinners: classic pizza and the versatile quesadilla. Imagine a dish that combines the convenience and portability of a quesadilla with the unmistakable flavors of your favorite pizza pie. That’s precisely what you get here! While we’ve chosen a classic combination of pepperoni and sausage, the beauty of this recipe lies in its boundless adaptability. You’re encouraged to unleash your creativity and personalize these quesadillas by adding any of your preferred pizza toppings, transforming each one into a unique culinary masterpiece.
Why You’ll Absolutely Love This Recipe!
There are countless reasons why this pizza quesadilla will quickly become a staple in your kitchen. Beyond its incredible flavor, it offers practicality and versatility that busy families and culinary adventurers alike will appreciate.
- Less Mess, More Flavor: These pizza quesadillas are ingeniously designed as little pockets of all your favorite pizza toppings, significantly reducing the mess often associated with traditional pizza slices. No more toppings sliding off or grease dripping everywhere – just perfectly contained deliciousness.
- Perfect for Meal Prep: Planning ahead just got easier! You can easily make a batch of these pizza quesadillas, let them cool, and freeze them for later. They reheat beautifully, making them an ideal solution for quick lunches or impromptu dinners when time is short.
- Infinitely Customizable: This recipe is a blank canvas for your culinary imagination. Want to go vegetarian? Load it with veggies! Craving something spicier? Add some jalapeños! These quesadillas are incredibly flexible, allowing you to incorporate any of your favorite pizza fixings to suit individual tastes and dietary preferences.
- Effortless Weeknight Dinner: In search of a quick, satisfying, and easy weeknight dinner that appeals to everyone? Look no further! With minimal prep and cooking time, these pizza quesadillas come together swiftly, making dinner a breeze even on the busiest evenings. They’re a surefire hit with both kids and adults.
- Fun & Engaging: Involving the family in assembling their own quesadillas can turn mealtime into a fun, interactive activity. It’s a great way to encourage picky eaters to try new combinations and enjoy the cooking process.
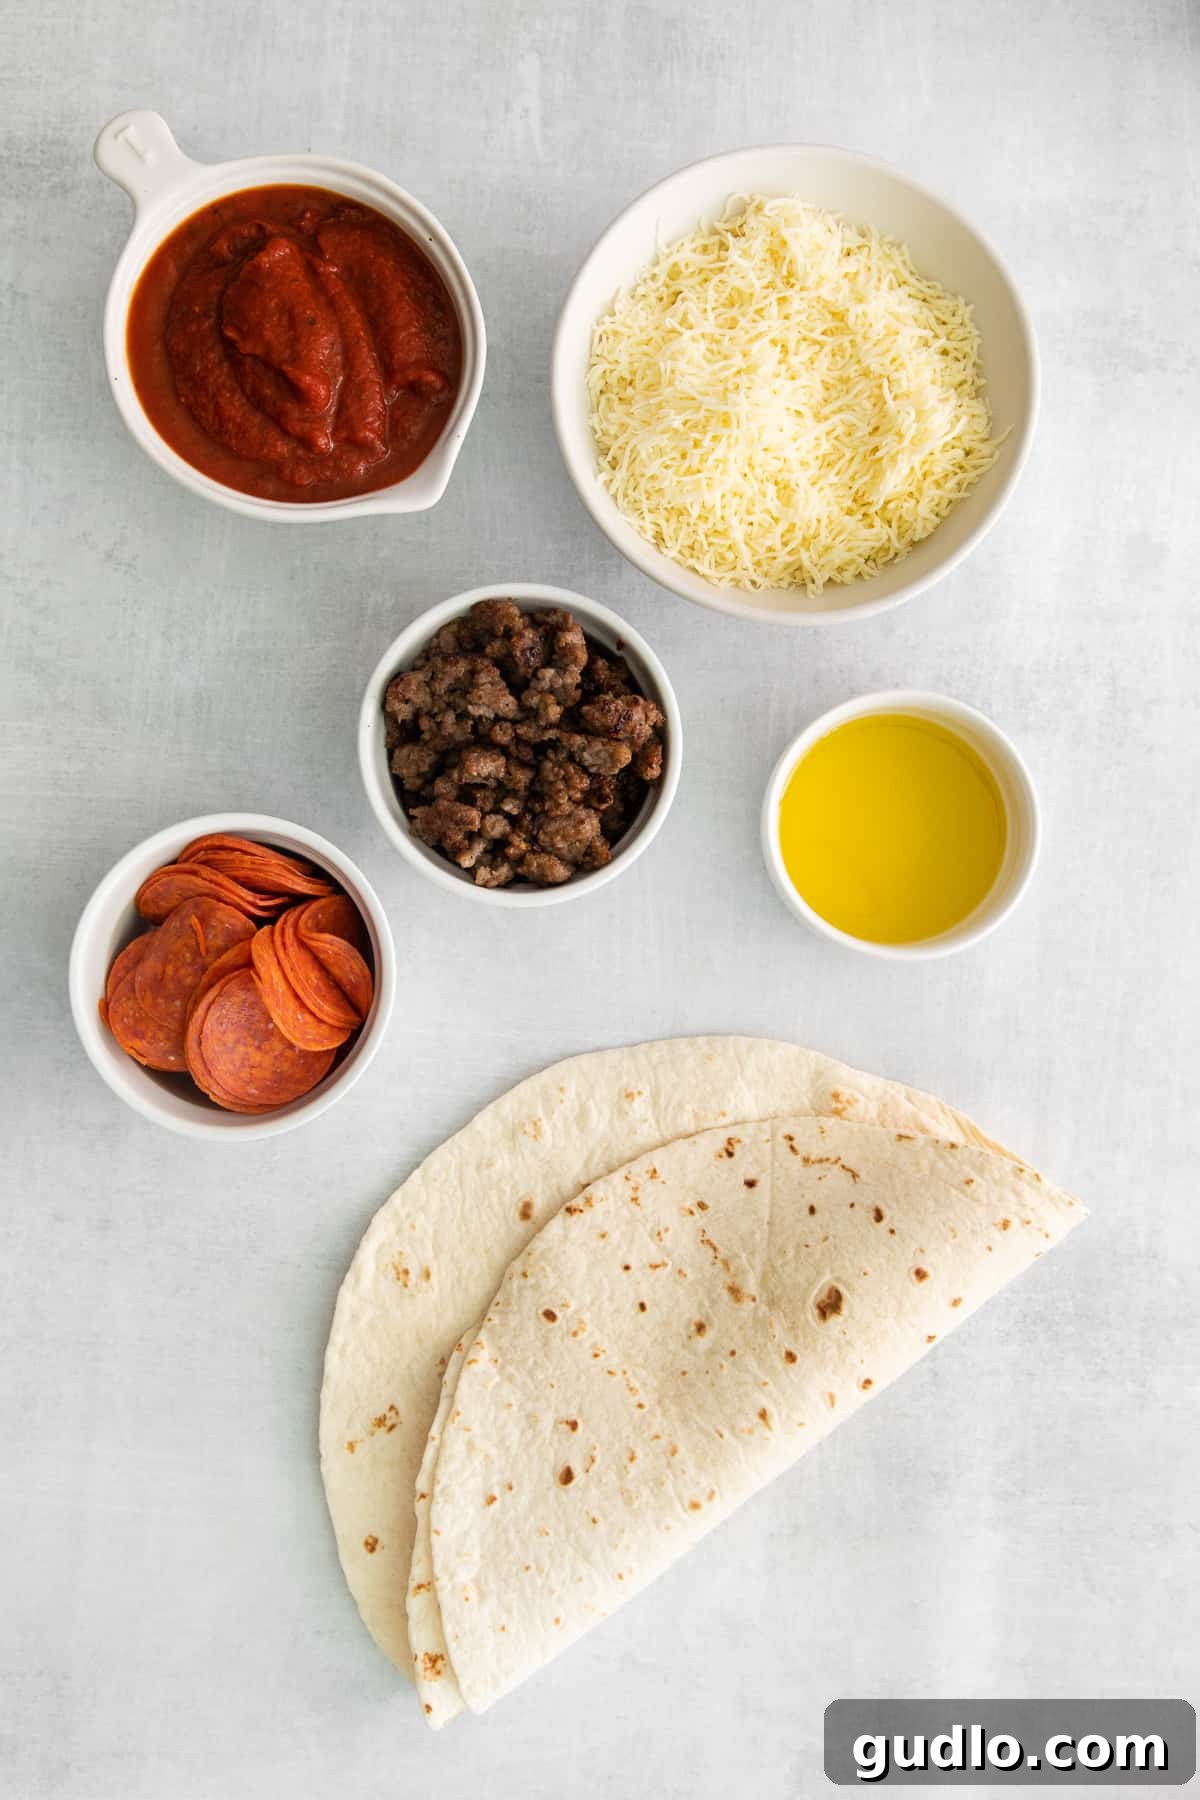
Essential & Featured Ingredients for Your Pizza Quesadilla
Crafting the perfect pizza quesadilla starts with selecting high-quality ingredients. Here’s a breakdown of what you’ll need, along with some tips for choosing the best.
- Burrito-Sized Flour Tortillas: The foundation of our quesadilla! For this recipe, you’ll definitely want the large, “burrito-sized” tortillas. Their generous circumference is crucial for holding and supporting all the delicious pizza filling without tearing or overflowing. They also provide ample surface area for that perfect golden crisp. If you can only find smaller sizes, you might need to use two tortillas per serving or make smaller, half-moon quesadillas.
- Your Favorite Pizza Sauce: The heart of the pizza flavor! Feel free to use your preferred brand of store-bought pizza sauce for convenience. Look for one with robust tomato flavor and minimal added sugar. Alternatively, for an even fresher taste, you can easily make your own homemade pizza sauce from crushed tomatoes, garlic, basil, and oregano.
- Classic Pepperoni: A must-have for that quintessential pizza taste. Choose your favorite type of pepperoni – whether you prefer classic, spicy, or even mini pepperonis that crisp up beautifully when cooked. Pepperoni adds a delightful saltiness and a touch of spice that complements the other ingredients perfectly.
- Savory Italian Sausage: For an extra layer of robust flavor and satisfying texture, Italian sausage is an excellent addition. You can opt for mild or spicy Italian sausage, depending on your preference. Just remember to cook and crumble the sausage thoroughly before adding it to your quesadilla filling. This ensures even distribution and makes the quesadilla easier to eat.
- Shredded Mozzarella Cheese: The undisputed king of pizza cheese! Mozzarella provides that iconic stretchy, melty cheese pull that we all crave. We highly recommend using freshly shredded mozzarella over pre-shredded varieties. Freshly shredded cheese melts more smoothly and evenly, leading to a superior texture and flavor. Add a generous amount to your tortilla before heating to prep for that incredible cheese pull with your very first bite.
- Olive Oil: Essential for achieving that golden, crispy exterior on your tortillas. A good quality olive oil will also add a subtle, pleasant flavor as the quesadilla cooks in the skillet.
Step-by-Step: Crafting Your Perfect Pizza Quesadilla
Making these delicious pizza quesadillas is incredibly straightforward. Follow these simple steps for a perfect, crispy, and cheesy result every time.
Step 1: Build Your Flavorful Quesadilla
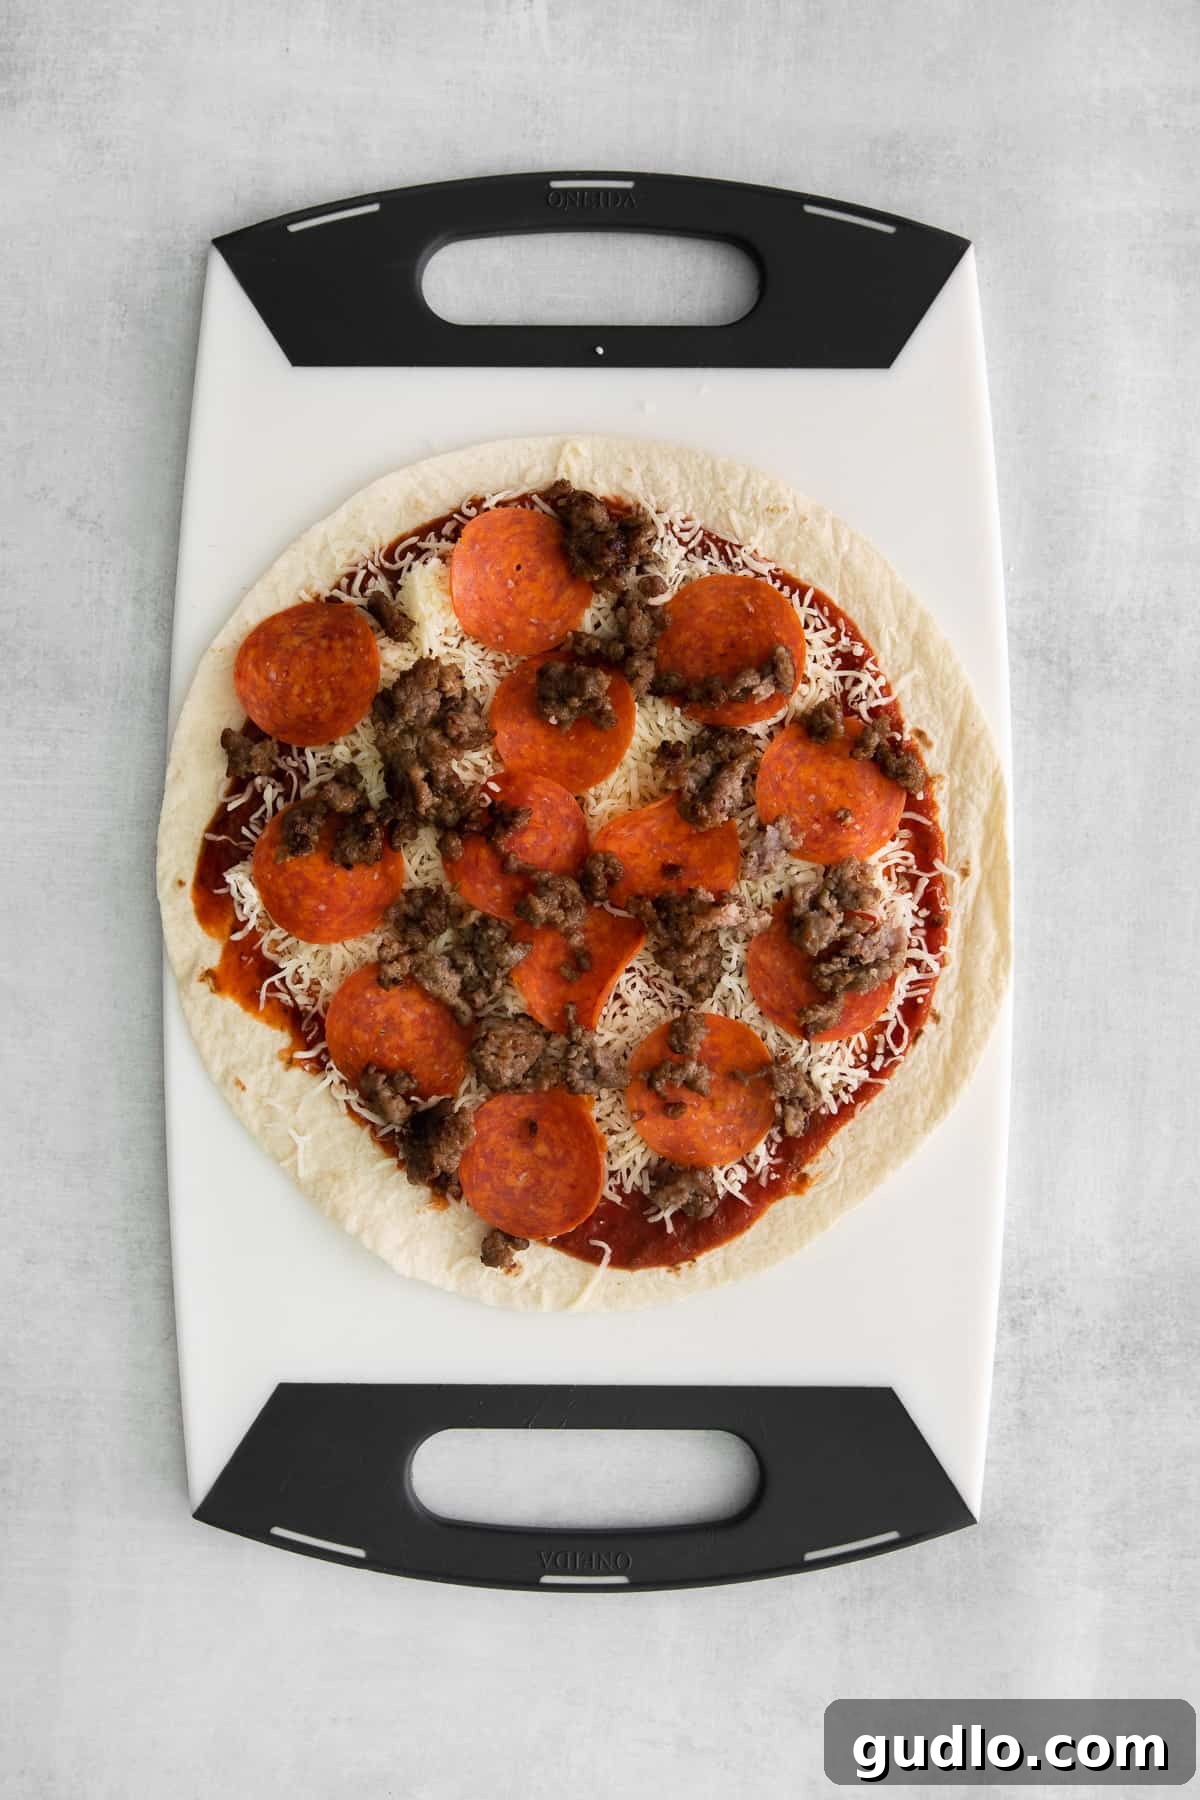
First, lay one large burrito-sized tortilla flat onto a clean work surface or a large plate. Take ¼ cup of your chosen pizza sauce and spread it evenly over the entire surface of the tortilla. Make sure to leave a small ¼-inch border all the way around the edge. This border helps contain the fillings and allows the tortilla to seal properly when folded, preventing any delicious escapees.
Next, generously sprinkle about ½ cup of shredded mozzarella cheese over the sauce. The cheese will act as a delicious binder. Then, evenly distribute ¼ cup of your pre-cooked and crumbled Italian sausage, followed by ¼ cup of pepperoni slices, over the cheese layer. Ensure the toppings are spread out nicely so you get a bit of everything in each bite.
Step 2: Toast It Up to Golden Perfection
Place a large, heavy-bottomed skillet (a cast-iron skillet works wonderfully for this) over medium-high heat on your stovetop. Add 1 tablespoon of olive oil to the skillet and gently swirl or spread the oil around the bottom to coat the cooking surface evenly. This ensures even browning and prevents sticking.
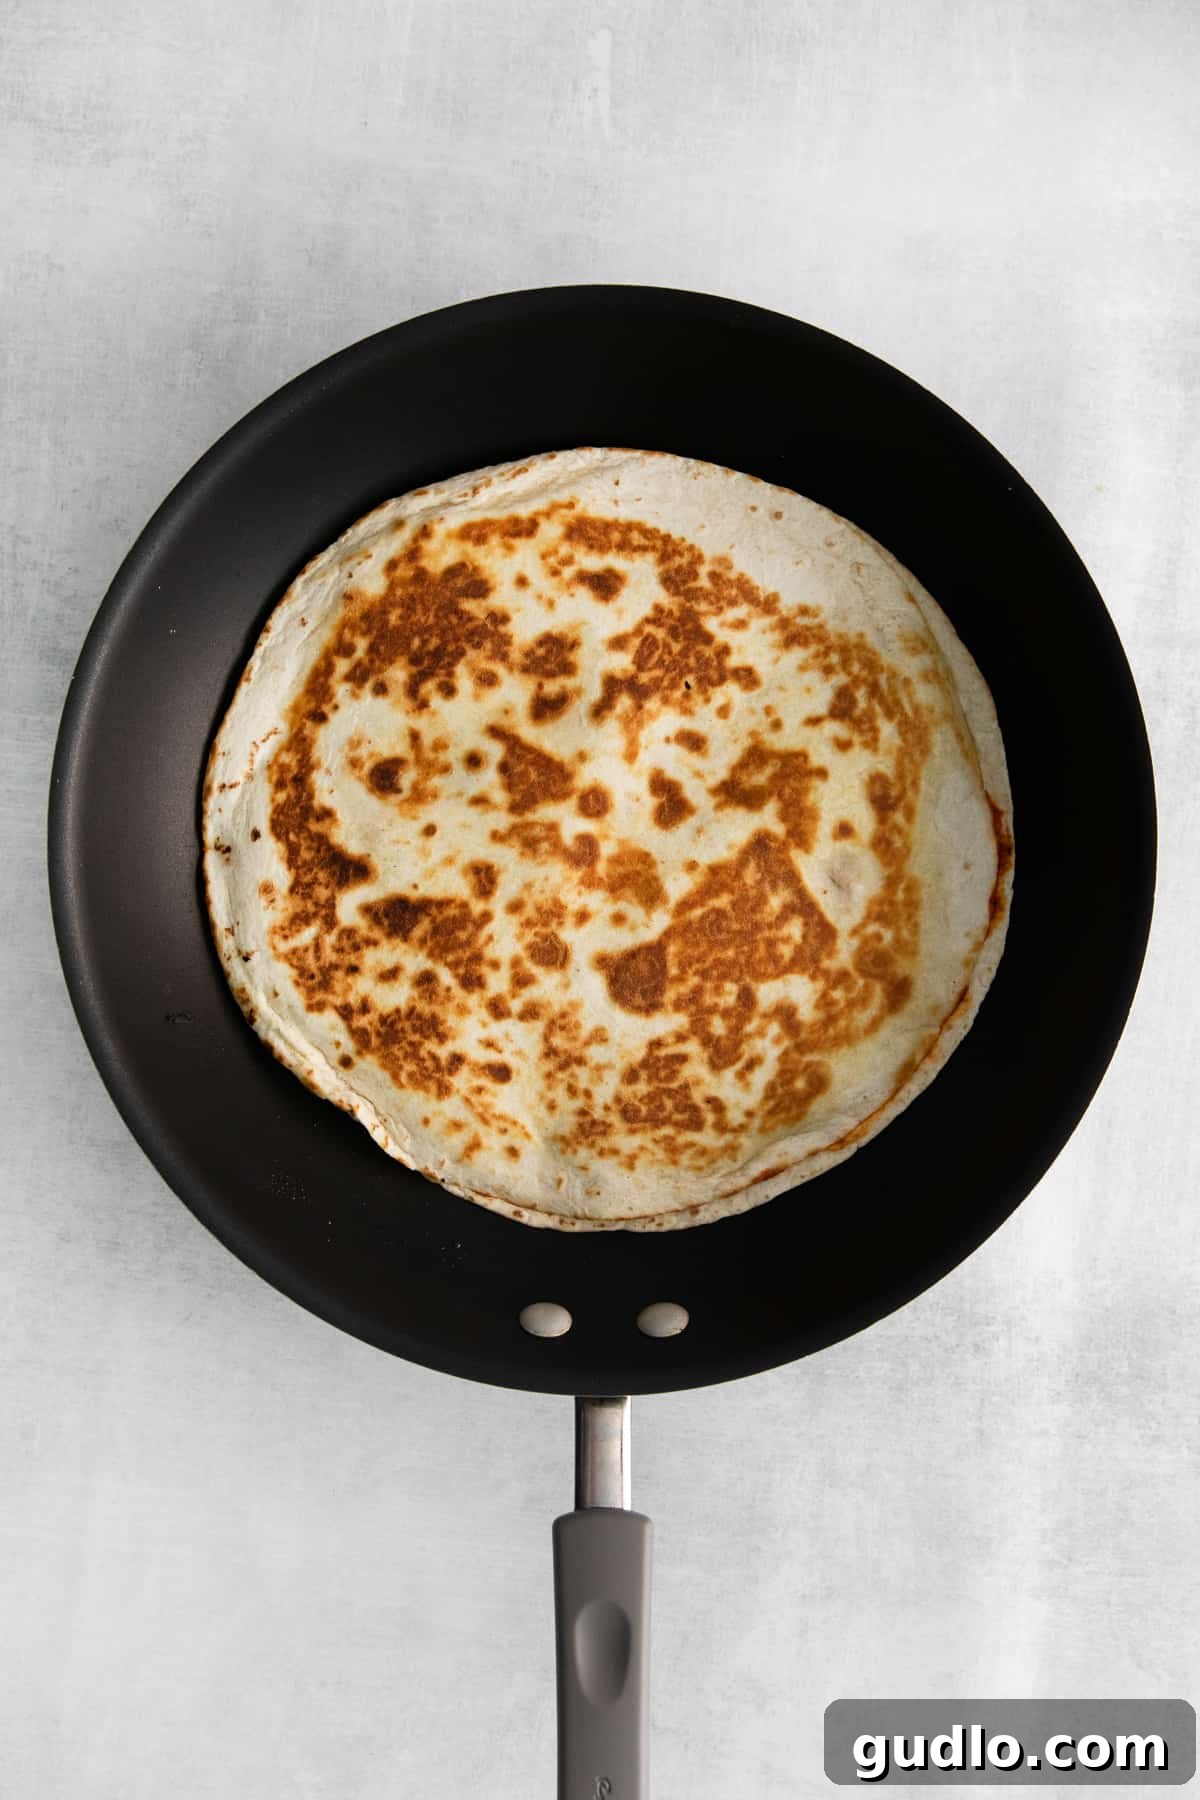
Carefully transfer your assembled, open quesadilla into the hot skillet. Let it cook undisturbed for about 1 minute. This initial cooking helps to warm the tortilla and start melting the cheese. After one minute, using a wide spatula, gently fold one half of the quesadilla over the other to create a semi-circle. Press down lightly with the spatula to help seal the edges and ensure good contact with the pan.
Continue cooking for another 1 to 2 minutes on the first folded side until it achieves a beautiful golden-brown color and the cheese inside begins to melt and ooze. Then, carefully flip the quesadilla over and cook the second side for another 1 to 2 minutes, or until it’s also golden-brown and crispy, and all the cheese is completely melted and bubbly. The key here is a nice, even crisp without burning.
Step 3: Garnish and Enjoy!
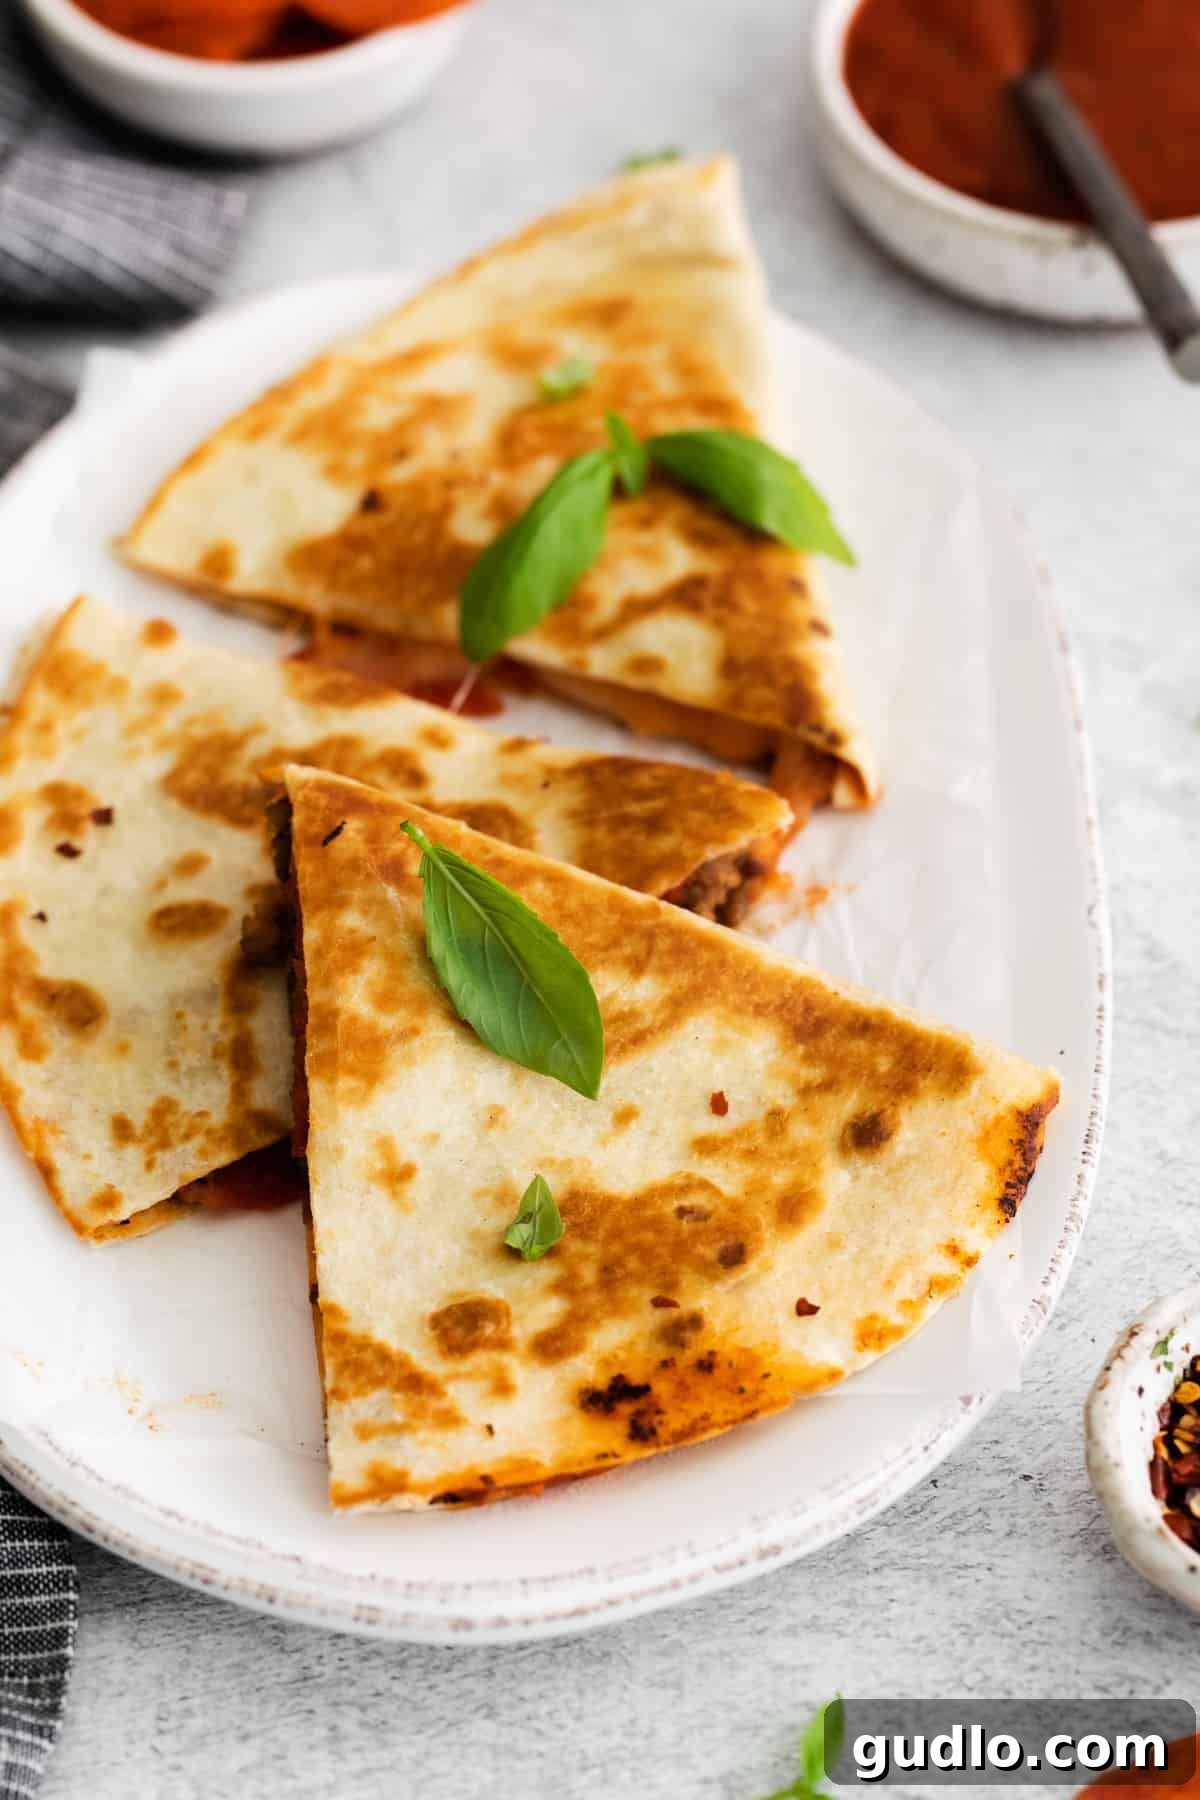
Once both sides are perfectly golden and the filling is hot and melted, remove the pizza quesadilla from the skillet. Transfer it to a cutting board. For an added burst of freshness and color, consider topping your quesadilla with some fresh basil leaves, either whole or thinly sliced (chiffonade). If you’re a true cheese lover, a final sprinkle of Parmesan or a little more mozzarella right on top before serving can elevate the experience even further. Slice it into wedges, serve immediately, and savor every cheesy, savory bite!
Pro Tip for Extra Crispy Perfection: If you desire an extra level of crispness and a gloriously bubbly, slightly browned cheese topping, here’s a fantastic trick: once your quesadilla is cooked in the skillet and removed, you can briefly place it under the broiler in your oven. Just a minute or two will transform the top cheese layer into a golden, irresistible crust. Keep a very close eye on it, as broilers can cook quickly!
Top Tips for an Unforgettable Pizza Quesadilla Experience
Elevate your pizza quesadilla game with these expert tips, ensuring every quesadilla you make is a resounding success:
- Freshly Shredded Cheese Makes a Difference: We cannot stress this enough – always opt for freshly shredding your cheese over purchasing pre-shredded varieties. Pre-shredded cheeses often contain anti-caking agents like cellulose, which can prevent them from melting as smoothly and creating that desirable gooey texture. Freshly shredded mozzarella melts beautifully and delivers superior flavor and stretch.
- Experiment with Protein Power: While pepperoni and Italian sausage are classic choices, feel free to get creative with your protein! Any variety of shredded or diced meat can work wonderfully as a filling. Think shredded chicken, slow-cooked pulled pork, seasoned ground beef, or even thinly sliced deli turkey or ham. Vegetarian? Black beans, mushrooms, or plant-based crumbles are fantastic options too!
- Tortilla Size Matters: We’ve recommended burrito-sized flour tortillas for their ample filling capacity. However, if you only have large taco or medium-sized tortillas on hand, don’t despair! They will absolutely work, but they will yield smaller quesadillas, perfect for appetizers or lighter snacks. Adjust your filling portions accordingly.
- Don’t Overfill: It’s tempting to load up on toppings, but resist the urge to overfill your quesadilla. Too many ingredients can make it difficult to fold, prevent the cheese from melting properly, and lead to fillings spilling out during cooking. A balanced amount ensures even cooking and structural integrity.
- Mind the Heat: Cooking quesadillas on medium-high heat is ideal, but every stove is different. Keep an eye on your tortilla to ensure it doesn’t burn before the cheese has fully melted. Adjust the heat as needed; a slightly lower heat for a longer time can ensure cheese melts without burning the tortilla.
- Pre-Cook Your Meats: Any meat added to your quesadilla, like sausage or ground beef, should be fully cooked and drained of excess grease before being added to the tortilla. This prevents soggy quesadillas and ensures food safety.
Next Level Quesadilla
Applebee’s Quesadilla Burger Copycat
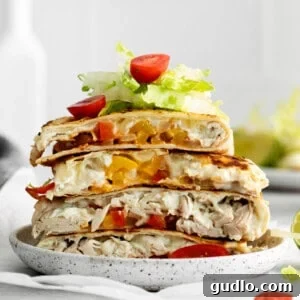
If you’re looking to take your quesadilla game up yet another notch and crave a hearty meal, give this Copycat Applebee’s Quesadilla Burger recipe a try next! It’s an incredible blend of burger and quesadilla, packed with flavor.
Frequently Asked Questions About Pizza Quesadillas
Can you freeze pizza quesadillas?
Absolutely! Pizza quesadillas are excellent for freezing, making them a fantastic meal prep option. Let your cooked quesadillas cool completely to room temperature. Then, wrap each one individually and tightly in tin foil, removing as much air as possible to prevent freezer burn. Place the wrapped quesadillas in a freezer-safe bag or container. They can be stored in the freezer for up to 3 months. When ready to eat, reheat directly from frozen in a skillet, toaster oven, or conventional oven until heated through and crispy.
How do you make quesadillas stay together?
The secret to a quesadilla that holds together beautifully lies primarily in the cheese. The melting cheese in the middle acts as a natural “glue,” sealing the two halves (or layers) of the tortilla together. To ensure your quesadilla stays intact, be sure to leave it over the heat long enough for the cheese to melt completely and become gooey, creating a strong bond. Pressing down gently with a spatula after folding also helps to create good contact and seal the edges. Don’t flip it too early before the cheese has had a chance to fully melt.
What else can I add to this quesadilla for more flavor?
The sky’s the limit when it comes to customizing your pizza quesadilla! Think of it as a personal mini-pizza. Here are some fantastic additions:
- Vegetables: Sautéed mushrooms, finely diced green peppers, sliced onions (caramelized or raw), black olives, spinach, corn, or even roasted red peppers.
- Cheeses: A blend of mozzarella with provolone, Parmesan, or a touch of smoked gouda can add depth.
- Sauces/Dips: A drizzle of ranch dressing, a dollop of marinara for dipping, or a sprinkle of red pepper flakes for heat.
- Herbs: Fresh oregano, dried Italian seasoning, or a pinch of garlic powder mixed with the sauce.
- Other Meats: Cooked chicken, ham, bacon bits, or ground beef.
How do I reheat a frozen pizza quesadilla?
For best results, reheat frozen pizza quesadillas in a preheated oven or toaster oven at 375°F (190°C) for 10-15 minutes, or until heated through and crispy. You can also place them in a lightly oiled skillet over medium heat, covered, for about 5-7 minutes per side. Microwaving is an option for speed (30-60 seconds), but it may result in a softer tortilla rather than a crispy one.
More Cheesy Dinner Recipes You’ll Love!
Copycat Applebee’s Quesadilla Burger (Better Than Original)
Ham and Cheese Sliders (Easy + Cheesy!)
Copycat Taco Bell Grilled Cheese Burrito (Cheesy & Crispy!)
Classic Cheese Quesadilla
Easy Cheese Empanadas
Storage Solutions for Your Pizza Quesadillas
Once your delicious pizza quesadillas have cooled completely, you can store them in an airtight container in the refrigerator for up to 3 days. This makes them perfect for quick grab-and-go lunches or easy reheat dinners. Ensure they are completely cool before sealing to prevent condensation, which can make them soggy.
Reheating Tips: For best results and to regain that wonderful crispness, we recommend reheating quesadillas in a toaster oven or a dry skillet over medium heat for a few minutes per side until heated through and golden. You can also warm them under the broiler for 1-2 minutes (watch carefully!) for an extra crispy top. While the microwave works in a pinch (30-60 seconds), it will yield a softer texture.
Kitchen Skill Tutorial
Mastering How to Grate Cheese
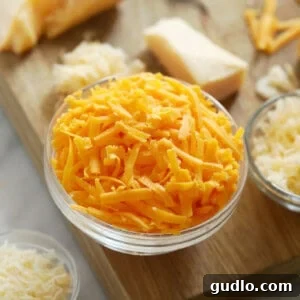
Since freshly grated cheese is key to the best quesadillas, if you’re not sure about the best techniques, check out our comprehensive guide on how to grate cheese, even without a traditional grater!
Detailed Freezer Instructions for Future Enjoyment
Preparing a batch of pizza quesadillas for the freezer is a smart way to get ahead on meal planning. Here’s how to do it correctly to preserve their quality:
- Cool Completely: After cooking your pizza quesadillas in the skillet, it is absolutely crucial to let them cool down to room temperature before freezing. Placing warm items directly into the freezer can lead to ice crystals forming, which affects texture and can cause freezer burn.
- Wrap Individually: Once cooled, wrap each pizza quesadilla individually and tightly with aluminum foil. For extra protection against freezer burn, you can then place the foil-wrapped quesadilla into a freezer-safe plastic bag or an airtight container.
- Remove Air and Seal: When using bags, try to remove as much air as possible before sealing. This minimizes exposure to air, which is the primary cause of freezer burn.
- Label and Date: Always label your frozen quesadillas with the date they were prepared. This helps you keep track of their freshness.
- Storage Duration: Stored properly, your pizza quesadillas can remain fresh and delicious in the freezer for up to 3 months.
When you’re ready to enjoy them, simply remove from the freezer and reheat using the methods described above. They’re just as satisfying as freshly made!
More of our Favorite…
Irresistible Quesadilla Recipes You Must Try!
If you loved this pizza quesadilla, you’re in for a treat! Our collection of quesadilla recipes offers a variety of flavors and styles to satisfy every craving. Explore more cheesy and delicious options here:
- Hearty Steak Quesadilla
- Savory Ground Beef Quesadilla
- Copycat Applebee’s Quesadilla Burger
- Delicious Keto Quesadillas (Low Carb)
- Classic Chicken Quesadilla
- Quick Breakfast Quesadilla
Pizza Quesadilla Recipe Card
These incredible pizza quesadillas are a game-changer, ready in under 30 minutes, and represent the perfect marriage of two beloved comfort meals. We’ve kept things classic in this recipe, stuffing these “dillas” with flavorful pepperoni, savory Italian sausage, and generous amounts of gooey mozzarella cheese, ensuring a satisfying and easy meal every time!
By: Linley Hanson
Prep Time: 10 mins
Cook Time: 20 mins
Total Time: 30 mins
Servings: 4
Rating: ★★★★★ (5 from 1 vote)
You can print this recipe for your convenience.
Ingredients
- 4 large tortillas, burrito size
- 8 oz. pizza sauce, approximately 1 cup
- 8 oz. shredded mozzarella cheese, approximately 2 cups (freshly shredded recommended)
- 8 oz. cooked and crumbled Italian sausage
- 4 oz. sliced pepperoni
- 4 tablespoons olive oil
Instructions
- Assemble the Quesadilla: Lay one large tortilla onto a clean flat surface. Spread ¼ cup of pizza sauce evenly over the tortilla, leaving a ¼-inch border around the edge to help with sealing.
- Add Cheese: Sprinkle approximately ½ cup of the shredded mozzarella cheese over the pizza sauce. This layer will melt and bind the ingredients together.
- Layer Toppings: Next, evenly distribute ¼ cup of the cooked Italian sausage and ¼ of the pepperoni slices over the cheese layer. Ensure toppings are well-spread for even flavor.
- Prepare Skillet: Place a large skillet (preferably cast-iron or non-stick) over medium-high heat. Add 1 tablespoon of olive oil and spread it around the bottom of the skillet to coat.
- Cook the Quesadilla: Carefully place the open, assembled quesadilla into the hot skillet. Cook for about 1 minute to warm the tortilla and start melting the cheese.
- Fold and Crisp: After 1 minute, use a spatula to gently fold one half of the quesadilla over the other, creating a half-moon shape. Press down lightly. Cook for 1 to 2 minutes per side, or until both sides are golden brown and crispy, and the cheese is thoroughly melted and bubbly.
- Repeat: Remove the cooked quesadilla from the skillet and transfer to a cutting board. Repeat steps 1-6 for the remaining tortillas and fillings.
- Serve: Slice the finished pizza quesadillas into wedges. Garnish with fresh basil or an extra sprinkle of Parmesan cheese, if desired, and serve immediately.
Tips & Notes
- Feel free to add any of your favorite pizza toppings, such as diced bell peppers, onions, mushrooms, or black olives.
- For an extra crispy exterior and melted cheese top, briefly place the finished quesadillas under a hot broiler for 1-2 minutes (watch carefully to prevent burning).
- Always use freshly shredded mozzarella for the best melt and texture.
Nutrition
Calories: 738 kcal, Carbohydrates: 20 g, Protein: 29 g, Fat: 60 g, Fiber: 2 g, Sugar: 4 g
Nutrition information is automatically calculated and should only be used as an approximation. Actual values may vary based on specific ingredients and preparation methods.
Loved this recipe? Share your thoughts below!
Don’t forget to tag your culinary creations on social media with the hashtag #cheeseknees. We absolutely love seeing what you’re cooking up!