
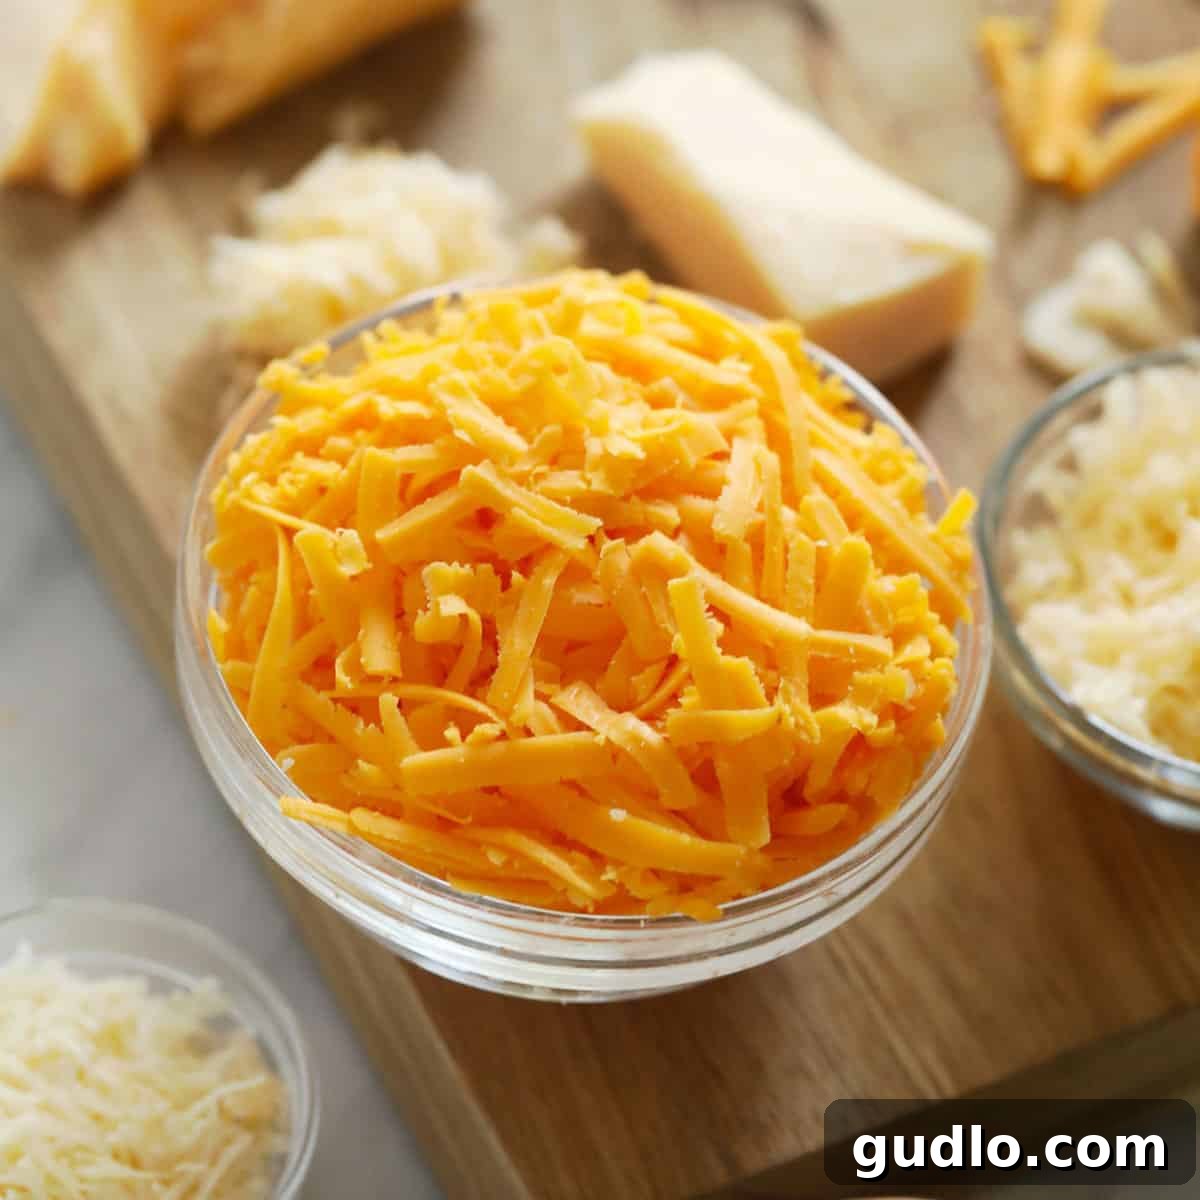
The Ultimate Guide to Grating Cheese: 4 Easy Methods for Perfect Shreds
Transforming a solid block of cheese into fluffy, delicious shreds can elevate any dish. Whether you’re topping a pizza, enriching a soup, or crafting the perfect mac and cheese, freshly grated cheese consistently outperforms its pre-shredded counterparts. But what if you don’t have a traditional cheese grater? Don’t worry! There’s more than one way to achieve perfectly grated cheese at home. This comprehensive guide explores four effective methods, ensuring you’re never without the ideal cheese for your culinary creations.
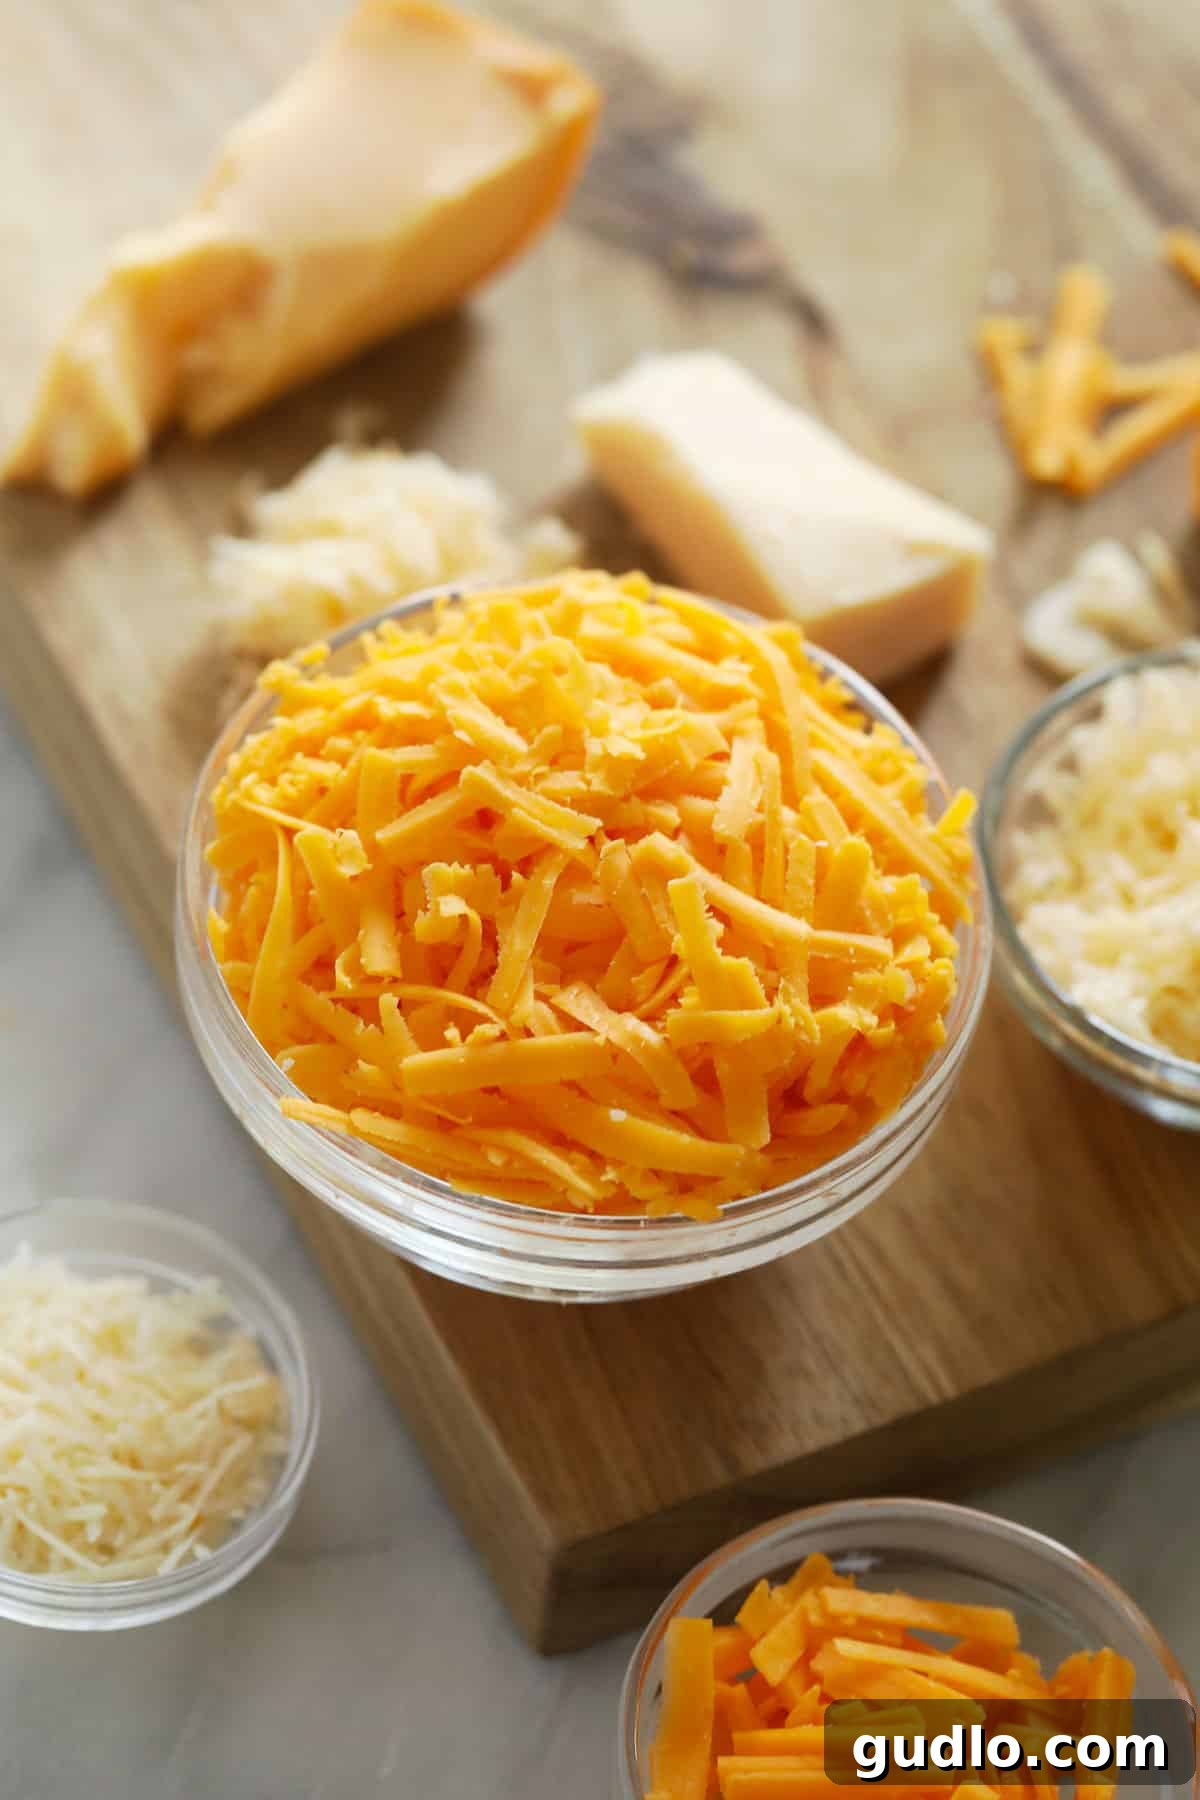
Why Grate Your Own Cheese? The Fresh Difference
In the bustling pace of modern life, store-bought shredded cheese often seems like a convenient shortcut. However, taking a few extra minutes to grate cheese at home offers significant benefits that enhance both the flavor and texture of your meals.
The primary advantage of grating your own cheese lies in its purity. Commercial pre-shredded cheeses often contain additives like cellulose, potato starch, or natamycin. These fillers serve to prevent clumping and extend shelf life, but they can negatively impact the cheese’s melting properties and overall taste. When you grate cheese from a block, you get nothing but pure, unadulterated cheese, which means a richer flavor profile and a smoother, more consistent melt in your dishes.
Freshly grated cheese also tends to melt more evenly and beautifully, creating that coveted gooey texture in casseroles, sauces, and gratins. Without anti-caking agents, the cheese can bind together seamlessly, forming a luscious, cohesive layer. Furthermore, grating cheese yourself is often more cost-effective in the long run, as block cheese typically costs less per ounce than its pre-shredded equivalent. It also allows you to control the size and texture of your shreds, tailoring them precisely to your recipe’s needs, whether it’s a fine dusting for a pasta dish or coarse strands for a hearty bake.
Preparing Your Cheese for Grating
Regardless of the tool you choose, preparing your cheese properly is key to successful grating. Most cheeses, especially semi-hard and hard varieties like cheddar, Gruyère, or Parmesan, grate best when they are cold and firm. Cheese straight from the refrigerator will be less likely to clump or smear, making the process smoother and more efficient. For softer cheeses, a quick chill in the freezer for about 15-30 minutes can firm them up sufficiently. Always ensure your cheese block is clean and free of any wax or rind before you begin.
Four Versatile Ways to Grate Cheese
From traditional kitchen staples to clever improvisations, here are four reliable methods to get perfectly grated cheese for any recipe:
1. The Classic Cheese Grater: A Kitchen Essential
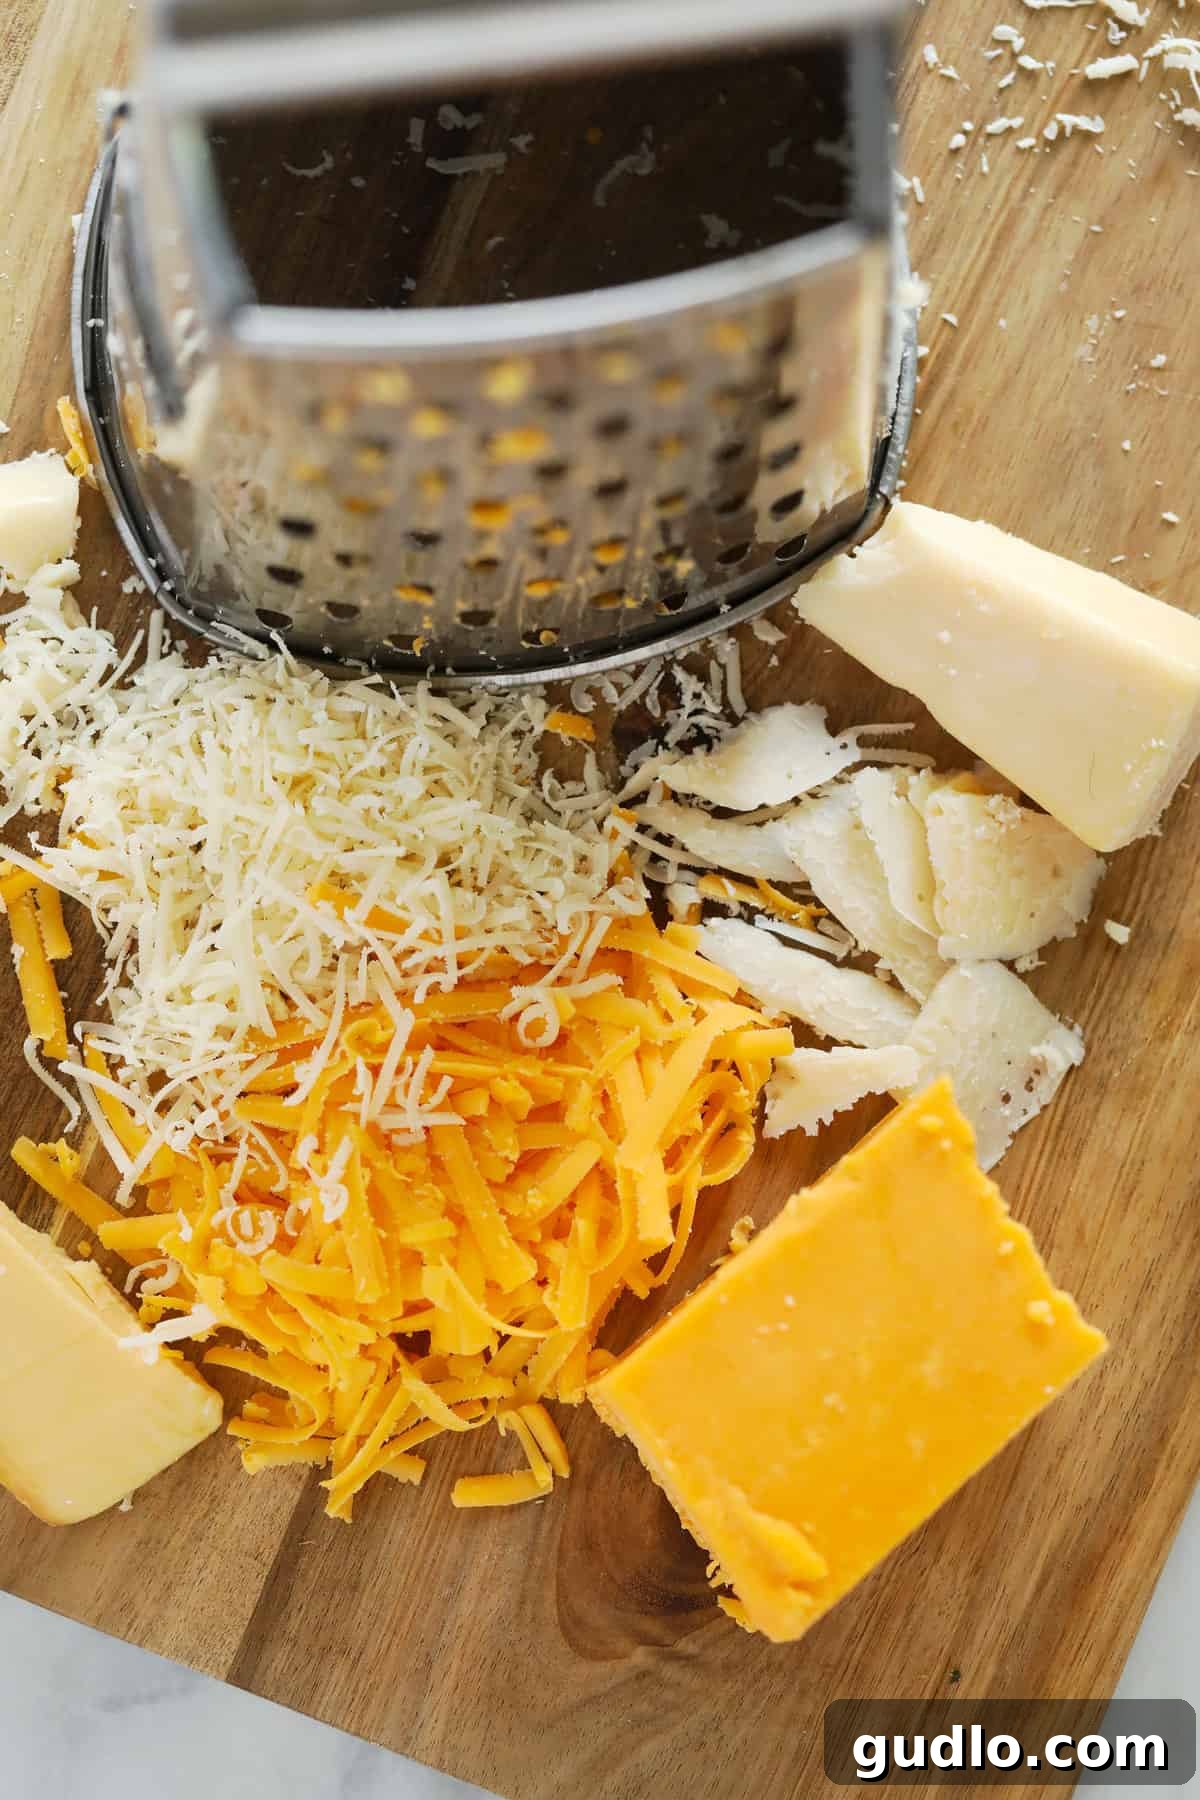
The cheese grater remains the most traditional and widely used tool for shredding cheese at home. Its simple design is remarkably effective, offering various grating sizes to suit different culinary applications. Common types include:
- Box Grater: This versatile tool is a favorite for many home cooks. It typically features four sides, each with a different grating surface – fine, medium, coarse, and sometimes a slicing option. This allows for excellent flexibility, whether you need finely shredded Parmesan for garnish or thick strands of cheddar for a casserole. Its sturdy base provides stability during grating, making it safe and efficient. For a reliable option, consider a high-quality box cheese grater.
- Handheld Grater (Flat or Rotary): Handheld graters, often flat or rotary, are perfect for quick jobs or when you need a specific shred size. Flat handheld graters are similar to one side of a box grater, offering a single shredding thickness and are easy to clean. Rotary graters are excellent for hard cheeses like Parmesan, allowing you to turn a handle to shred cheese directly over your dish, minimizing mess. While incredibly convenient for small amounts, using a flat handheld grater for large quantities can be tiring and potentially lead to hand cramps. Nevertheless, its ease of use and compact size make it a valuable tool for any cheese enthusiast. You can find excellent handheld cheese grater models that are both efficient and easy to store.
Tip for Grater Use:
Always hold the cheese block firmly and apply even pressure as you push it down the grating surface. For safety, be mindful of your fingers as you reach the end of the cheese block. Many chefs use a protective glove or a fork to hold the last piece of cheese.
To clean a grater effectively, rinse it immediately after use to prevent cheese from hardening in the holes. A stiff brush can help dislodge stubborn bits.
2. The Food Processor: Your Go-To for Large Quantities
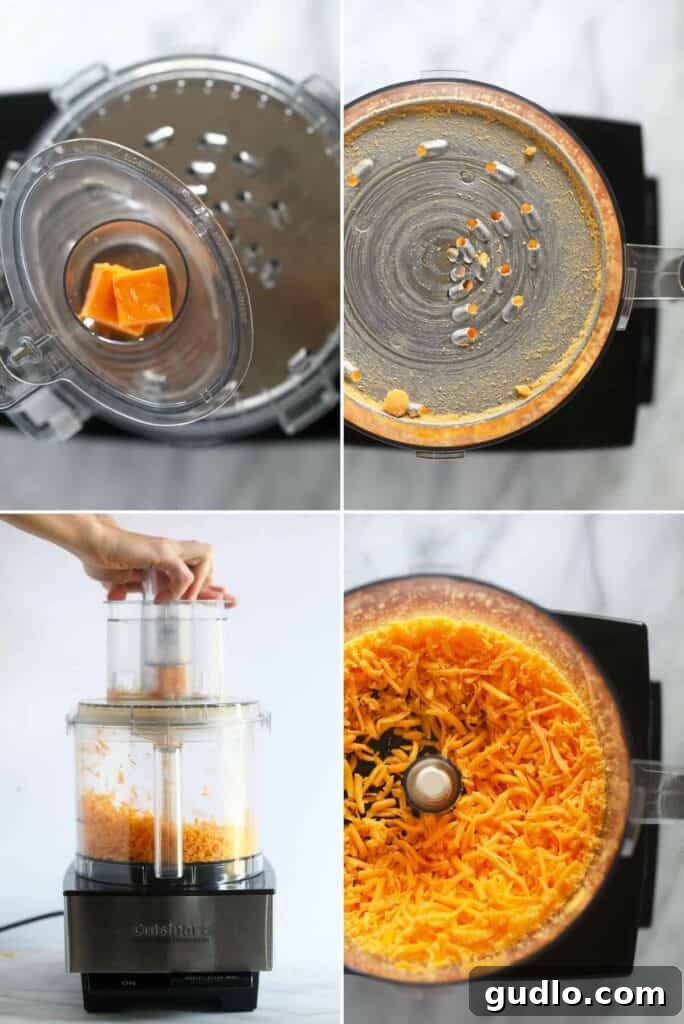
When you need a substantial amount of shredded cheese in a flash, a food processor is your ultimate kitchen hero. This method is incredibly efficient, saving you time and effort, especially for recipes requiring several cups of cheese.
How to Shred Cheese in a Food Processor:
- Equipment Check: First, ensure your food processor is equipped with a shredding or grating disc. Most modern food processors come with both slicing and shredding attachments. Familiarize yourself with the different shredding plate options—typically fine and medium—and select the one appropriate for your recipe. If you’re in the market for a reliable model, many home cooks highly recommend a versatile food processor that handles various tasks with ease.
- Assemble the Processor: Place the chosen shredding attachment onto the food processor’s spindle. Secure the lid firmly in place. Ensure the feed chute, where you’ll insert the cheese, is open and ready.
- Prepare the Cheese: For optimal results and to prevent the cheese from jamming, cut your block of cold cheese into pieces that comfortably fit into the food processor’s feed chute. Long rectangles or cubes are usually ideal, depending on the size and shape of your chute.
- Process with Caution: Turn on your food processor. Carefully feed the prepared cheese pieces through the feed chute. Always use the food pusher tool provided with your processor to push the cheese down. Never use your fingers! The blades are extremely sharp.
- Collect and Enjoy: Continue feeding cheese until your entire block is shredded. Turn off the processor, remove the lid and disc, and carefully scoop out your perfectly shredded cheese.
Food Processor Tip:
Always work with very cold cheese. Cheese that is too warm can become gummy and clog the shredding disc, leading to uneven shreds and a messier cleanup. For an even easier shred, some users briefly chill their shredding disc in the freezer before use.
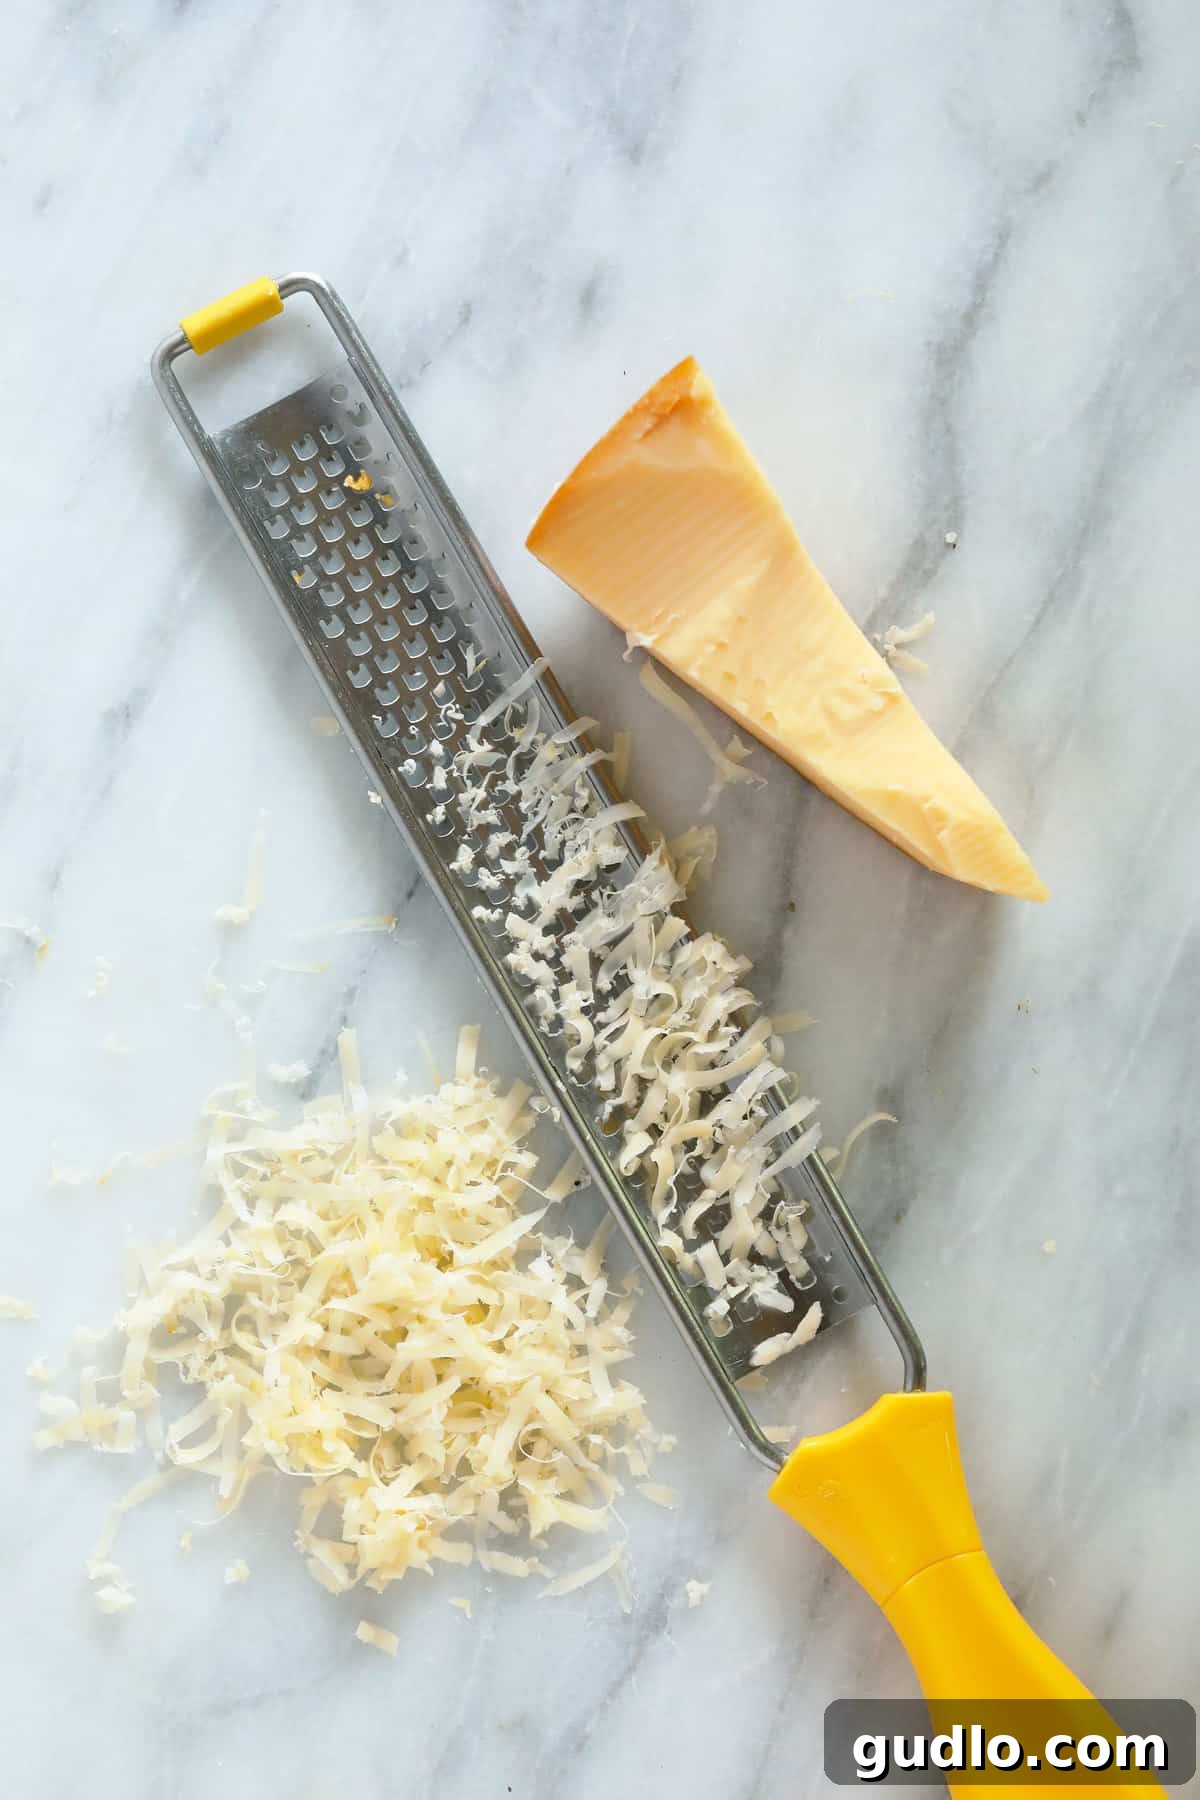
3. The Zester or Microplane: For Fine, Flavorful Shavings
If you lack a traditional grater or a food processor, a zester (also known as a microplane) can be a fantastic alternative, especially when you need finely grated cheese. Zesters are typically used for citrus zest or spices, but their super-sharp, tiny blades are incredibly effective at creating delicate, airy cheese shreds that melt almost instantly.
A zester operates much like a handheld grater, but on a miniature scale. Simply hold the zester firmly over a cutting board or directly over your dish. Take your block of cold cheese and move it back and forth across the blades, applying gentle pressure. You’ll quickly see fine, fluffy cheese falling away. This method is perfect for finishing dishes like pasta, salads, or risottos with a light, flavorful dusting of Parmesan or other hard cheeses. While it’s not ideal for large quantities, it excels at producing a superior, melt-in-your-mouth texture for garnishes.
4. The Knife Method: When All Else Fails
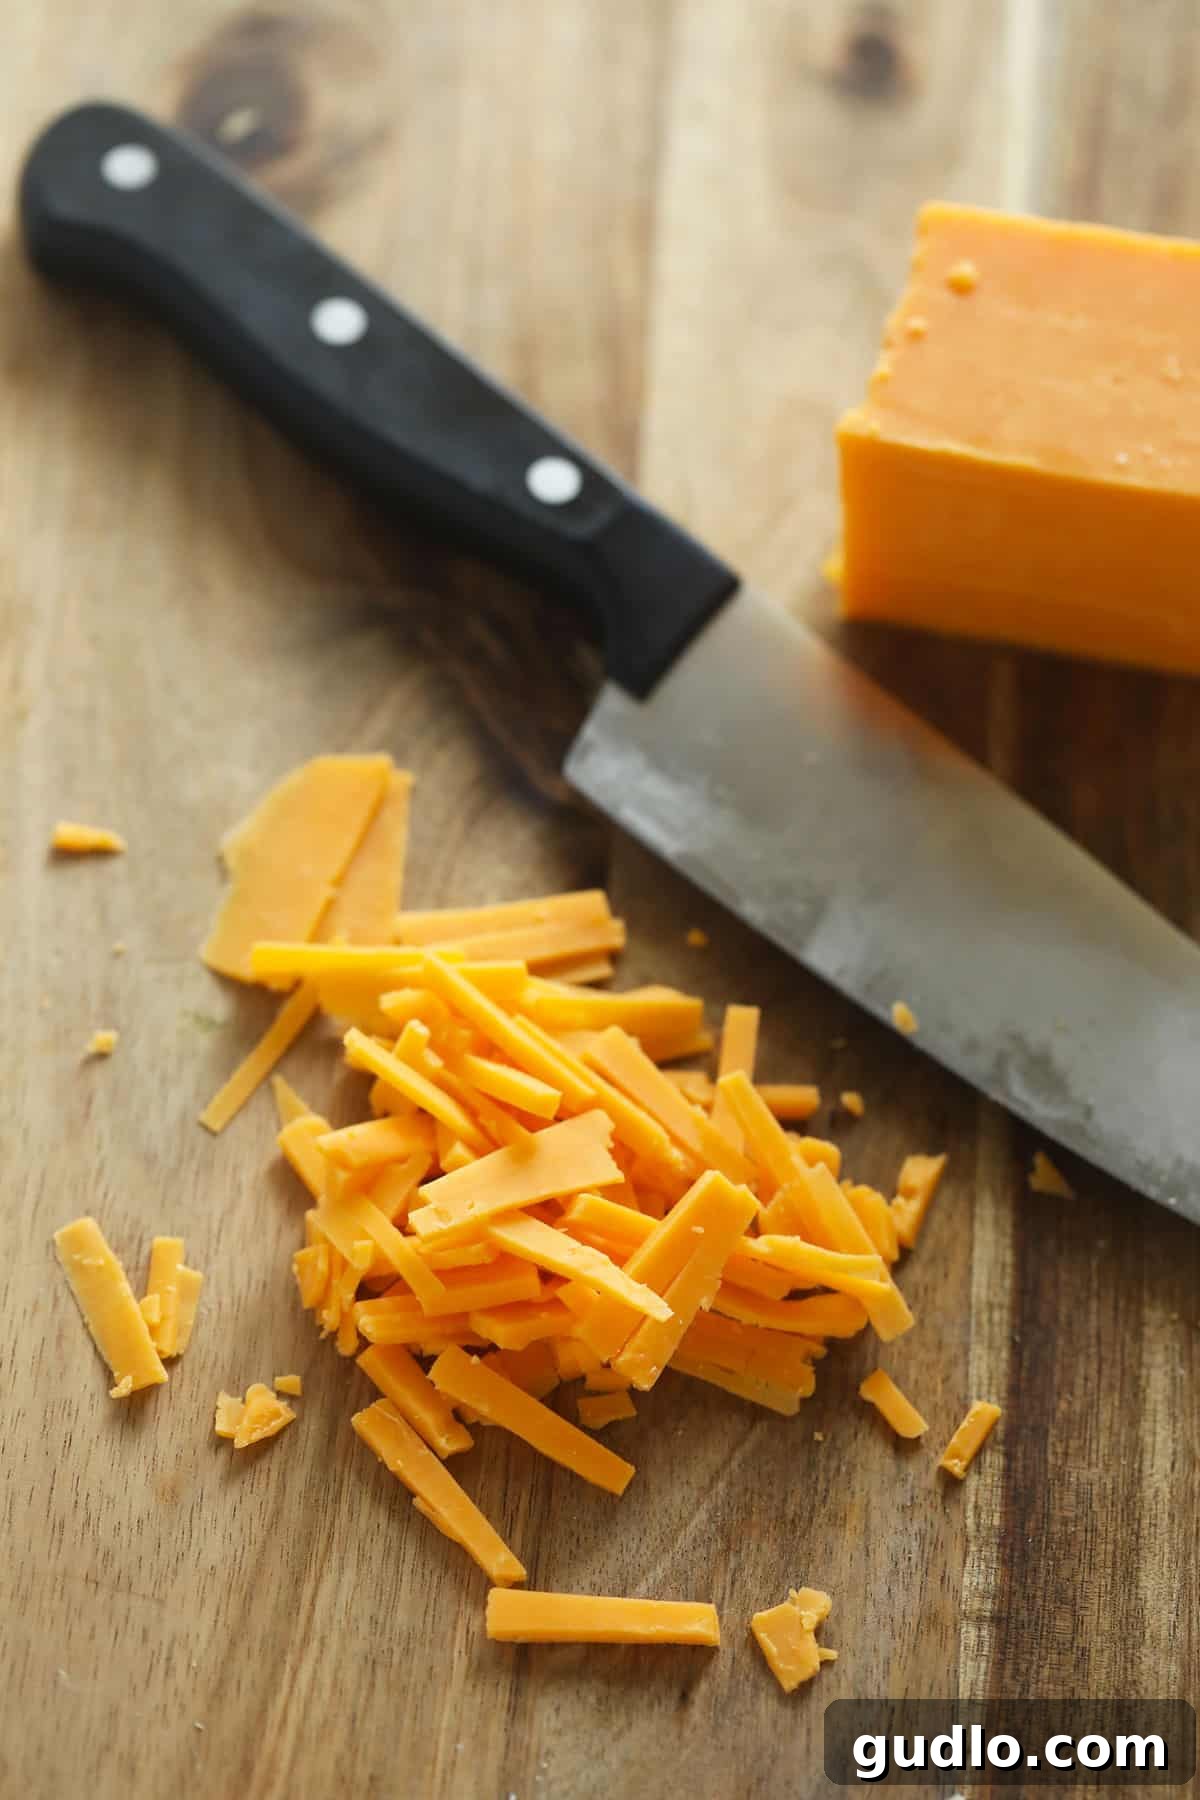
In a pinch, or if you find yourself without any specialized grating tools, a sharp knife can come to your rescue. While it won’t produce perfectly uniform shreds like a grater, this method allows you to create a “shred-like” consistency that works perfectly well in many recipes. The key is precision and patience.
- Start with Cold Cheese: As with other methods, begin with a cold, firm block of cheese. This makes it easier to slice thinly and prevents sticking.
- Thin Slices: Using a very sharp chef’s knife or utility knife, carefully cut a thin slice from the block of cheese. Aim for slices that are as uniform in thickness as possible.
- Create Matchsticks: Take each thin slice and stack a few together if they are small, or work with one at a time. Then, cut these slices into very thin matchsticks. Think of the technique used for julienning vegetables, like matchstick carrots. The thinner and more uniform your matchsticks, the closer they will resemble grated cheese.
- Repeat as Needed: Continue this process until you have the desired amount of cheese. While more labor-intensive, this method is surprisingly effective and ensures you always have “shredded” cheese, no matter your kitchen arsenal.
Storing Freshly Grated Cheese
Once you’ve gone to the effort of grating your own cheese, proper storage ensures it stays fresh and delicious. Unlike store-bought shredded cheese with its anti-caking agents, homemade grated cheese is more prone to clumping if not stored correctly. The best approach is to store it in an airtight container or a resealable bag, removing as much air as possible. You can also add a tablespoon of cornstarch or arrowroot powder per cup of grated cheese and toss gently; this acts as a natural anti-caking agent. Store in the refrigerator for up to 5-7 days. For longer storage, freshly grated cheese freezes well. Spread it in a single layer on a baking sheet, freeze until solid, then transfer to a freezer-safe bag. It will keep for up to 3 months and can be used directly from the freezer in most cooked dishes.
More of our Favorite Recipes Using Shredded Cheese:
Delicious Shredded Cheese Recipes to Try
Now that you’re a master of grating cheese, it’s time to put your skills to good use! Freshly shredded cheese enhances a myriad of dishes, adding unparalleled flavor and texture. Here are a few favorite recipes where homemade shredded cheese truly shines:
- Creamy Broccoli Cheese Soup: A comforting classic, made even richer with melty, fresh cheddar.
- Crispy Parmesan Chicken Nuggets: The finely grated Parmesan creates an irresistible golden crust.
- Classic Mac and Cheese: The ultimate comfort food, elevated by a blend of perfectly melted, freshly grated cheeses.
- Cheesy Enchiladas or Tacos: Generous amounts of shredded Monterey Jack or cheddar for a truly authentic experience.
- Homemade Pizza: A mix of mozzarella and provolone, grated just before baking for the perfect stretch and bubble.
- Breakfast Burritos or Omelets: Quick and easy, with a sprinkle of your favorite grated cheese.
Don’t limit yourself to these suggestions – experiment with different cheese types and shred sizes to discover new favorites!
How to Grate Cheese (without a grater)
Discover multiple easy ways to grate cheese, even if you don’t have a traditional grater. From box graters to food processors, zesters, and even a simple knife, achieve perfect shreds every time for your favorite recipes.
By: Honeycomb Media
Cook: 0 mins
Total: 10 mins
Servings: 4
Pin Recipe
Print Recipe
Ingredients
- 8 oz. hard cheese, any kind, cold
Instructions
Using a Cheese Grater or Zester
- Place a cheese grater or zester on a stable cutting board.
- Carefully apply pressure: for a box grater, press the block against a grating surface; for a handheld grater or zester, firmly hold its side on the board.
- Take the cold block of cheese and push it firmly against the grain of the grater’s surface to shred the cheese.
- Continue until you have as much shredded cheese as needed.
Using a Food Processor
- Cut the cold cheese block into small cubes or long rectangles that fit comfortably into your food processor’s feed chute.
- Prepare your food processor for use by attaching the appropriate cheese shredding disc.
- Secure the lid on your food processor, ensuring the feed chute is open.
- Turn on the food processor and carefully feed the cheese pieces through the feed chute using the food pusher (never your hands!).
Using a Knife
- Start with a cold block of cheese. Using a sharp knife, carefully cut a thin slice of cheese from the block.
- Next, take that thin slice and finely cut it into thin matchsticks, similar to julienned carrots.
- Repeat this slicing and dicing process until you have the desired quantity of “shredded” cheese.
Tips & Notes
- Working with cold cheese is crucial for all methods to prevent clumping and achieve the best shred texture.
- Nutrition information provided is an approximation and based on extra sharp white cheddar cheese.
Nutrition Information (per serving)
Calories: 240 kcal,
Carbohydrates: 0 g,
Protein: 14 g,
Fat: 20 g,
Fiber: 0 g,
Sugar: 0 g
Nutrition information is automatically calculated and should be used as an approximation.
Love this recipe? Leave a comment below!
Don’t forget to tag your posts on social media with the hashtag #cheeseknees. We’d love to see your creations!