
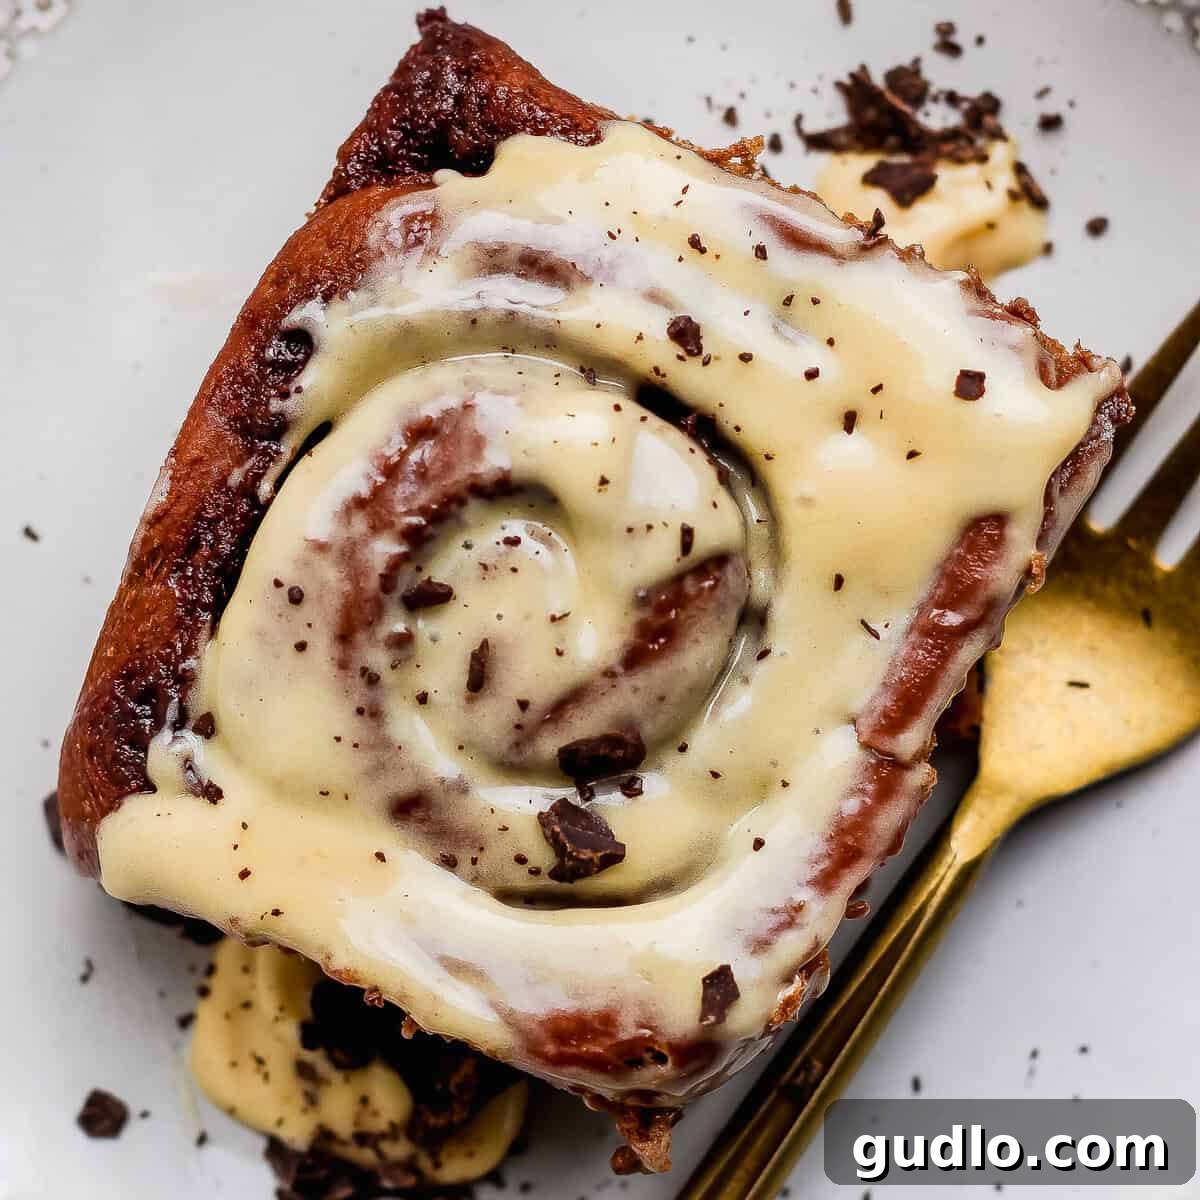
Decadent Double Chocolate Cinnamon Rolls with Espresso Cream Cheese Frosting
Your ultimate chocolate cinnamon roll dreams just came true! These truly decadent rolls are rich with chocolate in both the tender dough and the gooey, sweet filling. They are then crowned with a simple, yet irresistible, cream cheese frosting infused with a subtle hint of espresso for that perfect ‘oomph’ that elevates every bite. Prepare to fall in love with this intensely flavorful and wonderfully soft pastry.
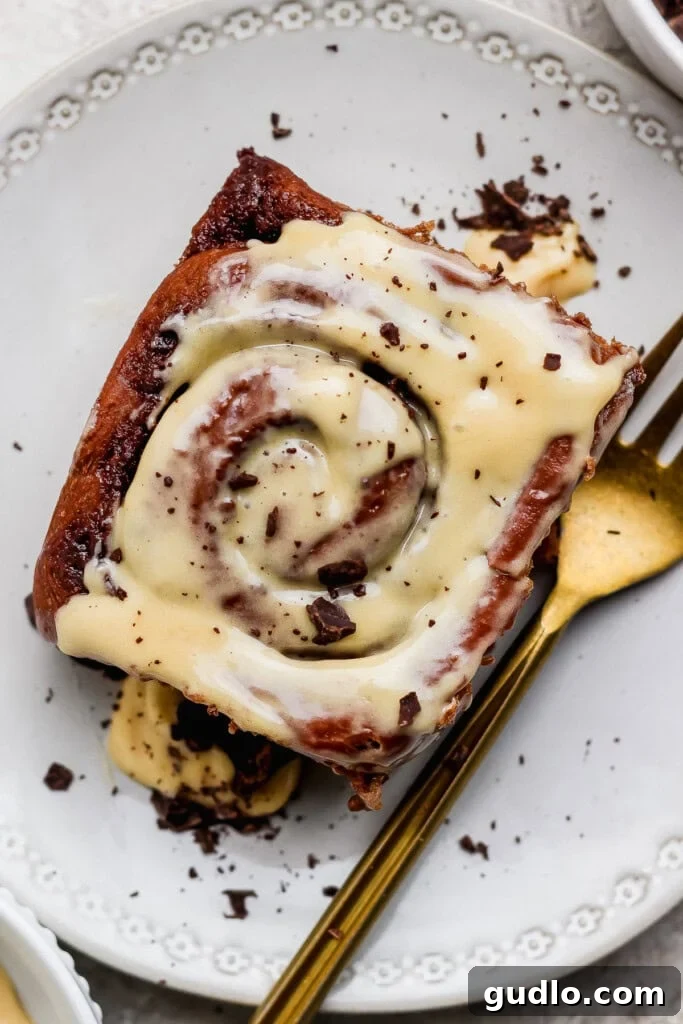
Chocolate Cinnamon Rolls: A Sweet Indulgence
The most insane chocolate rolls you’ll ever taste, boasting a sweet, rich chocolate filling nestled within a soft, cocoa-infused dough, and crowned with a luscious, drippy espresso-infused cream cheese frosting. This recipe is a chocolate lover’s absolute dream, delivering unparalleled flavor and a melt-in-your-mouth texture.
By: Lee Funke
Ingredients You’ll Need
For the Tender Chocolate Dough
- 1.25 cups 2% milk, warmed to 100-110°F (38-43°C)
- 2.25 teaspoons quick-rise yeast (or active dry yeast)
- ¼ cup light brown sugar, packed
- 1 large egg, at room temperature
- 3 tablespoons unsalted butter, melted and slightly cooled
- 1 teaspoon pure vanilla extract
- 3.5 cups all-purpose flour, plus more for dusting
- ½ cup unsweetened cocoa powder (Dutch-processed for a darker color)
- ½ teaspoon fine sea salt
For the Rich Chocolate Filling
- 5 tablespoons unsalted butter, softened to room temperature
- ½ cup light brown sugar, firmly packed
- 2 tablespoons unsweetened cocoa powder
For the Dreamy Espresso Cream Cheese Frosting
- 3 tablespoons unsalted butter, softened
- 3 oz. cream cheese, softened (full-fat works best for richness)
- 1 ¼ cups powdered sugar, sifted to prevent lumps
- ½ teaspoon pure vanilla extract
- 1 teaspoon espresso powder (or instant coffee powder)
- ¼ cup 2% milk, or as needed for desired consistency
Step-by-Step Instructions to Bake Perfection
- **Activate the Yeast:** In a large mixing bowl, gently combine the warm milk (ensure it’s precisely between 100-110°F to properly activate the yeast without killing it) and the quick-rise yeast. Stir once, then let it rest for approximately 5 minutes until the mixture becomes visibly foamy and emits a pleasant yeasty aroma. This indicates your yeast is active and ready to work its magic.
- **Combine Wet Ingredients:** To the activated yeast mixture, add the packed brown sugar, the large egg, the melted and slightly cooled unsalted butter, and the pure vanilla extract. Whisk these ingredients together until they are thoroughly combined and present a smooth, uniform liquid mixture.
- **Form the Chocolate Dough:** In the bowl of a stand mixer fitted with a dough hook attachment, slowly begin adding the all-purpose flour, unsweetened cocoa powder, and sea salt to the wet ingredients. Start mixing on a low-medium speed. Continue to mix until all the flour and cocoa are fully incorporated, and a shaggy, somewhat sticky dough begins to form. Increase the speed slightly and knead the dough for an additional 2-3 minutes, or until it transforms into a smooth, elastic, and supple consistency. A good test is to gently poke the dough; it should bounce back readily. If the dough appears excessively sticky, incorporate a tiny bit more flour, adding it one tablespoon at a time until the desired texture is achieved.
- **First Rise (Proofing):** Lightly grease a clean, large mixing bowl with a neutral oil or non-stick spray. Transfer the prepared chocolate dough into this bowl, turning it once to ensure it’s lightly coated on all sides. Cover the bowl tightly with plastic wrap, then drape a clean tea towel over it to create a warm, moist environment. Place the bowl in a warm, draft-free spot (such as a slightly warm oven that has been turned off, with just the light on, or a sunny kitchen counter). Allow the dough to rise until it has visibly doubled in size, which typically takes about 1 to 1.5 hours, depending on the ambient temperature and yeast activity.
- **Prepare the Rich Chocolate Filling:** While your dough is undergoing its first rise, prepare the delectable chocolate filling. In a small bowl, combine the softened unsalted butter, firmly packed brown sugar, and unsweetened cocoa powder. Using a spoon or fork, vigorously stir and mash these ingredients together until they form a smooth, uniform, and easily spreadable paste. Set this mixture aside at room temperature.
- **Roll Out the Dough:** Once the chocolate dough has successfully doubled in size (after its 1 to 1.5-hour rise), gently punch it down to release the accumulated air. Turn the dough out onto a clean, lightly floured work surface. Using a rolling pin, carefully roll the dough into a large, even rectangle, approximately 18 inches long, 12 inches wide, and about ¼ inch thick. Strive for consistent thickness across the entire rectangle to ensure even baking.
- **Spread the Filling:** Evenly spread the entire batch of the prepared chocolate butter mixture over the surface of the rolled-out dough. Make sure to leave a small border (about half an inch wide) along one of the long edges of the rectangle. This small border will help to seal the roll effectively when you start rolling.
- **Roll into a Tight Log:** Carefully, starting from the long side opposite the unfilled border, begin to tightly roll the dough into a log. A tight roll is crucial for creating those beautiful, well-defined spirals in your finished cinnamon rolls. If you prefer larger, more classic-sized rolls, you can start rolling from one of the shorter sides instead.
- **Slice the Rolls:** Once you have a firm log, use a very sharp knife or a piece of unflavored dental floss to slice the log into individual rolls, each approximately 1 inch thick. Using dental floss can help create exceptionally clean cuts without squishing the dough. From an 18-inch log, you should yield about 12 rolls, though this can vary slightly based on how tightly you rolled the dough and your chosen starting side.
- **Arrange in Baking Dish:** Prepare a 9×13-inch baking dish by lightly buttering it or lining it with parchment paper for effortless removal. Carefully arrange the sliced chocolate rolls in the prepared dish, ensuring they are placed just barely touching each other. Depending on the size of your rolls, you can typically fit them in a 3×4 pattern. If your rolls are larger, you might use a 2×4 pattern, placing any extra rolls in a separate, smaller baking dish.
- **Make-Ahead Option (Overnight Rolls):** If you wish to prepare these rolls in advance, cover the baking dish tightly with plastic wrap and place it in the refrigerator for up to 12 hours (perfect for an overnight rise). When you’re ready to bake, remove them from the fridge and allow them to come to room temperature for approximately 30 minutes before proceeding to step 13. This step is important for even baking and a good rise.
- **Second Rise (For Immediate Baking):** If you are baking the rolls immediately, cover the dish with plastic wrap and then a clean tea towel. Place them back in a warm, draft-free spot for their second rise. Allow them to rise for about 30 minutes, or until the rolls have visibly expanded and are gently touching each other. While the rolls are completing their second rise, preheat your oven to 350°F (175°C).
- **Bake to Perfection:** Place the baking dish containing the chocolate sweet rolls into your preheated oven. Bake for 18-22 minutes. Baking times can vary slightly depending on your oven, so it’s important to monitor them closely. The rolls are ready when the centers are set, and the edges are lightly golden. Be extremely careful not to overbake, as this can result in dry rolls; they should still feel wonderfully soft to the touch.
- **Cooling:** Once baked, remove the baking dish from the oven and allow the chocolate cinnamon rolls to cool on a wire rack for about 10 minutes before applying the frosting. This slight cooling period allows the rolls to set slightly while still being warm enough for the frosting to melt just enough, creating a beautiful, drippy glaze without completely soaking in.
- **Prepare the Espresso Cream Cheese Frosting:** While the rolls are cooling, prepare the luxurious cream cheese frosting. In a large mixing bowl, combine the softened unsalted butter and softened cream cheese. Using an electric mixer (either handheld or a stand mixer with a paddle attachment), beat these ingredients together on medium speed until the mixture is completely smooth, creamy, and thoroughly combined, ensuring there are no lumps of cream cheese remaining.
- **Finish the Frosting:** Gradually add the sifted powdered sugar, pure vanilla extract, and espresso powder to the cream cheese mixture. Start mixing on low speed to prevent a cloud of powdered sugar from forming, then increase the speed to medium and beat until the frosting is fully combined, light, and smooth. If the frosting appears too thick for your preference, add the 2% milk one tablespoon at a time, beating after each addition, until you achieve your desired drippy yet spreadable consistency.
- **Frost and Serve:** Generously spread the luscious espresso cream cheese frosting over the warm (but not hot) chocolate cinnamon rolls. The gentle warmth of the rolls will encourage the frosting to slightly melt and beautifully drip into every delicious crevice. Serve these decadent rolls immediately and savor every rich, chocolatey, and coffee-kissed bite!
Expert Tips for Perfect Chocolate Cinnamon Rolls Every Time
- **Accurate Milk Temperature is Crucial:** The success of your yeast dough hinges on the milk temperature. Use a food thermometer to ensure your milk is precisely between 100-110°F (38-43°C). Milk that is too cold won’t activate the yeast, while milk that is too hot will kill it, preventing your dough from rising.
- **Avoid Over-Flouring:** Resist the urge to add excessive flour. Too much flour can lead to a dense, dry, and tough dough. Add flour gradually until the dough is smooth and elastic but still has a slight tackiness. The goal is a soft, pliable dough.
- **Find a Warm, Draft-Free Rising Spot:** Yeast thrives in warmth. A slightly warm oven (turned off, with just the oven light on), a sunny windowsill, or even near a radiator can provide the ideal environment for your dough to rise beautifully and efficiently.
- **Roll Tightly for Defined Swirls:** When rolling out the dough with the filling, take your time to roll it as tightly as possible. A tight log creates those gorgeous, distinct spirals that are a hallmark of a perfect cinnamon roll.
- **Clean Cuts with a Sharp Tool:** For perfectly even and clean-cut rolls, use a very sharp, un-serrated knife, or better yet, unflavored dental floss. Dental floss slides through the dough easily, preventing squishing and maintaining the rolls’ round shape.
- **Do Not Overbake Your Rolls:** Overbaking is the arch-nemesis of soft, tender rolls. Bake only until the centers are just set and the edges are very lightly golden. Remember that the rolls will continue to cook slightly from residual heat after they are removed from the oven.
- **Sift Powdered Sugar for Smooth Frosting:** Always sift your powdered sugar for the cream cheese frosting. This simple step eliminates any lumps, ensuring your frosting is wonderfully silky-smooth and easy to spread.
- **Adjust Frosting Consistency Gradually:** The amount of milk needed for the frosting can vary based on humidity and ingredient temperatures. Add the milk one tablespoon at a time, mixing after each addition, until you achieve a consistency that is both easy to spread and beautifully drippy.
Delicious Variations to Customize Your Rolls
- **Nutty Chocolate Delight:** For an added layer of texture and flavor, sprinkle finely chopped pecans, walnuts, or even hazelnuts over the chocolate filling before rolling the dough.
- **Spicy Chocolate Twist:** Introduce a hint of warmth by adding a small pinch of cayenne pepper to the chocolate filling. Alternatively, a dash of ground cinnamon in the dough itself can add a subtle, intriguing spice.
- **Zesty Orange Pairing:** Chocolate and orange are a classic, beloved combination. Incorporate a teaspoon of fresh orange zest into either the chocolate dough or the cream cheese frosting for a bright, aromatic lift.
- **Boozy Coffee Boost:** For an adult-friendly twist, stir a tablespoon of coffee liqueur like Kahlua or a similar spirit into the espresso cream cheese frosting. This enhances the coffee notes and adds a sophisticated depth.
- **Extra Chocolatey Indulgence:** If you can’t get enough chocolate, sprinkle a generous amount of mini or regular chocolate chips over the chocolate filling before rolling. These will melt into gooey pockets of chocolatey bliss as the rolls bake.
Storage and Serving Suggestions
These decadent chocolate cinnamon rolls are undeniably at their best when enjoyed warm, fresh from the oven, with the espresso cream cheese frosting still deliciously gooey and slightly melted. However, if you find yourself with leftovers (a rare occurrence!), they can be stored to preserve their goodness.
Place any remaining frosted rolls in an airtight container at room temperature for up to 2 days, ensuring they stay fresh and soft. For longer storage, refrigerate them in an airtight container for up to 5 days. When you’re ready to enjoy them again, reheat gently in the microwave for 15-30 seconds until warmed through, or in a low oven (250°F/120°C) for 10-15 minutes, which helps revive their tender texture.
These chocolate cinnamon rolls make an exquisite addition to any breakfast or brunch spread, transforming an ordinary morning into something extraordinary. They also serve as a comforting and indulgent afternoon treat, especially when paired with a fresh cup of coffee or a tall glass of milk. Don’t hesitate to serve them as a surprisingly decadent dessert, perhaps garnished with a delicate sprinkle of cocoa powder, elegant chocolate shavings, or even a few whole coffee beans for a truly sophisticated touch.
Nutrition information is automatically calculated and should only be used as an approximation. It is not intended as a substitute for professional nutritional advice and may vary based on specific ingredients and preparation methods.