
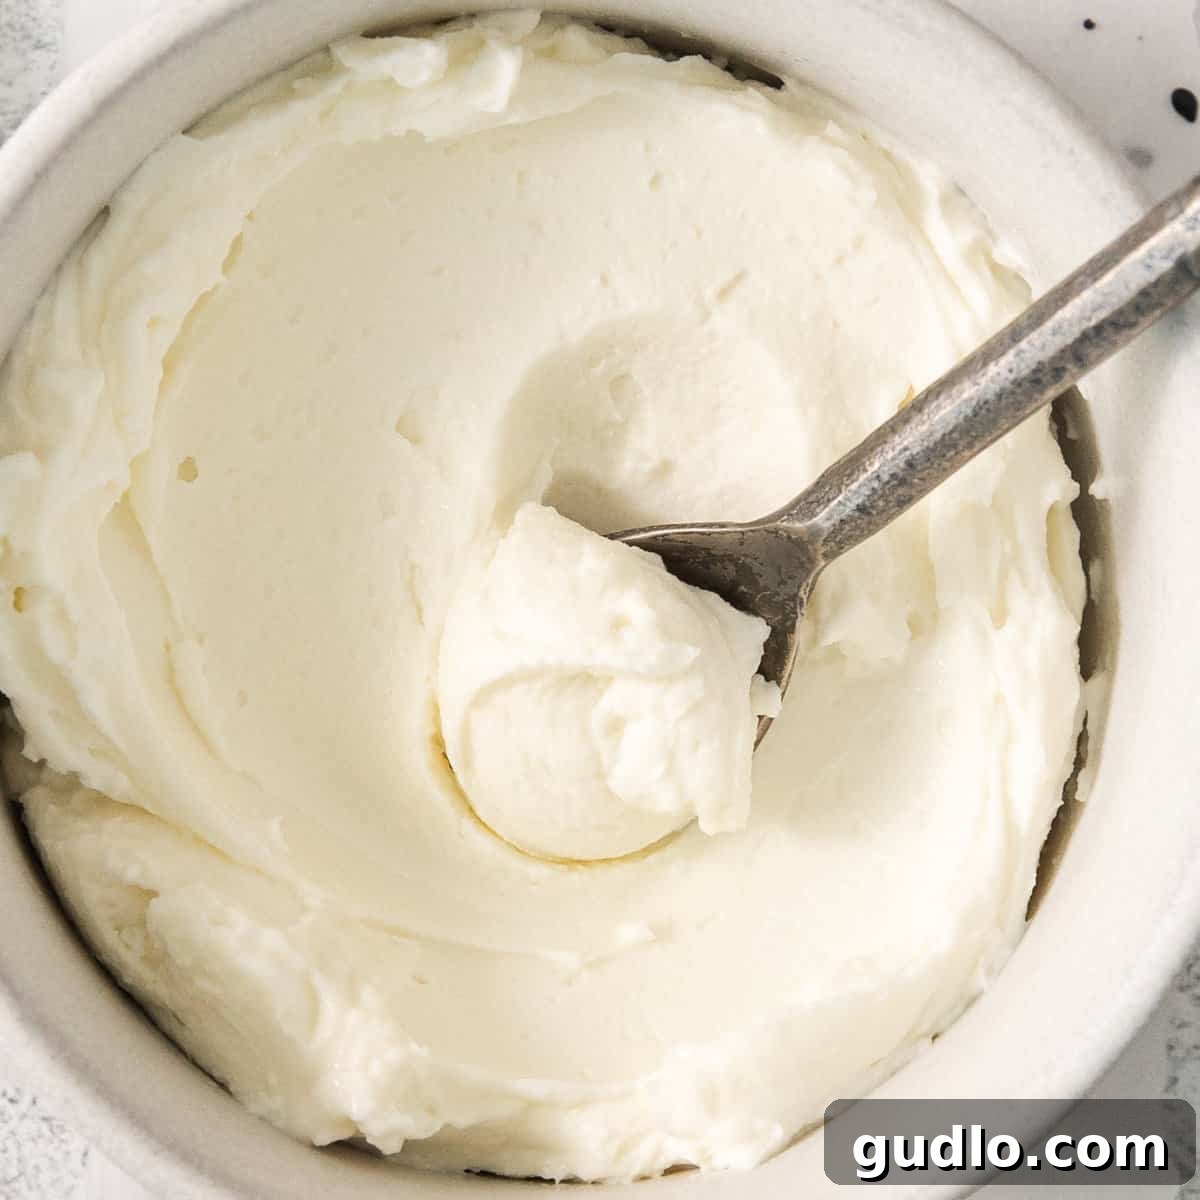
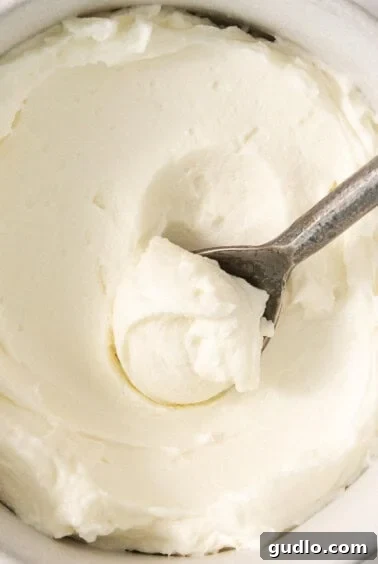
Unlock the secrets to crafting your own luscious, velvety smooth cream cheese right in your kitchen! Our comprehensive, step-by-step guide on how to make cream cheese at home makes the process incredibly simple, ensuring you enjoy fresh, wholesome cream cheese in just a few easy steps. Say goodbye to store-bought varieties and hello to the unparalleled taste and versatility of homemade goodness.
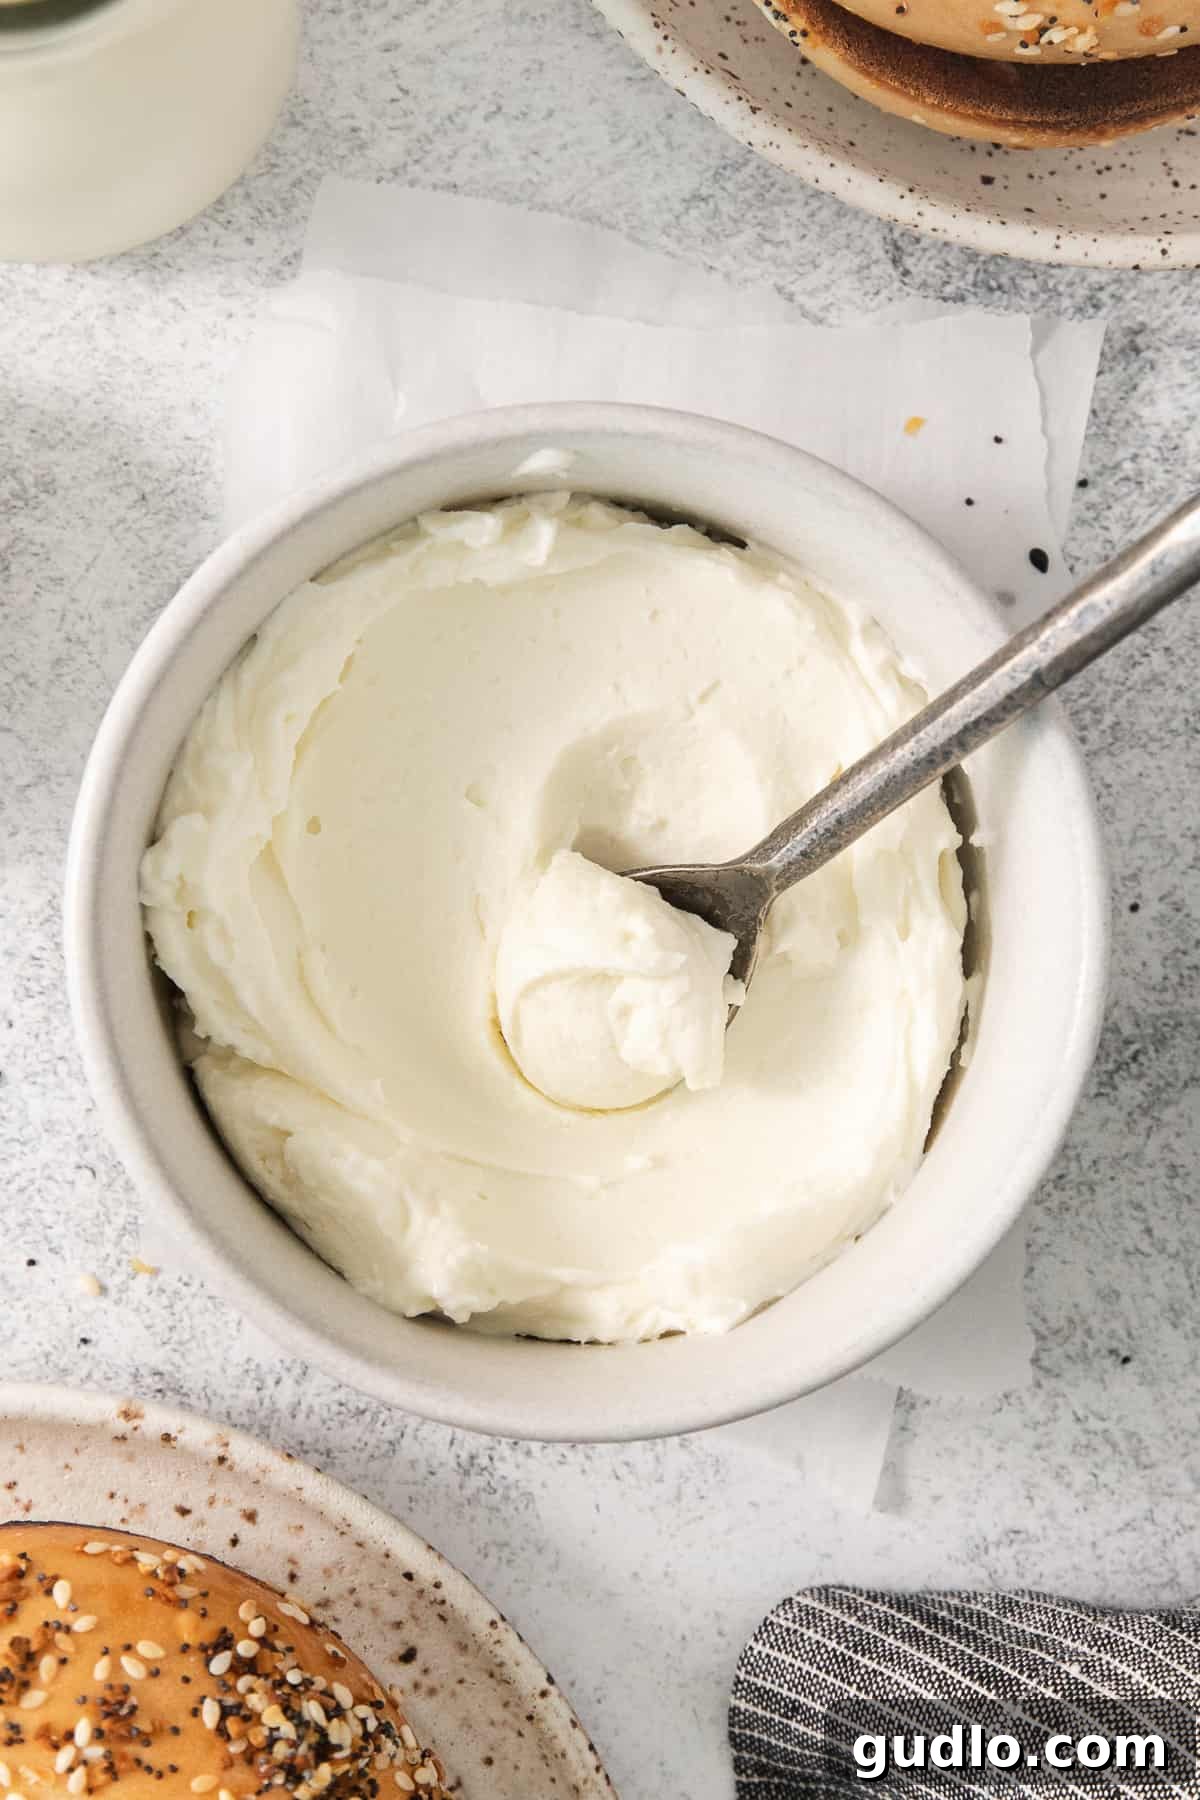
Mastering the Art of Homemade Cream Cheese: A Simple Guide
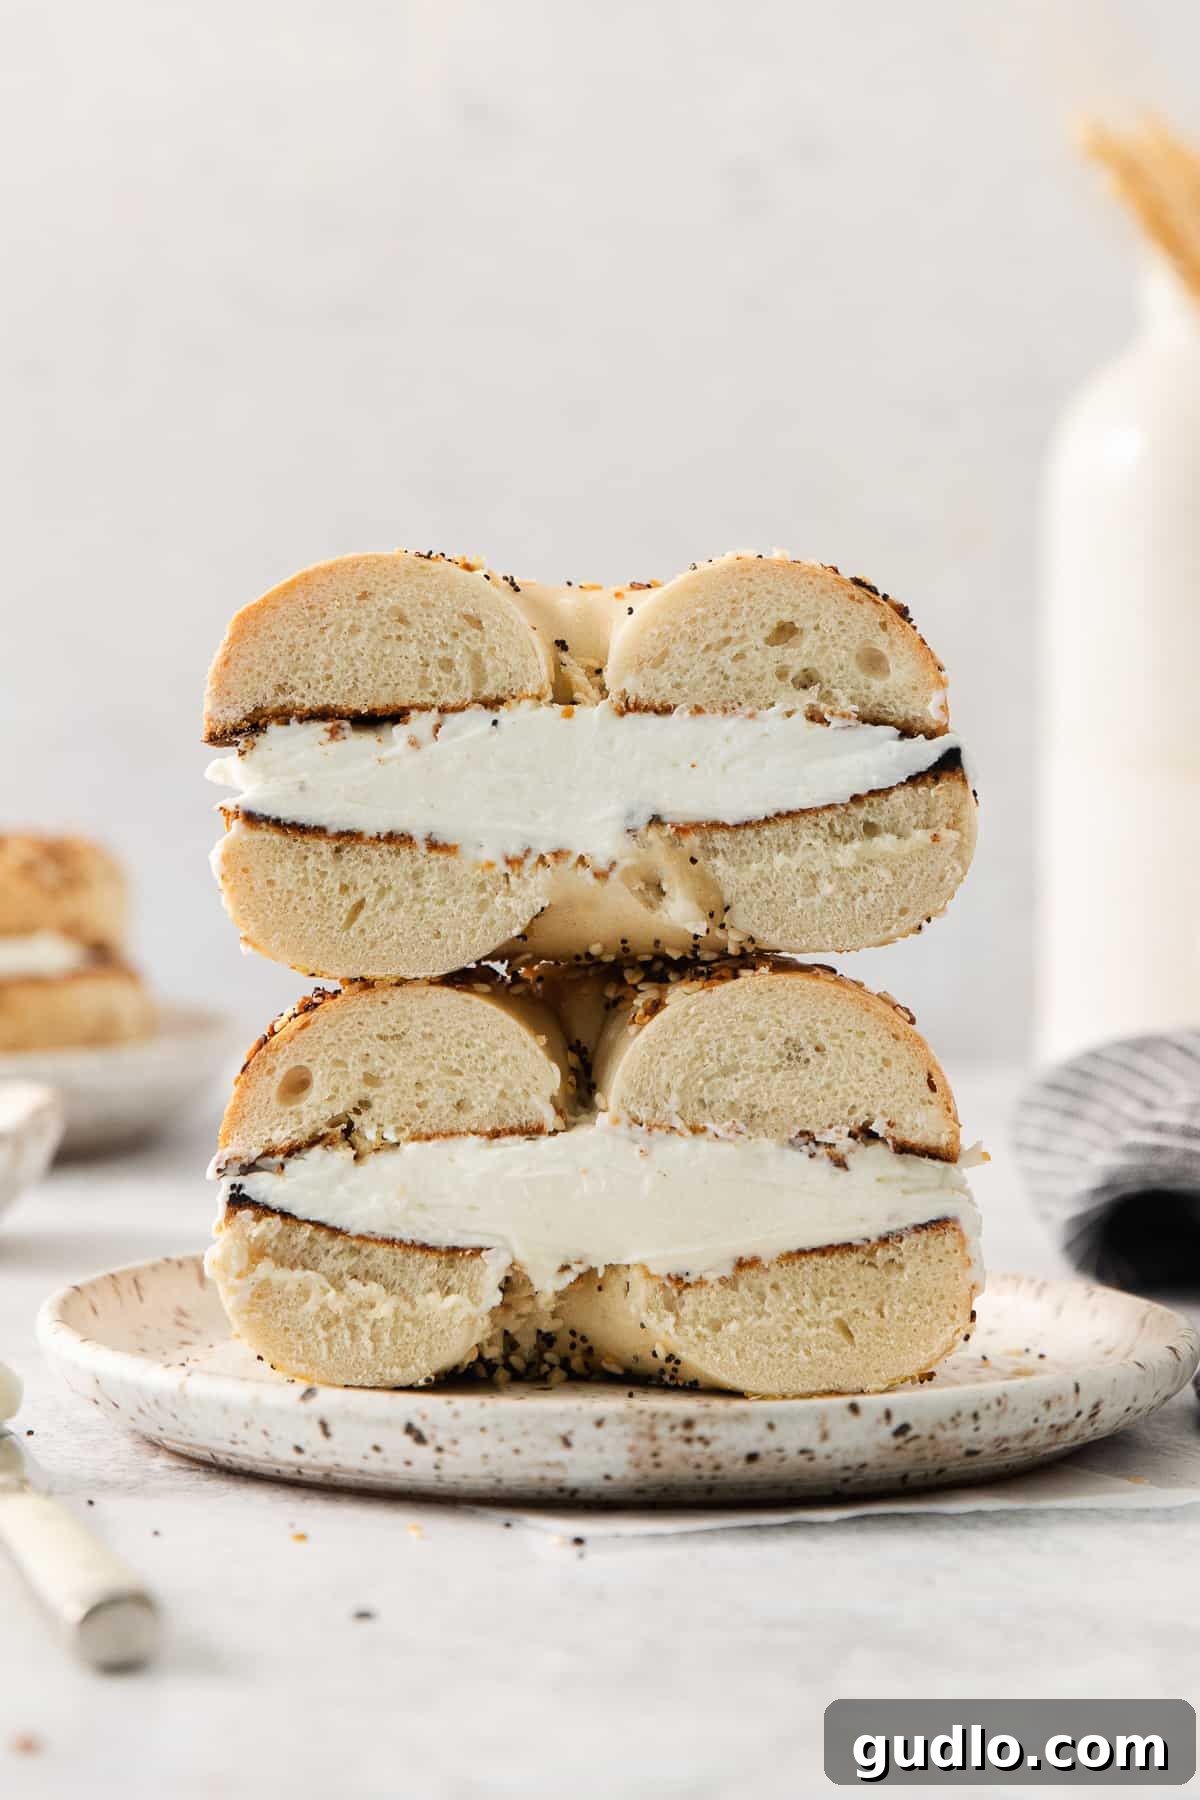
Cream cheese is a culinary staple, celebrated for its mild flavor and creamy texture. Whether you’re a fan of slathering it generously onto a freshly toasted bagel for a quick breakfast, incorporating it into a rich and comforting cream cheese pasta sauce, or transforming it into a decadent dessert like our irresistible chocolate cream cheese frosting, its versatility knows no bounds. This beloved dairy product can effortlessly transition between savory and sweet applications, making it a true kitchen hero.
But imagine the satisfaction of knowing you’ve created this creamy delight from scratch! Today marks the day you embark on your journey to making your very own homemade cream cheese. It’s an experience that promises both delicious results and a deeper appreciation for this foundational ingredient.
What exactly is cream cheese? At its core, cream cheese is a soft, fresh cheese crafted from milk and cream. Its distinctive mild flavor and spreadable consistency make it a popular choice for baking, cooking, and simply as a delightful spread. Unlike aged cheeses, cream cheese is meant to be enjoyed fresh, offering a pure, unadulterated dairy taste.
Why You’ll Absolutely Love Making Your Own Cream Cheese!
Diving into the world of homemade dairy might seem daunting, but making cream cheese is surprisingly straightforward and incredibly rewarding. Here are just a few compelling reasons why you’ll fall in love with this DIY project:
- Effortlessly Simple: Forget complex techniques and obscure ingredients. Our recipe simplifies the cheesemaking process, making it accessible even for beginners. You’ll be amazed at how quickly you can transform basic dairy into a gourmet spread.
- Unmatched Versatility: The cream cheese you create will be a blank canvas for your culinary imagination. It’s perfect for both sweet concoctions like cheesecakes and frosting, and savory delights such as dips, spreads, or enriching sauces. Its neutral base allows other flavors to shine through beautifully.
- Minimalist Ingredients: You won’t need a lengthy shopping list. This recipe calls for just three fundamental ingredients, likely items you already have on hand. This not only makes the process convenient but also highlights the purity of homemade food.
- Fresher Taste, No Preservatives: Experience the true, fresh flavor of cream cheese without any artificial additives or preservatives often found in commercial products. You control exactly what goes into your food.
- Cost-Effective: Making your own cream cheese can be significantly more economical than continuously purchasing high-quality store-bought brands, especially if you use it frequently.
- Impress Your Guests: Serving homemade cream cheese is a fantastic way to add a special touch to your brunches, parties, or everyday meals. Your friends and family will be delighted and impressed by your culinary skills!
Essential Ingredients for Your Homemade Cream Cheese
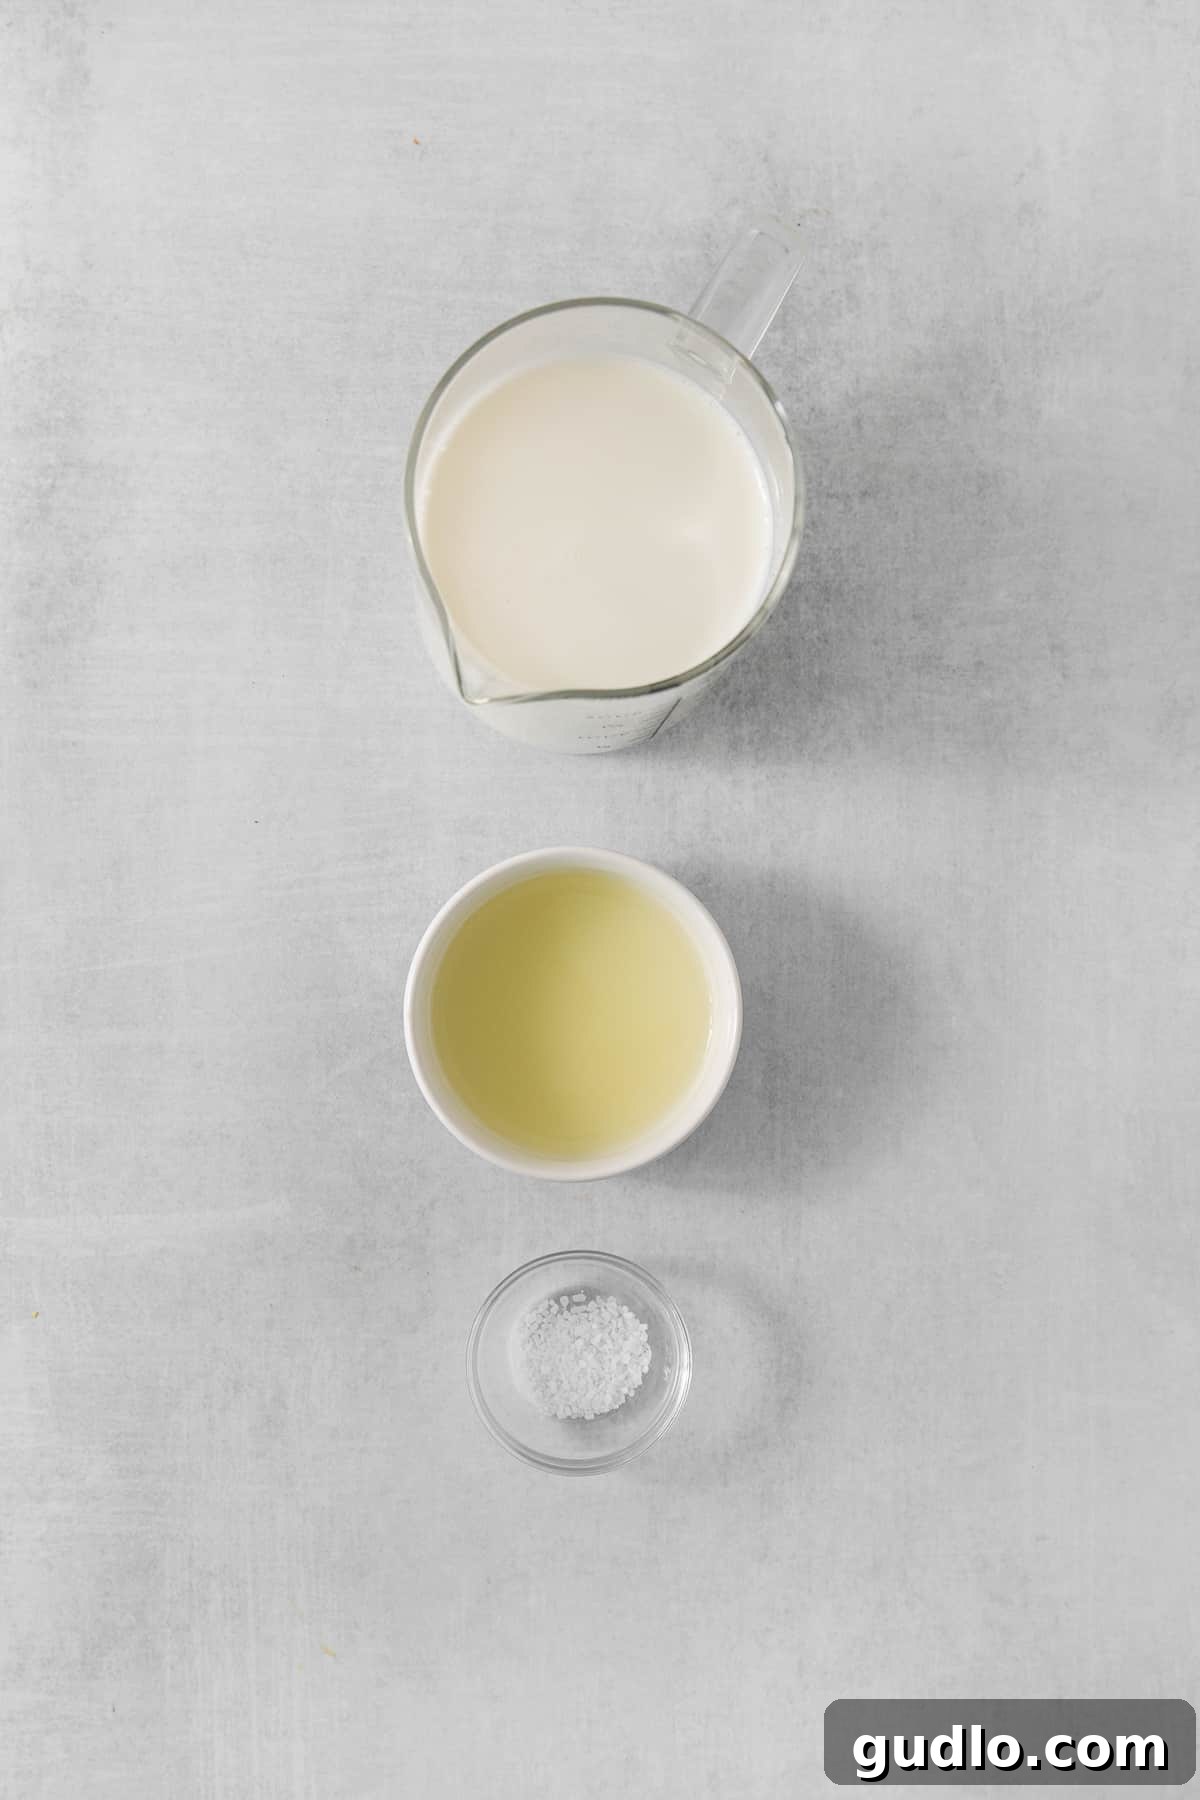
The beauty of this recipe lies in its simplicity, requiring just three core ingredients to achieve that rich, creamy texture and delightful flavor. Serious cheesemaking can involve complex cultures and precise temperatures, but for this fresh, quick cream cheese, we keep it incredibly straightforward. You will need:
- Whole Milk: This is the foundation of your cream cheese. Using whole milk is absolutely crucial because its higher fat content is what gives homemade cream cheese its luxurious creaminess and prevents a watery, grainy texture. Skim or low-fat milk simply won’t yield the desired results. The fat is essential for creating robust curds that will blend into a smooth, decadent spread.
- Fresh Lemon Juice: The magic behind curdling milk to form cheese lies in acid. Freshly squeezed lemon juice acts as our coagulant, gently separating the milk solids (curds) from the liquid (whey). The natural acidity also imparts a subtle, bright tanginess that is characteristic of classic cream cheese. While other acids like white vinegar can work, lemon juice offers a superior flavor profile.
- Salt: A pinch of salt does more than just enhance flavor; it also plays a role in the texture and shelf life of your cream cheese. It balances the tanginess from the lemon juice and brings out the inherent milky sweetness, making your homemade spread utterly delicious. We recommend fine sea salt for best integration.
That’s it! With these three humble ingredients, you’re well on your way to a truly remarkable homemade cream cheese.
Indispensable Equipment for Crafting Homemade Cream Cheese
While the ingredients list is short, having the right tools makes the cheesemaking process much smoother and more efficient. These pieces of equipment are key to ensuring a successful batch of homemade cream cheese:
- Cheesecloth: This essential fabric is specifically designed for cheesemaking. Its loose weave allows the liquid whey to drain away effectively while retaining the delicate milk curds. Using multiple layers of cheesecloth ensures that even the smallest curds are captured, leading to a higher yield and better consistency. It’s the primary tool for separating the solids from the liquids.
- Colander: A sturdy colander works in tandem with the cheesecloth. It provides the necessary support structure, allowing you to suspend the cheesecloth-lined curds over a bowl, ensuring efficient drainage of the excess liquid. Choose one with a stable base.
- Large Bowl: This bowl serves as the collection vessel for the whey as it drains from the curds. It needs to be large enough to comfortably hold your colander, with sufficient space beneath for the liquid to accumulate without touching the straining curds.
- Heavy-Bottom Saucepan: A saucepan with a thick, heavy base is crucial for heating the milk evenly and preventing scorching. This helps maintain a consistent temperature, which is important for the milk to curdle properly without sticking to the bottom.
- Food Processor: After straining, your curds will be somewhat lumpy. A food processor is indispensable for transforming these curds into the silky-smooth, spreadable cream cheese texture you expect. Its powerful blades break down the curds and emulsify them, creating that characteristic creamy consistency. Don’t skip this step for the best results!
- Thermometer: While not strictly mandatory if you’re experienced in observing milk’s behavior, a kitchen thermometer (instant-read or candy thermometer) is incredibly helpful. It allows you to accurately monitor the temperature of your milk as it heats, ensuring it reaches the ideal point for curdling, which can prevent issues with separation.
Deep Dive!
Cream Cheese 101: Your Complete Guide
Curious to learn even more about this fantastic ingredient? Dive into our comprehensive guide, “Cream Cheese 101,” where we cover everything from its history and varieties to its nutritional value and best uses. Expand your knowledge and become a cream cheese connoisseur!
Your Step-by-Step Guide to Making Homemade Cream Cheese
Making cream cheese is a journey of transformation, turning simple milk into a rich, spreadable delight. Follow these steps carefully for the best results:
Step 1: Gently Heat the Whole Milk
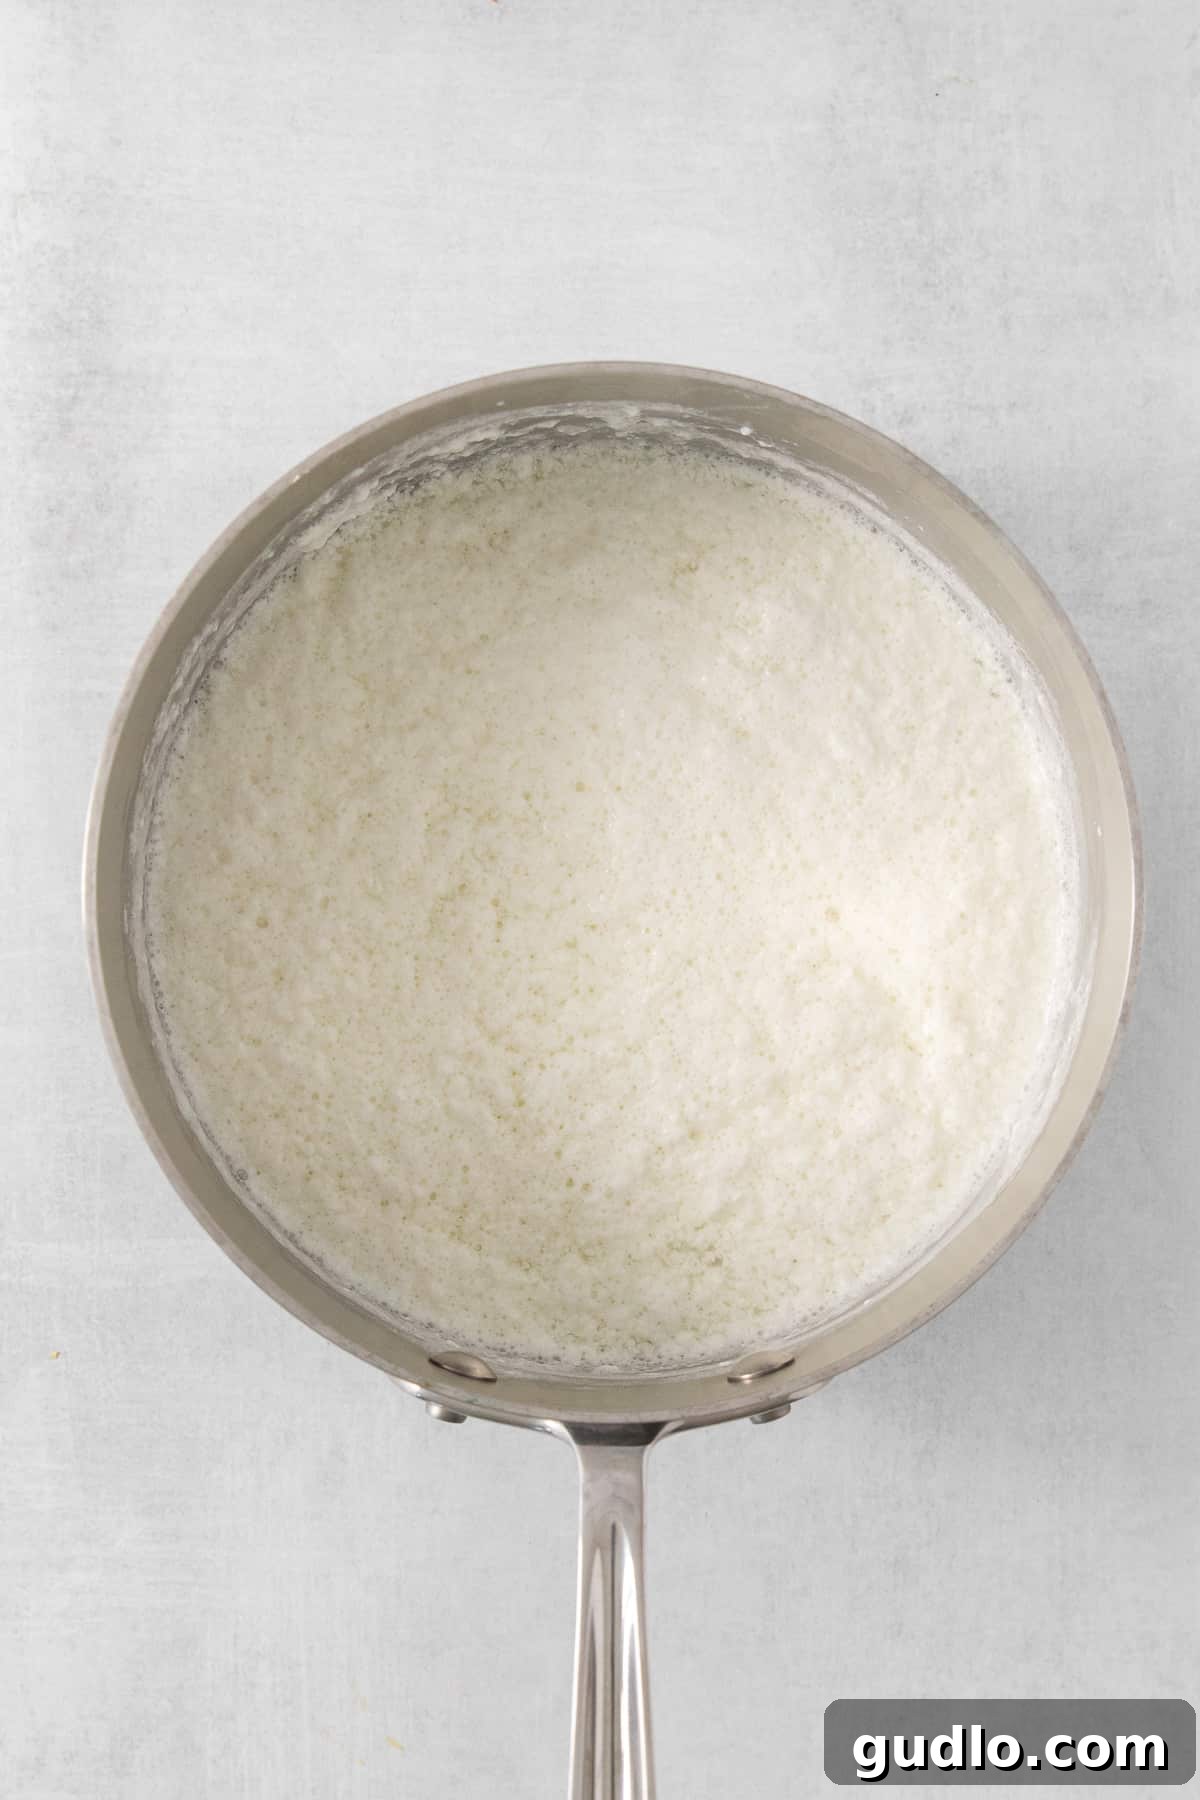
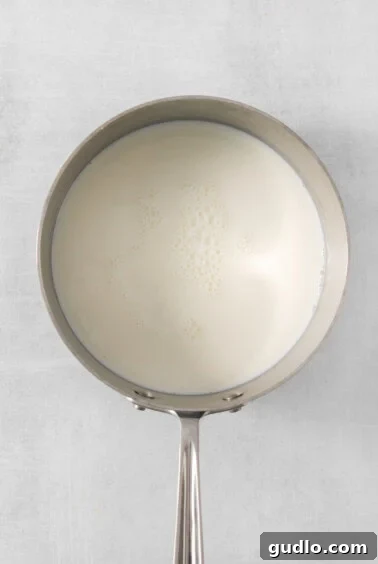
Begin by pouring your whole milk into a heavy-bottomed saucepan. Place the saucepan over medium heat. The goal here is to bring the milk to a soft boil, meaning you should see small bubbles forming around the edges and a slight simmering motion, but avoid a vigorous, rolling boil. If you’re using a thermometer, aim for a temperature between 180-200°F (82-93°C). This heating process denatures the milk proteins, making them more susceptible to curdling when acid is introduced. Stir occasionally to prevent scorching the bottom.
Step 2: Add Lemon Juice and Initiate Curdling
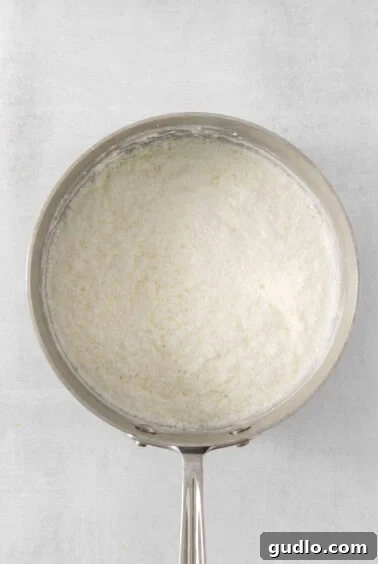
Once the milk has reached its soft boil, remove the saucepan from the heat immediately. This prevents the milk from boiling over and helps stabilize the temperature for optimal curdling. Now, add the fresh lemon juice. Start with 3 tablespoons. Using a slotted spoon or a whisk, gently stir the mixture together for about 15-30 seconds. You should almost immediately observe the magical transformation: the milk will begin to separate into solid white curds and a translucent, yellowish liquid known as whey. If, after 30 seconds, significant curdling hasn’t occurred, add an additional tablespoon of lemon juice and stir again.
Step 3: Strain the Curds from the Whey
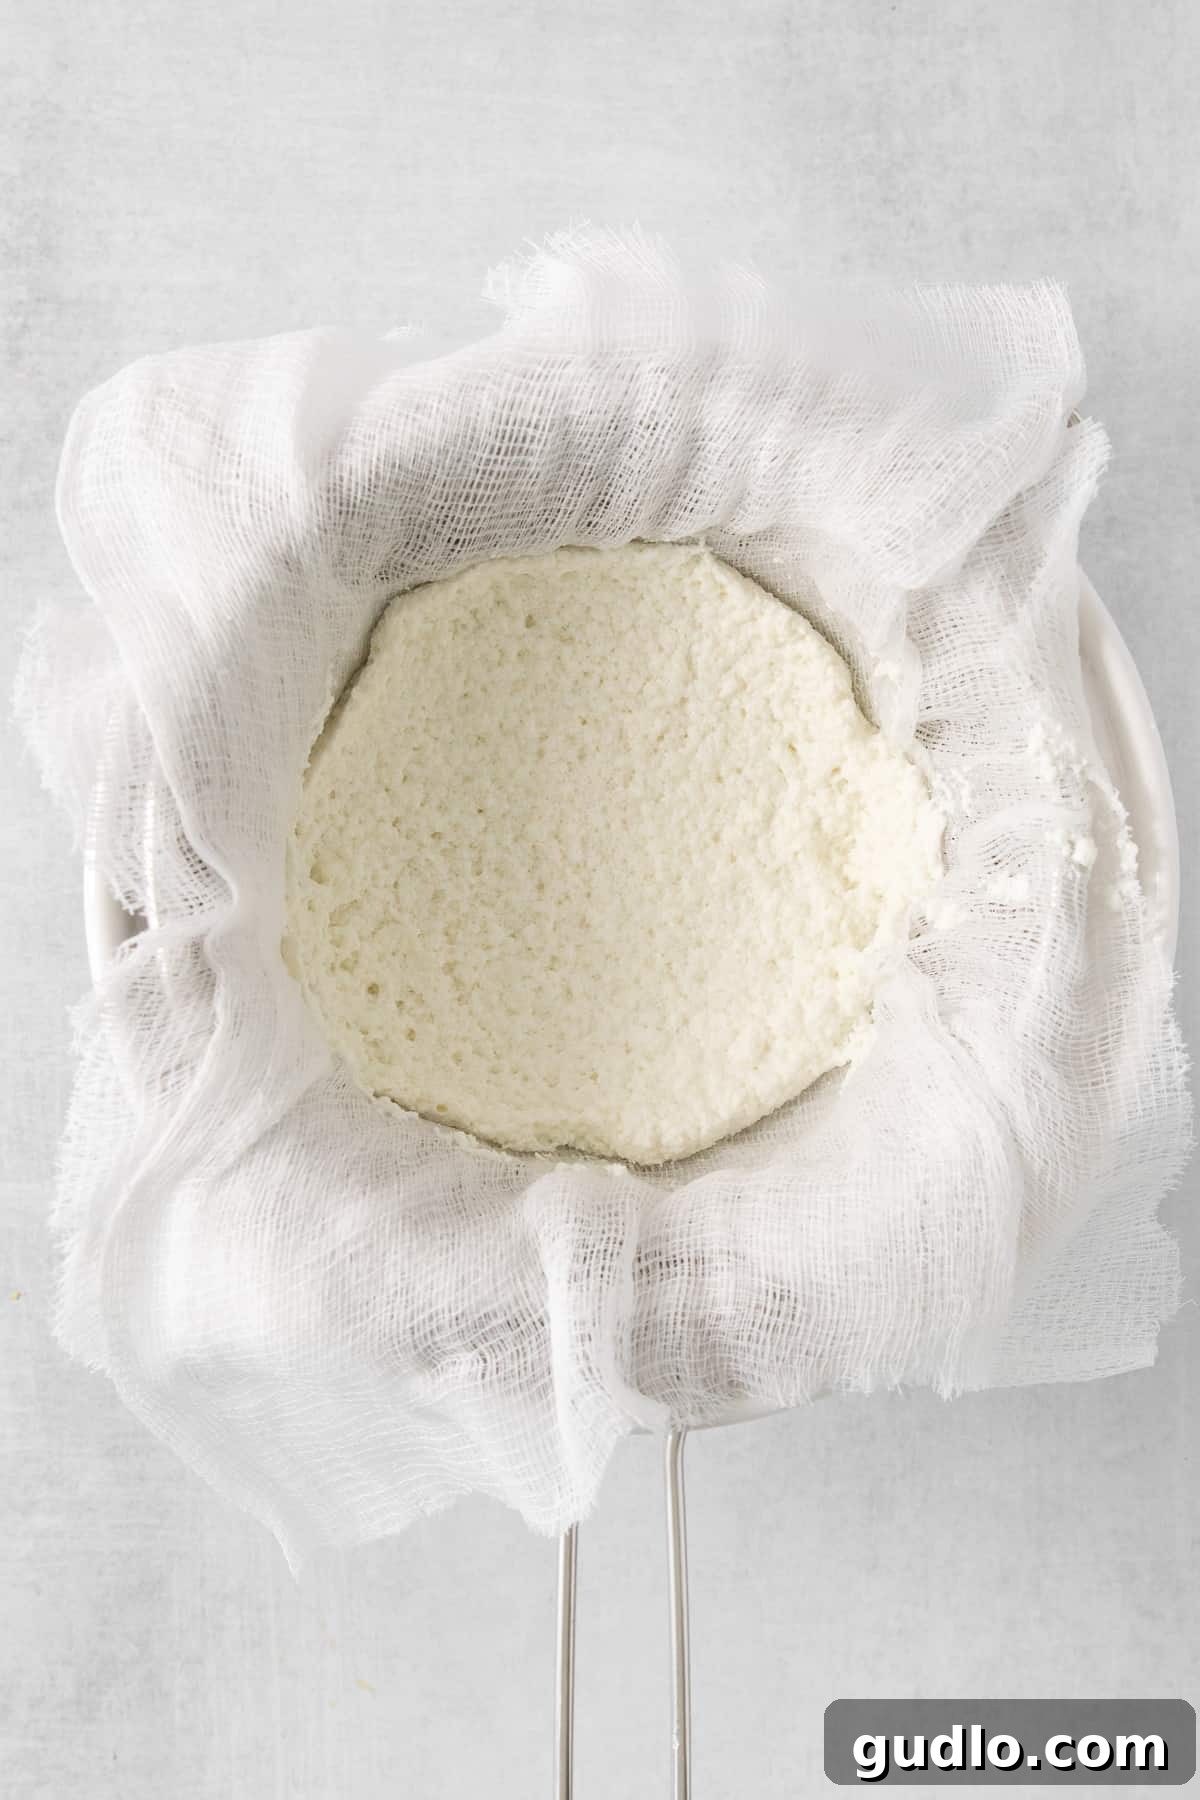
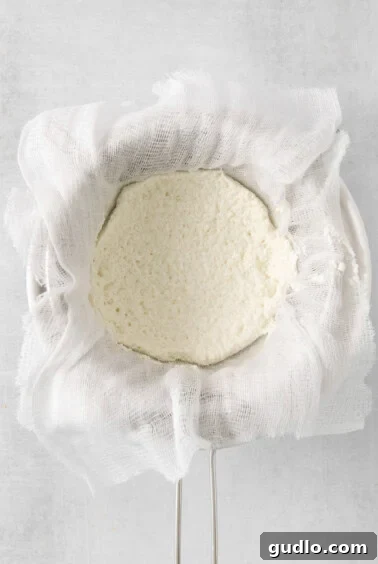
Set up your straining station: line a colander with two to three layers of cheesecloth and place it over a large bowl. Carefully pour the milk and curd mixture into the cheesecloth-lined colander. Allow it to drain naturally for at least 30 minutes, or even an hour, to remove most of the liquid whey. The longer it drains, the thicker your cream cheese will be. You can gently gather the edges of the cheesecloth and squeeze lightly to express more liquid, but be careful not to over-squeeze, as some moisture is necessary for a smooth texture. The whey can be saved for baking or other uses!
Step 4: Process the Curd to Creamy Perfection
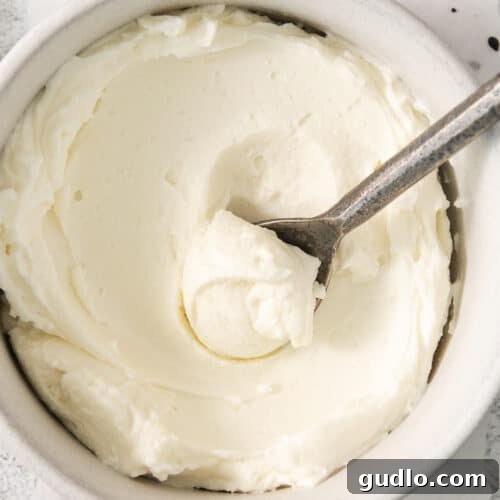
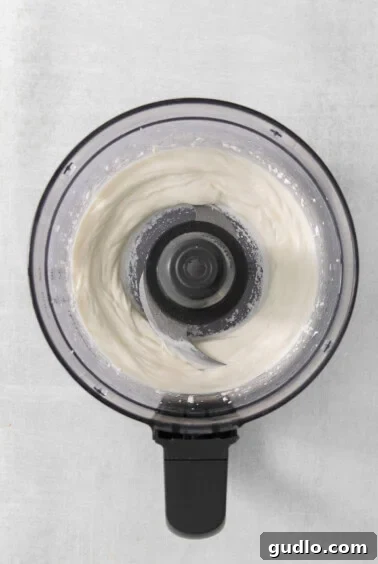
Once the curds have drained sufficiently, transfer them from the cheesecloth into the bowl of a food processor. Add the ½ teaspoon of salt. Secure the lid and process for at least 3 minutes, or until the mixture is incredibly smooth and creamy, with no visible lumps. The longer you process, the silkier the texture will become. Periodically scrape down the sides of the bowl to ensure all curds are incorporated. This step is crucial for achieving that signature velvety consistency of cream cheese.
Step 5: Chill, Set, and Enjoy!
Spoon your freshly made cream cheese into an airtight container. Cover and refrigerate for at least 30 minutes. Chilling allows the cream cheese to firm up further and allows the flavors to meld beautifully. While you can technically enjoy it right away, a little time in the fridge significantly improves its spreadability and overall texture. Once properly chilled, your homemade cream cheese is ready to be savored! Enjoy it on everything from bagels to crackers, or use it as a base for your favorite recipes.
Creative Ways to Use Your Delicious Homemade Cream Cheese
The beauty of homemade cream cheese lies not only in its fresh taste but also in its incredible versatility. It’s an ingredient that can elevate both sweet and savory dishes, adding richness and a delightful tang. Here are some of our favorite creative applications for your freshly made spread:
- Easy Cheese Ball: The creamy texture of homemade cream cheese makes it the perfect base for a festive and flavorful cheese ball. Mix it with shredded cheeses, herbs, spices, and nuts for an appetizer that’s always a crowd-pleaser.
- Baked Cream Cheese Pasta: Transform a simple pasta dish into something extraordinary. When baked, the cream cheese melts into a luscious, tangy sauce that coats every noodle beautifully, offering a gourmet experience with minimal effort.
- Cold Crab Dip with Cream Cheese: Create a refreshing and indulgent dip by combining your homemade cream cheese with succulent crab meat, a hint of lemon, and fresh seasonings. It’s an ideal appetizer for gatherings, served with crackers or vegetable sticks.
- Cream Cheese Sugar Cookies: The addition of cream cheese to sugar cookie dough yields a softer, chewier cookie with a subtle tang that perfectly balances the sweetness. These cookies are wonderfully moist and hold their shape beautifully for decorating.
- Alfredo Sauce with Cream Cheese: Elevate your classic Alfredo sauce by whisking in some homemade cream cheese. It adds an extra layer of richness and depth, making the sauce incredibly smooth and even more satisfying.
- Classic Bagels & Toast: The most straightforward and arguably one of the best ways to enjoy your homemade cream cheese. Spread generously on a toasted bagel, a slice of artisan bread, or even a rice cake.
- Fruit Dips: Mix it with a touch of honey or maple syrup and a hint of vanilla for a quick and healthy fruit dip.
- Cheesecakes: While this fresh cream cheese might be softer than block cream cheese, it can still form the base of lighter, no-bake cheesecakes or add a delightful tang to baked versions.
- Savory Tarts & Spreads: Blend it with roasted garlic, sun-dried tomatoes, or fresh herbs for unique savory spreads to accompany crudités or a charcuterie board.
- Creamy Soups & Stews: Stir a dollop into a vegetable soup or hearty stew just before serving to add creaminess and a touch of richness without heavy cream.
Top Tips for Perfect Homemade Cream Cheese Every Time
Homemade cream cheese is remarkably forgiving and often more foolproof than many other cheesemaking endeavors. Through numerous tests with various methods and ingredients, we’ve found that consistent deliciousness is easily achievable. Here are our expert tips for guaranteed success:
- Embrace the Flexibility of Temperature: While a thermometer is helpful for precision, don’t fret if you don’t have one. We’ve successfully made batches by simply bringing the milk to a visible soft boil (small bubbles around the edges, gentle simmer). The key is to ensure the milk is hot enough for the acid to work effectively.
- Observe Curdling, Don’t Rush It: When adding lemon juice, the milk should begin to curdle and separate within 15-30 seconds. Start with 3 tablespoons of fresh lemon juice. If, after gentle stirring, you don’t see distinct curds forming, add an additional tablespoon of lemon juice, stir again, and wait another minute. The amount of acid needed can sometimes vary slightly depending on the milk.
- No Cheesecloth? No Problem! If you find yourself without cheesecloth, don’t let it deter you. Clean, unbleached paper towels (multiple layers for strength) or a clean, thin-weave tea towel or dishcloth can serve as excellent substitutes for straining the curds. Just ensure they are food-safe and haven’t been washed with strong detergents.
- Quality of Milk Matters: For the absolute best results, always opt for high-quality, full-fat whole milk. Organic or grass-fed whole milk often has a richer flavor and higher fat content, which directly translates to a creamier, more flavorful final product. Avoid ultra-pasteurized milk if possible, as it can sometimes be more challenging to curdle effectively.
- Don’t Over-Squeeze the Curds: While you want to remove excess whey, avoid squeezing the curds too aggressively. A small amount of moisture is necessary for the cream cheese to achieve a wonderfully smooth consistency in the food processor. Over-squeezing can lead to a dry, crumbly texture.
- Taste and Adjust Seasoning: After processing, taste your cream cheese. This is your chance to adjust the salt to your preference. You can also add other flavorings at this stage, such as a pinch of garlic powder for savory uses or a touch of sugar for a sweeter spread.
- Patience with Chilling: While it’s tempting to dive in immediately, refrigerating your cream cheese for at least 30 minutes (or even a few hours) allows it to firm up properly and lets the flavors fully develop. This step is crucial for achieving the ideal spreadable consistency.
Frequently Asked Questions About Homemade Cream Cheese
Cream cheese is primarily made from unskimmed cow’s milk and cream. The process involves heating the milk and then introducing an acid, like lemon juice or vinegar, to cause the milk proteins to coagulate, forming solid curds. These curds are then separated from the liquid whey and blended until smooth and creamy. Our homemade recipe focuses on using whole milk for the best texture and flavor, separating those essential curds before processing them to perfection.
It’s not just good – it’s often delicious and surprisingly easy to make! The fresh flavor and customizable nature of homemade cream cheese often surpass many store-bought varieties. The only critical caution is to always use whole milk with a higher fat content. This ensures a wonderfully creamy, rich texture, rather than a thin or watery consistency. The natural tang and freshness are truly unbeatable.
While mascarpone is indeed categorized as a type of cream cheese, there’s a key distinction: mascarpone is traditionally made using heavy cream, which gives it an even higher fat content and a richer, buttery flavor. Traditional cream cheese, on the other hand, is typically made from milk, or a combination of milk and cream, resulting in a slightly lighter yet still incredibly creamy profile. Both are fantastic, but they offer distinct characteristics due to their primary dairy ingredient.
If your milk isn’t curdling, there are a few common culprits. Firstly, the milk might not have been hot enough. Ensure it reached a soft boil (180-200°F). Secondly, you might need more acid. Add another tablespoon of fresh lemon juice, stir gently, and wait for a minute or two. Sometimes, the acidity of lemons can vary, or ultra-pasteurized milk may be more resistant to curdling.
Absolutely! This is one of the biggest advantages of making your own. Once your cream cheese is blended smooth in the food processor, you can easily incorporate various flavorings. For savory options, consider finely chopped chives, garlic powder, onion powder, black pepper, or sun-dried tomatoes. For sweet variations, mix in a teaspoon of vanilla extract, a tablespoon of sugar or honey, or even some finely grated citrus zest. The possibilities are endless!
Storing Your Homemade Cream Cheese
Proper storage is essential to maintain the freshness and quality of your homemade cream cheese. Unlike some aged cheeses, fresh cream cheese is highly perishable:
Store your homemade cream cheese in an airtight container in the refrigerator. This minimizes exposure to air, which can cause it to spoil faster. When stored correctly, it will retain its freshness and best quality for up to 7 days. It’s important to remember that fresh cream cheese is not intended for long-term aging and will begin to turn sour and develop off-flavors after about a week. Always check for any signs of spoilage, such as an off smell, discoloration, or mold, before consuming.
Can You Freeze Homemade Cream Cheese?
Yes, homemade cream cheese can be frozen, but with a slight caveat regarding its texture post-thaw. Cream cheese can be frozen for up to 1 month. To freeze, transfer the cream cheese into a freezer-safe, airtight container, pressing out any excess air before sealing. Alternatively, you can wrap it tightly in plastic wrap and then place it in a freezer bag.
To thaw: The best way to thaw frozen cream cheese is to place it in the refrigerator overnight. This slow thawing process helps to minimize changes in texture. However, upon thawing, you might notice that the texture is slightly grainier or that some separation has occurred. This is normal. A good stir with a spoon or a quick whip in the food processor can often help restore some of its original creaminess, though it may not be as perfectly smooth as fresh cream cheese. It’s often best used in baked goods or cooked dishes after freezing, where slight textural changes are less noticeable.

Discover More of Our Favorite…
Irresistible Cream Cheese Recipes
Now that you’ve mastered the art of making homemade cream cheese, you’ll want to put it to good use! Explore our collection of beloved recipes that truly shine with the fresh, rich flavor of your homemade creation. From sweet treats to savory delights, there’s something here to inspire every palate:
- Vanilla Cream Cheese Frosting: The quintessential topping for red velvet cake, carrot cake, and more. Your homemade cream cheese will make this frosting exceptionally smooth and tangy-sweet.
- Peanut Butter Chocolate Cream Cheese Fudge: A delightful blend of rich chocolate, creamy peanut butter, and the subtle tang of cream cheese for a uniquely delicious fudge.
- Cream Cheese Chocolate Chip Cookies: Experience chocolate chip cookies taken to the next level with an added creaminess and tenderness that comes from incorporating cream cheese into the dough.
- Explore ALL Our Cream Cheese Recipes: Dive into our full archive for endless inspiration on how to use your fantastic homemade cream cheese!
Homemade Cream Cheese Recipe
Emily Richter
35 mins
15 mins
50 mins
6 servings
Print Recipe
Ingredients
- 4 cups whole milk
- 3-4 tablespoons fresh lemon juice
- ½ teaspoon salt
Instructions
-
In a heavy-bottomed saucepan, bring the whole milk to a soft boil over medium heat, stirring occasionally. You should see small bubbles forming around the edges.

-
Once the milk has reached a soft boil, remove it from the heat. Add 3 tablespoons of fresh lemon juice. Using a slotted spoon, gently stir the mixture. The curds should begin to separate from the whey almost immediately (within 15-30 seconds). If not, add an additional tablespoon of lemon juice and stir again.
-
Line a colander with two layers of cheesecloth and place it over a large bowl. Carefully pour the milk and curd mixture into the cheesecloth. Allow it to drain for at least 30 minutes, or longer for a firmer cream cheese. You can gently squeeze the cheesecloth to remove excess liquid, but do not over-squeeze.
-
Transfer the drained curds to a food processor. Add the ½ teaspoon of salt. Process for at least 3 minutes, scraping down the sides as needed, until the cream cheese is completely smooth and creamy.
-
Spoon the homemade cream cheese into an airtight container. Refrigerate for at least 30 minutes before serving to allow it to firm up and flavors to meld. Enjoy!
Tips & Notes
- If the cream cheese appears a bit stiff after refrigeration, simply stir it with a spoon to loosen it up to your desired spreadable consistency.
- For this recipe, we specifically recommend and only used fresh lemon juice. Its natural acidity and flavor are ideal.
- The milk should begin to curdle within 15-30 seconds of adding the lemon juice. If you don’t see this reaction, start with 3 tablespoons and then add an additional tablespoon of lemon juice if needed.
- For the best creamy texture, ensure you use full-fat whole milk. Low-fat milk will result in a less desirable, often grainy, texture.
- Don’t be afraid to adjust the salt to your personal taste after the cream cheese has been processed.
Watch It!
Watch our detailed video tutorial to see each step of making homemade cream cheese come to life!
Nutrition Information (Approximate Per Serving)
Calories: 100 kcal, Carbohydrates: 8 g, Protein: 5 g, Fat: 5 g, Fiber: 0.2 g, Sugar: 8 g
Please note: Nutrition information is automatically calculated and should only be used as an approximation. Actual values may vary based on specific ingredients and preparation methods.
Don’t forget to share your delicious creations on social media using the hashtag #cheeseknees. We absolutely love seeing what you’re cooking up!