
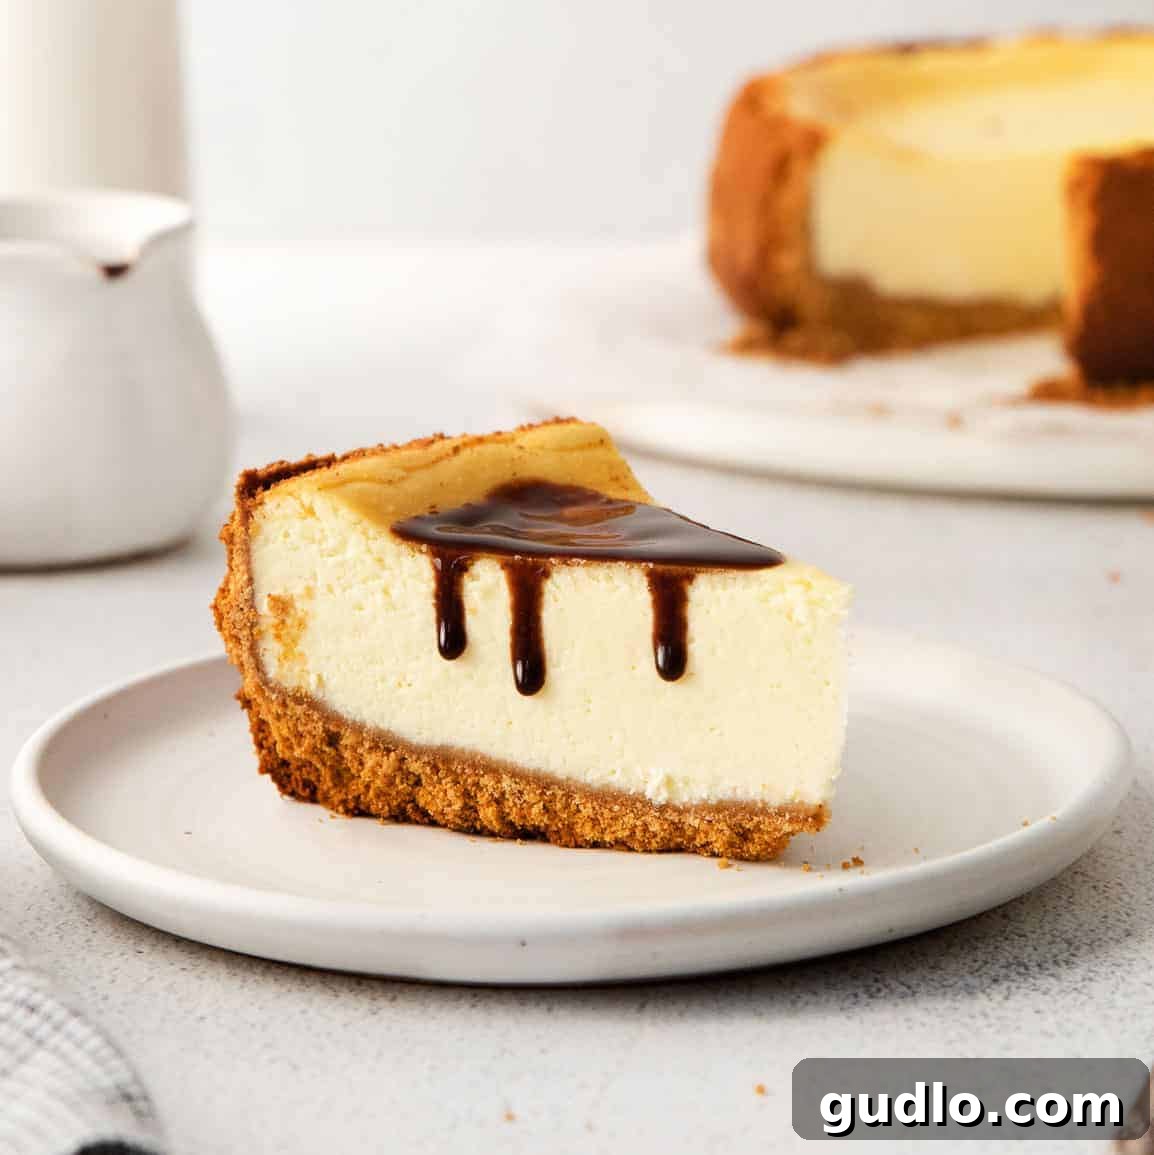
The Ultimate Classic Cheesecake Recipe: Your Guide to a Perfect, Creamy Dessert
Welcome, fellow dessert enthusiasts! Our passion for cheesecake runs deep, inspiring countless hours in the kitchen perfecting the ultimate recipe. After extensive testing and delightful tasting sessions, we are thrilled to share our definitive guide on how to make the perfect classic cheesecake. This tutorial will walk you through every step, ensuring you achieve a dessert that is not only visually stunning but also incredibly rich, smooth, and utterly delicious.
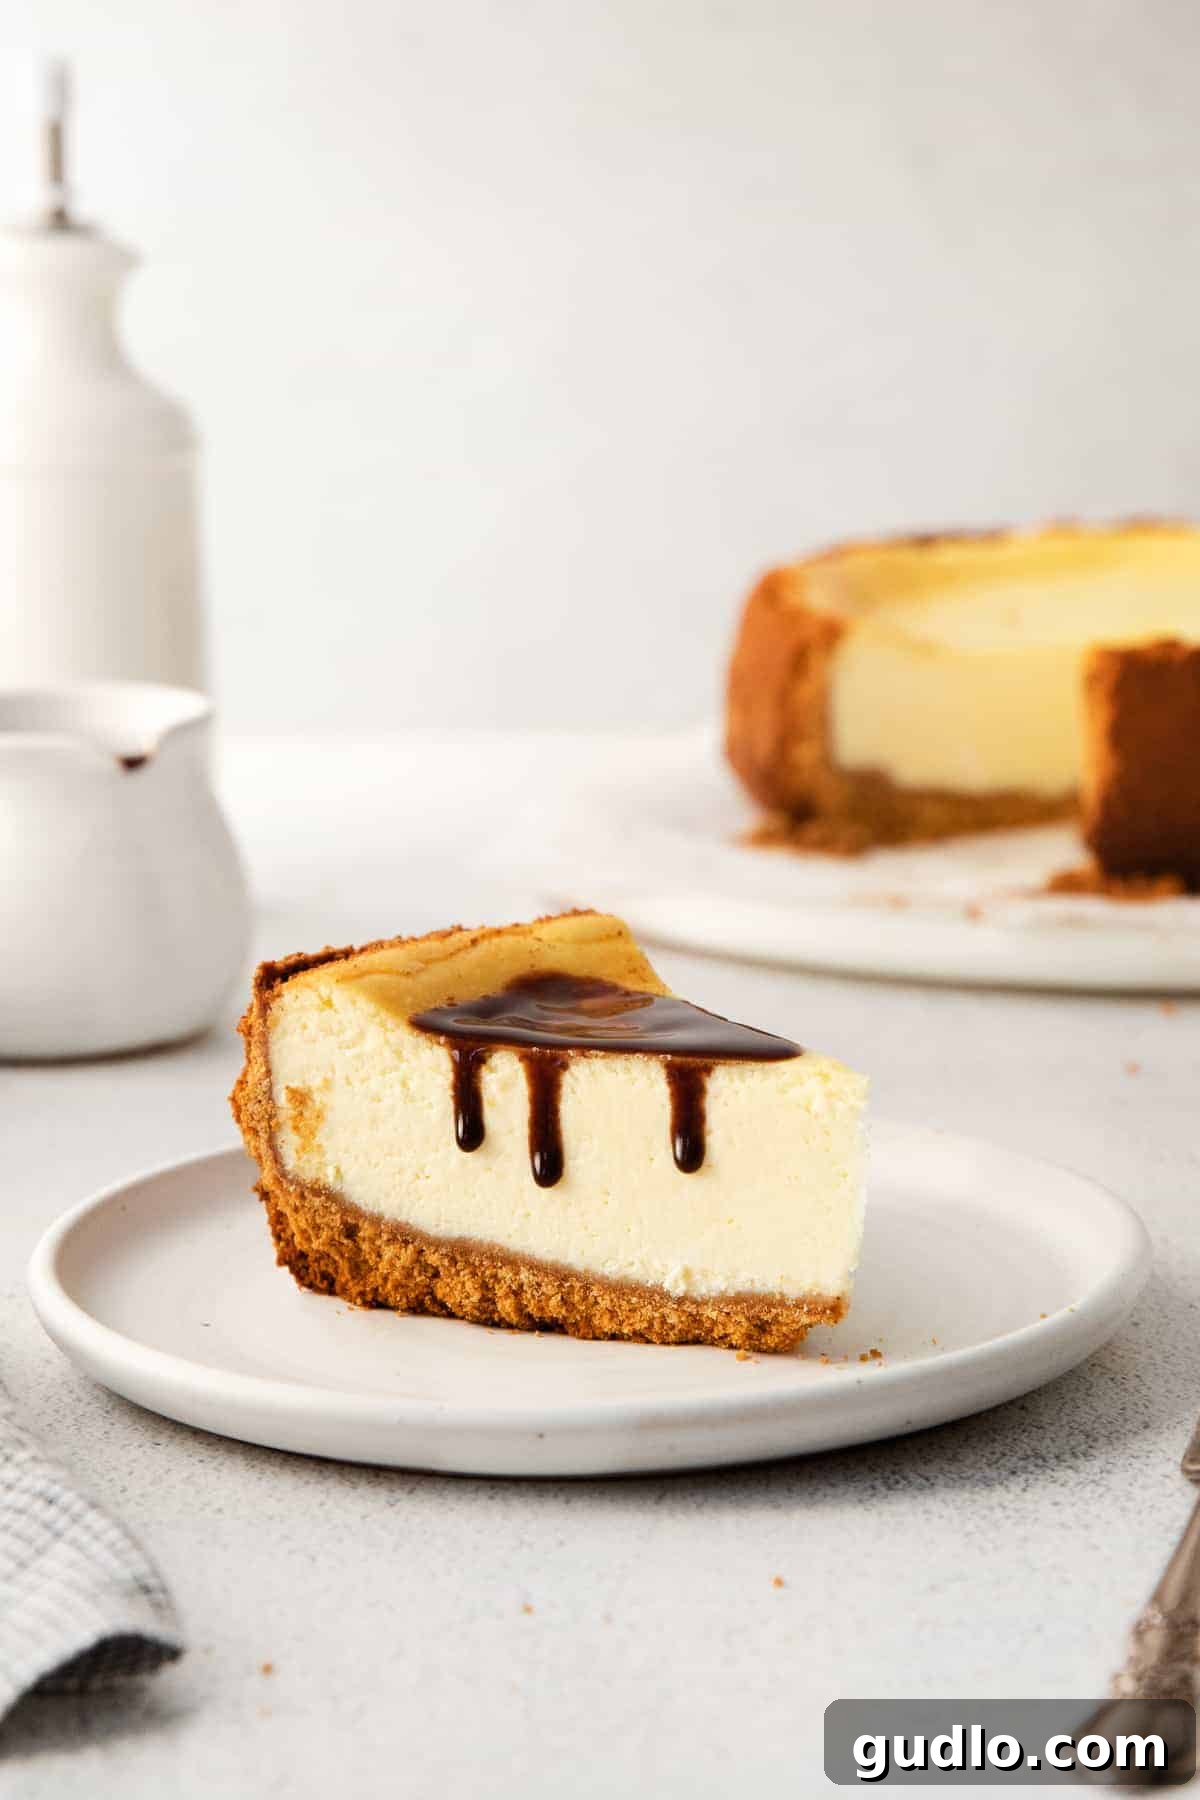
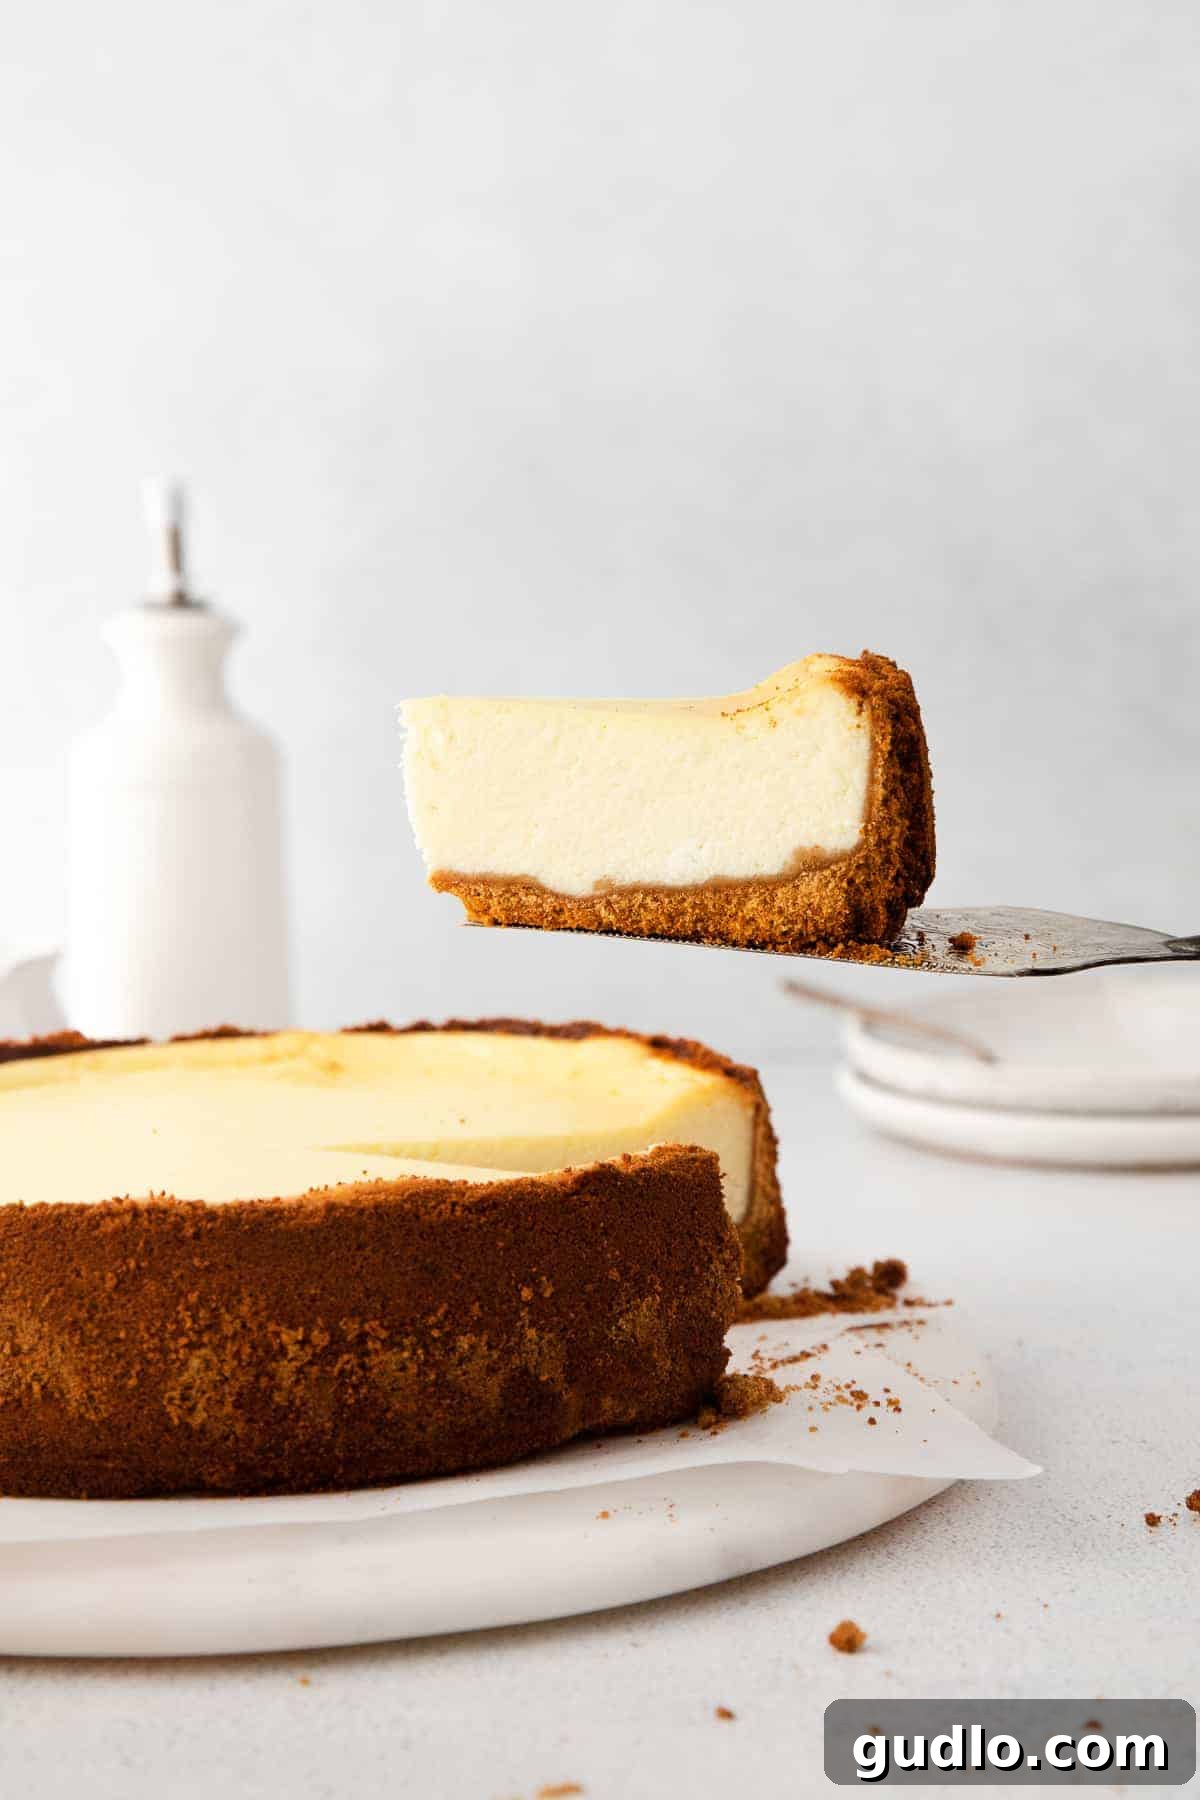
What defines an exceptional baked cheesecake? For us, it’s a harmonious blend of aesthetics and taste. We strive for a cheesecake with a beautifully smooth, crack-free top that doesn’t sink in the middle. The goal is a dessert that looks as inviting as it tastes. This classic cheesecake recipe consistently delivers on all fronts: a rich, wonderfully fluffy, and deeply satisfying dessert that will impress everyone at your table.
Creating this masterpiece requires only a handful of simple, high-quality ingredients and your choice of delightful toppings. You’ll be savoring a slice of homemade cheesecake in no time! Before you begin, ensure you have a reliable springform pan at the ready – it’s an indispensable tool for achieving that iconic cheesecake shape and easy release.
Essential Ingredients for Your Perfect Cheesecake
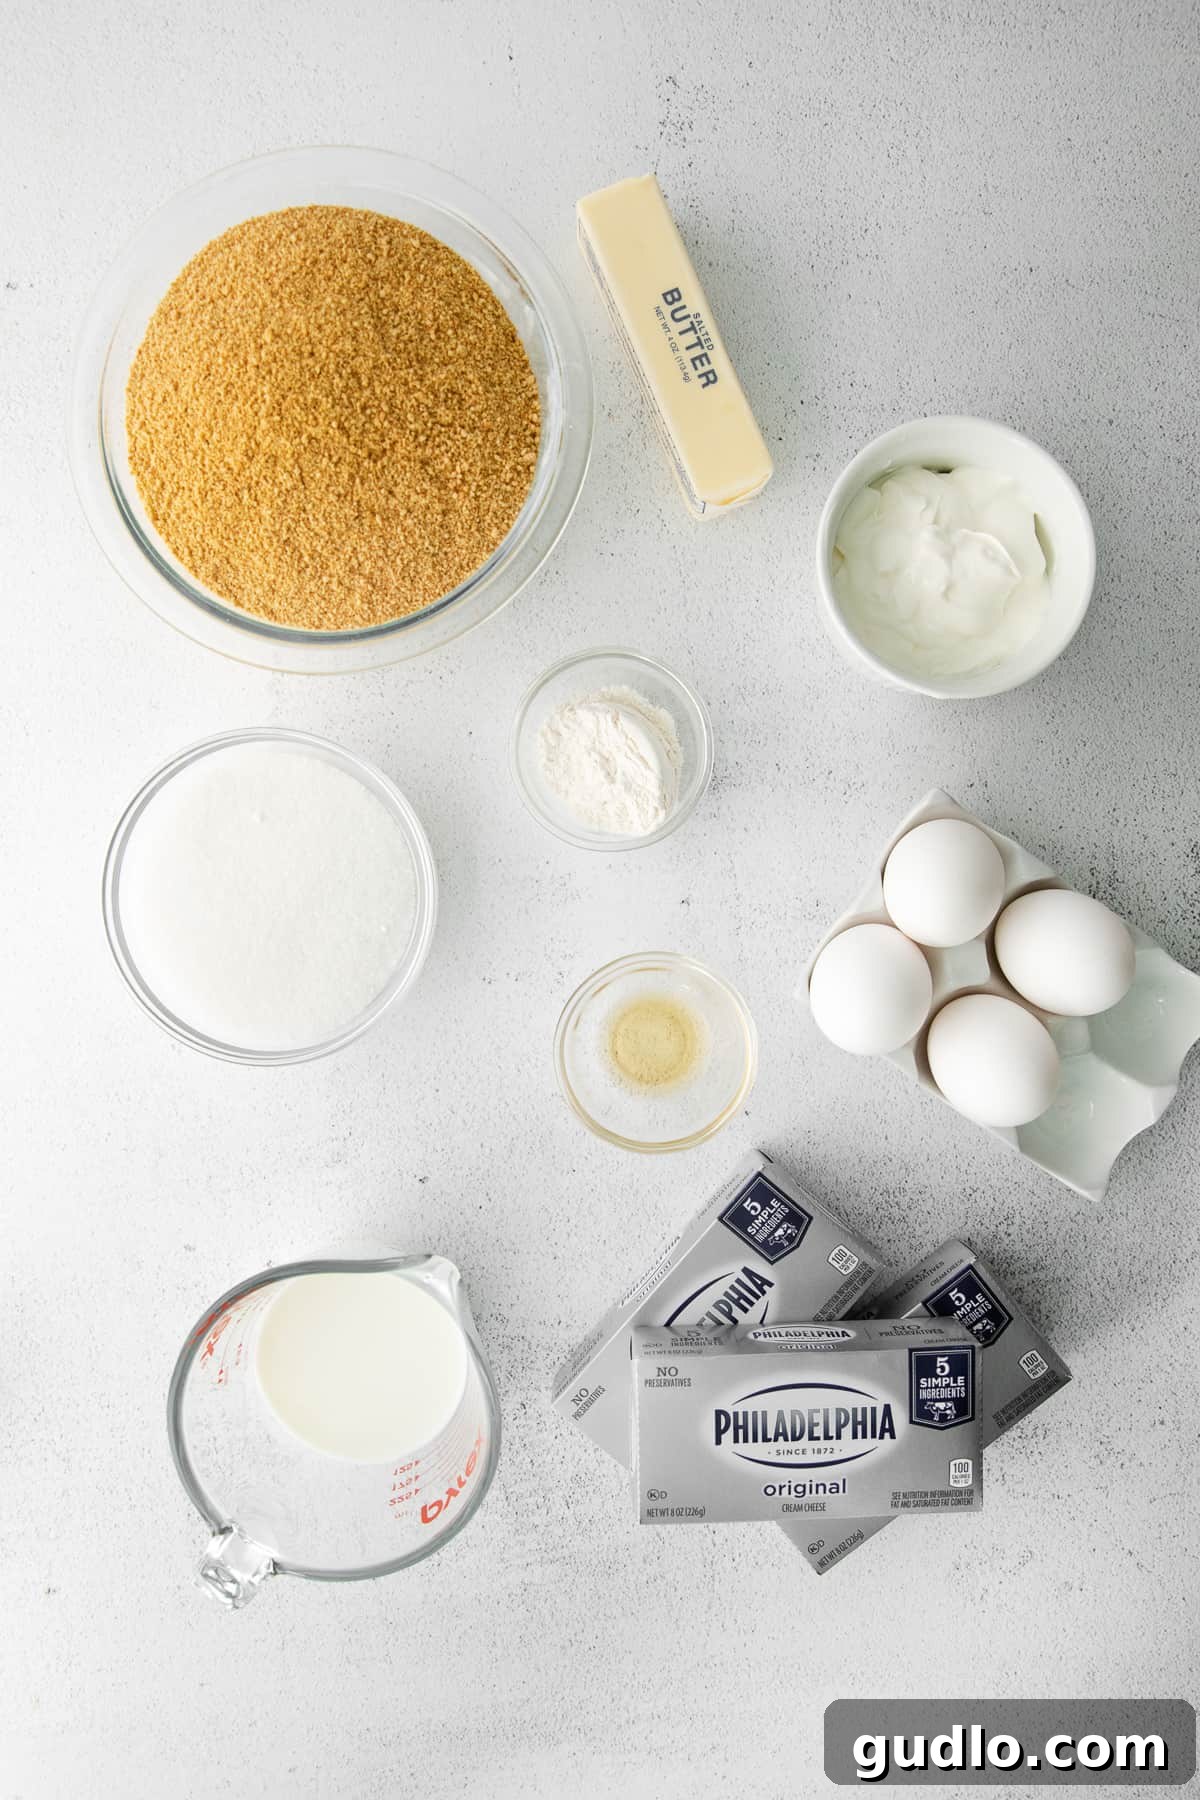
Every great recipe starts with great ingredients. For this classic cheesecake recipe, pay close attention to the quality and temperature of your components. Here’s a detailed look at what you’ll need and why each plays a vital role:
Cream Cheese: The Heart of Cheesecake
This is the foundation of our cheesecake’s signature richness and creamy texture. Always opt for full-fat cream cheese for the best results. The absolute key here is to ensure it is completely at room temperature before you begin mixing. This allows it to incorporate smoothly with other ingredients, preventing lumps and ensuring a silky-smooth batter.
White Granulated Sugar: Sweetness and Structure
Granulated sugar not only sweetens our cheesecake to perfection but also contributes to its delicate structure and browning during baking. It balances the tanginess of the cream cheese and sour cream, creating a well-rounded flavor profile.
Whole Milk: For a Lighter, Fluffier Texture
A touch of whole milk helps to lighten the batter, contributing to a more tender and fluffy cheesecake. It adds moisture without making the cheesecake heavy, ensuring that delightful melt-in-your-mouth consistency.
Sour Cream: A Hint of Tang and Extra Softness
Sour cream is a secret weapon in many great cheesecake recipes. It introduces a subtle tang that complements the sweetness beautifully and adds an extra layer of moisture, resulting in a remarkably soft and moist cheesecake. Like cream cheese, ensure it’s at room temperature.
All-Purpose Flour: The Crack Prevention Secret
Just a small amount of flour acts as a stabilizer, helping to bind the ingredients and prevent the dreaded cracks from forming on top of your cheesecake as it bakes and cools. It creates a stronger matrix within the custard, allowing for more even expansion and contraction.
Pure Vanilla Extract: Enhancing Creamy Flavors
Vanilla is a classic flavor enhancer for dairy-based desserts. It deepens the flavor of the cream cheese, adding a warm, aromatic sweetness that elevates the entire cheesecake experience. Always use pure vanilla extract for the best flavor.
Large Eggs: The Custard Creator
Eggs are crucial for creating that smooth, custard-like filling we all adore in a classic cheesecake. They act as a binder, setting the cheesecake as it bakes. Ensure they are also at room temperature for seamless integration into the batter, preventing overmixing.
Kitchen Essential
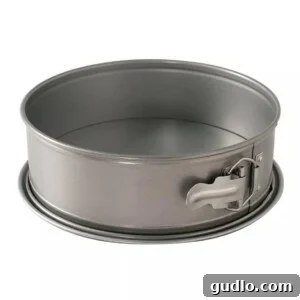
The Indispensable Springform Pan
A high-quality springform pan is crucial for effortless cheesecake preparation and serving. Its removable sides allow for easy release without damaging the delicate crust or filling. Make sure your kitchen is always equipped for spontaneous dessert emergencies!
Crafting the Perfect Cheesecake Crust
The crust provides a delightful textural contrast to the creamy filling. Here’s what you need for our classic graham cracker crust:
- Graham Cracker Crumbs: The Flavorful Base
To achieve fine, consistent crumbs, pulse whole graham crackers in a food processor for about 30-45 seconds until they resemble fine sand. This ensures a uniform crust that holds together well. If you don’t have a food processor, you can place graham crackers in a sealed bag and crush them with a rolling pin. - Melted Butter: The Binding Agent
Melted unsalted butter is essential for binding the graham cracker crumbs together, creating a firm and flavorful crust that won’t crumble when sliced. It also adds a rich, buttery depth to the base.
Explore Alternative Crust Options
While a graham cracker crust is a beloved classic, don’t hesitate to get creative! You can easily customize your cheesecake by experimenting with different types of cookie crumbs. Consider using crushed Oreos for a rich chocolate crust, gingersnaps for a spiced and aromatic base, or even shortbread cookies for an elegant, buttery foundation. Each option brings its unique flavor profile, allowing you to tailor the cheesecake to your preference or the occasion.
Step-by-Step: How to Make Cheesecake
Follow these detailed instructions to bake your way to cheesecake perfection.
Step 1: Prepare the Crust
- Preheat your oven to 350ºF (175ºC). Lightly grease a 9-inch springform pan with nonstick baking spray and line the bottom with a circle of parchment paper for easy removal.
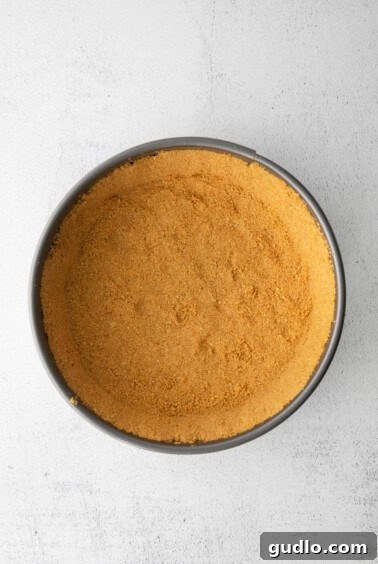
- In a medium bowl, combine the graham cracker crumbs and melted butter. Mix thoroughly until the crumbs are evenly moistened and resemble wet sand.
- Press the mixture firmly and evenly into the bottom of the prepared springform pan. You can use the bottom of a glass or your knuckles to create a compact crust.
- Par-bake the crust for 8 minutes. This helps to set the crust and prevent it from becoming soggy. Remove from the oven and allow it to cool completely while you prepare the filling.
Step 2: Craft the Silky Cheesecake Filling
- Begin by placing the softened, room-temperature cream cheese into the bowl of a stand mixer fitted with the paddle attachment. A stand mixer is highly recommended for its consistent mixing and ease, but a powerful hand mixer will also work.
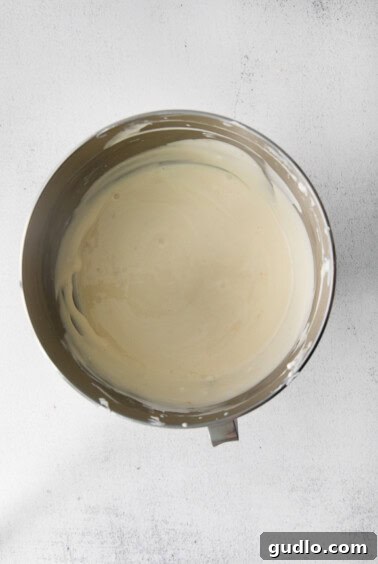
- Beat the cream cheese on medium speed for 1-2 minutes until it becomes light, smooth, and completely free of lumps. This is a crucial step for a silky-smooth cheesecake texture.
- Next, add the granulated sugar, whole milk, sour cream, all-purpose flour, and pure vanilla extract to the cream cheese mixture. Mix on low speed just until all ingredients are combined. Be careful not to overmix at this stage.
- With the mixer still on low speed, add the large eggs one at a time. It is vital to allow each egg to fully incorporate into the batter before adding the next. This gentle incorporation prevents excessive air from being incorporated, which can lead to cracks.
- Stop the mixer and use a rubber spatula to scrape down the sides and bottom of the bowl. This ensures that all the cream cheese and other ingredients are fully incorporated into a homogenous batter.
Step 3: Bake the Cheesecake to Perfection
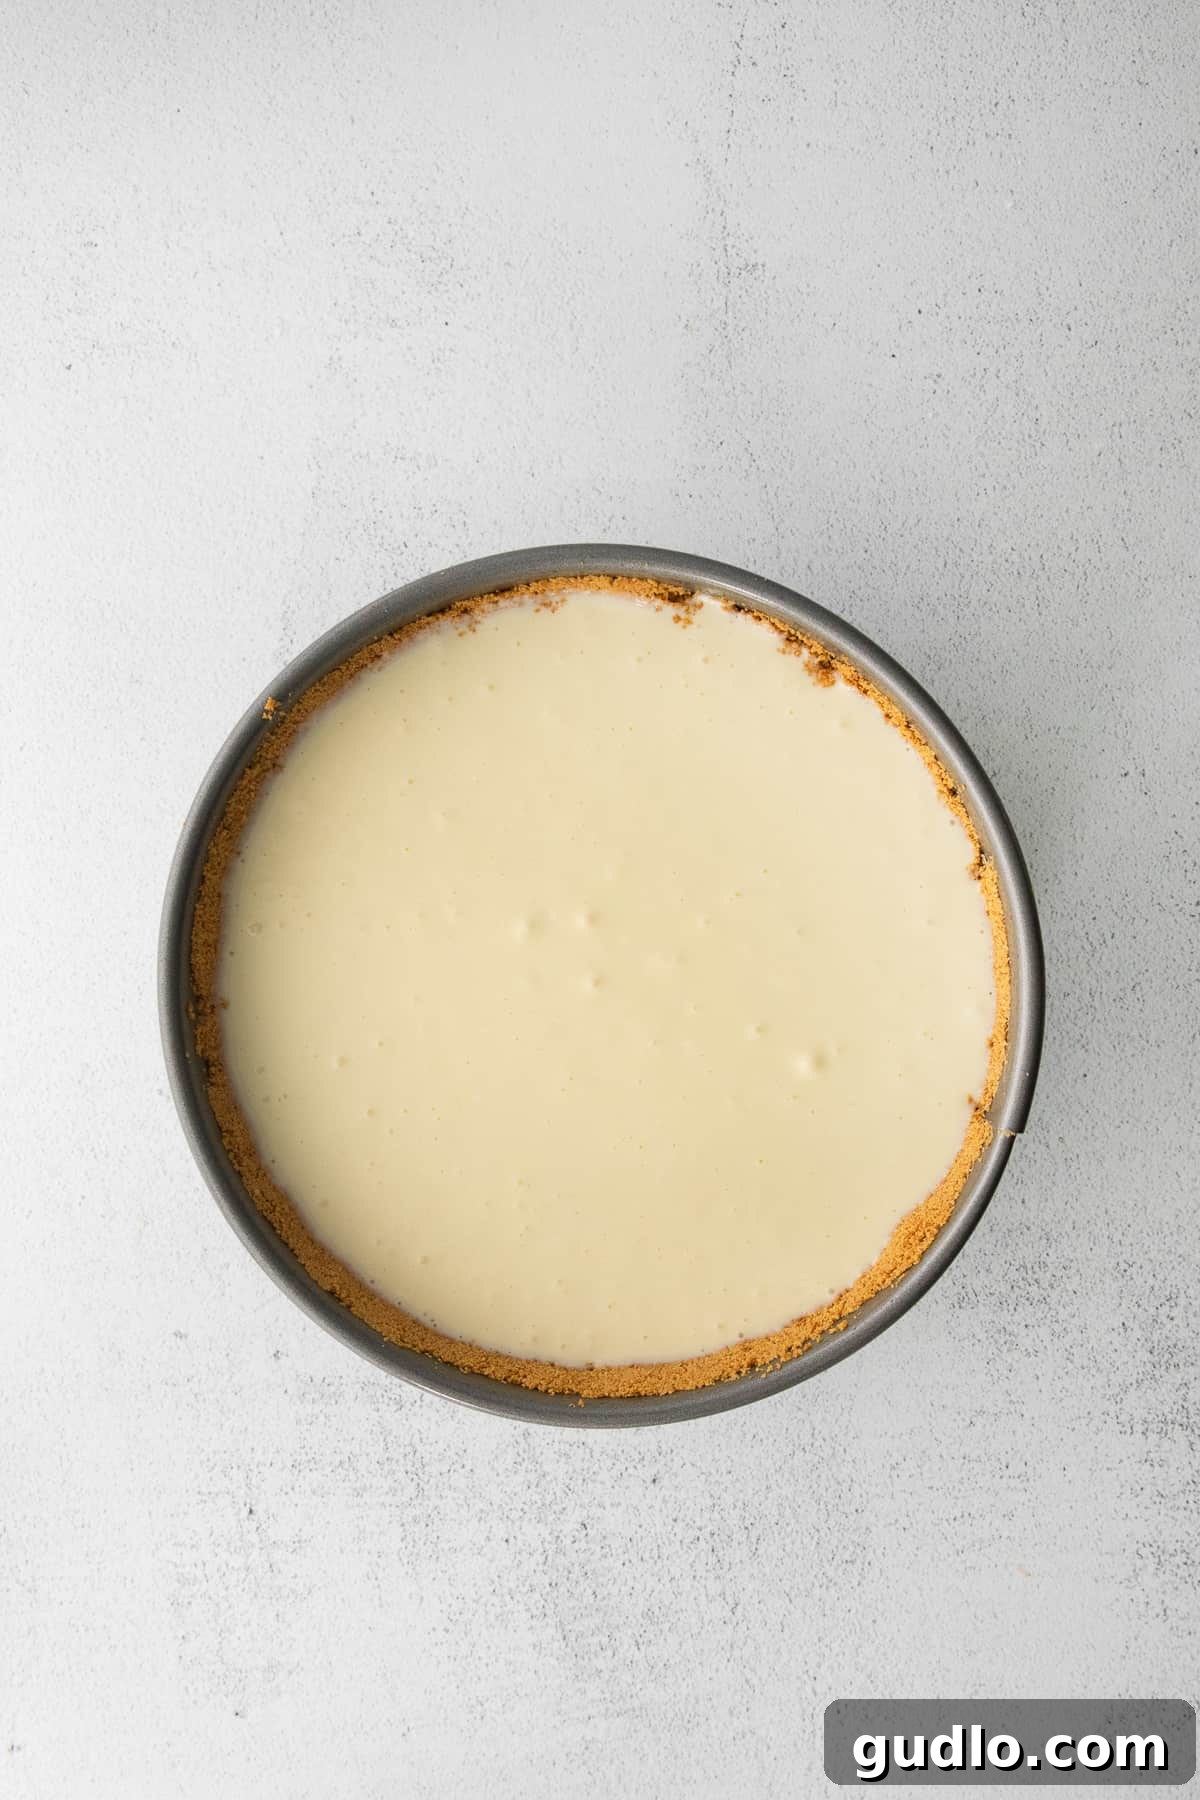
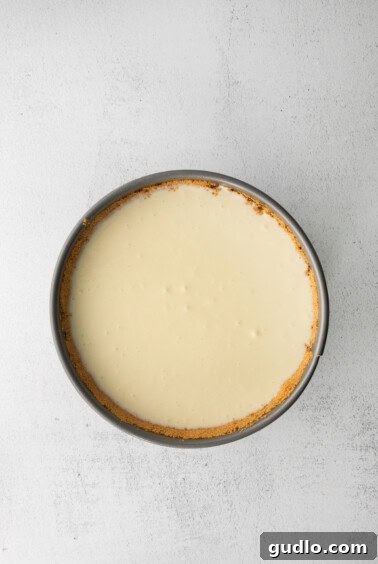
- Gently pour the prepared cheesecake filling over the cooled graham cracker crust in the springform pan. Smooth the top with a spatula.
- Bake for 55-60 minutes, or until the edges of the cheesecake are set and slightly puffed, while the very center still has a slight jiggle when the pan is gently shaken. This indicates it’s cooked through but not overbaked.
-
Consider a Water Bath for Ultimate Creaminess
A water bath (bain-marie) is an optional but highly recommended technique for baking cheesecakes. It provides a moist, even heat environment, which is excellent for preventing cracks and achieving an incredibly creamy texture. To do this:
- Wrap the bottom and sides of your springform pan tightly with several layers of heavy-duty aluminum foil to prevent any water from seeping in.
- Place the foil-wrapped springform pan into a larger roasting pan.
- Carefully pour about 1 inch (2.5 cm) of hot water into the roasting pan, ensuring the water does not go above the foil line of the springform pan.
- Transfer the entire roasting pan with the cheesecake into the preheated oven.
Step 4: The Crucial Cooling Process
- Once the cheesecake is done baking, turn off the oven but leave the cheesecake inside. Crack the oven door open slightly and allow the cheesecake to cool gradually in the oven for a full hour. This slow cooling prevents drastic temperature changes that can cause cracks and helps the cheesecake finish setting evenly.
- After the oven cooling period, remove the cheesecake from the oven (and water bath, if used). Let it cool completely on a wire rack at room temperature for another 1-2 hours.
Step 5: Chill and Serve
- Once the cheesecake has completely cooled to room temperature, transfer it to the refrigerator to chill for at least 6 hours. For the absolute best texture and flavor, chilling it overnight is highly recommended. This allows the cheesecake to firm up properly and its flavors to fully develop.
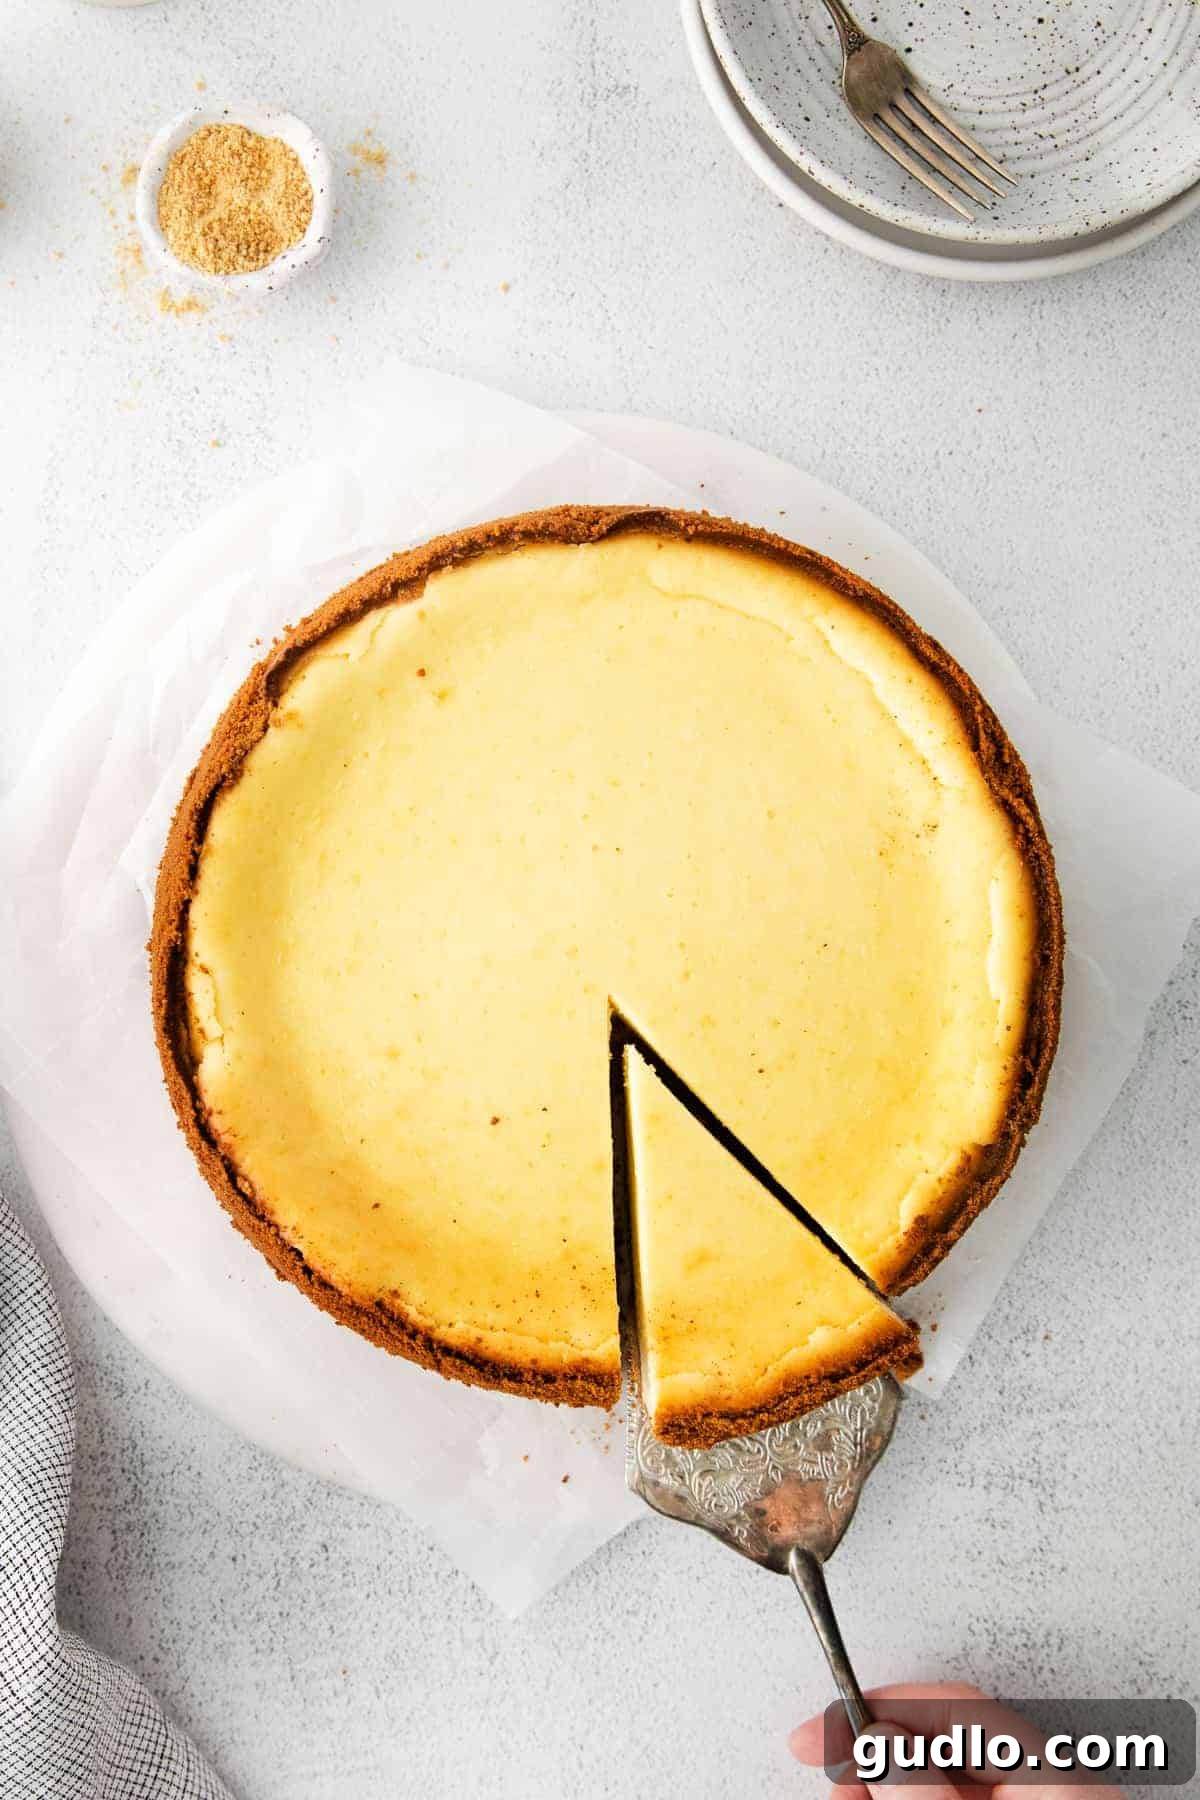
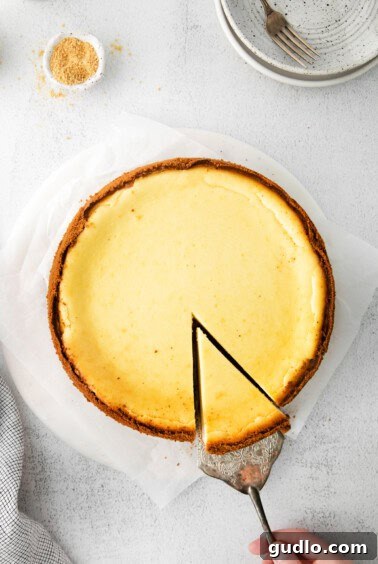
- When you’re ready to serve, run a thin, flat-bladed knife under hot water, then wipe it clean with a paper towel. Run the warm knife carefully around the inner edge of the springform pan to loosen the cheesecake. Release the latch and gently remove the sides of the pan.
- Carefully transfer the cheesecake to your serving dish. For impeccably clean slices, warm and clean the knife before each cut. This creates crisp, beautiful pieces.
- Serve your classic cheesecake plain, or with your favorite toppings.
Expert Tips for a Flawless Cheesecake
- Room Temperature Ingredients are Non-Negotiable: Ensure your cream cheese, eggs, and sour cream are all at room temperature. Cold ingredients don’t emulsify properly, leading to a lumpy batter and potentially overmixing.
- Do Not Overmix the Batter: Overmixing incorporates too much air into the batter. This air puffs up during baking and then collapses during cooling, often resulting in cracks and a sunken center. Mix only until just combined.
- Patience with Cooling: The gradual cooling process in the oven is paramount. Skipping this step or cooling too quickly can shock the cheesecake, leading to unsightly cracks. The extended chilling period also allows the cheesecake to set fully and develop its optimal creamy texture and flavor.
- Tap the Pan: After pouring the filling into the crust, gently tap the springform pan on the counter a few times. This helps release any trapped air bubbles from the batter, which can also contribute to cracks.
- Avoid Opening the Oven Door: Resist the urge to open the oven door frequently during baking. Fluctuations in temperature can negatively affect the cheesecake’s structure and lead to cracking.
How to Store Cheesecake
To preserve the freshness and flavor of your cheesecake, cover it tightly with plastic wrap or place it in an airtight container. Store it in the refrigerator for up to 5-7 days. Ensure it’s well-sealed to prevent it from absorbing odors from other foods.
How to Freeze Cheesecake for Later Enjoyment
Freezing cheesecake is an excellent way to prepare ahead or save leftovers! To freeze a whole cheesecake, allow it to cool completely in its springform pan. Once fully chilled, wrap the entire cheesecake (still in the pan) tightly with several layers of plastic wrap, followed by a layer of aluminum foil. This double layer protects it from freezer burn. Store in the freezer for up to 2-3 months.
For freezing individual slices, cut the cheesecake into desired portions. Place slices on a baking sheet and freeze until firm (about 1-2 hours). Then, wrap each frozen slice individually in plastic wrap and foil. Store in an airtight container or freezer bag.
To thaw, remove the cheesecake (whole or slices) from the freezer and place it in the refrigerator overnight, or for several hours, until completely thawed before serving. This gradual thawing helps maintain its creamy texture.
Discover More of Our Favorite…
Irresistible Cheesecake Recipes
- Decadent Triple Chocolate Cheesecake
- Cozy Pumpkin Cheesecake Recipe
- Fun Slutty Cheesecake Bars
How to Serve and Garnish Your Cheesecake
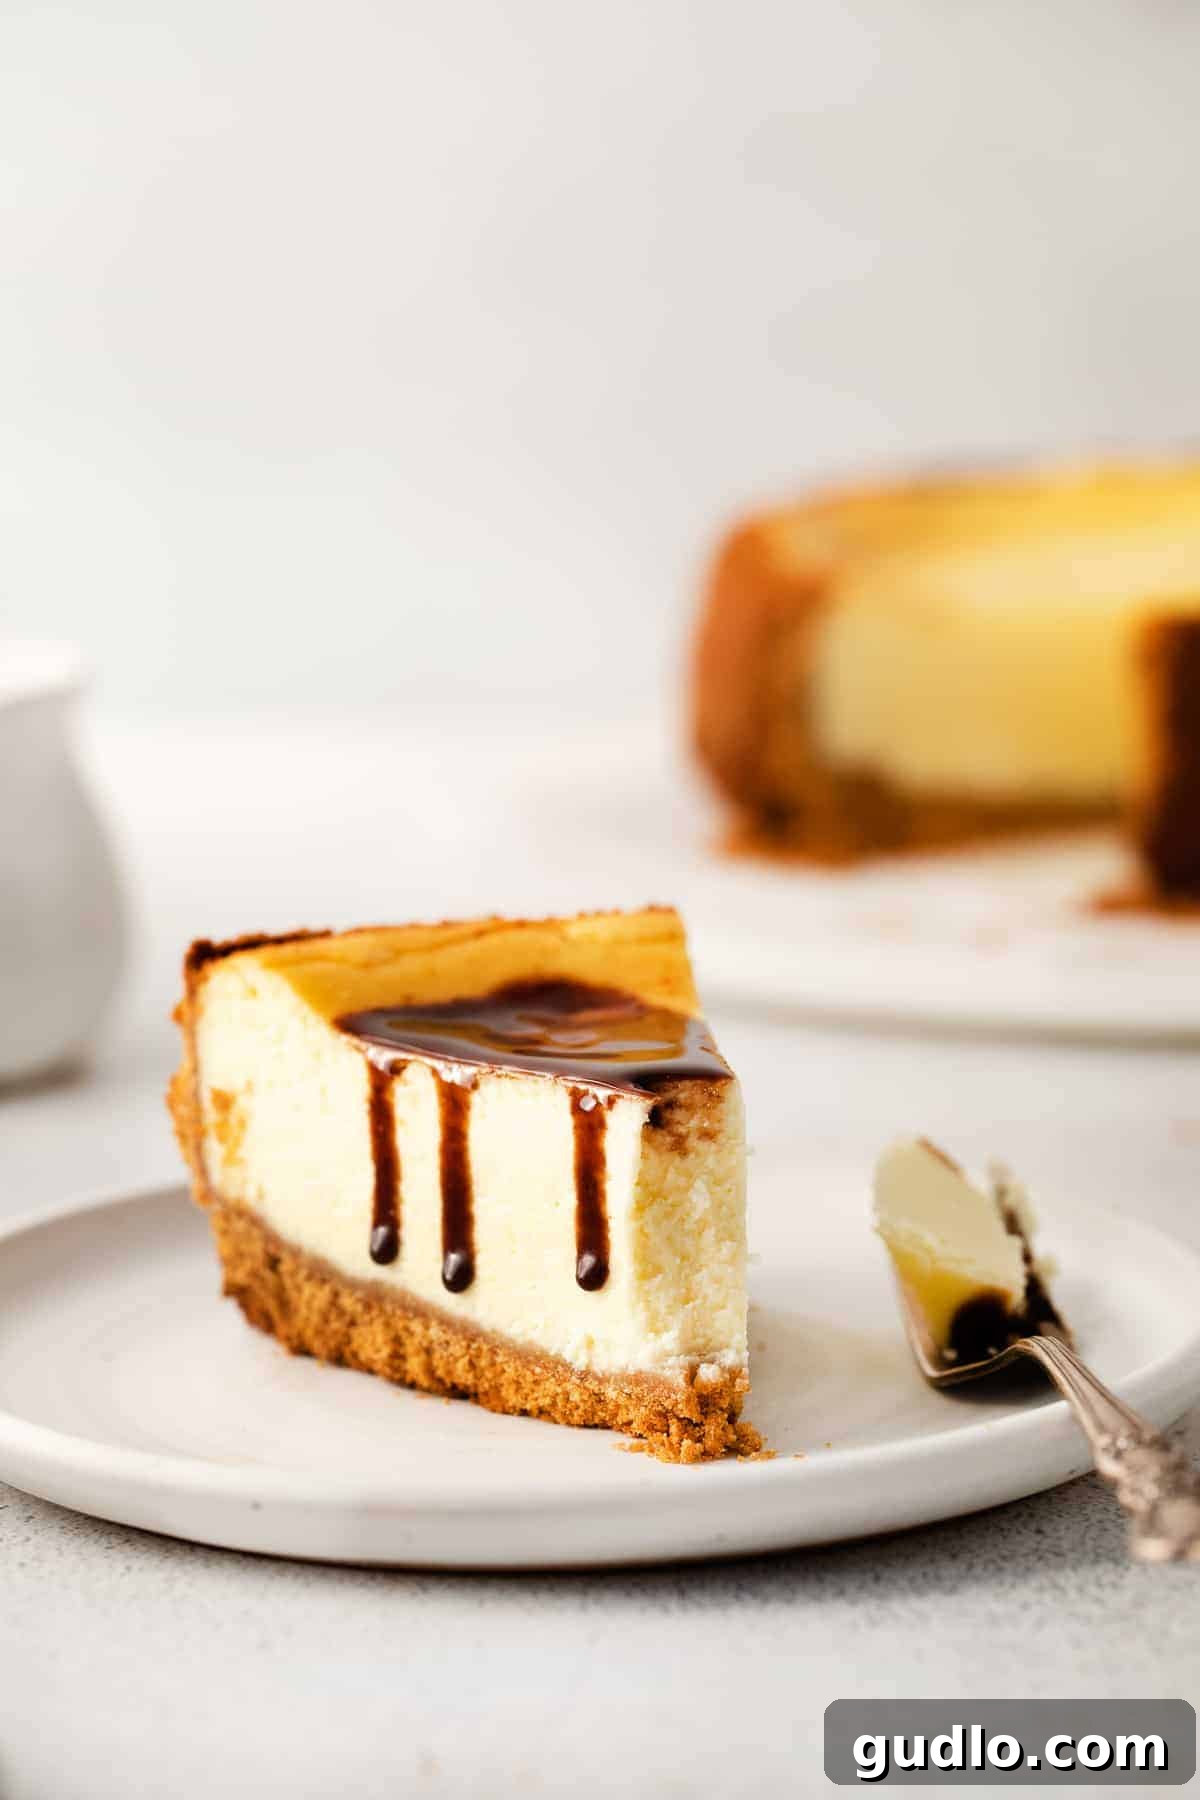
Whether you’re a purist who enjoys a plain slice or someone who loves to accessorize, this delicious cheesecake is a versatile canvas. Here are some fantastic topping options to elevate your serving:
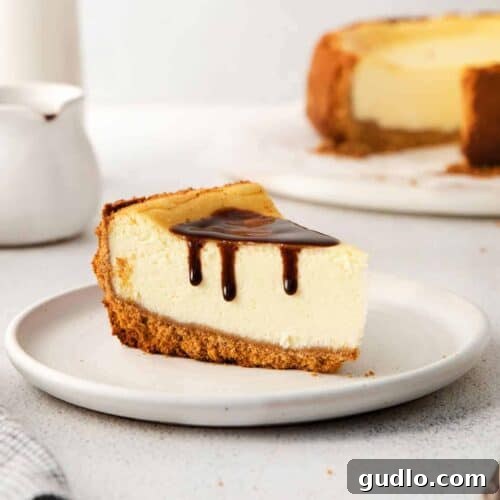
- Luxurious Chocolate Ganache: A glossy, rich chocolate topping that adds decadence.
- Fresh Berries: Strawberries, raspberries, blueberries, or a mix of seasonal berries provide a fresh, tart contrast to the creamy sweetness.
- Homemade Fruit Jam or Compote: Warm berry or cherry compote creates a burst of fruity flavor.
- Sweet Caramel Drizzle: A sticky, sweet caramel sauce adds another layer of indulgence.
- Whipped Cream: A dollop of freshly whipped cream is a light and airy complement.
- Lemon Zest: A sprinkle of fresh lemon zest can brighten the flavor and add a beautiful aroma.
- Toasted Nuts: Crushed pecans, walnuts, or almonds add a delightful crunch.
Frequently Asked Questions About Cheesecake
- Why did my cheesecake crack?
- Cracks are commonly caused by overmixing the batter (incorporating too much air), baking at too high a temperature, or cooling too quickly. Ensuring room temperature ingredients, gentle mixing, and gradual cooling (especially in the turned-off oven) are key preventative measures.
- Do I have to use a water bath?
- While optional, a water bath significantly helps in baking the cheesecake evenly and preventing cracks by providing a moist, gentle heat. If you skip it, your cheesecake might still be delicious but could be more prone to cracking and have a slightly denser texture.
- How do I know when my cheesecake is done?
- The edges of the cheesecake should appear set, slightly puffed, and golden, while the center (about a 2-3 inch circle) should still have a slight jiggle when the pan is gently shaken. It will continue to set as it cools.
- Can I use low-fat cream cheese?
- We highly recommend full-fat cream cheese for the best flavor and texture. Low-fat varieties contain more water and can result in a cheesecake that is less rich, dense, and potentially prone to cracking.
- What if my cheesecake sinks in the middle?
- A sunken center can also be a result of overmixing, too much air in the batter, or rapid cooling. Ensure you’re following the mixing and cooling instructions carefully.
Classic Cheesecake Recipe
Here’s the most popular cheesecake recipe ever. It’s simple and delicious, and it’s popular for a reason. Try it yourself today!
By: Honeycomb Media
- Prep Time: 20 mins
- Cook Time: 1 hr
- Total Time: 1 hr 20 mins
- Servings: 8
Ingredients
For the Crust
- 3 cups graham cracker crumbs
- 8 tablespoons butter, melted
For the Cheesecake
- 24 oz. cream cheese, room temperature
- 1 cup granulated sugar
- ½ cup whole milk
- 1/2 cup sour cream
- 2 tablespoons all-purpose flour, optional (see notes)
- 1 teaspoon pure vanilla extract
- 4 large eggs
Instructions
For the Crust
- Preheat your oven to 350ºF (175ºC). Spray a 9-inch springform pan with nonstick baking spray and line the bottom with parchment paper. Set aside.
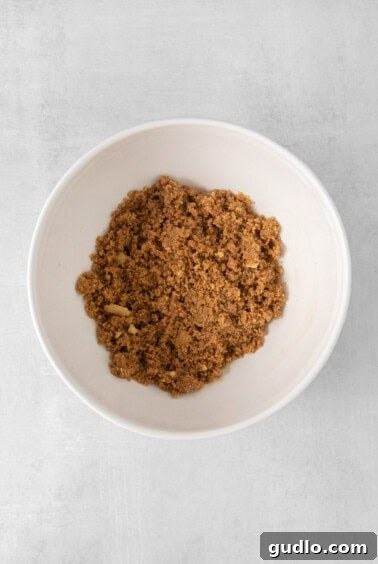
- In a small bowl, mix together the graham cracker crumbs and melted butter until the mixture resembles wet sand.

The simple ingredients for a perfect graham cracker crust. - Transfer the mixture into the prepared springform pan and press the crumbs into the bottom and sides to create an even, compact crust.
- Par-bake the crust for 8 minutes. Then, remove it from the oven and allow it to cool while you make the filling.
For the Filling
- Add the cream cheese to the bowl of a stand mixer fitted with the paddle attachment.
- Beat on medium speed for 1-2 minutes, or until the cream cheese is light and smooth.
- Next, add the granulated sugar, milk, sour cream, flour, and vanilla extract. Mix just until combined.
The silky-smooth cheesecake filling, perfectly blended. - With the mixer on low speed, add the eggs one at a time. Make sure to let each egg incorporate fully before adding the next one.
- Scrape down the sides of the bowl to ensure all of the cream cheese has been incorporated.
- Pour the cheesecake filling on top of the crust.
The cheesecake, now with its creamy filling, awaiting its bake. - Bake for 55-60 minutes, or until the edges of the cheesecake are set and the center is no longer wet. It should jiggle slightly when the pan is shaken.
- Turn off the oven and crack the oven door– allow the cheesecake to cool in the oven for one hour. This will help the cheesecake finish cooking and help prevent large cracks in the center.
- Once the cheesecake has cooled, transfer it to the fridge to chill for at least 6 hours (although overnight is preferred).
- When you’re ready to serve, run a thin, flat-bladed knife under hot water and then wipe it clean with a paper towel. Run the knife around the edge of the springform pan and release the pan’s latch. Remove the sides.
- Transfer the cheesecake to your serving dish. For clean slices, make sure to warm and clean the knife (with hot water and then a clean towel) before each slice.
Precise slicing for a beautifully presented dessert. - Serve with fresh berries, whipped cream, or chocolate sauce.
- Store any leftover cheesecake in an airtight container in the fridge for up to three days.
Nutrition
Nutrition information is an approximation and can vary based on specific ingredients and serving sizes.
- Calories: 479 kcal
- Carbohydrates: 39 g
- Protein: 8 g
- Fat: 33 g
- Fiber: 1 g
- Sugar: 24 g
Don’t forget to tag your posts on social media with the hashtag #cheeseknees. We’d love to see what you’re up to!