
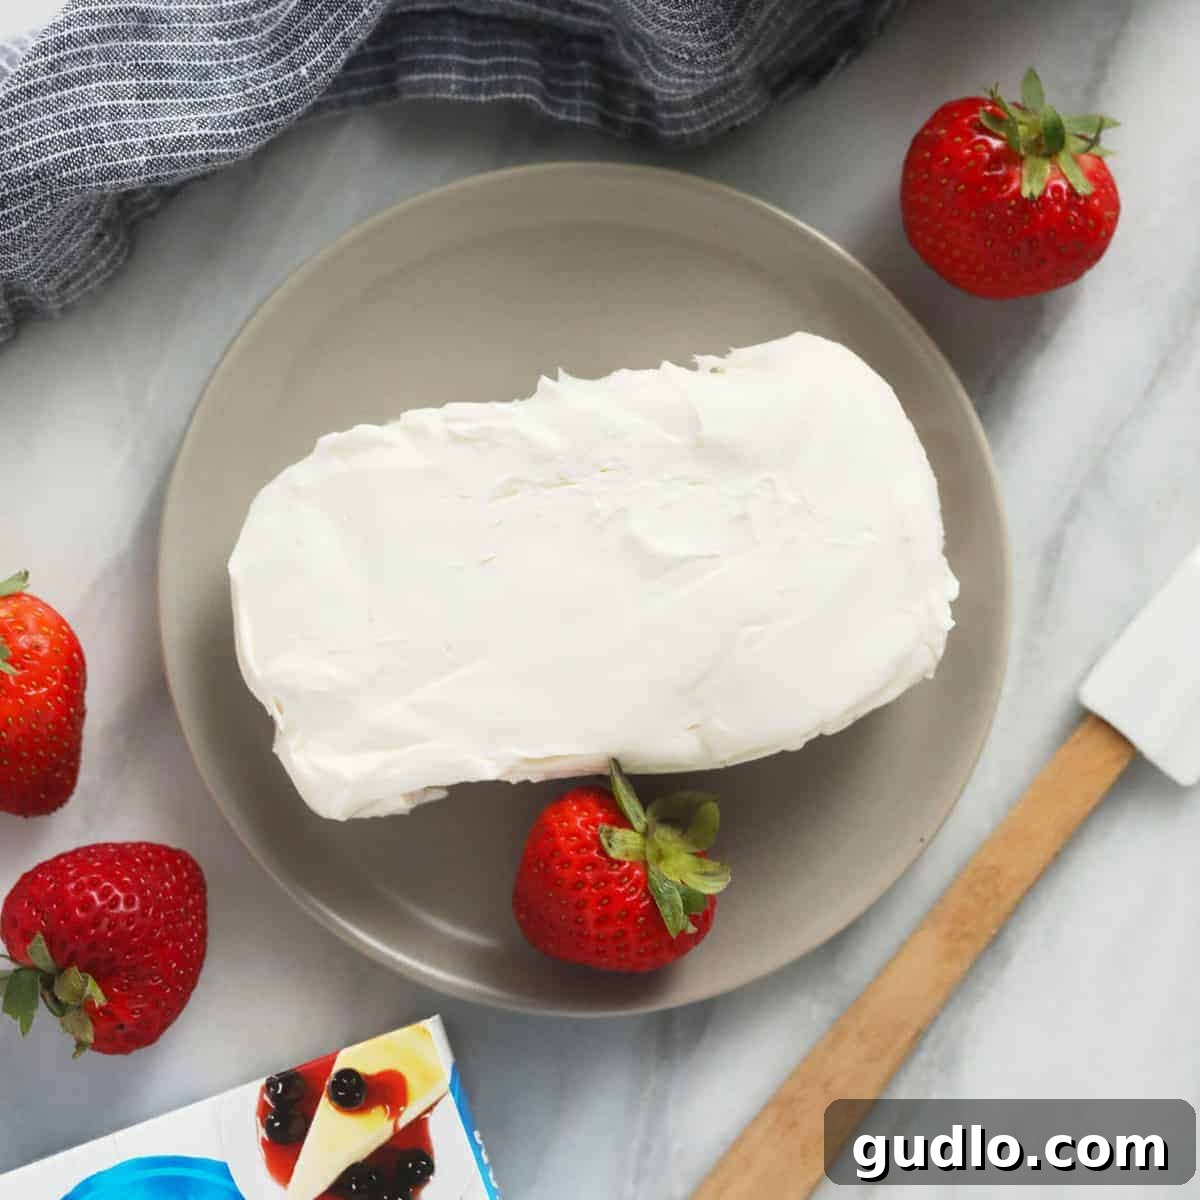
How to Soften Cream Cheese Quickly & Perfectly (4 Easy Methods)
Tired of lumpy batter and uneven textures in your baking? Learning how to soften cream cheese quickly and effectively is a game-changer for countless recipes. Whether you’re whipping up a cheesecake, crafting a velvety frosting, or preparing a savory dip, achieving that perfect, smooth consistency starts with properly softened cream cheese. In this comprehensive guide, we’re sharing four distinct methods to get your cream cheese to the ideal pliable state, along with expert tips, pros, and cons for each.
Why Soften Cream Cheese? The Essential Step for Flawless Recipes
There’s nothing more frustrating than getting excited to bake, only to realize your recipe calls for softened cream cheese, and your block is still rock-hard from the fridge. This seemingly small detail is, in fact, incredibly significant for the success of your culinary creations. Cold cream cheese is stiff, dense, and will not blend smoothly with other ingredients.
Attempting to mix cold cream cheese often leads to several undesirable outcomes:
- Lumpy Texture: The most common issue is a lumpy batter or frosting, where bits of unmixed cream cheese remain, creating an unappealing texture.
- Overbeating: To combat lumps, you might be tempted to mix longer. However, overbeating cream cheese can incorporate too much air, leading to a flimsy, less stable frosting, or a cheesecake that cracks during baking. It can also break down the cream cheese’s emulsion, making it watery or oily.
- Uneven Blending: Ingredients like sugar and butter won’t incorporate uniformly into cold cream cheese, impacting the overall flavor and consistency of your dish.
Properly softened cream cheese, on the other hand, is pliable and creamy, allowing it to effortlessly combine with other ingredients. This results in a smooth, homogeneous mixture that is crucial for light, fluffy frostings, crack-free cheesecakes, and wonderfully blended dips. It’s the foundational step for achieving professional-level results in your home kitchen.
Choosing the Best Cream Cheese for Softening: Brick vs. Tub
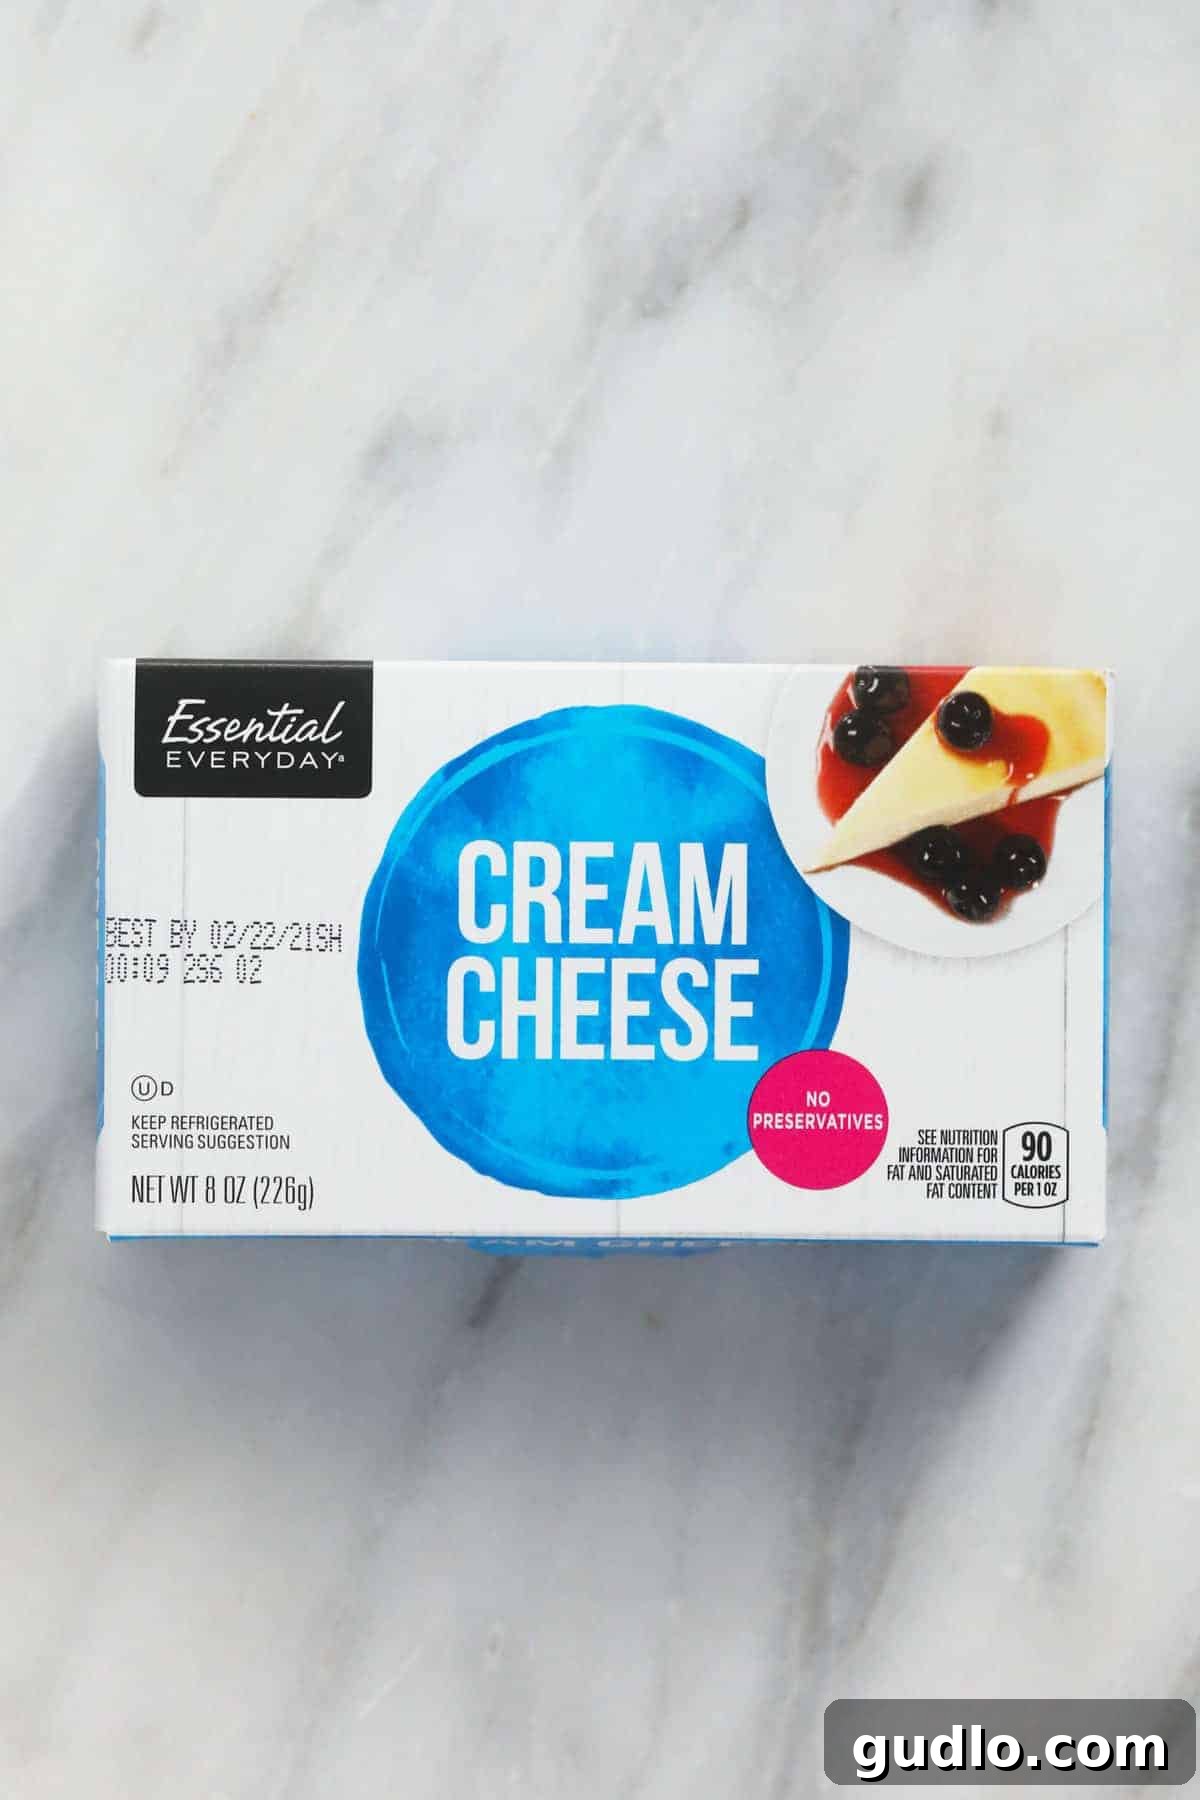
Before you even begin the softening process, it’s vital to choose the right kind of cream cheese. Generally, cream cheese comes in two primary forms: the classic brick and the more spreadable tub variety. While both are delicious, they are not interchangeable for all recipes, especially those requiring softened cream cheese for baking.
We unequivocally recommend using brick-style cream cheese for any recipe that calls for softened cream cheese. Here’s why it’s the superior choice:
- Easier to Measure Accurately: Most brick-style cream cheeses feature convenient measurement lines printed on their foil packaging. This makes it incredibly simple to cut off the precise amount needed for your recipe without guessing or needing extra measuring tools. Tub cream cheese often requires scooping, which can be less accurate.
- Optimal Texture for Blending: Brick cream cheese has a denser, firmer consistency and a higher fat content compared to tub varieties. This robust structure means it softens more evenly and predictably, resulting in a richer, creamier texture when blended into recipes. Tub cream cheese can often be whipped or contain added stabilizers, which can lead to a thinner or more watery consistency when softened and mixed.
- Softens More Efficiently: Due to its solid, compact form, brick cream cheese absorbs heat and softens more quickly and thoroughly than cream cheese from a tub. Its uniform density allows for a more consistent temperature distribution during the softening process.
- Superior Baking Performance: The higher fat content and firmer body of brick cream cheese contribute significantly to the structure and stability of baked goods. This is crucial for dishes like cheesecakes, where it provides the necessary body and prevents cracking, or for frostings, where it ensures a stable, pipeable consistency. Tub cream cheese, being less dense, might yield a less sturdy or even a runny result in these applications.
In summary, always opt for brick-style cream cheese when your recipe specifies a “softened” texture. Reserving tub cream cheese for spreading on bagels or quick dips will ensure the best outcome for all your culinary endeavors.
4 Tried-and-True Ways to Soften Cream Cheese for Any Situation
Running into a recipe that calls for softened cream cheese when yours is fresh from the cold fridge can throw a wrench in your cooking plans. But don’t fret! We’ve put each of these four common methods to the test to help you achieve perfectly soft cream cheese, no matter your time constraints. While all methods work, some are certainly more ideal than others depending on your needs.
Our Softening Test Results at a Glance:
- Our Overall Preferred Method: The Countertop Method (for its reliability and consistent texture).
- For Softening Cream Cheese FAST: The Microwave Method or Warm Water Bath Method (when you’re truly in a hurry).
Method 1: The Classic Countertop Method (Our Preferred Choice)
Total Time: 30 minutes to 1 hour
The countertop method is the simplest and most recommended approach for softening cream cheese, provided you have a little time on your hands. It’s a “set it and forget it” technique that guarantees the most consistent and evenly softened product, completely eliminating the risk of accidental cooking or melting. This method allows the cream cheese to gradually reach room temperature, preserving its delicate texture and emulsification.
How to Soften Cream Cheese on the Countertop:
- First, remove your brick-style cream cheese from the refrigerator.
- Unwrap the cream cheese from its outer cardboard packaging, and if desired, also remove the inner foil wrapper. Placing it directly on a plate allows for more even air exposure.
- Place the unwrapped or foil-wrapped cream cheese block on your kitchen counter at a comfortable room temperature (ideally between 68-72°F or 20-22°C).
- Allow it to sit undisturbed for approximately 30 minutes to 1 hour. The exact time will vary based on how cold your cream cheese was initially and the ambient temperature of your kitchen. The cream cheese is ready when it yields easily to gentle pressure and is easily spreadable.
Want to Speed Things Up a Bit? Try these smart hacks:
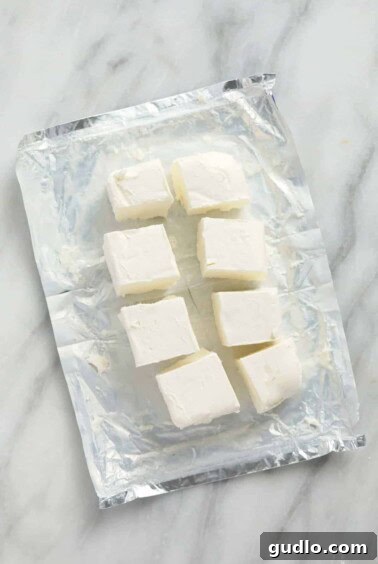
- Slice into Cubes: This is arguably the most effective way to accelerate countertop softening. Unwrap your block of cream cheese and slice it into 1-inch (2.5 cm) cubes. Spread these cubes out on a plate to maximize their surface area exposure to the ambient air. This technique can often cut the softening time in half, bringing it down to 15-30 minutes.
- Utilize Residual Oven Heat: If your oven has recently been on for another baking project, you can harness its gentle warmth. After turning off the oven, place the wrapped cream cheese on top of the stovetop, directly above the oven door or vent. The residual heat emanating from the oven will create a slightly warmer environment, speeding up the process. Crucially, always keep a watchful eye on it to ensure it doesn’t get too soft or start to melt.
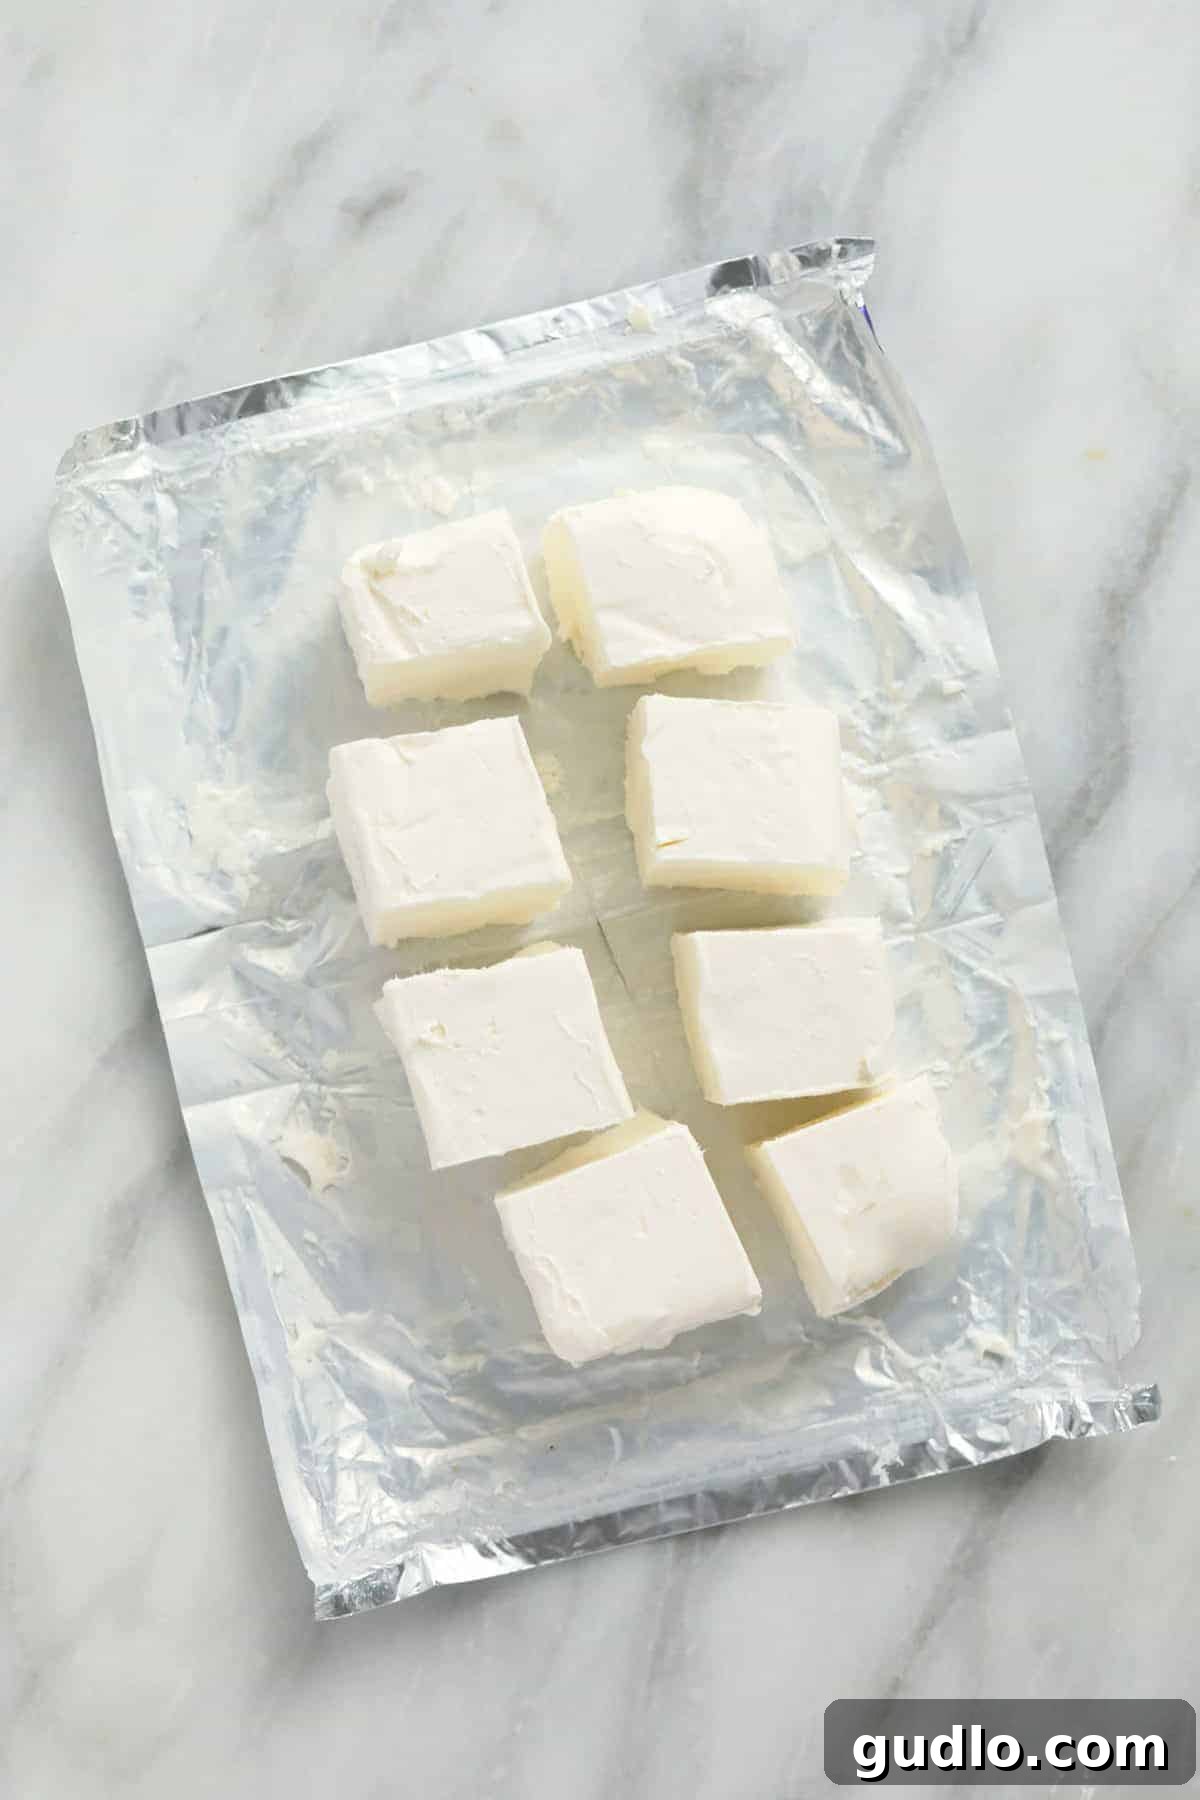
Pros: Delivers the most consistent and evenly softened cream cheese; completely hands-off once set; eliminates any risk of overheating or altering the cream cheese’s texture; yields the best results for delicate recipes.
Cons: Requires forethought and patience, as it is the slowest method if you need cream cheese immediately.
Method 2: The Warm Water Bath Method (Fast & Reliable)
Total Time: 5-10 minutes
When time is of the essence, but you want to avoid the microwave, the warm water bath method is an excellent, quick, and surprisingly reliable alternative. This technique can bring your cream cheese to perfect softness in under 10 minutes. The critical factor for success with this method is ensuring the cream cheese packaging remains completely sealed to prevent any water from reaching the cheese itself.
How to Soften Cream Cheese with a Warm Water Bath:
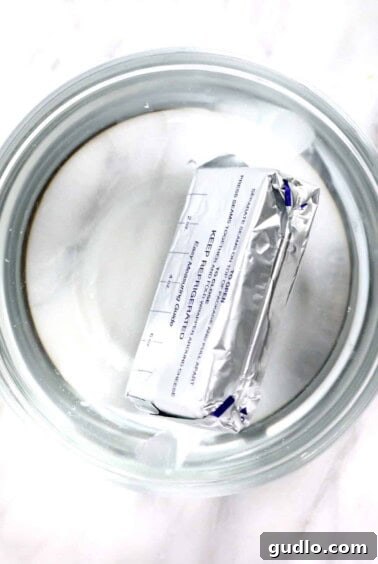
- First, verify that your brick of cream cheese is still in its original, sealed foil wrapper and outer cardboard packaging. Any tears or openings in the packaging could allow water to seep in, compromising the cream cheese. Do NOT unwrap it for this method.
- Fill a large bowl (or even a small pot) with warm tap water. The water should feel comfortably warm to the touch, similar to bathwater, but it should absolutely NOT be boiling or scalding hot. Water that is too hot can cause the cream cheese to melt unevenly, become grainy, or separate.
- Carefully place the fully wrapped brick of cream cheese into the warm water. Ensure the entire block is submerged. If it floats, place a lighter plate or object on top to keep it underwater.
- Allow the cream cheese to sit in the warm water for approximately 5 to 10 minutes. Periodically, gently press on the package to check for your desired level of softness. Once pliable and soft throughout, remove it from the water, unwrap, and proceed with your recipe.
Bonus Tip: If you need to soften multiple blocks of cream cheese, opt for an even larger bowl or pot to submerge them all at once. This maximizes efficiency and saves time when preparing for bigger baking projects.
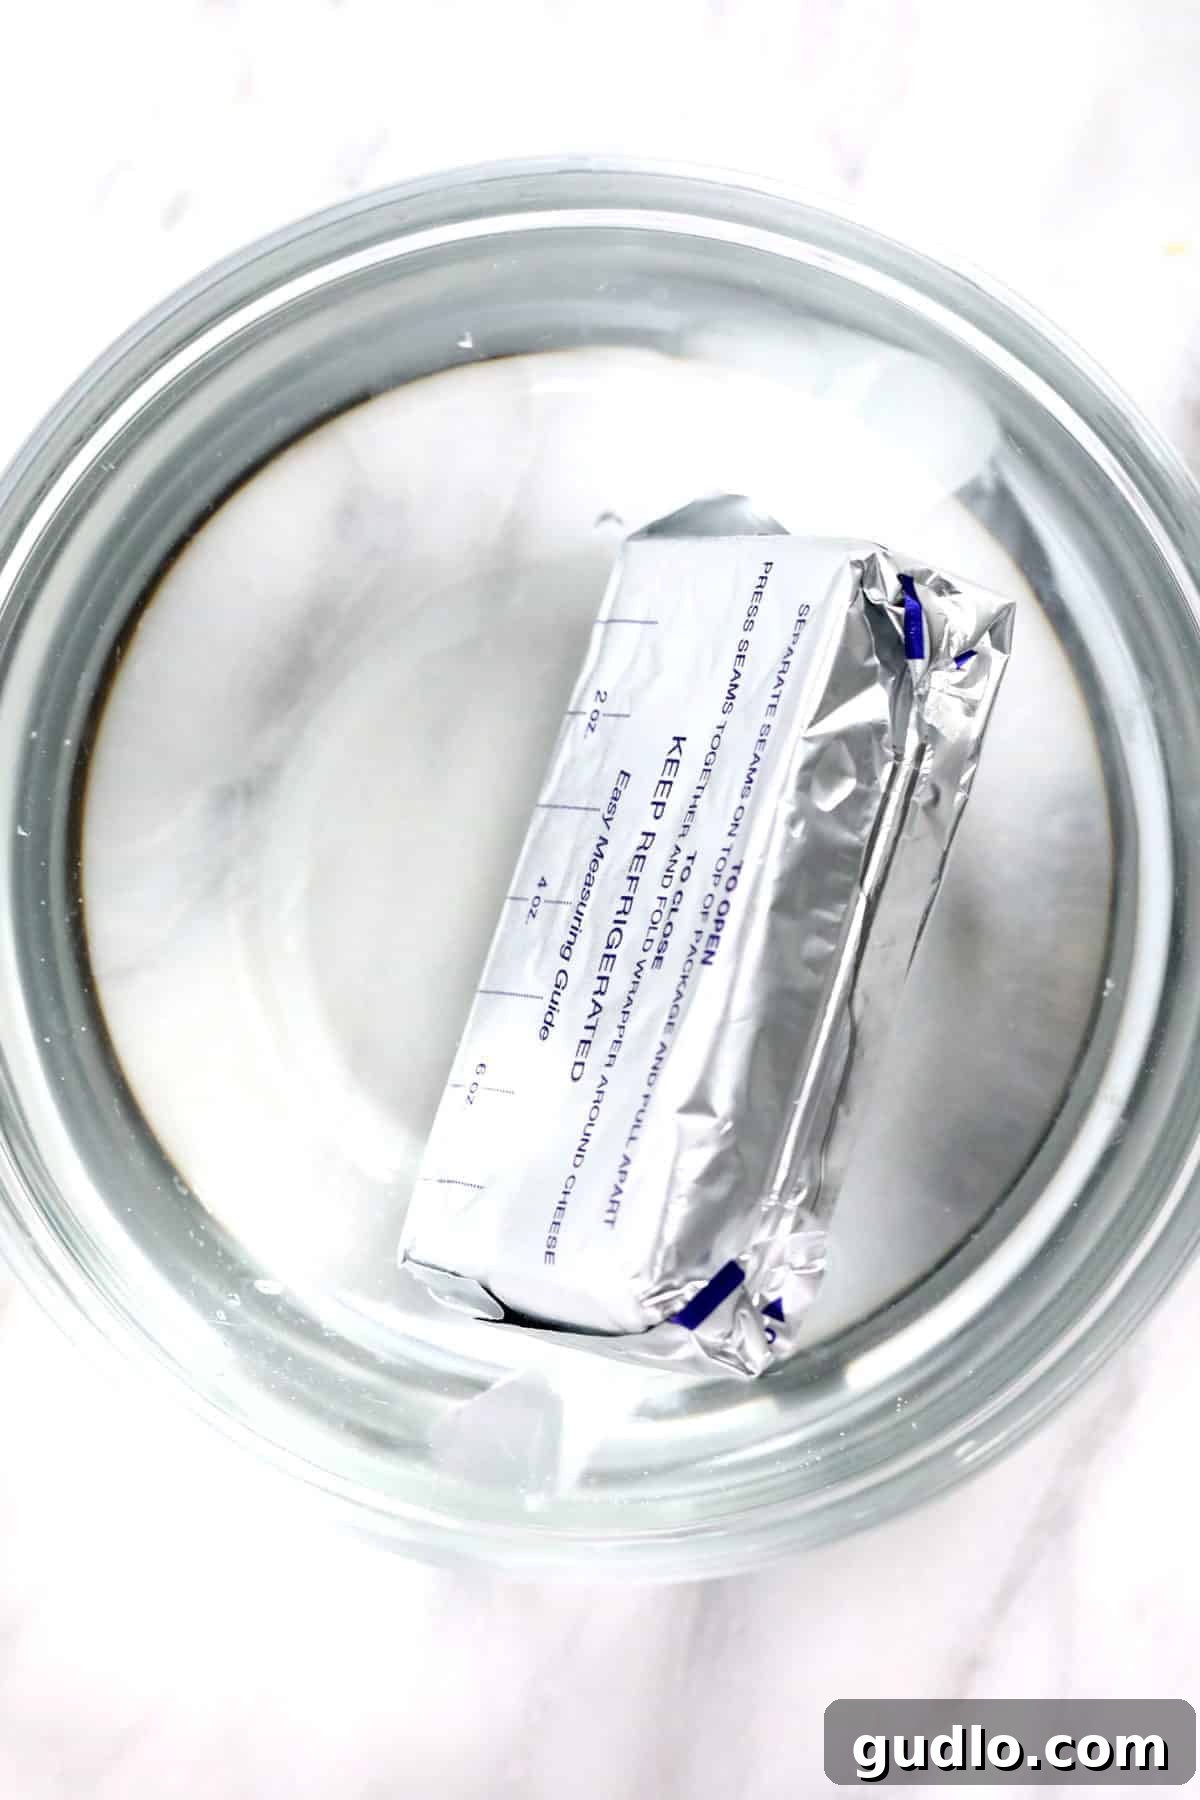
Pros: Extremely fast softening time (one of the quickest methods); generally produces fairly consistent results; preserves the cream cheese texture well as long as the packaging is intact.
Cons: Absolutely requires fully sealed, waterproof packaging; carries a risk of water seeping in if the wrapper is compromised; not suitable for cream cheese that has already been unwrapped.
Method 3: The Hand-Warming Method (No Equipment Needed)
Total Time: 10-15 minutes
The hand-warming method is a practical, no-fuss approach that requires absolutely no special equipment. It leverages your body heat to gently and gradually soften the cream cheese. This method is particularly useful if you only need to soften a small amount of cream cheese, find yourself in a kitchen without a microwave, or simply prefer a more manual, tactile approach to your baking prep.
How to Soften Cream Cheese Using Your Hands:
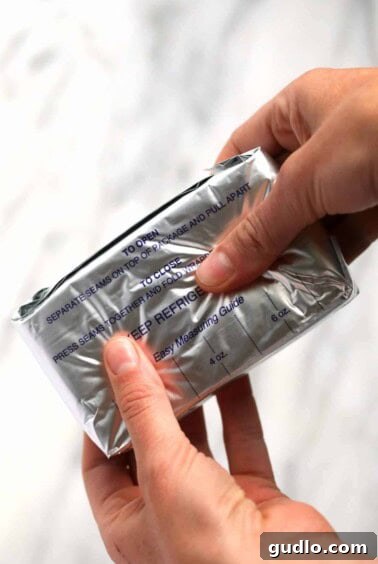
- To begin, keep the cream cheese securely wrapped in its original foil packaging. This not only maintains hygiene but also helps in evenly distributing the warmth from your hands.
- Place the wrapped brick of cream cheese firmly between your palms.
- Using a continuous motion, gently squeeze, knead, and massage the cream cheese for approximately 10 to 15 minutes. As you work it, your body heat will slowly transfer to the cream cheese, softening it from the outside in. Continue until it reaches a uniformly pliable and soft consistency.
Pro Tip for Increased Speed: To significantly accelerate the softening process, try running your hands under warm tap water for a few seconds before you start massaging the cream cheese, or periodically during the softening process. The added warmth in your hands will transfer more effectively to the cream cheese, helping it soften much faster. Be careful not to apply excessive pressure that could inadvertently tear the packaging.
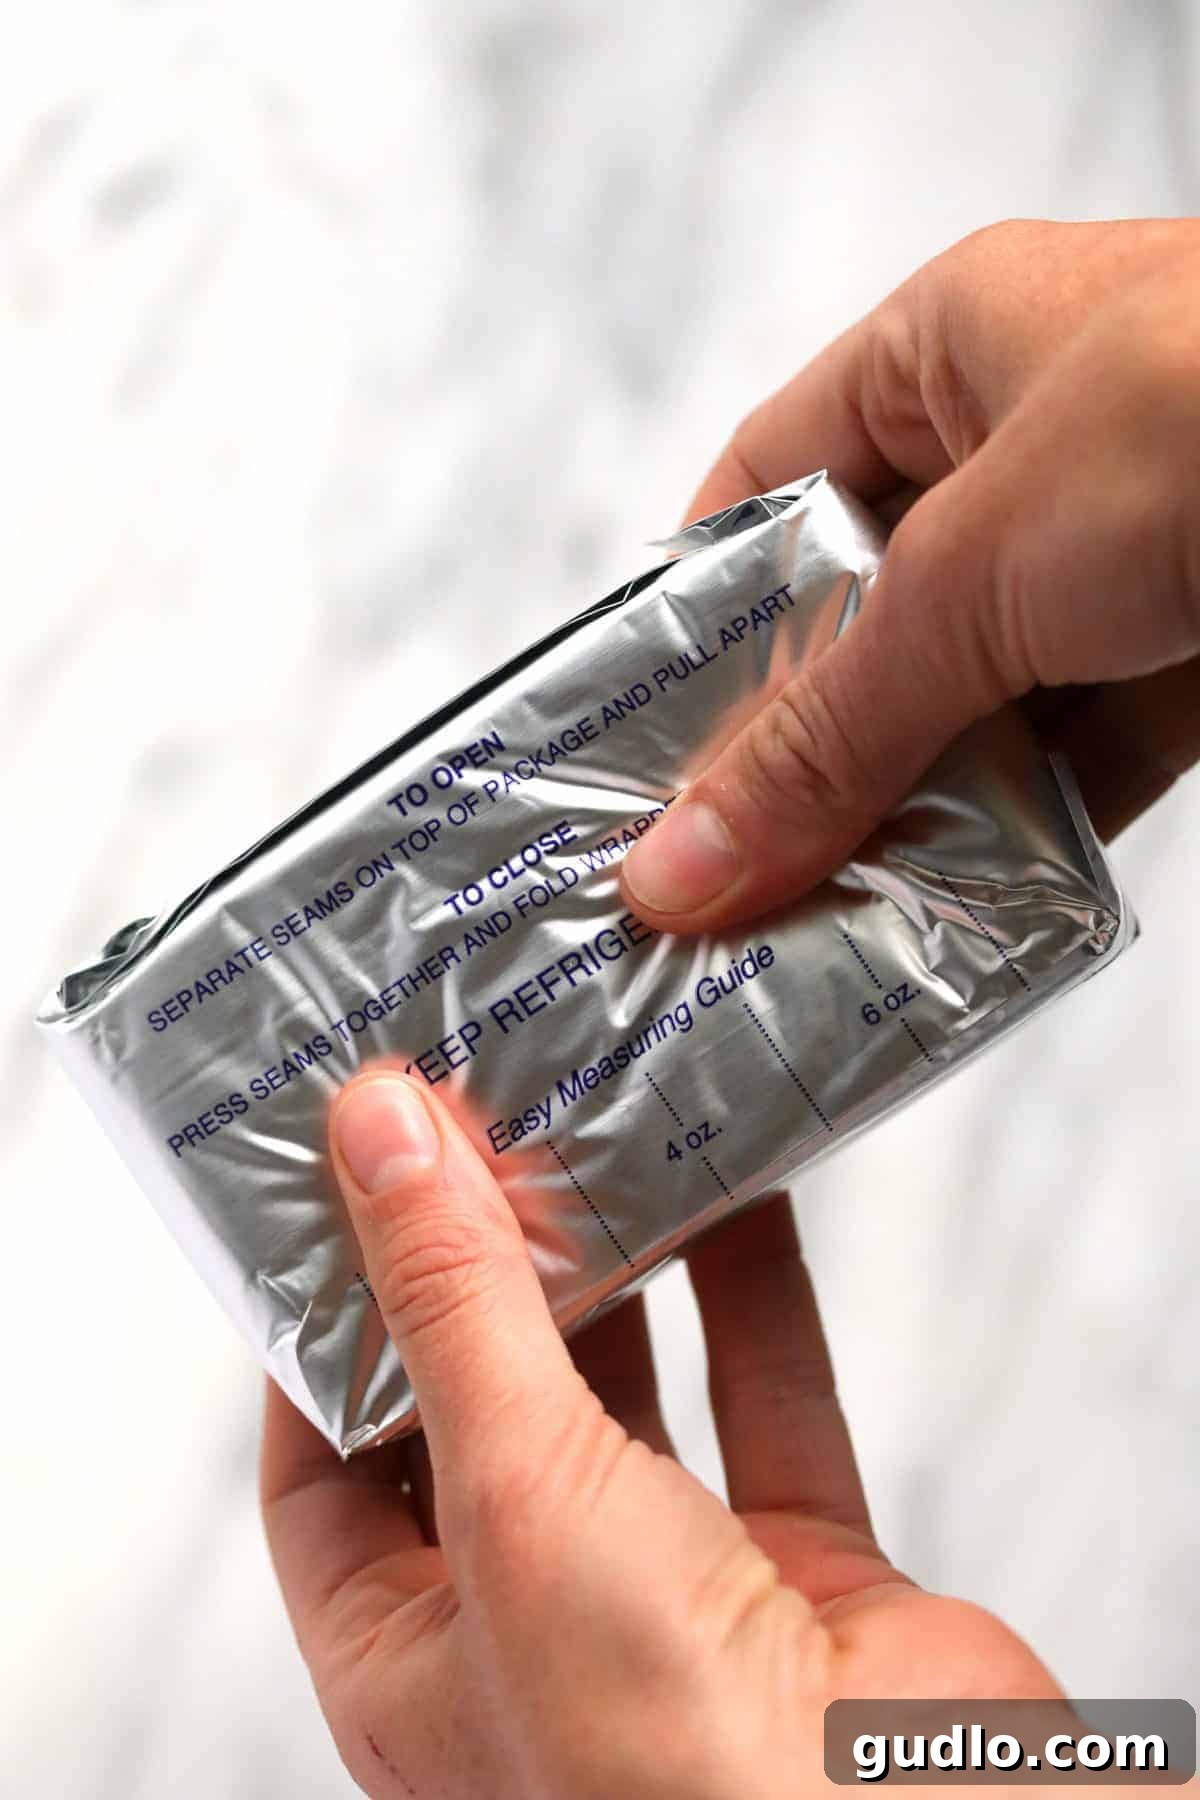
Pros: Requires no specialized tools or appliances; utilizes readily available body heat; relatively quick for softening small quantities; offers direct control over the softening process.
Cons: Can be labor-intensive and requires continuous hands-on effort; may result in less consistent softening if not massaged evenly; carries a slight risk of packaging tears if too much pressure is applied; less practical for larger quantities.
Method 4: The Microwave Method (The Fastest, but Most Risky)
Total Time: 1 minute
When you need softened cream cheese literally right now, the microwave stands as the undisputed champion of speed. It can take a rock-hard block of cream cheese to a perfectly pliable state in less than a minute. However, this incredible speed comes with a significant caveat: it is by far the riskiest method. Overheating even by a few seconds can easily lead to a partially cooked, melted, or grainy cream cheese that is unusable for many recipes.
How to Soften Cream Cheese in the Microwave:
- Crucially, completely unwrap the brick of cream cheese from both its foil and cardboard packaging. Never microwave cream cheese in its foil wrapper.
- Place the unwrapped cream cheese block on a microwave-safe plate.
- Microwave on HIGH power in very short bursts—think 10 to 15 seconds at a time for a standard 8-ounce block.
- After each increment, immediately remove the plate and gently press the cream cheese with your finger or a spoon to check its softness. If it’s still firm in the center, flip it over or rotate it to ensure even heating, then microwave for another 10-15 seconds.
- Continue this process, being extremely vigilant, until the cream cheese is pliable and smooth throughout, but still cool to the touch and definitely not melted or hot. For an 8 oz. block, the total microwaving time typically ranges from 30 to 60 seconds, but this can vary depending on your microwave’s power.
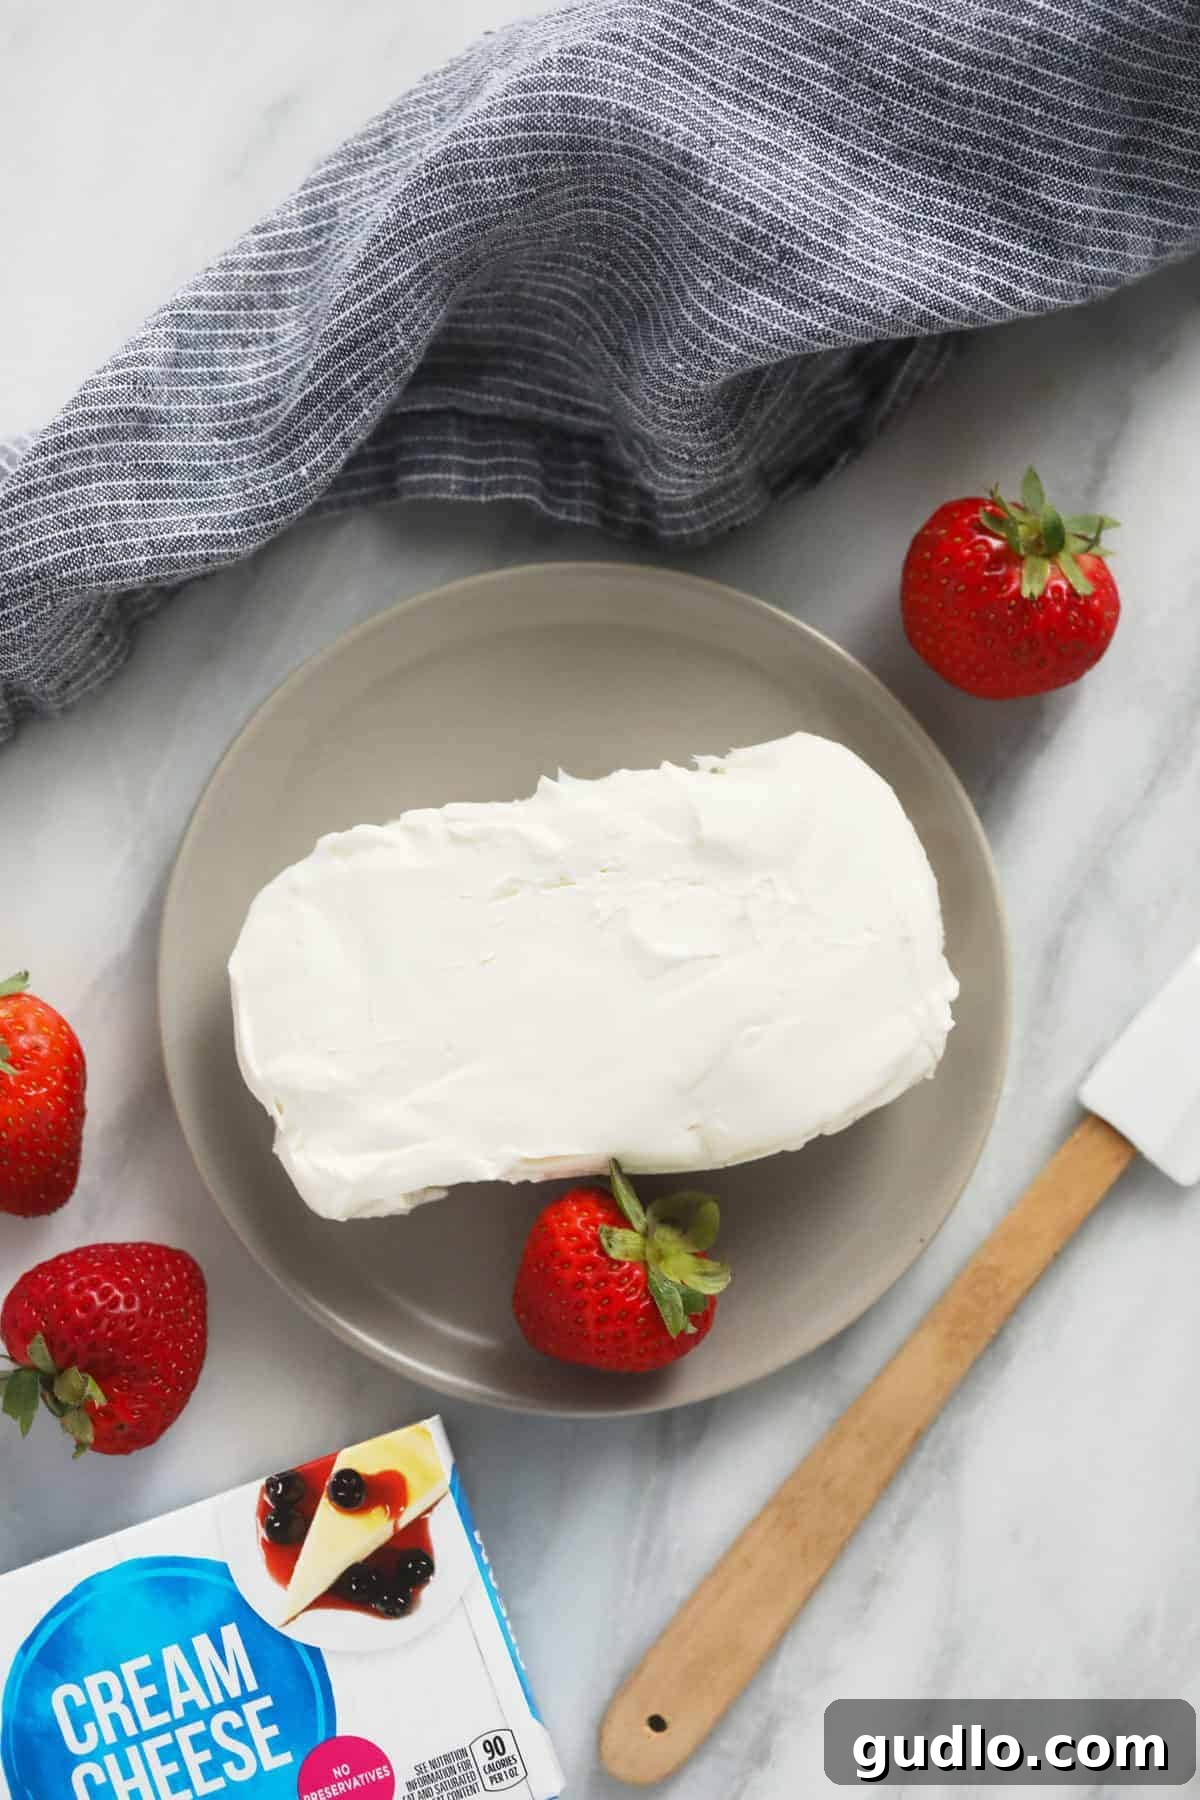
Critical Warning: Over-microwaving is the biggest pitfall of this method. If cream cheese becomes too hot, it will melt, separate, or develop a rubbery, grainy texture, rendering it unsuitable for the smooth consistency required in most recipes. Always use the shortest possible increments and check frequently.
Pros: Unquestionably the fastest method, ideal for urgent baking or cooking situations.
Cons: Highest risk of over-softening, cooking, or uneven texture; requires constant, careful monitoring; not generally recommended for beginners due to the high margin for error.
Comparing the Softening Methods: Which One is Right for You?
Choosing the best method to soften cream cheese often comes down to how much time you have and your personal preference for involvement. While each technique successfully brings cream cheese to a pliable state, their efficacy, risk factors, and overall convenience vary significantly. Here’s a summary to help you decide:
- Countertop Method: This is our top recommendation for achieving consistently perfect, evenly softened cream cheese. It’s entirely hands-off once initiated and carries virtually no risk of ruining the cheese. Ideal if you can plan 30-60 minutes ahead.
- Warm Water Bath: An excellent choice when you’re in a hurry but want reliable results without the microwave’s risks. It softens cream cheese quickly (5-10 minutes) and evenly, provided the packaging is sealed.
- Hand-Warming Method: A good emergency option or for small quantities when you have no other tools available. It takes 10-15 minutes and requires active massaging, but can be sped up with warm hands.
- Microwave Method: The ultimate solution for speed (under 1 minute), but it demands your undivided attention. It’s the highest-risk method for over-softening or cooking, so use with extreme caution and in short bursts.
Ultimately, for the best texture and peace of mind, our overall preferred method for softening cream cheese remains the Countertop Method. It ensures your cream cheese is beautifully smooth and ready for seamless integration into any recipe, without any unpleasant surprises.
Troubleshooting Common Cream Cheese Softening Issues
What if my cream cheese gets too soft or accidentally melts?
It happens, especially if you get a little too enthusiastic with the microwave! If your cream cheese becomes overly soft, runny, or even slightly warm/melted, don’t panic immediately. You might still be able to salvage it:
- Chill It Down: Your first step should be to immediately place the overly soft cream cheese back into the refrigerator. Let it chill for about 10-20 minutes, or until it firms up sufficiently to regain a pliable consistency without becoming rock-hard again. You want it cool enough to handle and mix.
- Proceed with Caution: While the texture might not be absolutely ideal compared to perfectly softened cream cheese, a slightly over-softened block is often still usable for many recipes, particularly if it’s destined for a mixture that will be baked or chilled (like a cheesecake base or a dip). However, if you’re making delicate frostings where a precise, fluffy texture is paramount, it might be best to start with a fresh block if the texture is noticeably compromised.
- Avoid Re-Microwaving: If it’s already too soft, do not attempt to microwave it again, even for a second. This will only exacerbate the problem.
- Consider Alternatives: If the cream cheese has become truly grainy, separated, or liquid, it may be beyond saving and starting over with a fresh, properly softened block is often the best course of action for optimal results.
Remember, practice makes perfect! The more you soften cream cheese, the better you’ll become at recognizing the ideal consistency for your recipes.
Recipes That Shine with Perfectly Softened Cream Cheese
Softened cream cheese is a foundational ingredient in countless beloved recipes, lending its characteristic tanginess and rich creaminess to both sweet and savory dishes. Proper softening is the secret to achieving that smooth, irresistible texture every time. Here are some of our favorite recipes where using perfectly softened cream cheese truly makes all the difference:
- Strawberry Cream Cheese Frosting: Achieve an incredibly smooth, pipeable, and luscious frosting that’s bursting with fresh berry flavor. Soft cream cheese is key for a light and airy consistency.
- Blueberry Cream Cheese Muffins: The softened cream cheese blends seamlessly into the muffin batter, creating delightful pockets of rich, tangy goodness that melt in your mouth.
- Cream Cheese Banana Bread: Elevate your classic banana bread with a decadent swirl of creamy, dreamy cream cheese, which adds both moisture and an irresistible tangy contrast.
- Classic New York Cheesecake: The quintessential dish where perfectly softened cream cheese is non-negotiable. It’s essential for a smooth, crack-free, and velvety cheesecake batter that bakes up beautifully.
- Cream Cheese Dips & Spreads: For both sweet and savory appetizers, softened cream cheese forms the smooth, creamy base necessary for a perfectly dippable and spreadable consistency. Think fruit dips or savory veggie spreads.
- Cream Cheese Swirl Brownies: Create visually stunning and deliciously rich brownies with beautiful, marbled cream cheese swirls that bake up perfectly.
- Red Velvet Cake with Cream Cheese Frosting: A classic pairing where the tang and creaminess of soft cream cheese frosting perfectly complements the rich cake.
These are just a few examples; the versatility of softened cream cheese means it can enhance a wide array of dishes, making it an indispensable skill for any home cook or baker.
Explore More Cream Cheese Goodness
Inspired to learn even more about this fantastic dairy staple? Dive deeper into the world of cream cheese with our other popular articles, packed with insights and culinary inspiration:
- Cream Cheese 101: Everything you ever wanted to know about cream cheese, from its history to its many uses and varieties.
- How to Make Cream Cheese: For the truly adventurous and curious home cook, learn the fascinating process of crafting your very own fresh cream cheese from scratch!
Recipe: How to Soften Cream Cheese (4 Ways)
This comprehensive guide details four effective methods to achieve perfectly softened cream cheese for all your baking and cooking needs, ensuring smooth and delicious results every time. Choose the method that best fits your schedule and kitchen setup!
By: Lee Funke
Prep Time: 30 minutes (varies by method)
Cook Time: 0 minutes
Total Time: 30 minutes (varies by method)
Yields: 8 oz (standard brick)
Ingredients
- 8 oz. cream cheese, brick-style
Instructions
Method 1: Microwave (Quickest – Approx. 1 minute)
- Remove chilled cream cheese completely from its packaging (foil and cardboard) and place it on a microwave-safe plate.
- Microwave on HIGH power in very short increments of 10-15 seconds.
- After each increment, gently press the cream cheese to check its softness. Rotate or flip if needed. Continue until it reaches your desired pliable, smooth texture, typically taking between 30 to 60 seconds total. Avoid overheating to prevent melting or rubbery texture.
Method 2: Countertop (Our Preferred – Approx. 30-60 minutes)
- Remove cream cheese from its packaging (outer cardboard and foil) and place it on a plate.
- Either leave it as a whole block or slice it into 1-inch (2.5 cm) chunks for faster results.
- Let it sit at room temperature for 30 minutes to 1 hour, or until it softens to a uniformly pliable and smooth texture.
- Tip: To speed things up, if your oven is warm from previous use (or set to a very low temperature), place the cream cheese (on its wrapper) on top of the oven to utilize the residual heat, monitoring closely.
Method 3: Warm Water Bath (Fast – Approx. 5-10 minutes)
- Fill a large bowl with warm (not boiling) tap water.
- Ensure the cream cheese is still in its original, sealed packaging (foil and cardboard). Do NOT unwrap it.
- Place the wrapped cream cheese into the warm water, ensuring it is fully submerged.
- Let it sit in the warm water for 5-10 minutes, or until it feels pliable and soft to the touch through the packaging. Remove, unwrap, and use.
Method 4: Hand-Warming (Manual – Approx. 10-15 minutes)
- Keep the cream cheese fully wrapped in its foil packaging.
- Place the wrapped cream cheese brick between your palms.
- Gently massage, knead, and squeeze the cream cheese for 10-15 minutes, using your body heat to gradually soften it until it reaches a desired pliable consistency.
- Tip: To speed up the process, run your hands under warm water for a few seconds before or during massaging to transfer more heat to the cream cheese.
Nutrition Information (Approximate values per 1 oz. serving)
- Calories: 100 kcal
- Carbohydrates: 0 g
- Protein: 2 g
- Fat: 10 g
- Fiber: 0 g
- Sugar: 0 g
Please note: Nutrition information is automatically calculated and should be used only as an approximation. Actual values may vary.