
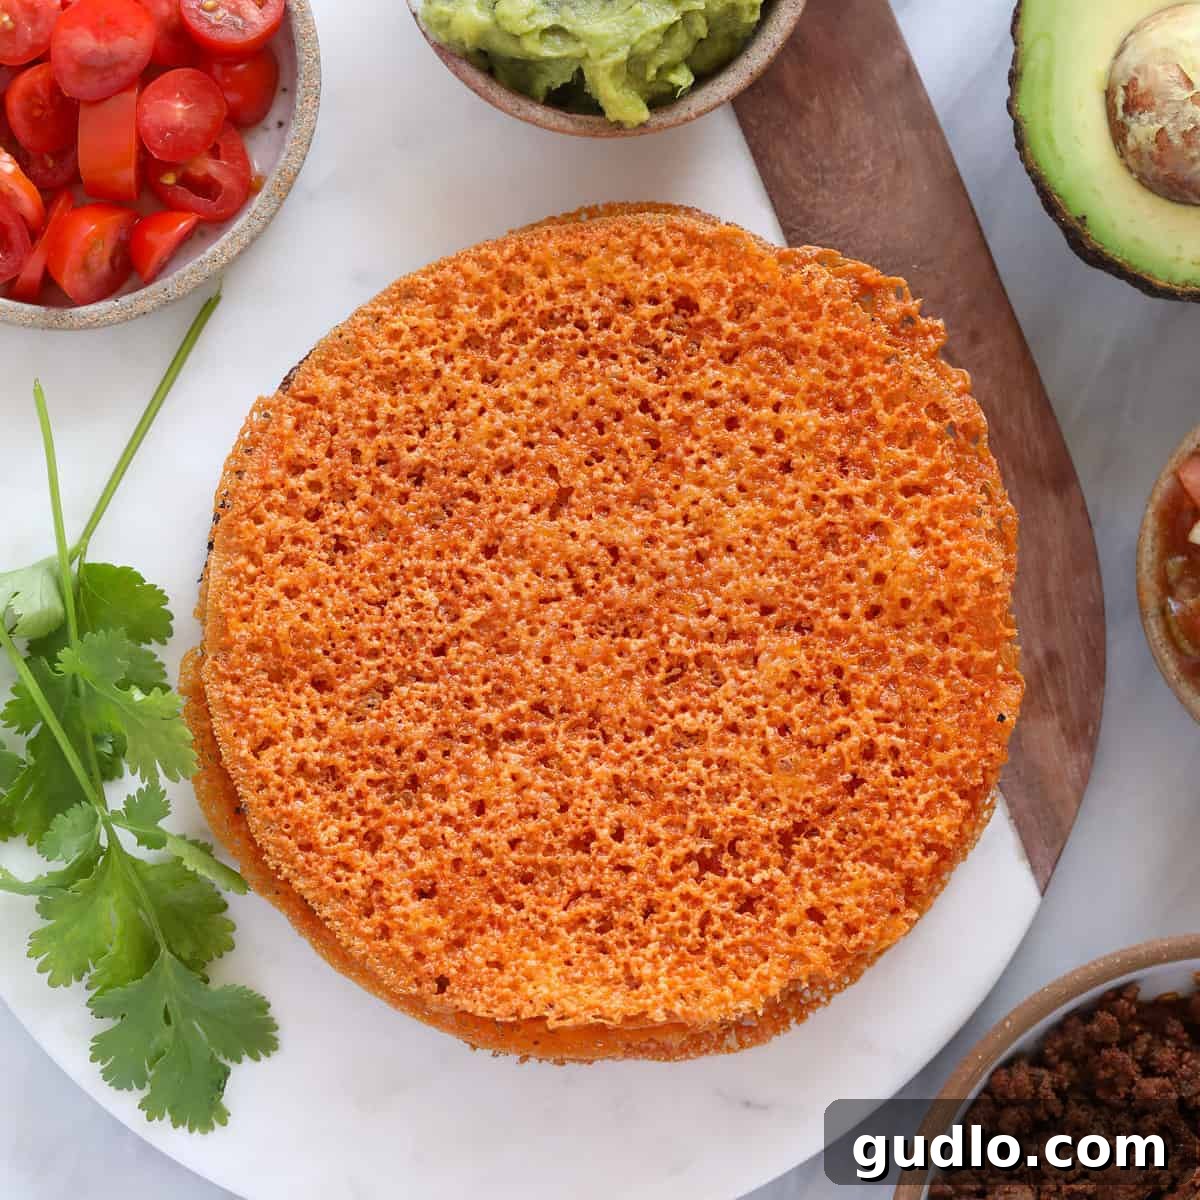
Are you searching for the ultimate low-carb cheesy tortilla recipe that’s both simple to make and incredibly delicious? Look no further! This ingenious method allows you to craft crispy, flavorful cheese taco shells right in your own kitchen, perfect for satisfying those tortilla cravings without the carbs. All you need is a single slice of your favorite cheese and a small skillet – it’s that easy!
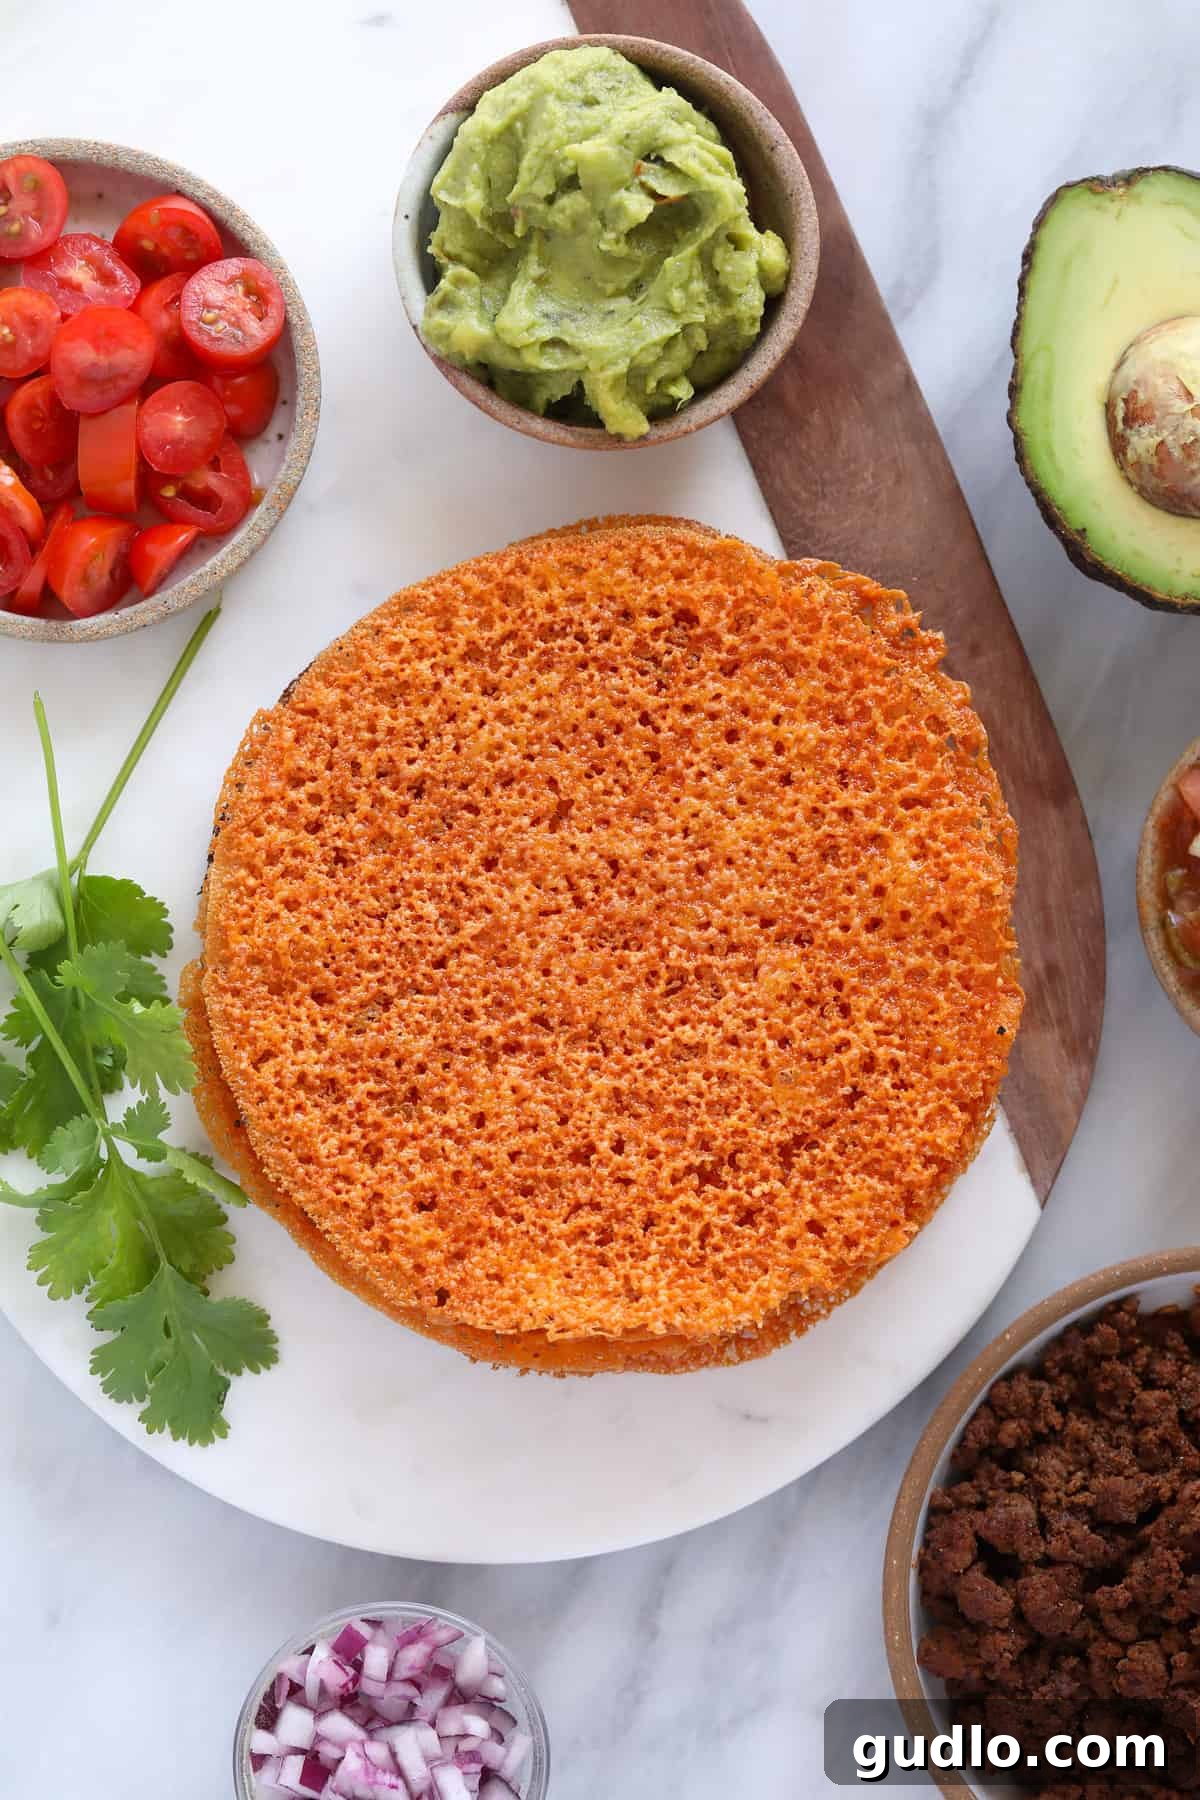
The Best Low-Carb Cheese Tortillas: Your Go-To Keto Taco Shells and Wraps
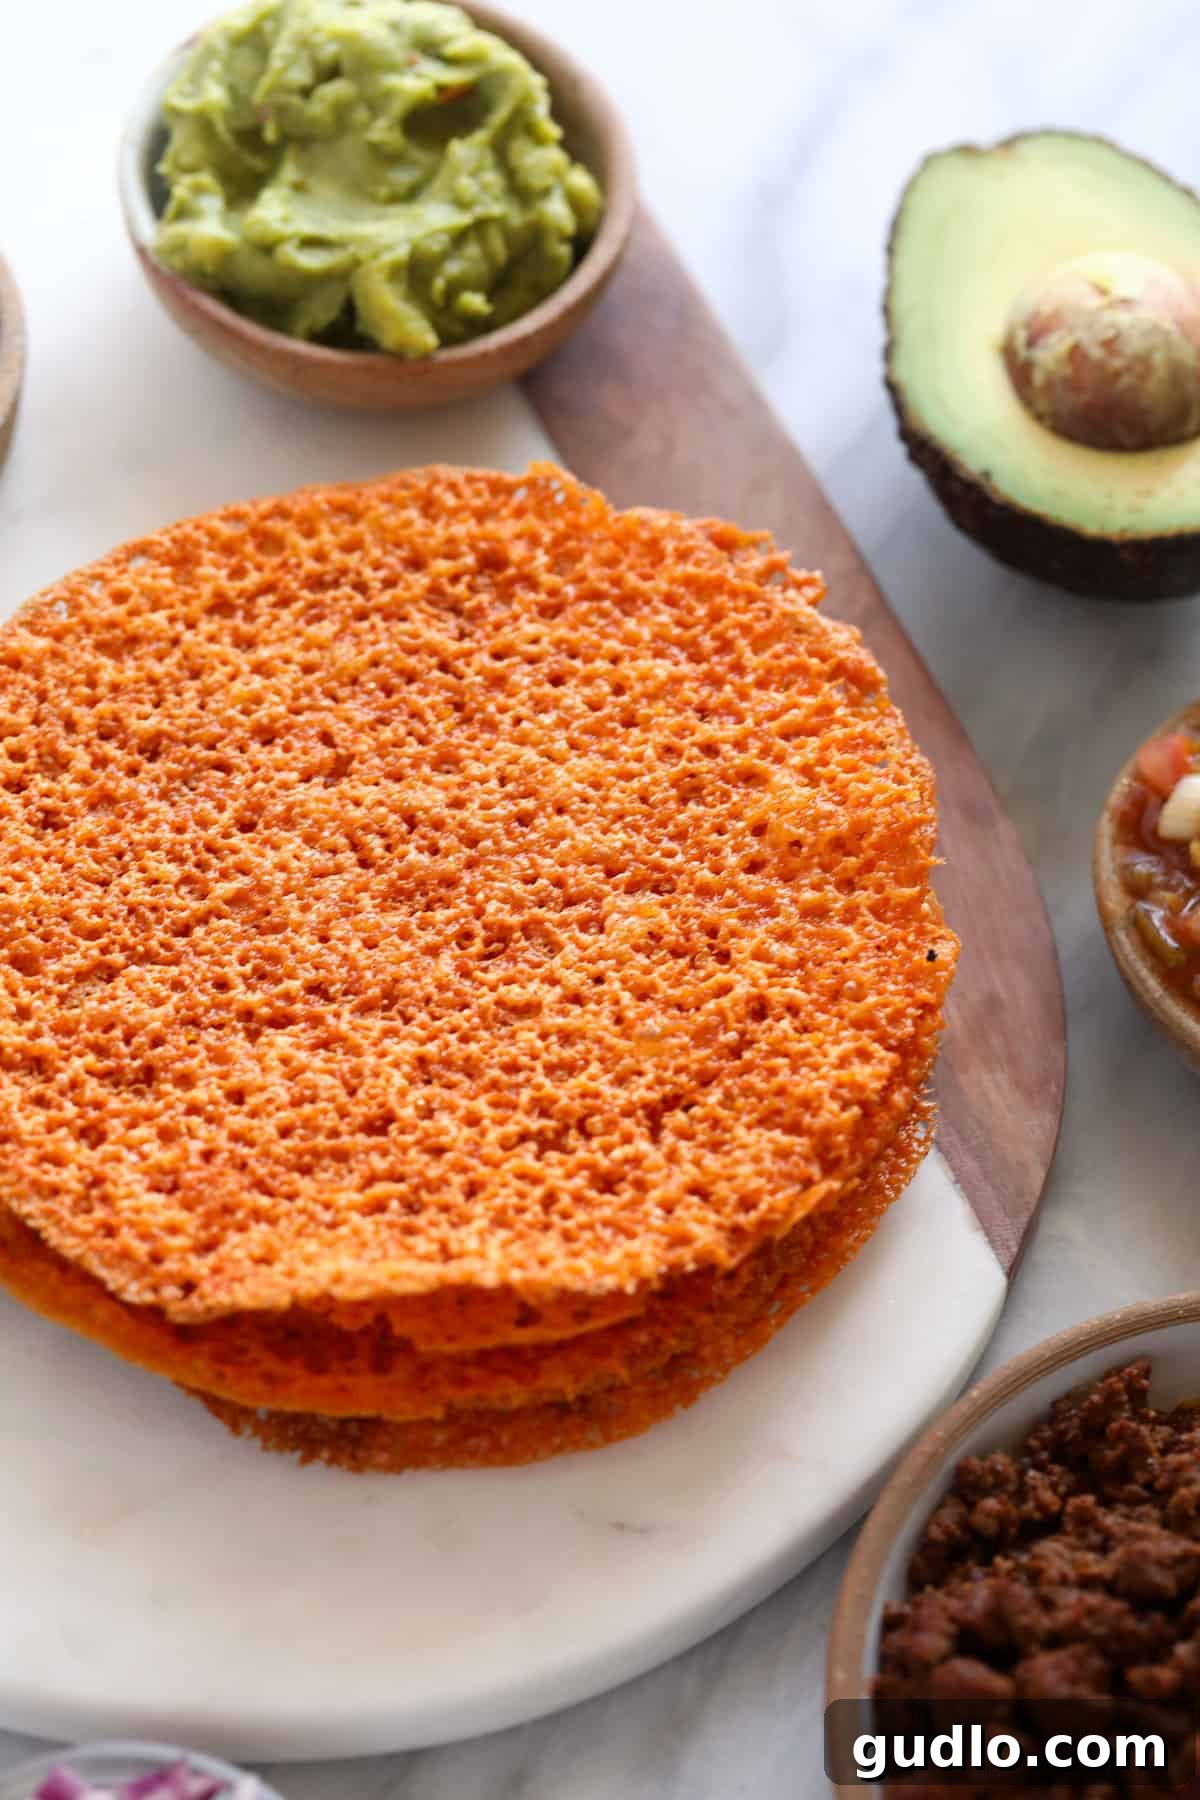
Imagine a tortilla, but instead of flour or corn, it’s made entirely of savory, crispy cheese. That’s exactly what you get with these incredible cheese tortillas! They offer a delightful crunch and rich flavor that perfectly complements all your favorite fillings, transforming any meal into a cheesy delight. Whether you’re making tacos, quesadillas, or even nachos, this simple recipe provides a fantastic, foolproof way to enjoy your favorite Mexican-inspired dishes while sticking to a low-carb or keto lifestyle. These versatile cheese wraps open up a world of culinary possibilities, making healthy eating exciting and flavorful.
We absolutely adore this cheese tortilla recipe because:
- Lightning Fast: They are ready in mere minutes, making them perfect for quick weeknight dinners or impromptu snack attacks.
- Keto-Friendly & Low Carb: An excellent alternative to traditional tortillas, allowing you to enjoy your favorite meals without the carb count. They are naturally gluten-free too!
- Incredibly Versatile: Elevate a wide variety of meals, from classic tacos and quesadillas to creative new dishes. The possibilities are truly endless!
- Minimal Ingredients: You only need two basic ingredients to create these culinary wonders.
- Customizable Flavor: Easily adapt the flavor by choosing different types of cheese or adding seasonings.
Simple Ingredients for Perfect Cheese Tortillas
You won’t believe how few ingredients are required to whip up these fantastic cheese tortillas. Seriously, it’s just two main components!
The Star Ingredient: Cheese Slices
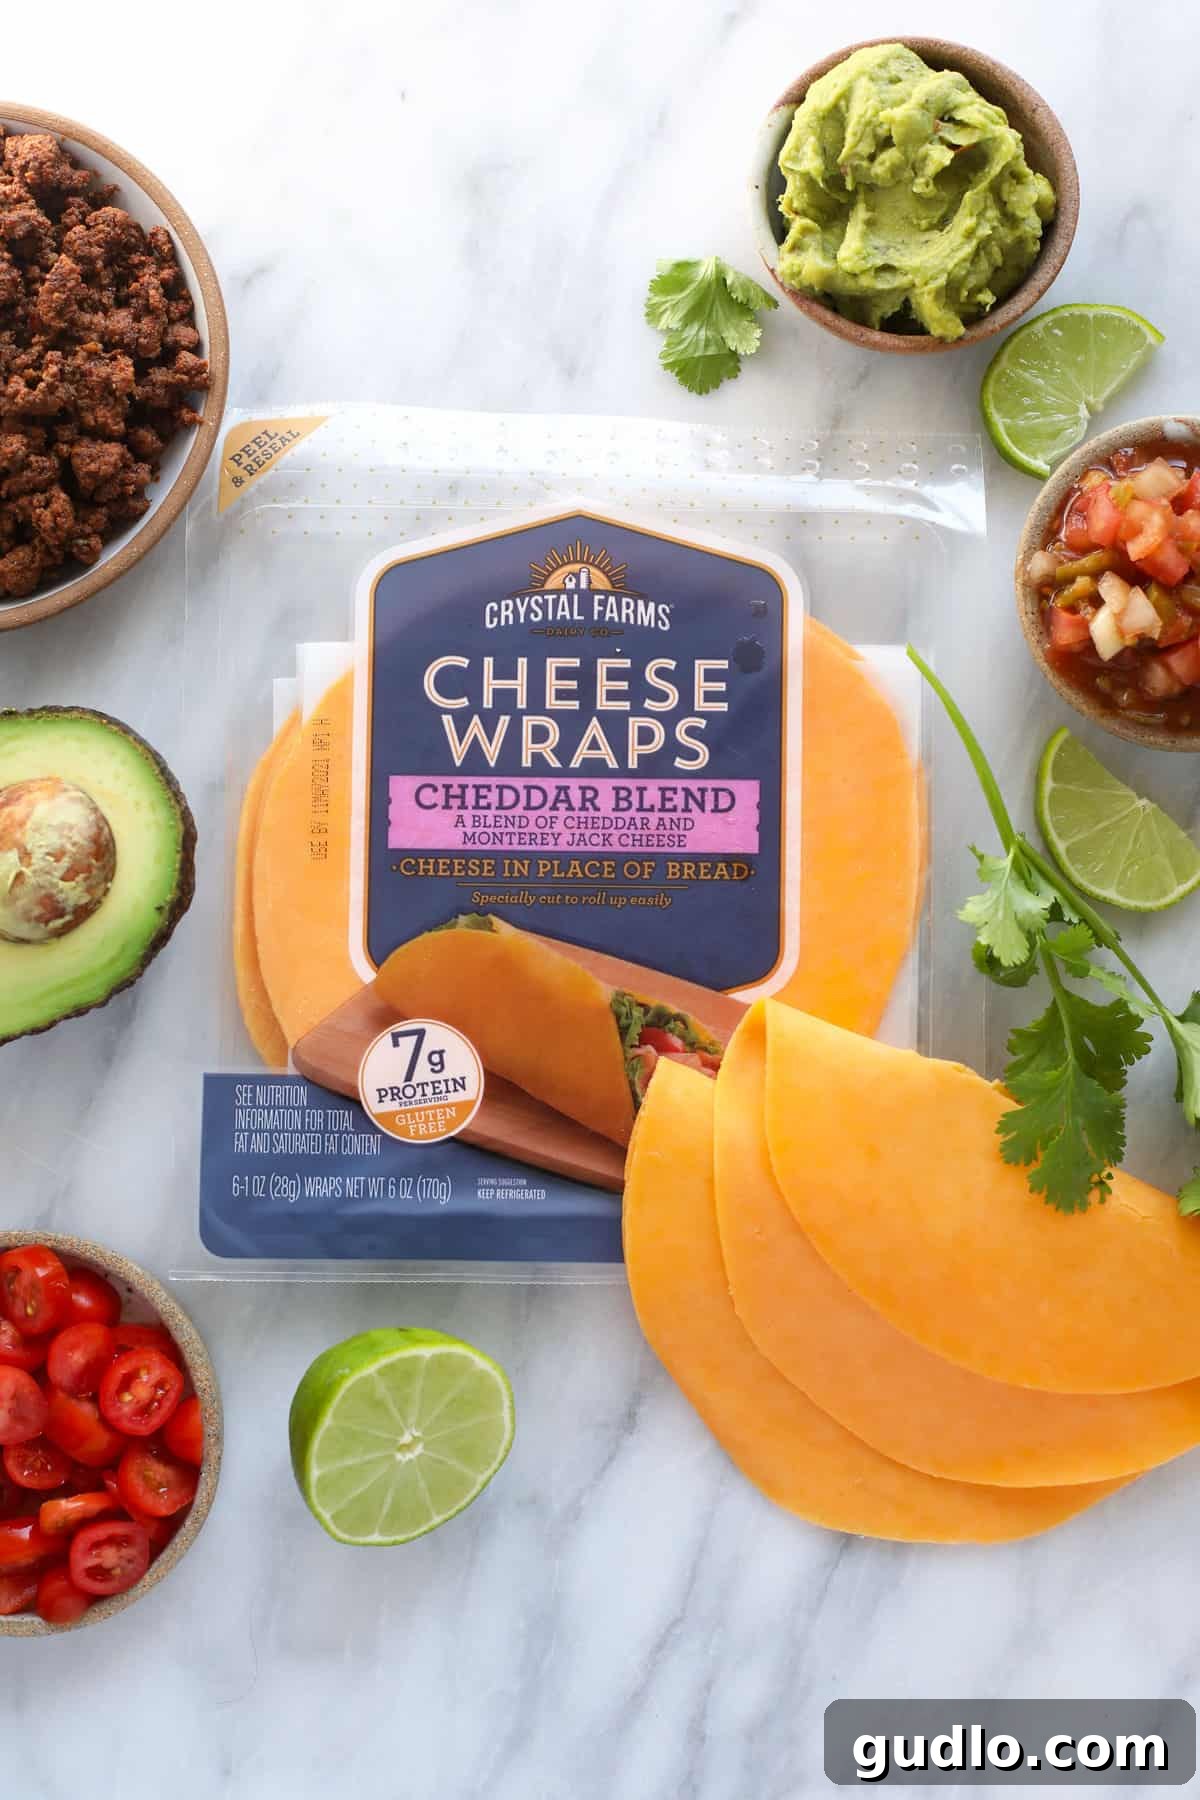
The foundation of our delicious tortilla is a single slice of cheese. As it melts and crisps in the pan, it transforms into a pliable yet sturdy tortilla-like shell. While any cheese can work, certain types will yield different textures and flavors. For the best results, aim for a cheese that melts well and crisps up nicely.
We highly recommend using a round cheddar cheese slice for its consistent melt and delightful flavor. However, feel free to experiment with other varieties and even square slices – just be prepared for slight variations in shape and texture.
Consider these different cheese slice options, all of which will make delicious and unique cheese tortillas:
- Marble Jack Cheese: Offers a mild, creamy flavor with a beautiful marbled appearance. Melts smoothly and creates a wonderfully flexible tortilla.
- Cheddar Cheese: A classic choice known for its sharp, tangy flavor and excellent melting properties. It crisps up beautifully, providing a satisfying crunch.
- Pepper Jack Cheese: For those who enjoy a little kick, Pepper Jack adds a spicy twist. Its creamy texture and bits of jalapeño make for a vibrant, flavorful tortilla.
- Mozzarella: Offers a mild flavor and a satisfyingly chewy texture when slightly less crispy, or a delicate crispiness when cooked longer.
- Provolone: Known for its subtle, slightly nutty flavor, provolone melts into a smooth, even tortilla.
Pro Tip for Shredded Cheese: If you only have shredded cheese on hand, you can still make these! Simply arrange about 1/4 to 1/3 cup of shredded cheese into a thin, even circle on the hot skillet. It might take slightly longer to melt and fuse together, but the result is just as delicious.
Here’s a Tip for Shaping!
Round cheese tortillas are generally easier to handle and shape into taco shells. If you’re using a square slice of cheese, a simple trick is to gently trim the corners before placing it in the pan to achieve a more circular shape. This isn’t strictly necessary, but it helps create a more uniform tortilla.
The Lubricant: Olive Oil
A small amount of olive oil is essential for greasing your pan. This prevents the melted cheese from sticking, ensuring your cheese tortilla releases easily and crisps up perfectly. Without it, you might end up with a sticky mess!
Alternatives to Olive Oil: You can also use other cooking fats like avocado oil, coconut oil, or even a small pat of butter. A cooking spray can work in a pinch, but a thin layer of liquid oil often gives a better, more even crisp.

How to Make Crispy Homemade Cheese Tortillas
Making these low-carb cheese tortillas is incredibly straightforward. With just a non-stick skillet, a cheese slice, and a touch of olive oil, you’ll have perfectly crispy shells in no time. Follow these simple steps for success:
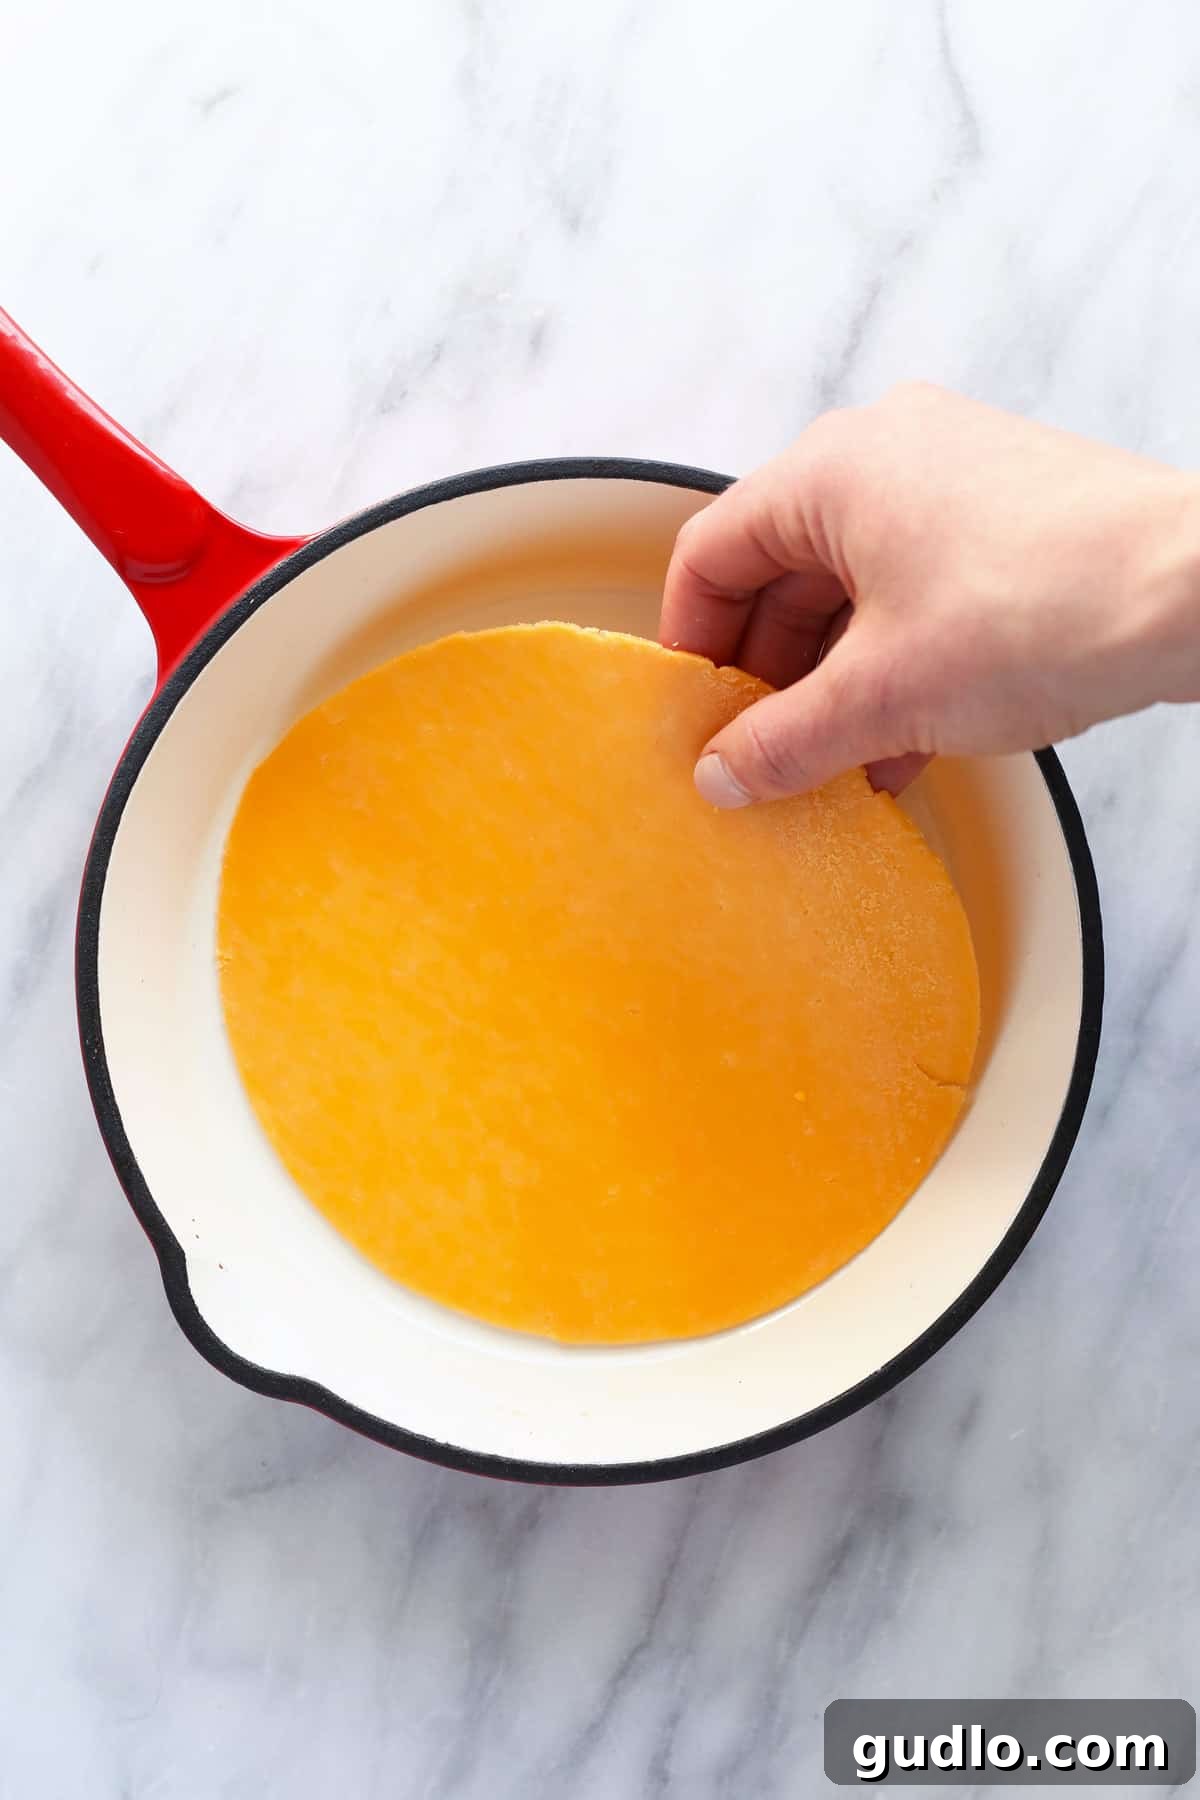
- Prepare Your Skillet: Heat a small non-stick skillet over medium-high heat. Once hot, add about 1-2 teaspoons of olive oil and swirl to coat the bottom evenly. You want the oil to be fragrant but not smoking.
- Add the Cheese: Carefully place your cheese slice into the heated skillet. It will immediately begin to melt.
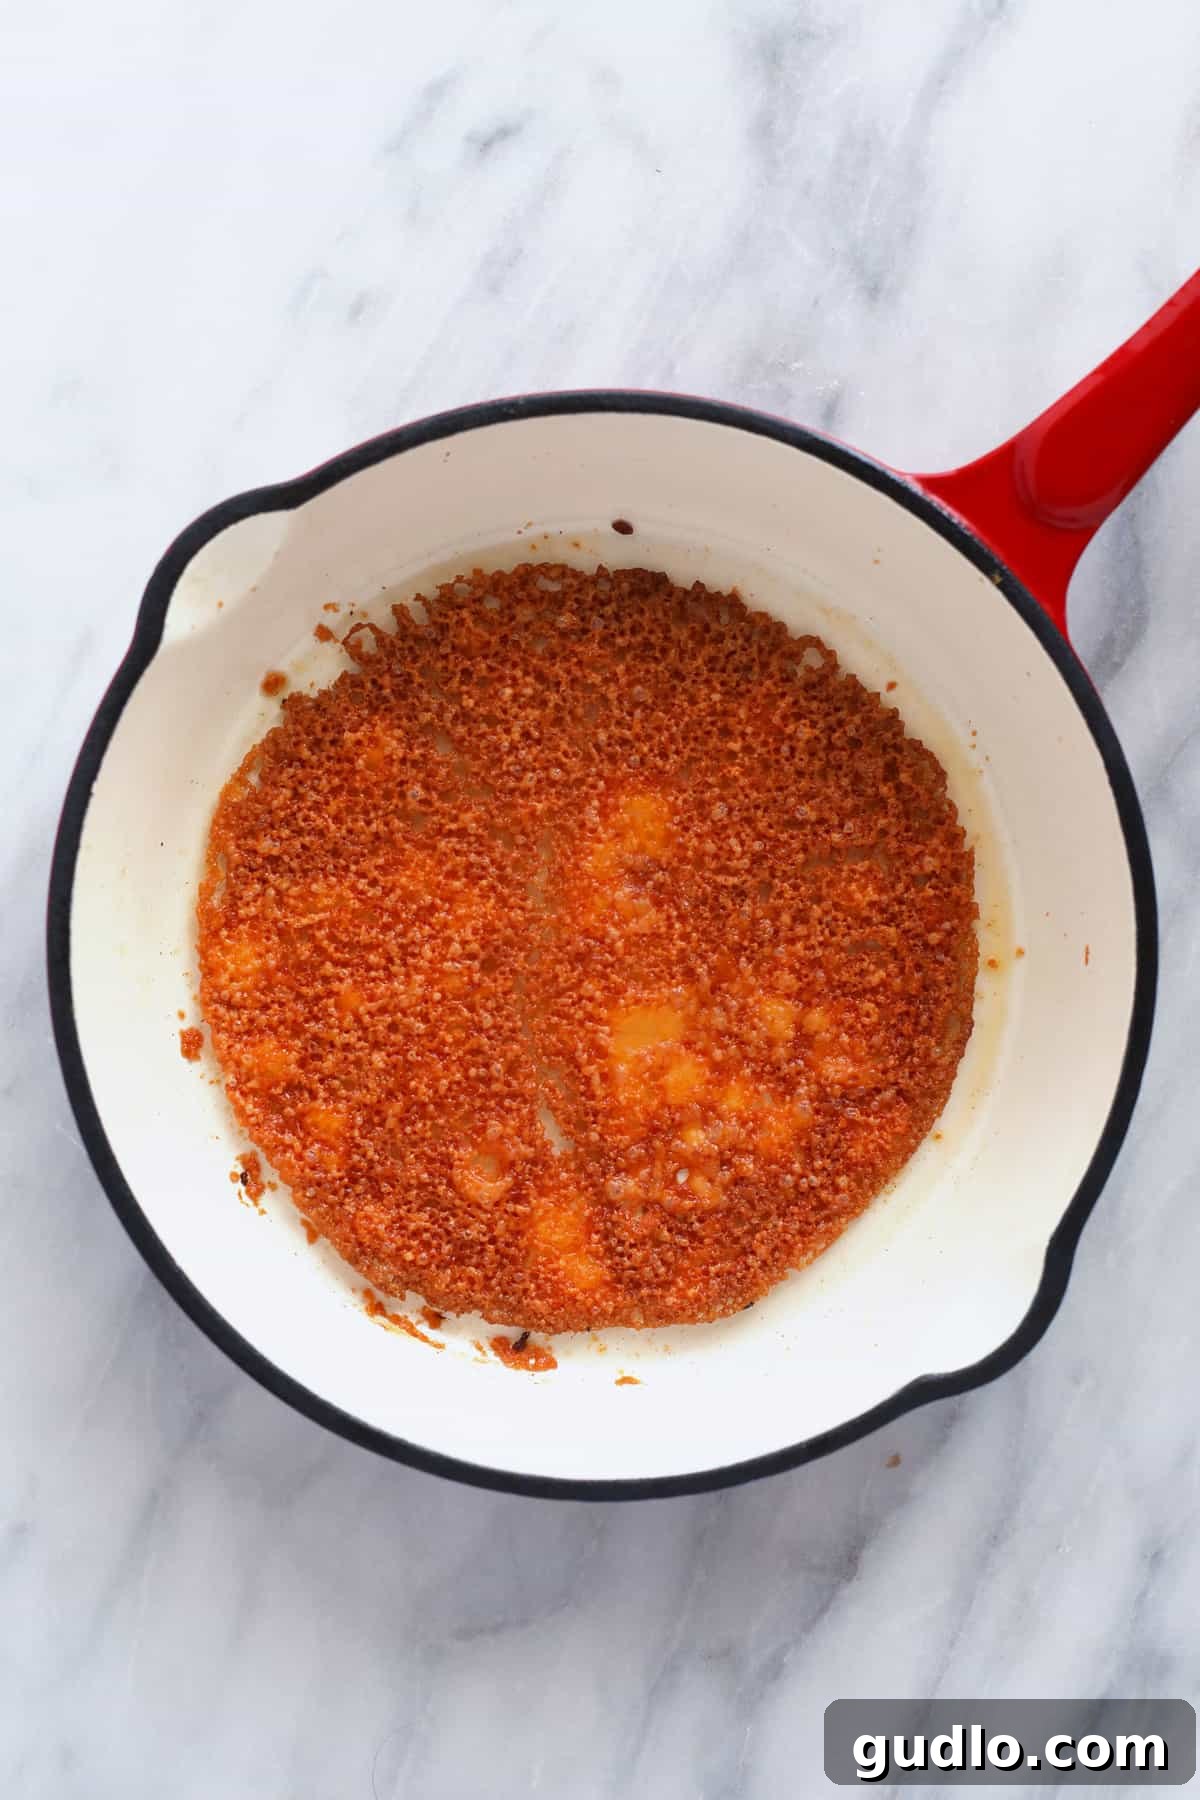
- Cook to Perfection: Allow the cheese to cook undisturbed. Watch as it starts to bubble and the edges turn a beautiful golden brown and become crispy. This usually takes about 4-5 minutes, but cooking time can vary based on your stove and cheese thickness. The key is to let it get genuinely crispy, not just melted.
- Cool and Shape: Once the cheese tortilla is golden and crispy, remove the skillet from the heat. Allow the cheese to cool in the pan for 1-2 minutes; it will harden further as it cools.
- Form Your Tortilla:
- For Flat Tortillas/Quesadillas: Carefully transfer the cooled (but still slightly pliable) cheese tortilla from the skillet onto a plate to cool completely. It will continue to crisp up as it reaches room temperature.
- For Hard Shell Tacos: If you desire a classic hard shell taco shape, immediately after removing the skillet from heat, carefully drape the warm, pliable cheese tortilla over the handle of a wooden spoon or a taco holder. Allow it to cool and harden in this shape for a few minutes.
- Ready to Enjoy: Once your cheese tortilla has cooled and hardened to your desired consistency, it’s ready to be filled with your favorite ingredients to create a taco, quesadilla, or nachos!
Creative Ways to Enjoy Your Cheesy Tortillas
Once you’ve mastered the art of making these crispy cheese tortillas, a world of delicious low-carb meals awaits! Here are some of our absolute favorite ways to use these versatile wraps:
Sensational Keto Quesadillas
These cheese tortillas are absolutely phenomenal as quesadillas. The double layer of crispy cheese adds an irresistible texture and rich flavor. To create a mouth-watering keto quesadilla, you’ll need two cheese tortillas:
- Layer Your Fillings: Place one crispy cheese tortilla on a plate. Spread your favorite quesadilla fillings evenly over its surface. We highly recommend a combination of seasoned ground beef or shredded chicken, creamy guacamole, a dollop of Greek yogurt (or sour cream), finely diced red onion, and vibrant sliced cherry tomatoes for a burst of freshness.
- Top and Slice: Gently place the second crispy cheese tortilla on top of your fillings. To cut without cracking, use a sharp knife and press down firmly and steadily, cutting into quarters or halves. Enjoy immediately!
Crunchy Low-Carb Taco Shells
Transform your cheese tortillas into perfect hard taco shells! Once you’ve shaped your cheese tortilla over a wooden spoon or taco holder and allowed it to harden, it’s ready for your favorite taco fillings. For a truly satisfying keto taco, fill the shell with juicy shredded chicken, seasoned ground beef, or even pulled pork. Top generously with a dollop of cooling Greek yogurt, fresh cilantro, salsa, and any other low-carb taco toppings you love!
Beyond Beef: Consider fillings like seasoned fish, grilled shrimp, or a vegetarian blend of sautéed bell peppers and onions for varied taco nights.
Delectable Keto Nachos
Who says nachos are off-limits on a low-carb diet? Not anymore! Make 4-6 crispy cheese tortillas. Once they’ve cooled completely, carefully cut them into fourths, just like traditional tortilla chips. Spread these cheesy “chips” out on a baking sheet or a platter.
Pile high with your favorite nacho toppings: melted cheese (yes, more cheese!), seasoned ground beef or shredded chicken, salsa, guacamole, sour cream, jalapeño slices, and chopped green onions. Pop them in the oven for a few minutes to warm everything through and melt any extra cheese, then serve immediately for a crave-worthy, guilt-free treat.
Other Creative Low-Carb Uses
- Keto Sandwich Wraps: Use a flat, pliable cheese tortilla as a delicious, savory wrap for your favorite sandwich fillings like deli meat, lettuce, and avocado.
- Salad Toppers: Break cooled, crispy cheese tortillas into small pieces to use as crunchy “croutons” for your salads.
- Mini Pizza Bases: Use a slightly larger cheese tortilla as a base for a personal-sized keto pizza. Add a low-carb sauce, your favorite toppings, and broil until bubbly.
- Cheese Crisps for Dips: Enjoy them on their own as a crunchy snack or use them to dip into salsa, guacamole, or spinach dip.
Storage and Reheating Tips for Cheese Tortillas
These crispy cheese tortillas are best enjoyed fresh, but they can certainly be made ahead of time for meal prep! Once fried and cooled completely, place the cheese taco shells into an airtight container. Layer them with parchment paper to prevent sticking if you’re stacking multiple. They will keep fresh in the refrigerator for 3-5 days.
Reheating for Optimal Crispness: To restore their delightful crispiness, you can reheat them in a few ways:
- Skillet: Place them back in a dry, non-stick skillet over medium heat for 1-2 minutes per side until crisp.
- Oven/Toaster Oven: Lay them on a baking sheet and bake at 300°F (150°C) for 3-5 minutes, or until desired crispiness is achieved.
- Air Fryer: Air fry at 300°F (150°C) for 2-3 minutes.
Avoid reheating in the microwave, as it will likely make them soft and chewy rather than crispy.
More of our Favorite…
Cheesy Dinner Recipes You’ll Love
If you’re a fan of cheesy goodness, be sure to explore more of our delightful recipes that bring flavor and satisfaction to your dinner table:
- Taco Lasagna: Layers of taco-flavored delight, perfect for a family meal.
- Chicken Alfredo Lasagna: A creamy, rich twist on a classic comfort food.
- Homemade Chicken Enchiladas: Savory chicken wrapped in tortillas and smothered in cheesy sauce.
- Palak Paneer: A flavorful Indian dish featuring spinach and paneer cheese.
Cheese Taco Shells
Honeycomb Media
5 mins
5 mins
10 mins
1
Ingredients
-
2
teaspoons
olive oil
-
1
round cheddar cheese slice
Instructions
-
Drizzle olive oil in a nonstick frying pan and heat over medium-high heat until fragrant.
-
Place one round piece of cheese into the pan and heat the cheese until it begins to bubble and brown around the edges. It will start to melt immediately, but it will take around 4-5 minutes to get nice and crispy.
-
Remove the pan from heat and let the crispy cheese tortilla cool in the pan for 2-3 minutes. As it cools it will harden even more.
-
Carefully remove the crispy cheese tortilla from the pan with a spatula and set it on a plate.
-
If you are planning on keeping the tortilla flat, leave the tortilla on the plate. If you would like to make a ‘hard shell taco’ shape, immediately drape the still-warm cheese tortilla over the end of a wooden spoon so the sides are hanging on each side of the spoon (upside down), allowing it to cool and harden in shape.
Nutrition
Calories:
140
kcal
,
Carbohydrates:
0
g
,
Protein:
6
g
,
Fat:
13
g
,
Fiber:
0
g
,
Sugar:
0
g
Nutrition information is automatically calculated, so should only be used as an approximation.
Love this recipe? Leave a comment below!
Don’t forget to tag your posts on social media with the hashtag #cheeseknees. We’d love to see what delicious creations you come up with!